Have you ever heard of crochet bonding squares?
I hadn’t until my fellow crochet designer friend, Sunflower Cottage Crochet hosted her first Preemie Challenge in 2020.

That year I shared my free Crochet Ribbed Baby Beanie pattern – it comes in sizes Preemie to 1 year – but this year I chose do crochet bonding squares because I fell in love with their purpose.
Let me share a bit about bonding squares with you.
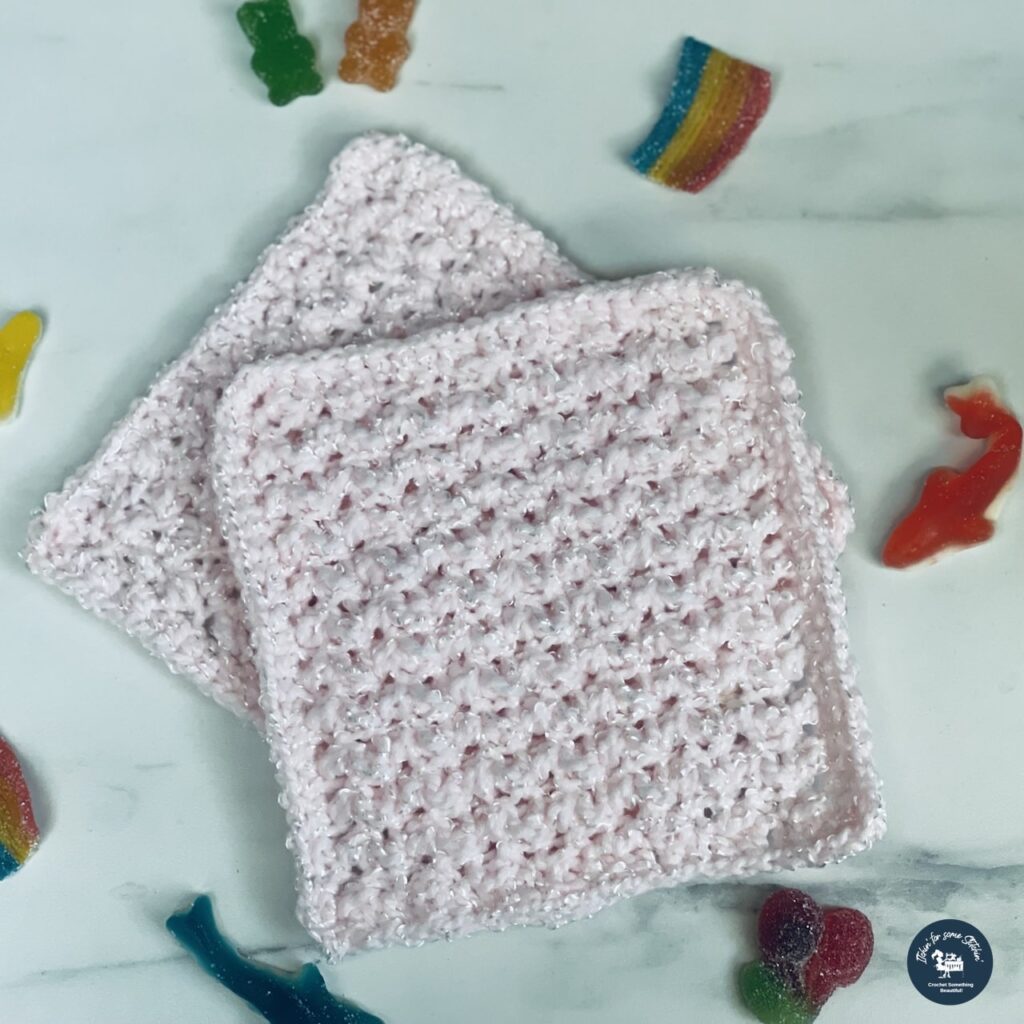
Bonding squares are simple crochet or knit squares, typically about 5″x 5″ / 12.5cm x 12.5cm, but I have seen them a bit smaller at 4″ x 4″ or 3.5″ x 3.5″.
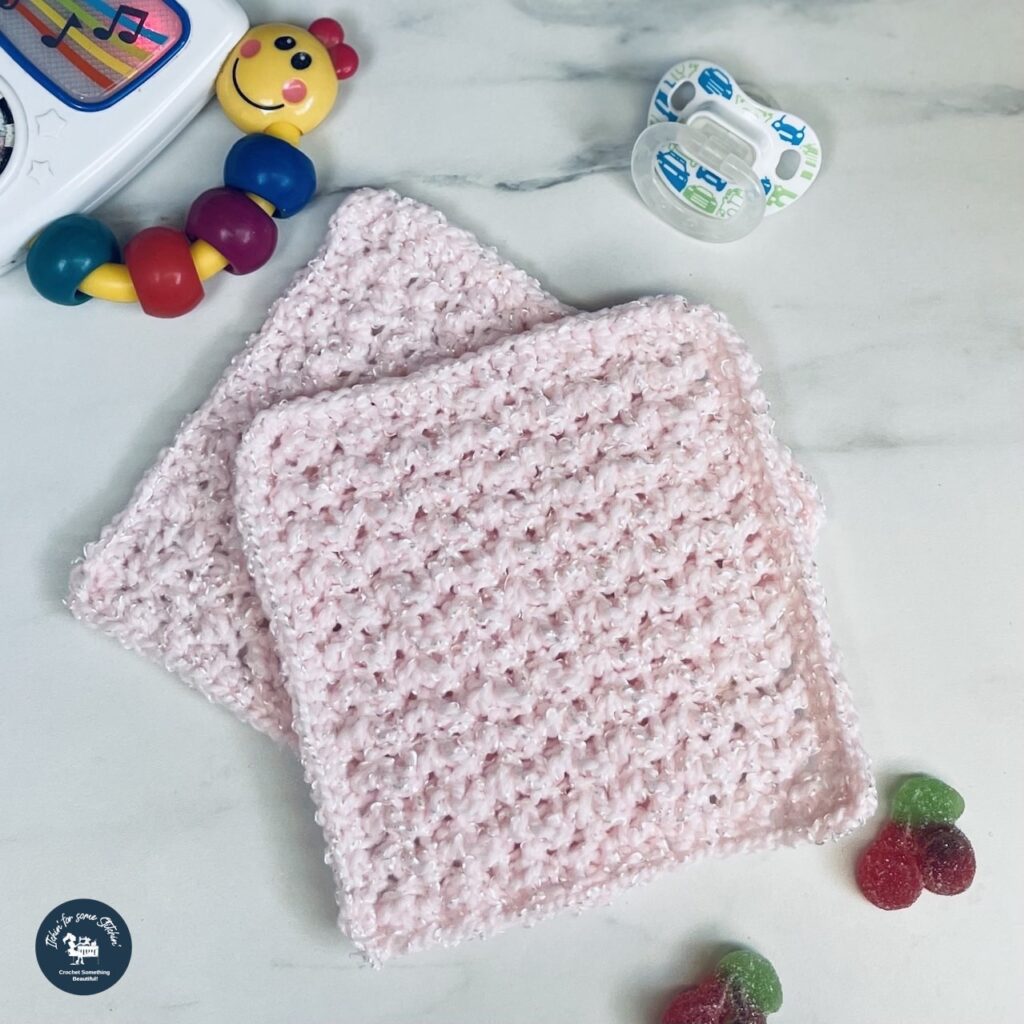
The squares are made in matching pairs, one square is placed with the preemie baby, who is, upon birth, often immediately taken to the Neonatal Intensive Care Unit (NICU) of the hospital. The second square remains with the baby’s parent(s).
The squares are worn or placed close to the skin and each day they are swapped so that the baby receives the parent(s) scent and the parent(s) receive the baby’s scent.
Believe it or not, scent is one of the most developed senses in premature infants, so bonding squares are intended to help NICU families to bond with their babies through smell.

What an absolutely beautiful purpose!
For parents who are separated from their beloved newborn, it can be incredibly meaningful to take “a piece” of their sweet baby home with them each day and for the preemies, possible benefits include bonding and improved lactation.
Looking for lots of crafty inspiration, tips, tutorials, and a great crochet community? Join my Facebook group!
Yarn Details: It’s all about the yarn baby!
Because these squares are placed on or near the skin of the most delicate of little beings, bonding squares need to be created using “baby soft” hypoallergenic yarn (i.e. 100% cotton or 100% acrylic – if possible).
My son is now 5 years old so I have to admit that I don’t typically do a lot of baby projects, however, since boding squares require only a small amount of yarn, I was lucky enough to have just the right amount of the perfect yarn in my stash!


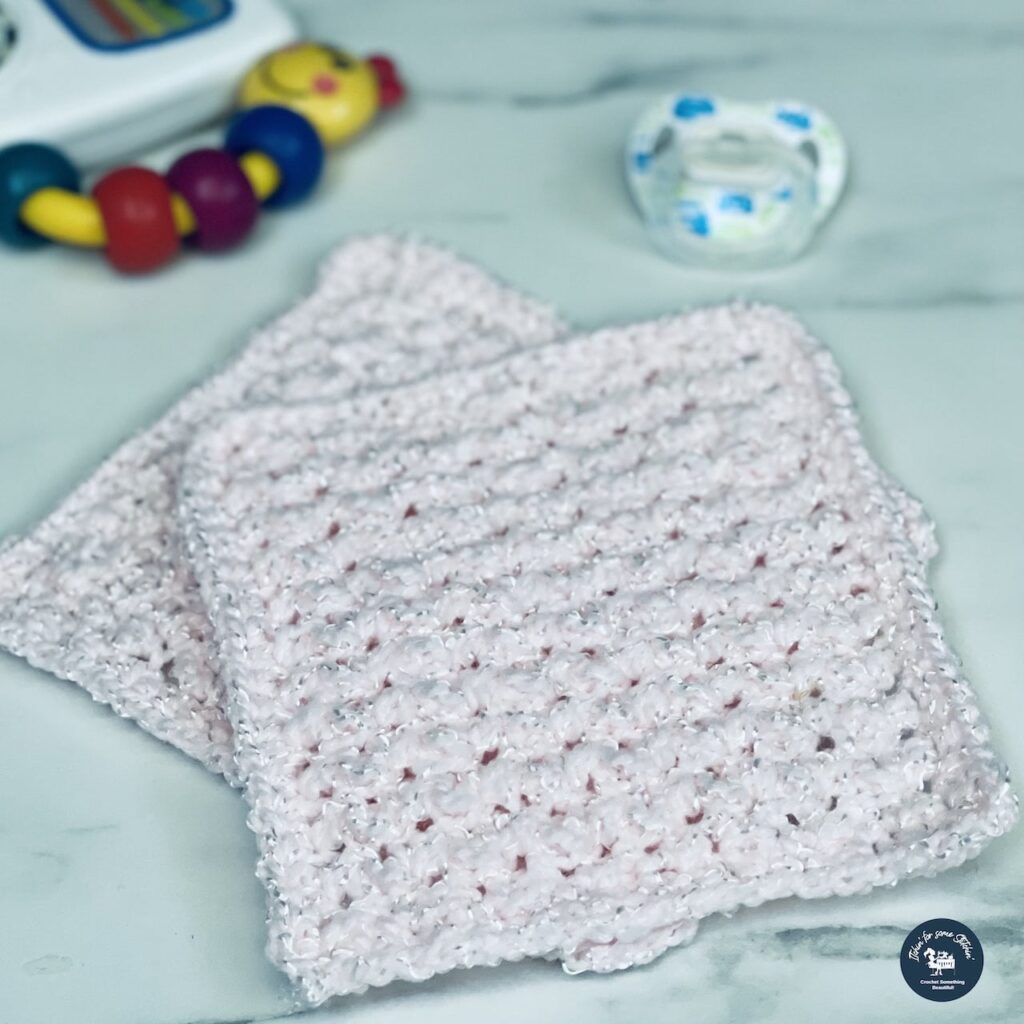
I used Bernat Baby Coordinates from Yarnspirations in color way baby pink.
Folks this is a super soft, textured baby yarn with a lovely shimmer effect that gives it just a bit of sparkle. 😃
Plus it’s super easy to work with!
And even better, this yarn has been tested for over 300 harmful substances and proven to be safe for baby’s sensitive skin!
You can purchase it via my affiliate link below.
Check Out These Other Patterns I LOVE!
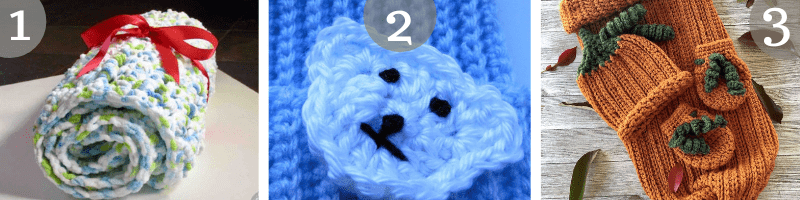
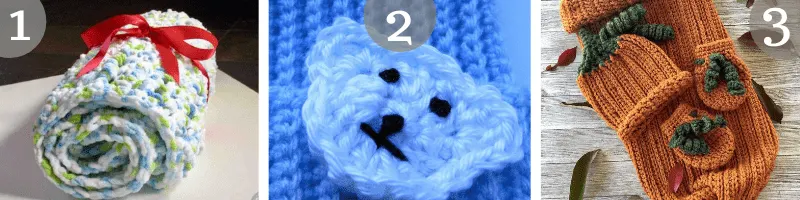
1. Thick N’ Soft Seed Stitch Baby Blanket / 2. Ribbed Baby Beanie / 3. My Lil’ Pumpkin Pie Sleep Set
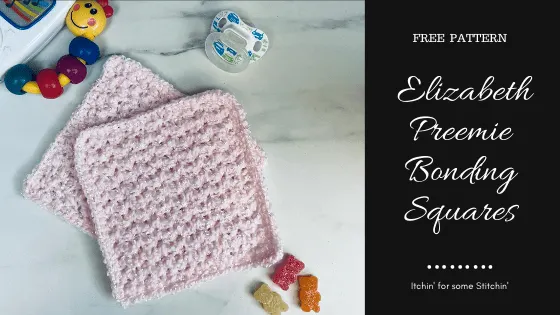
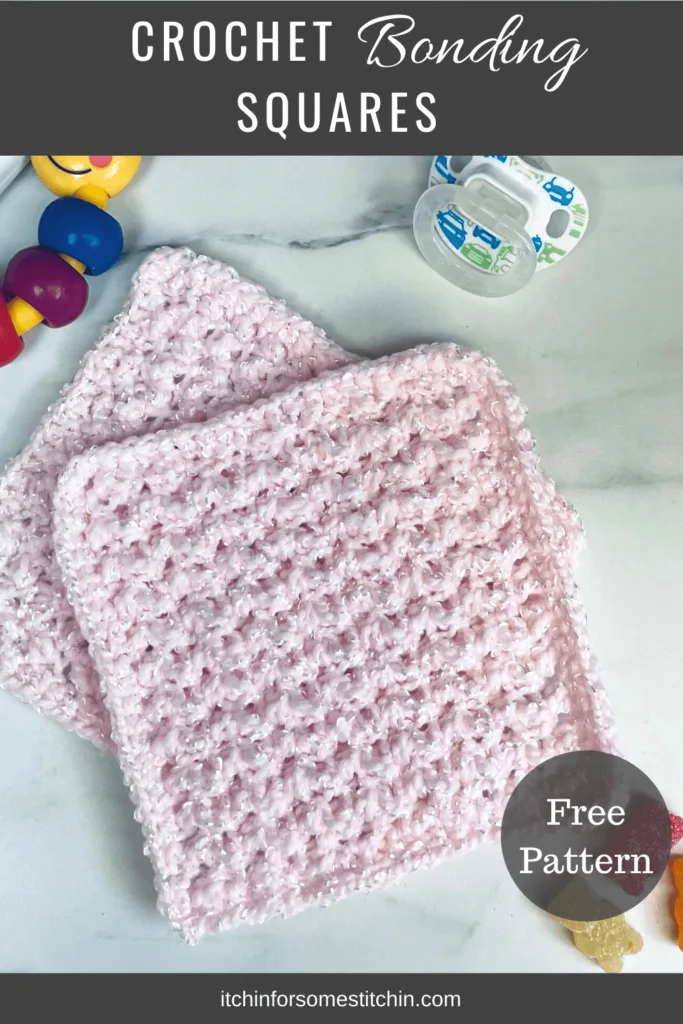
Crochet Bonding Squares Pattern
**THIS IS AN ORIGINAL PATTERN. Please see my Copyright Statement for details.

Prefer a PDF?
This pattern is available as a large print, ad-free, printable PDF pattern.
Get it in these places:
Love Pinterest? I do!
PIN this pattern to your Pinterest boards for later HERE.
You can also follow all my boards!


Summary:
Simple crochet bonding squares that even beginners can do! Place one square with the precious little one in the Neonatal Intensive Care Unit (NICU) and the other with the baby’s parent(s) and then swapped them every 12 – 24 hours to help parent(s) and baby bond through the sense of smell. A quick and easy pattern!
Difficulty level: Level 1 – Beginner
Finished Dimensions:
5” x 5” / 12.5cm x 12.5 cm
Gauge:
16 stitches and 19 rows = 4-inches in sc
Materials:
- Crochet hook size: G/6 4.00 – 4.25mm or whatever hook is necessary to obtain gauge.
- Yarnspirations Bernat Baby Coordinates, lightweight #3, color way Baby Pink, 75% Acrylic / 22% Rayon / 2.6% Nylon, 140g / 5oz, 388yds / 355m
- Scissors
- Tapestry Needle
- Stitch Markers (optional)
(Click HERE to find my favorite crochet tools & resources)
Total yardardage: 5 – 10 yards / 4.6 – 9 meters.
~Yarn alternatives: Any soft lightweight 3 baby yarn.
Abbreviations:
Pattern is written in US terms. *Click on abbreviation names for tutorials
Stitch/es (st/sts)
Skip (sk)
Half-double crochet (hdc)
*____* Repeat indicated instructions
Additional Notes:
- Read all pattern notes, instructions, and other provided details carefully before starting the project to make sure you understand everything. It could save you hours & a lot of headaches!
- Make a swatch that measures at least 10 x 10 cm / 4 x 4 inches using the stitch provided under the Gauge Section. If your swatch matches the gauge, then you are all set to start the project. If the gauge is wrong, you might need to change your crochet hook – increase your hook size if your stitches are smaller & decrease your hook size if your stitches are larger.
- All measurements given are unblocked and measured flat pre-wear and pre-seaming as fabric pieces may stretch during/after blocking, wearing, and seaming.
- Provided measurements are as exact as possible, but are given as approximates. This is because yarn variances, crochet tension, & individual technique might give variations in the result, which changes from person to person.
- Care Instructions: Machine wash & dry.
Instructions:
Make Two
Ch 26
NOTE: If you prefer different size squares, chain in multiples of 2 + 4 to your desired width.
Row 1: Insert your hook into the 4th chain from the hook and pull up a loop, yarn over, back into the same stitch and pull up another loop, yarn over and pull through all four loops on the hook. *ch1, skip 1 ch, insert your hook into the next stitch, pull up a loop, yarn over, back into the same stitch and pull up another loop, yarn over and pull through all four loops on the hook*. Repeat from * to * until the end of the row.
Row 2: Turn work, ch 3, *insert hook into first ch 1 space, pull up a loop, yarn over and back into same space, pull up another loop, yarn over and pull through all four loops on the hook, ch 1*. Repeat from * to * across the entire row with the last stitch being worked under the turning chain, turn work.
Rows 3 – 13: Repeat Row 2.
Do not bind off. Continue to the edging section.
Edging:
Ch 2, hdc around the entire square, slp-st to the top of the ch 2 to close.
NOTE: As you crochet around the raw edges of the square, you do not need to make a specific number of stitches, just be sure that they are evenly spaced. My squares have 22 hdc stitches along each edge of the square.
That’s it!
Bonding squares are a great stash-buster project, quick to whip up, easy to do — couldn’t be simpler or for a more beautiful cause. ❤️
Please be sure to share your makes with me on social media with #itchinforsomestitchin.
Check Out My Latest Posts!
- Plaid Crochet Beanie Pattern
- How to Crochet the Plaid Stitch (Buffalo Plaid Crochet Tutorial)
- How to Adjust Neck Openings in a Crochet Dog Sweater
- Crochet Beginner’s Tools: What You Actually Need (and What You Don’t)
- How to Adjust Crochet Dog Sweater Chest Width (Easy Fit Guide)

Thank you for coming to my blog! By sharing my content and/or making a purchase you are making it possible for me to continue producing and sharing free content for everyone to enjoy. I sincerely appreciate your support!
Until next time… Happy Crocheting!


Please Share!