Free Easy Ribbed Crochet Baby Beanie Pattern
Disclosure: This post may contain affiliate links. If you make a purchase through these links, I may earn a small commission at no additional cost to you.
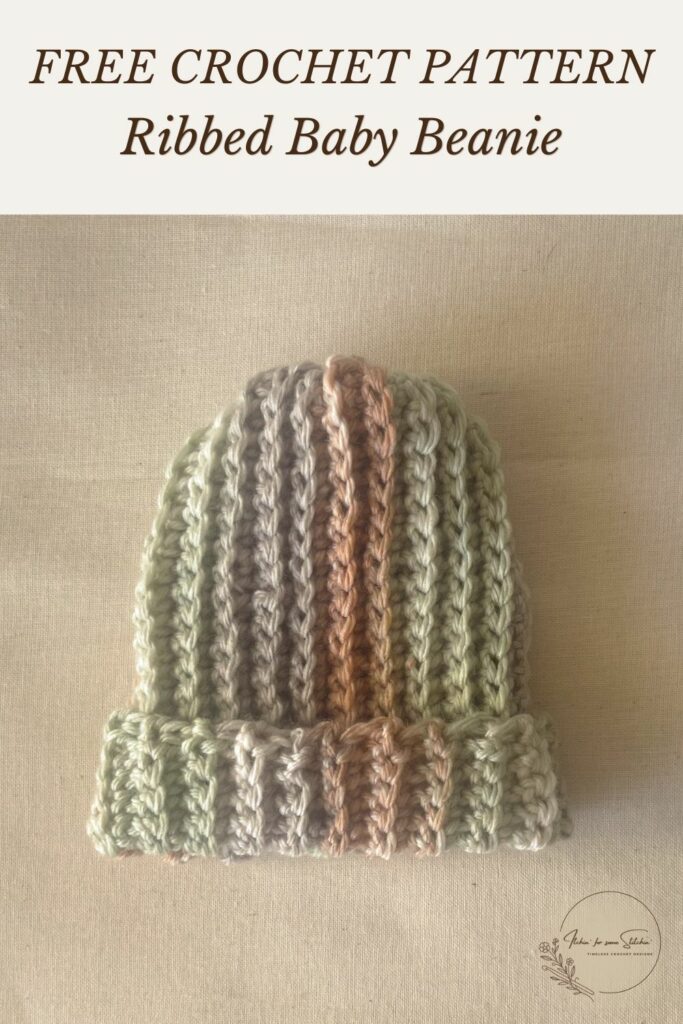
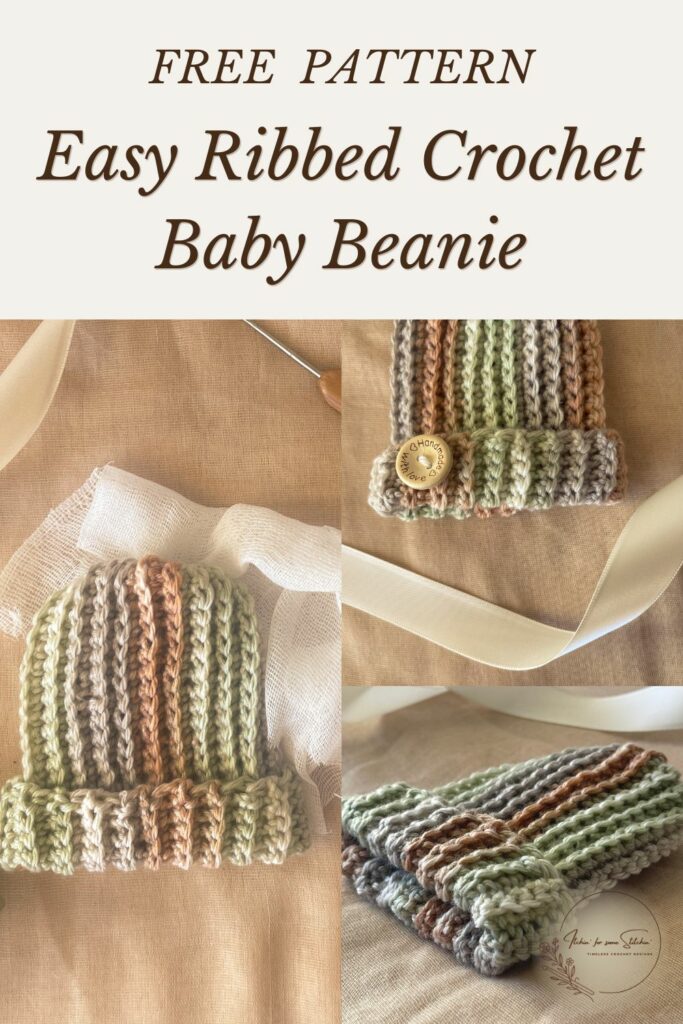
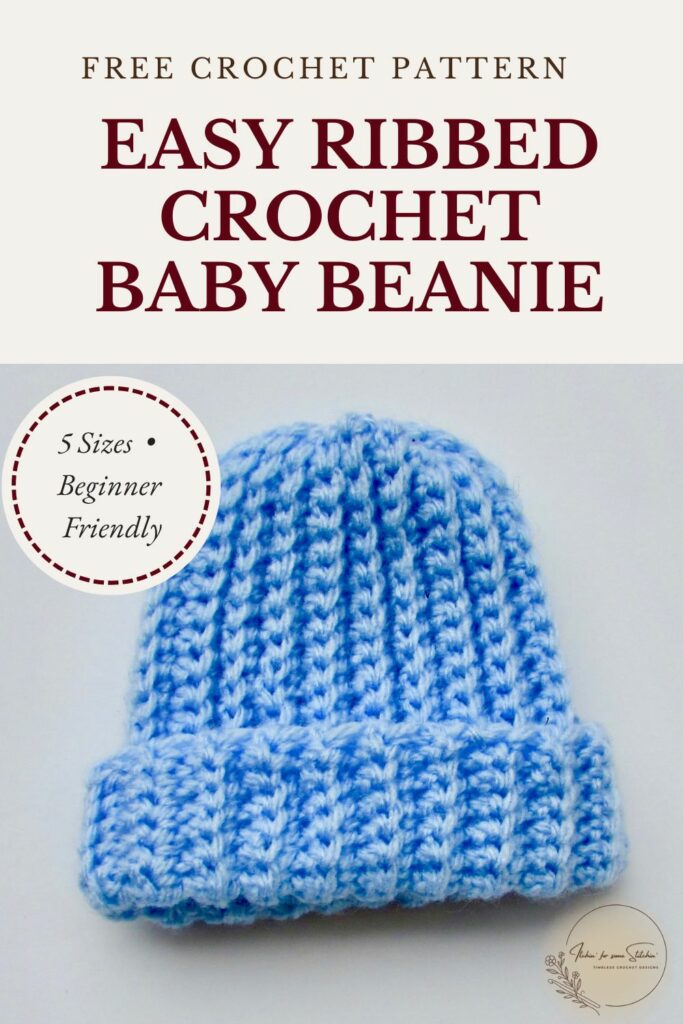
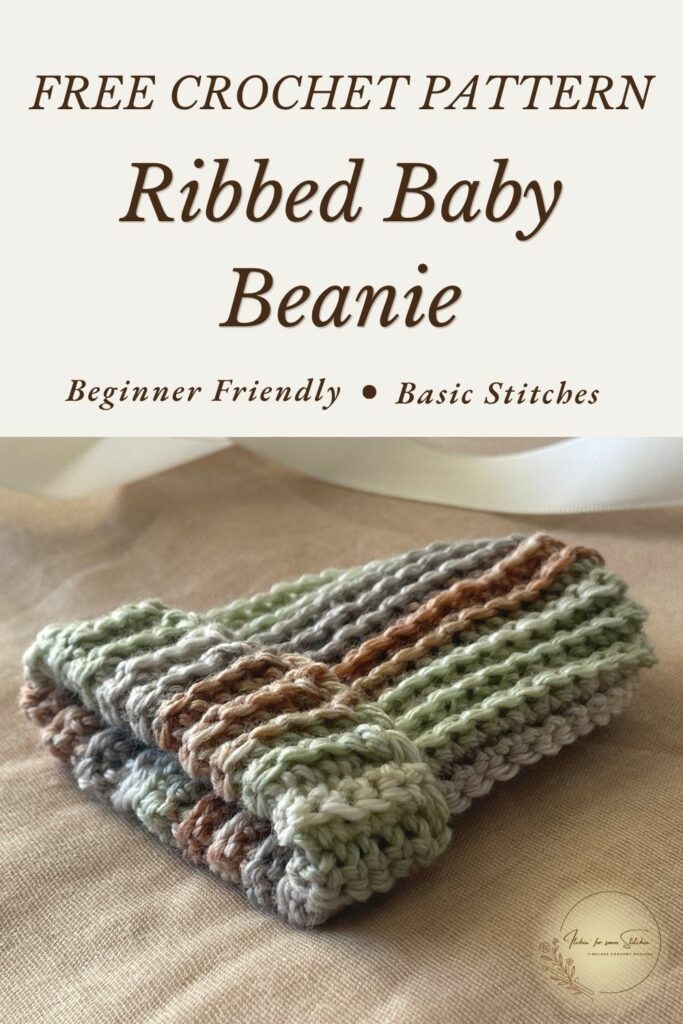
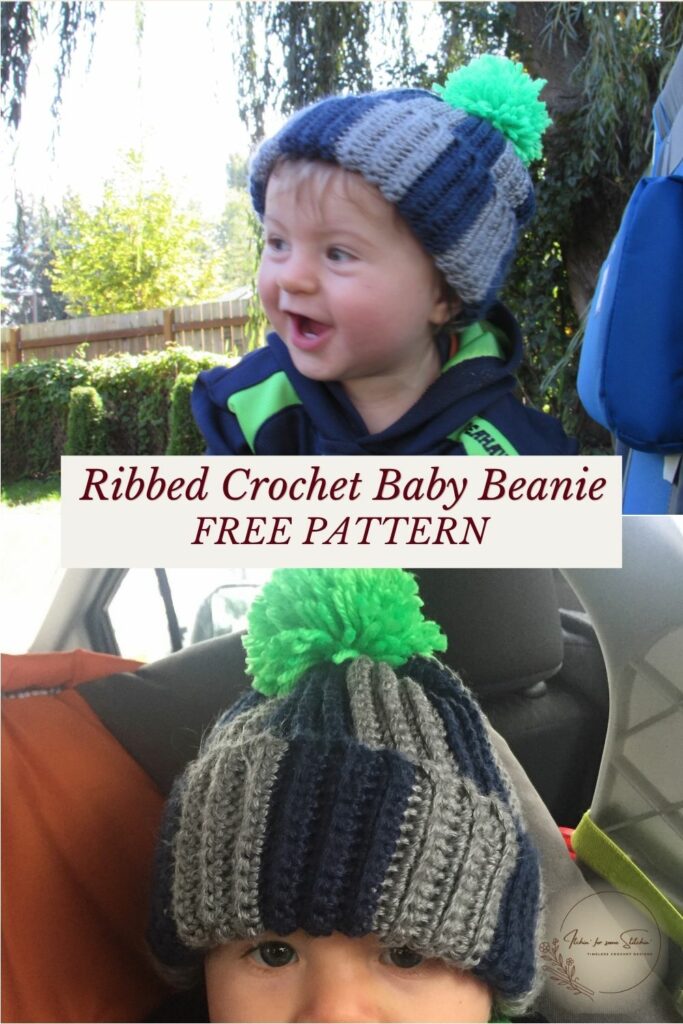
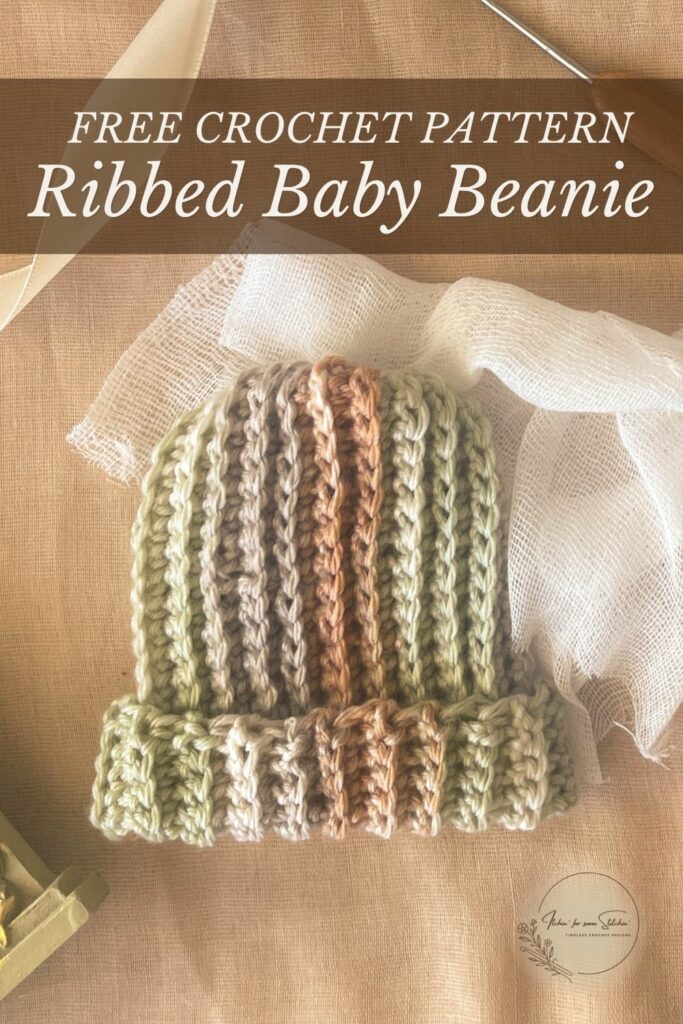
This free ribbed crochet baby beanie pattern is an easy, beginner-friendly project worked flat using simple single crochet stitches. Available in five sizes from preemie through 12 months, this cozy baby hat is perfect for gifts, winter wear, and charity donations.
I originally designed this little beanie in 2016, when my son was only nine months old. It was one of my first wearable crochet designs, created during nap times and quiet evenings with love worked into every row.
Now he is a thriving 10-year-old, but this simple baby hat still holds a special place in my heart. I’ve kept some of the original photographs of him wearing it throughout this post. They may not reflect my current photography style, but they are part of this pattern’s story — and mine.
Whether you’re making a cozy hat for your own little one, creating a handmade baby shower gift, or crocheting for a NICU or charity, this beginner-friendly design is a sweet and practical project.
Why This Ribbed Baby Beanie Works
- Beginner-friendly construction: The beanie is crocheted flat, so you don’t need to know how to work in the round.
- Simple stitches: Basic single crochet stitches worked through the back loop create the stretchy ribbed texture.
- Five baby sizes: Instructions are included for preemie, 0–3 months, 3–6 months, 6–9 months, and 9–12 months.
- Easy to personalize: Use one color, create stripes, or add a pom-pom or crochet appliqué.
- Perfect for gifting: This cozy little hat makes a thoughtful baby shower gift, charity project, or handmade addition to a baby’s winter wardrobe.
Build the Skills for This Beanie
New to crochet or need a quick refresher before beginning your beanie? Follow the learning path that best matches your experience.
Brand new to crochet?
Begin with the Crochet Beginner’s Guide to learn the essential tools, terminology, and foundational skills.
Need help starting the pattern?
Review How to Crochet a Foundation Chain before creating your starting chain.
Need a stitch refresher?
Visit the Single Crochet Tutorial for step-by-step instructions and helpful photographs.
Once you’re comfortable making a foundation chain and single crochet stitches, you’re ready to begin the Ribbed Baby Beanie.
What You'll Find On This Page
Love Pinterest? I do!
Save this post for Later and follow all my boards.
At a Glance
Materials
To make your ribbed crochet baby beanie, you will need:
- Yarn: Soft #3 lightweight/DK yarn
- Yarn shown: Hobby Lobby Baby Bee Sweet Delight in Sand Castle
- Crochet hook: 5.5 mm (I-9), or the size needed to obtain gauge
- Tapestry needle: For seaming, closing the top, and weaving in ends
- Scissors
- Optional: Pom-pom or crochet appliqué
Yarn Used for the Neutral Beanie
The neutral sample was made with Hobby Lobby Baby Bee Sweet Delight in the Sand Castle colorway.
- Yarn weight: #3 lightweight/DK
- Fiber: 60% acrylic / 40% polyamide
- Skein size: 4 oz / 118 g
- Skein yardage: 377 yd / 345 m
One skein is more than enough to complete any of the five baby beanie sizes.
Choosing Your Yarn
The neutral and light-blue sample beanies were made with #3 lightweight yarn. The light-blue version uses Bernat Baby Sport, while the neutral version uses Baby Bee Sweet Delight. This yarn weight creates the light, soft fabric and sizing intended by the written pattern.
You may substitute a soft #4 worsted-weight yarn, such as Caron Simply Soft. The striped beanie shown on my son was made with Caron Simply Soft. Using a heavier yarn with the same hook and instructions will produce a thicker, slightly larger hat.
For the most accurate fit—particularly for the preemie and smaller baby sizes—use #3 lightweight yarn and match the stated gauge.
Yardage by Size
| Size | Recommended Yardage |
|---|---|
| Preemie | 55 yd / 51 m |
| 0–3 months | 110 yd / 101 m |
| 3–6 months | 135 yd / 124 m |
| 6–9 months | 160 yd / 147 m |
| 9–12 months | 175 yd / 161 m |
Yardage estimates include approximately 10% extra. Actual yarn usage may vary depending on your tension, yarn choice, and any modifications.
Skill level
Level of Difficulty - Beginner

Gauge / Tension for the Ribbed Crochet Baby Beanie Pattern
Taking a few minutes to check your gauge before you begin will help ensure your Ribbed Crochet Baby Beanie fits as intended. Because this pattern includes several small baby sizes, matching the pattern gauge is especially important for achieving the correct height, circumference, and comfortable stretch.
Gauge
19 stitches × 27 rows = 4 inches (10 cm)
Measure gauge in single crochet worked through the back loop only using a 5.5 mm (I-9) crochet hook and #3 lightweight yarn.
The 19 stitches are measured along the height of the ribbed fabric, while the 27 rows are measured across the width.
Create a swatch measuring at least 4 × 4 inches before beginning. If your swatch is smaller than the stated gauge, try a larger hook. If your swatch is larger, try a smaller hook.
Matching gauge is particularly important for the preemie and smaller baby sizes. A difference in yarn weight or tension will affect the finished height, circumference, and overall fit of the beanie.
Crochet Abbreviations & Stitches Used
This Ribbed Crochet Baby Beanie Pattern is written in Standard US crochet terminology.
*Click on abbreviation names for tutorials
Finished Dimensions
All measurements are approximate and taken with the beanie relaxed and laid flat. The ribbed fabric is designed to stretch comfortably around the baby’s head.
| Size | Intended Head Circumference | Laid-Flat Hat Width | Relaxed Hat Circumference | Unfolded Height |
|---|---|---|---|---|
| Preemie | 9–12 in | 3 in | 6 in | 5.25 in |
| 0–3 Months | 12–14 in | 3.5 in | 7 in | 9.5 in |
| 3–6 Months | 14–16 in | 4.25 in | 8.5 in | 9.5 in |
| 6–9 Months | 16–17 in | 5 in | 10 in | 9.5 in |
| 9–12 Months | 17–18 in | 5.5 in | 11 in | 9.5 in |
The ribbed fabric is very stretchy, so the relaxed hat circumference is smaller than the intended head circumference. Fold the brim to adjust the finished height and fit.
Age-based sizing is only a guide. When possible, measure the baby’s head and select the size according to actual head circumference.
Love This Pattern? Keep It Forever.
Prefer to crochet without ads or scrolling? The printable PDF includes the complete Ribbed Baby Beanie pattern in all five sizes, organized in one clean, easy-to-follow file.
The PDF also includes:
- Complete instructions for sizes preemie through 9–12 months
- Printable materials, yardage, gauge, and sizing charts
- Step-by-step finishing photographs
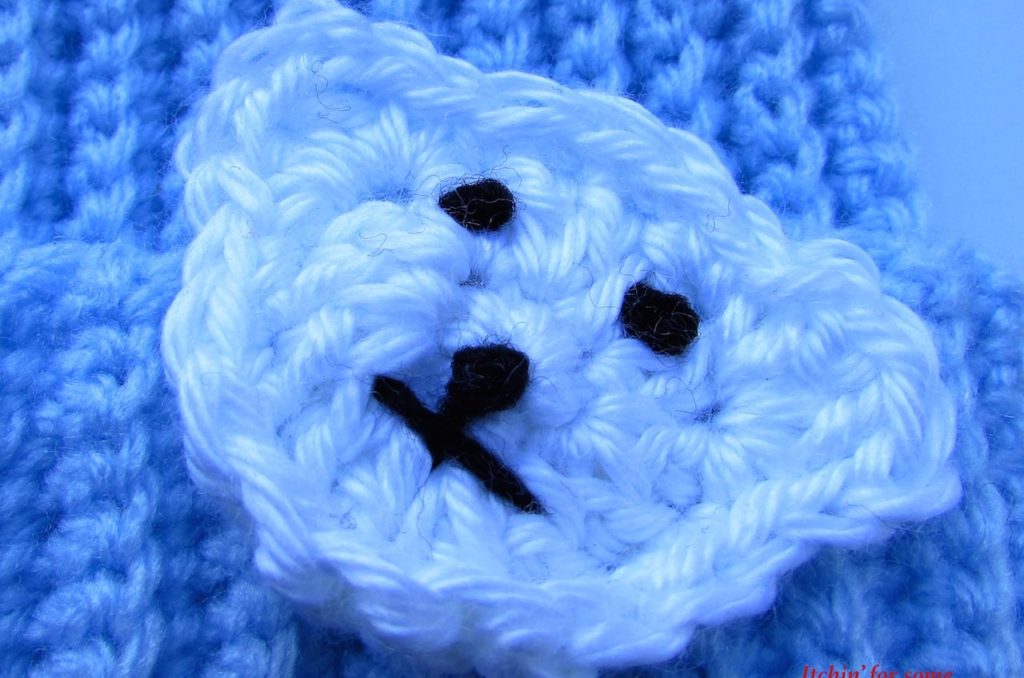
- Bonus polar bear crochet appliqué pattern
Purchase the Printable PDF, includes bonus polar bear appliqué pattern!
The complete pattern is also available to members inside The Crochet Conservatory.
Prefer to use the free version? Keep scrolling—the complete written pattern is included below.
Beanie Construction
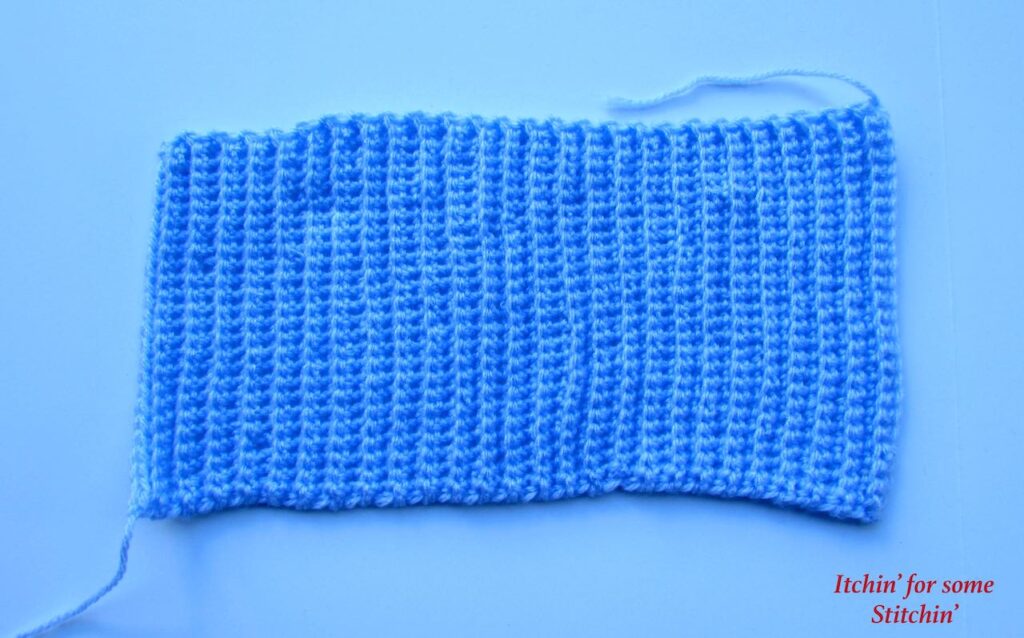
The Ribbed Baby Beanie begins as a simple rectangle worked flat in rows. The foundation chain determines the height of the hat, while the number of completed rows determines its circumference.
Single crochet stitches worked through the back loop create the stretchy ribbed texture. Once the rectangle is complete, the two short edges are joined with slip stitches to form a tube.
The top edge is then gathered, pulled closed, and sewn securely. Fold the lower edge upward to create the brim. Because the beanie is made from a rectangle, you do not need to crochet in the round or shape the crown with decreases.
Pattern Notes
Read all pattern notes, instructions, and other provided details carefully before beginning. A few extra minutes upfront can save you hours of frustration later.
- This pattern is written using standard US crochet terminology.
- The beanie is worked flat in rows and then seamed together.
- The foundation chain determines the height of the hat, while the number of completed rows determines its circumference.
- The chain 1 at the end of each row is a turning chain and does not count as a stitch.
- Beginning with Row 2, work each single crochet through the back loop only, except for the final stitch of the row.
- Work the final stitch of each row through both loops. This creates a sturdier, more even edge for seaming.
- Leave a tail measuring at least 12–15 inches after completing the final row. You will use this tail to seam the hat and cinch the top closed.
- All measurements are approximate and taken with the beanie relaxed and laid flat.
- Baby head sizes vary. When possible, measure the intended recipient’s head before selecting a size.
- The ribbed fabric is very stretchy. The relaxed finished circumference will be smaller than the head circumference it is designed to fit.
- The brim is folded after assembly and can be adjusted to your preferred depth. A deeper fold creates a shorter, thicker brim, while a shallower fold creates a taller hat.
- The written sizing is based on #3 lightweight yarn. Substituting #4 worsted-weight yarn will create a thicker and slightly larger hat.
- The pattern is divided into two parts: the crochet instructions and the finishing instructions. Finishing is the same for every size and is provided once after all five size sections.
- Read through the complete pattern, including the finishing instructions, before beginning.
A Note About the Original Striped Beanie
The striped beanie shown on my son was made with Caron Simply Soft #4 worsted-weight yarn in the 9–12 month size. He was nine months old and small for his age, so the hat was still quite large on him. Because crochet fabric stretches and this version was made with heavier yarn, he was able to wear it beyond his first birthday.
Unlock the Free Ribbed Baby Beanie Pattern
The complete Ribbed Baby Beanie pattern is free for subscribers. Create a free account or sign in below to unlock all five sizes and the complete assembly instructions.
How to Unlock the Pattern
- Click the Sign Up for Free button in the box below.
- Create your free account or select Switch to Login if you already have one.
- Once you are signed in, the complete pattern will automatically appear below.
Already receive my emails? Your email subscription and Grow account are separate, so you may still need to create or sign in to your free Grow account the first time you unlock a pattern.
If you forget your password, use the Forgot Password link in the Grow login window. Passwords and password resets are managed by Grow, so I’m unable to access or reset them for you.
Ribbed Crochet Baby Beanie Pattern Instructions
This ribbed baby beanie is worked flat in rows. Choose the appropriate size below and then follow the Assembly and Finishing instructions, which are the same for every size.
Preemie
Foundation: Ch 26.
Row 1: Sc in the second ch from the hook and in each ch across. Ch 1 and turn. (25 sts)
Rows 2–39: Sc in the BLO of each st across until one st remains. Sc through both loops of the final st. Ch 1 and turn. (25 sts)
Row 40: Sc in the BLO of each st across until one st remains. Sc through both loops of the final st. Fasten off, leaving a 12–15-inch tail for seaming. (25 sts)
0–3 Months
Foundation: Ch 46.
Row 1: Sc in the second ch from the hook and in each ch across. Ch 1 and turn. (45 sts)
Rows 2–45: Sc in the BLO of each st across until one st remains. Sc through both loops of the final st. Ch 1 and turn. (45 sts)
Row 46: Sc in the BLO of each st across until one st remains. Sc through both loops of the final st. Fasten off, leaving a 12–15-inch tail for seaming. (45 sts)
3–6 Months
Foundation: Ch 46.
Row 1: Sc in the second ch from the hook and in each ch across. Ch 1 and turn. (45 sts)
Rows 2–55: Sc in the BLO of each st across until one st remains. Sc through both loops of the final st. Ch 1 and turn. (45 sts)
Row 56: Sc in the BLO of each st across until one st remains. Sc through both loops of the final st. Fasten off, leaving a 12–15-inch tail for seaming. (45 sts)
6–9 Months
Foundation: Ch 46.
Row 1: Sc in the second ch from the hook and in each ch across. Ch 1 and turn. (45 sts)
Rows 2–65: Sc in the BLO of each st across until one st remains. Sc through both loops of the final st. Ch 1 and turn. (45 sts)
Row 66: Sc in the BLO of each st across until one st remains. Sc through both loops of the final st. Fasten off, leaving a 12–15-inch tail for seaming. (45 sts)
9–12 Months
Foundation: Ch 46.
Row 1: Sc in the second ch from the hook and in each ch across. Ch 1 and turn. (45 sts)
Rows 2–71: Sc in the BLO of each st across until one st remains. Sc through both loops of the final st. Ch 1 and turn. (45 sts)
Row 72: Sc in the BLO of each st across until one st remains. Sc through both loops of the final st. Fasten off, leaving a 12–15-inch tail for seaming. (45 sts)
Assembly and Finishing
Follow these instructions for all pattern sizes.
Step 1: Join the Rectangle
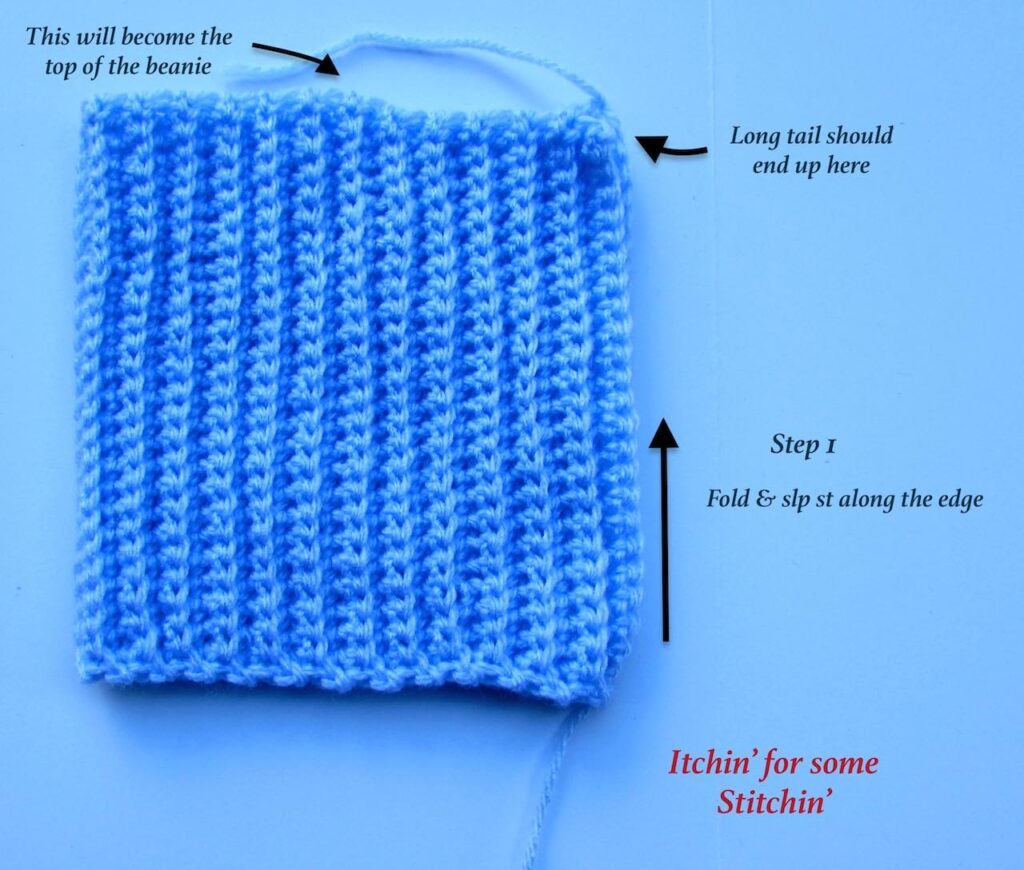
Fold the crocheted rectangle in half so the foundation-row edge and final-row edge meet. The ribbed rows should run horizontally while you join the edges.
Using the long yarn tail, slip stitch the two edges together to form a tube.
Step 2: Position the Seam and Tail
Turn the work so the ribbing runs vertically and the long yarn tail is positioned at the top of the hat.
Step 3: Thread the Needle
Thread the long yarn tail onto a tapestry needle.
Step 4: Gather the Top
Weave the needle back and forth around the open top edge of the hat. Continue working around the entire opening until you return to the starting point.
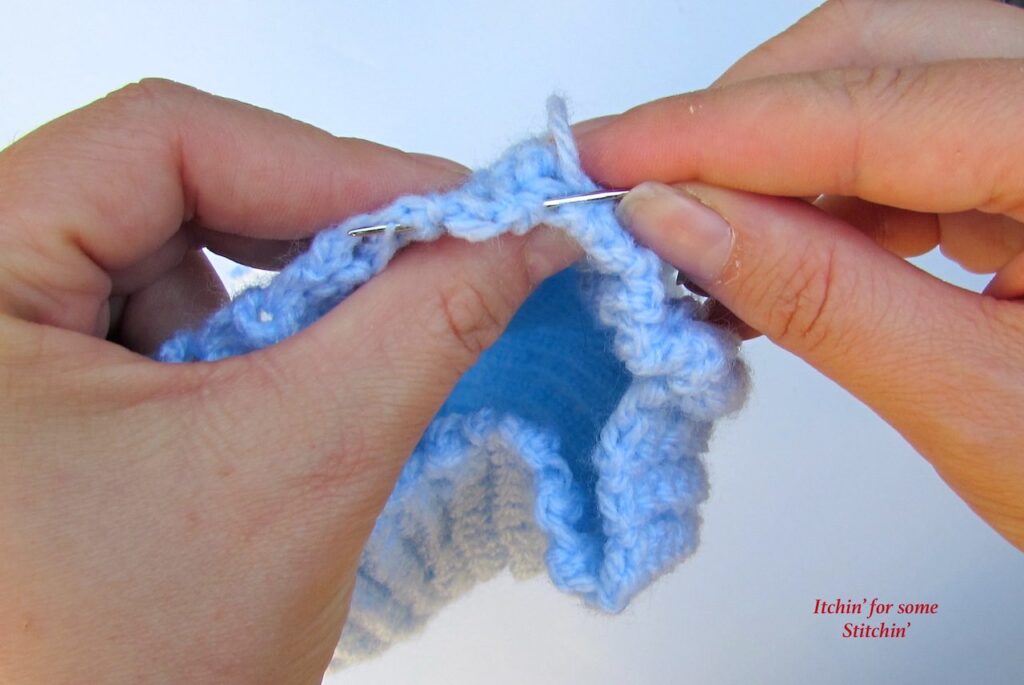
Step 5: Cinch the Opening
Pull the yarn tail firmly to gather the top edges together and close the opening.
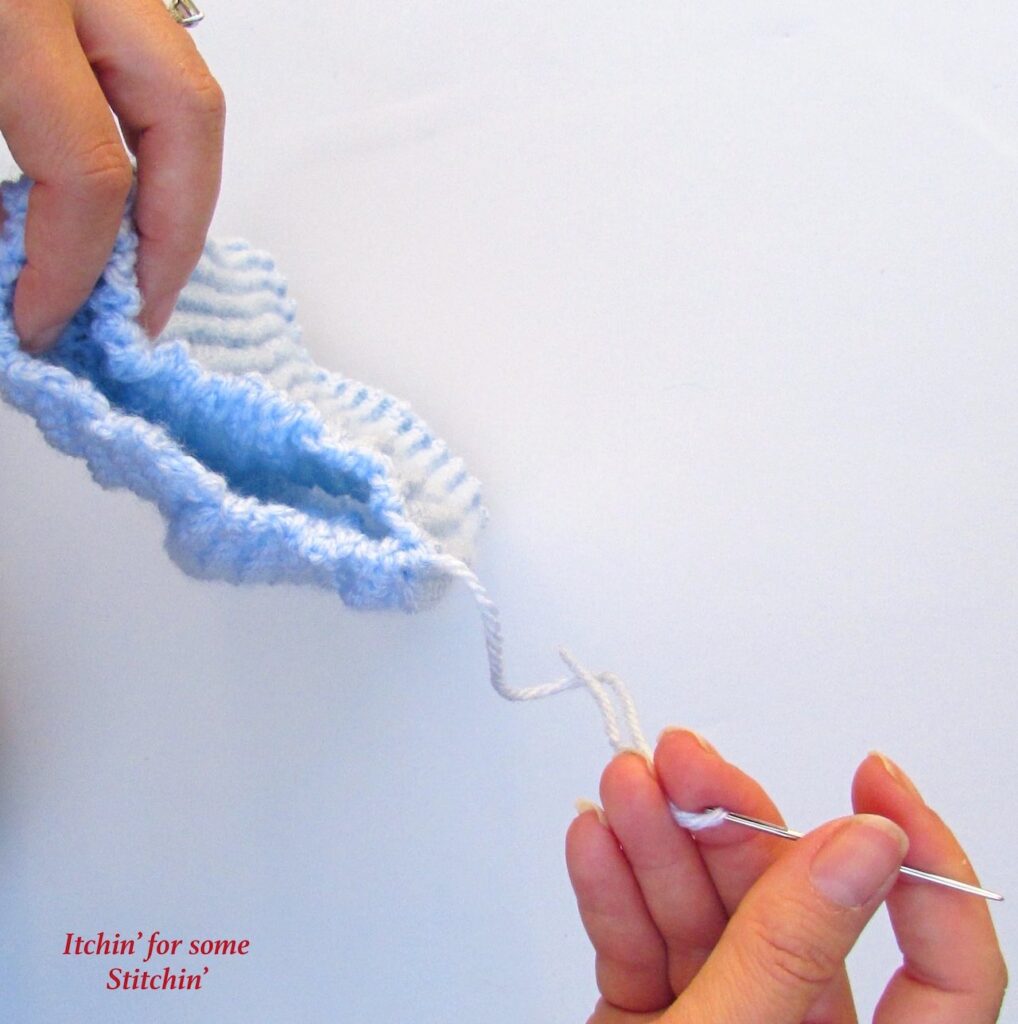
Step 6: Secure the Top
Use the remaining tail to sew across the gathered opening several times. Make sure the top is completely closed and securely fastened.
Fasten off and weave in the end.
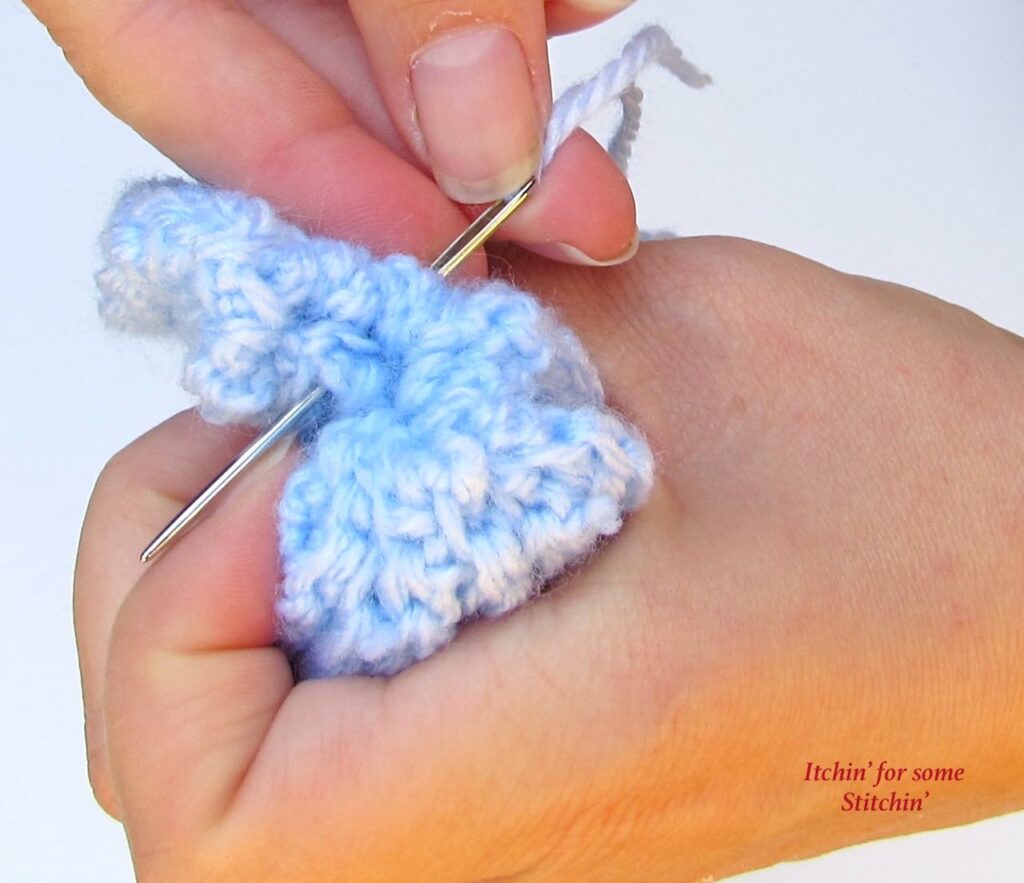
Step 7: Finish the Brim
Turn the beanie right side out. Fold the bottom edge upward to create the brim, adjusting the fold until the hat reaches your preferred finished height.
Weave in any remaining ends. Add an optional pom-pom or crochet appliqué if desired.
Customizing Your Ribbed Baby Beanie
This simple ribbed crochet baby beanie makes a lovely blank canvas for adding your own colors and finishing touches.
- Experiment with color: Use one solid shade, alternating stripes, or a self-striping yarn.
- Adjust the brim: Fold the brim higher for a snugger fit or lower for a little more coverage.
- Add a pom-pom: Finish the crown with a coordinating yarn pom-pom.
- Add an appliqué: Decorate the brim with a crocheted flower, heart, animal face, or another small appliqué. The premium printable PDF includes the pattern for the adorable polar bear appliqué shown on the beanie.
- Create a gift set: Pair the beanie with a coordinating baby blanket, cardigan, or pair of booties.
- Try a heavier yarn: Use a soft #4 worsted-weight yarn for a thicker, slightly larger version of the hat.
When adding pom-poms, buttons, or appliqués to baby items, attach them very securely. Decorative hats should only be worn under adult supervision and should be removed before the baby sleeps.
Frequently Asked Questions – Ribbed Baby Beanie Pattern
Have questions while making your crochet baby hat? These FAQs cover the most common concerns and tips for success.
Your Ribbed Crochet Baby Beanie Is Complete
Your Ribbed Crochet Baby Beanie is finished and ready to keep a special little one cozy. With its classic ribbed texture, adjustable folded brim, and simple construction, it makes a thoughtful baby shower gift, winter accessory, or charity project.
I’d love to hear how your project turned out! Leave a comment below and tell me which size you made, what yarn you used, and whether you added stripes, a pom-pom, or an appliqué.
I’d also love to see your finished beanie! Share your photos on Instagram and Facebook, tag @itchinforsomestitchin, and use #IFSS_RibbedBabyBeanie and #itchinforsomestitchin so I can celebrate your beautiful work. Don’t forget to follow me for more crochet patterns, tips, and inspiration!
If you're looking for a welcoming place to share your crochet projects, ask questions, and connect with fellow makers, I'd love for you to join the Itchin’ for Some Stitchin’ Crochet Community on Facebook. We'd love to see what you've created!
More Baby Crochet Patterns You’ll Love
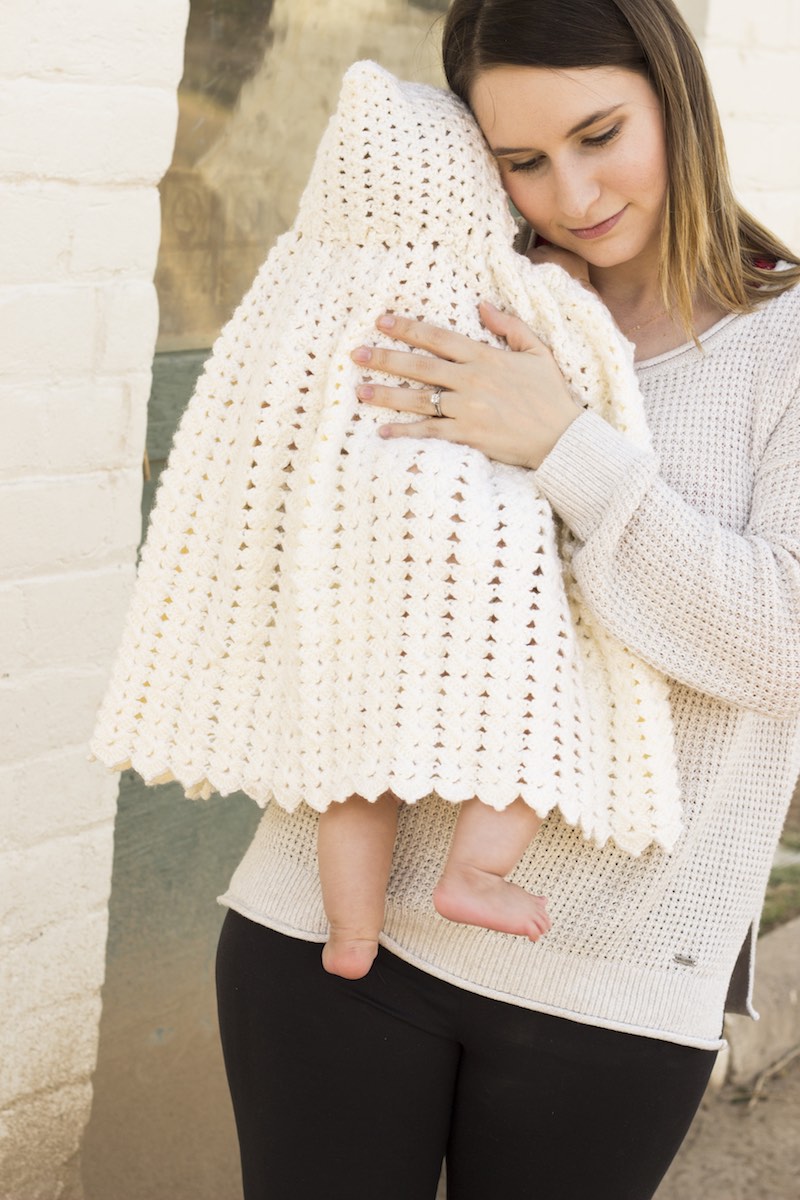
Looking for another sweet project to make for a little one? These beginner-friendly baby crochet patterns make thoughtful gifts, meaningful charity projects, and lovely additions to a handmade baby set.
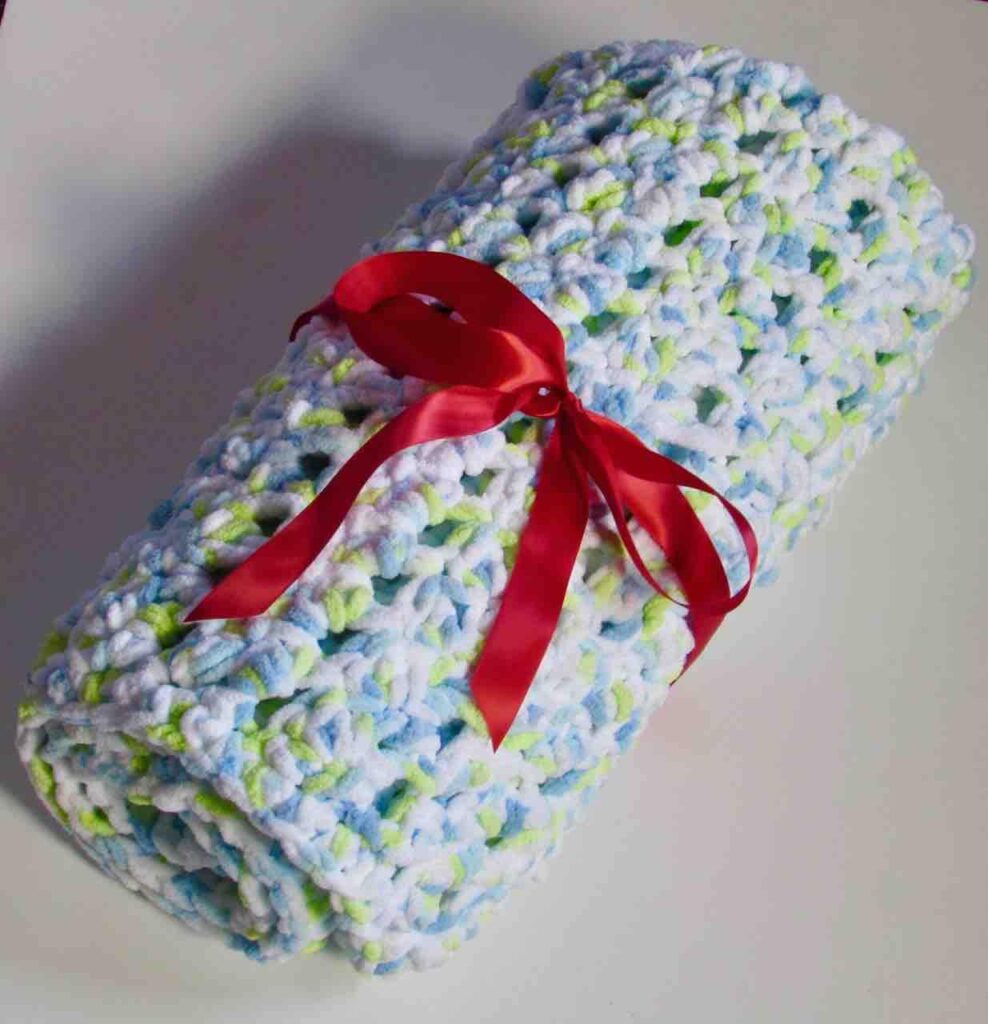
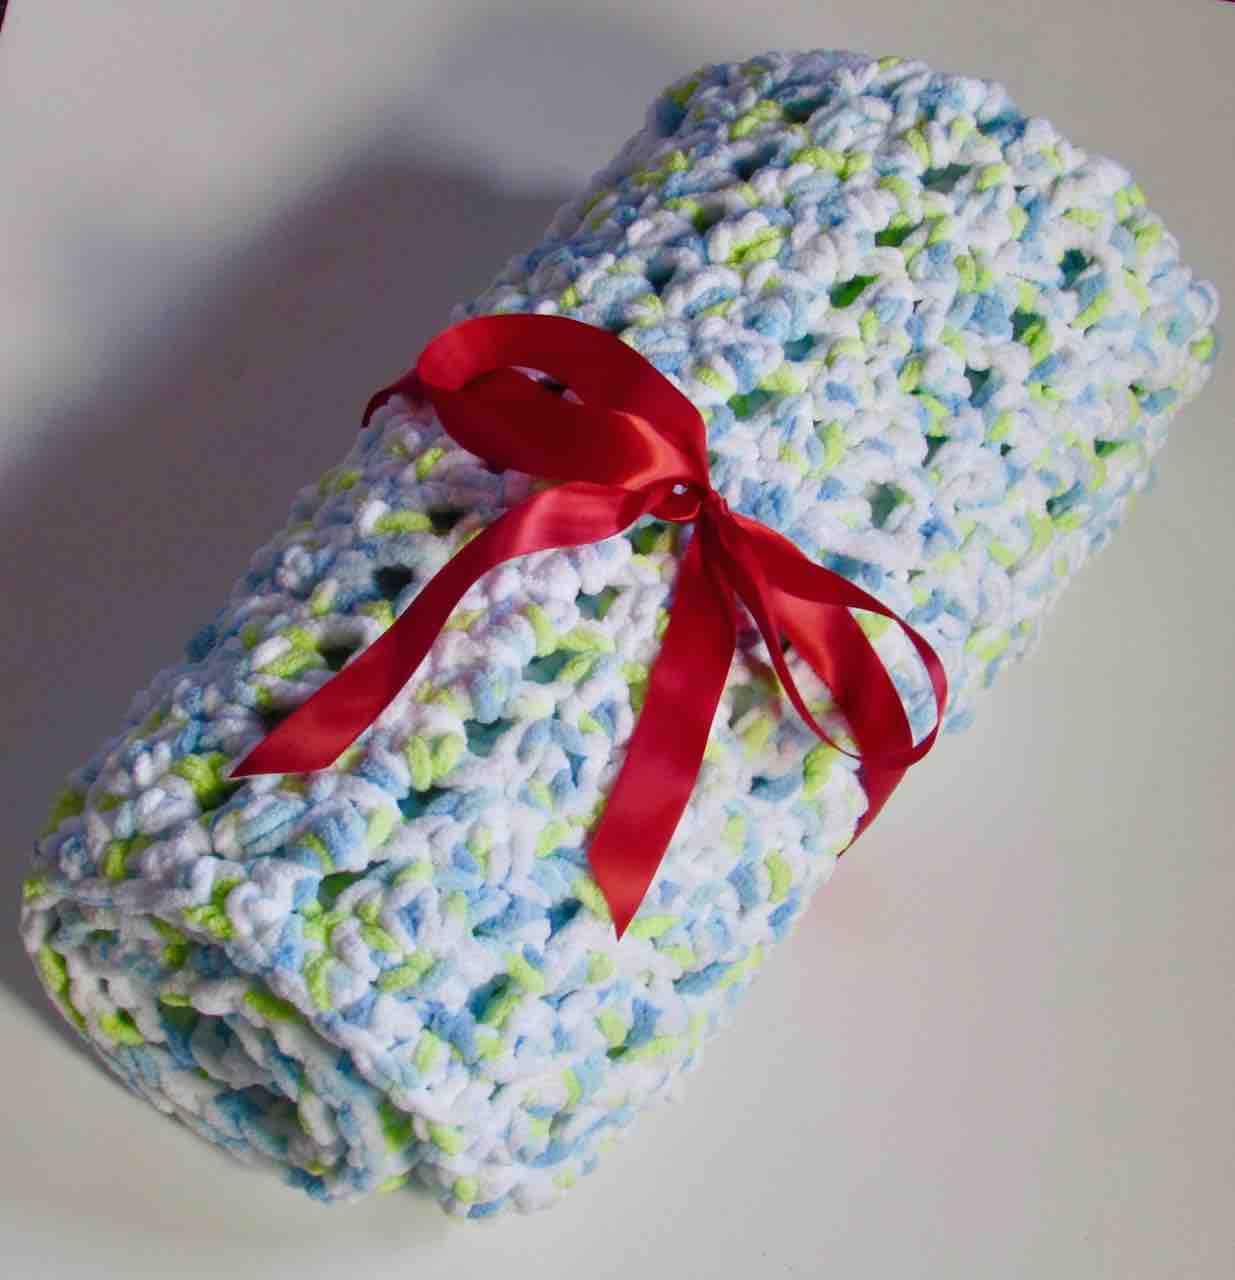
Thick N' Soft Seed Stitch Baby Blanket
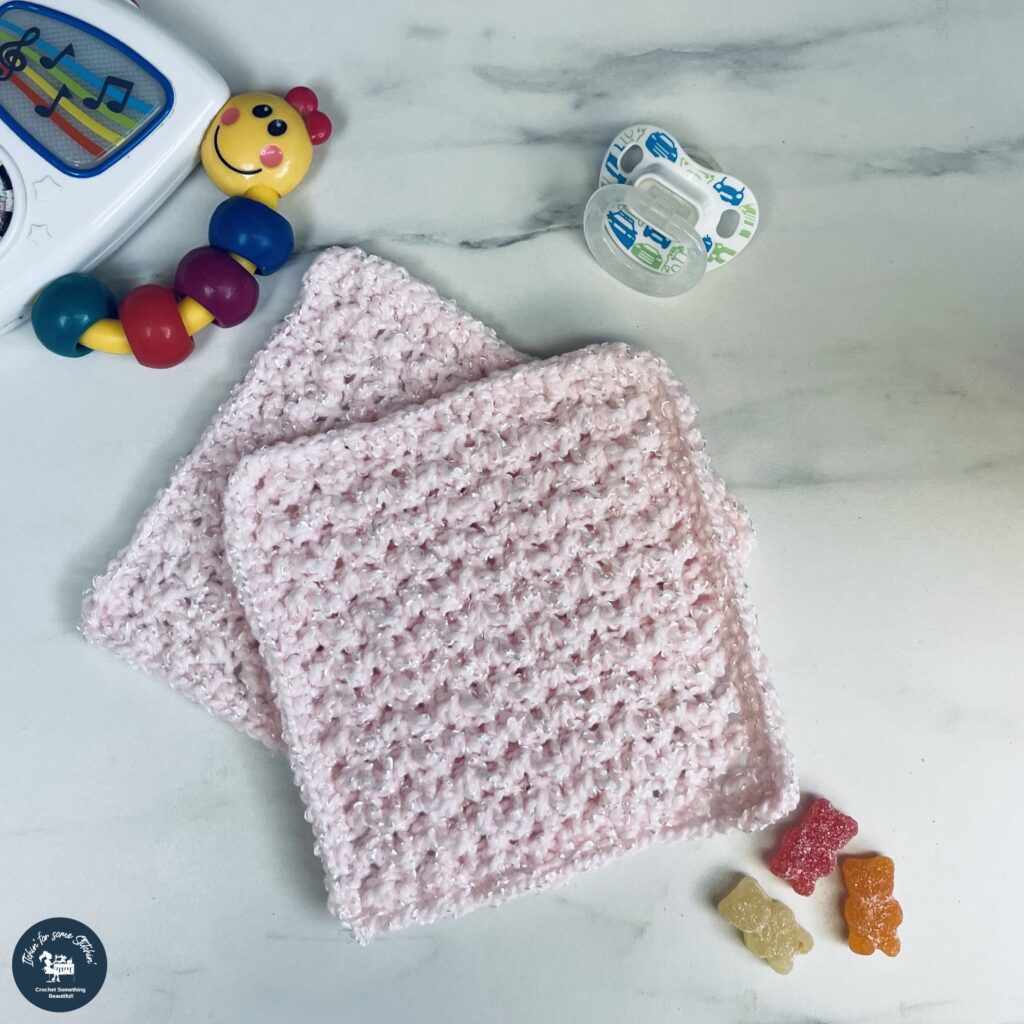
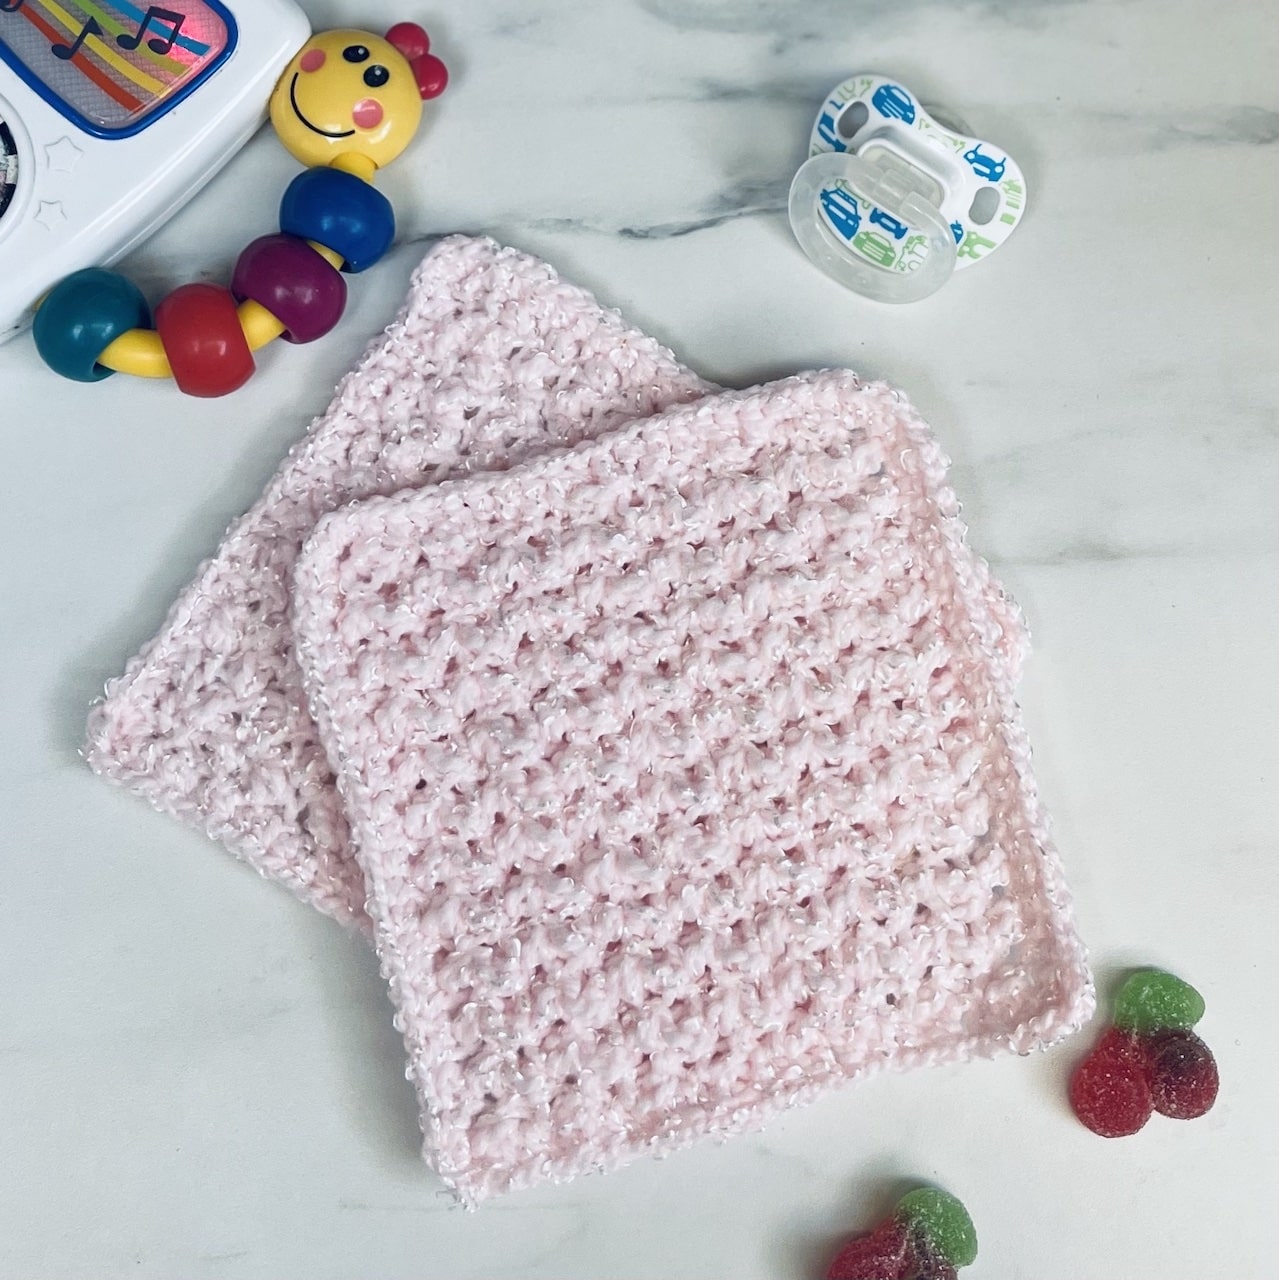
Elizabeth Preemie Crochet Bonding Squares
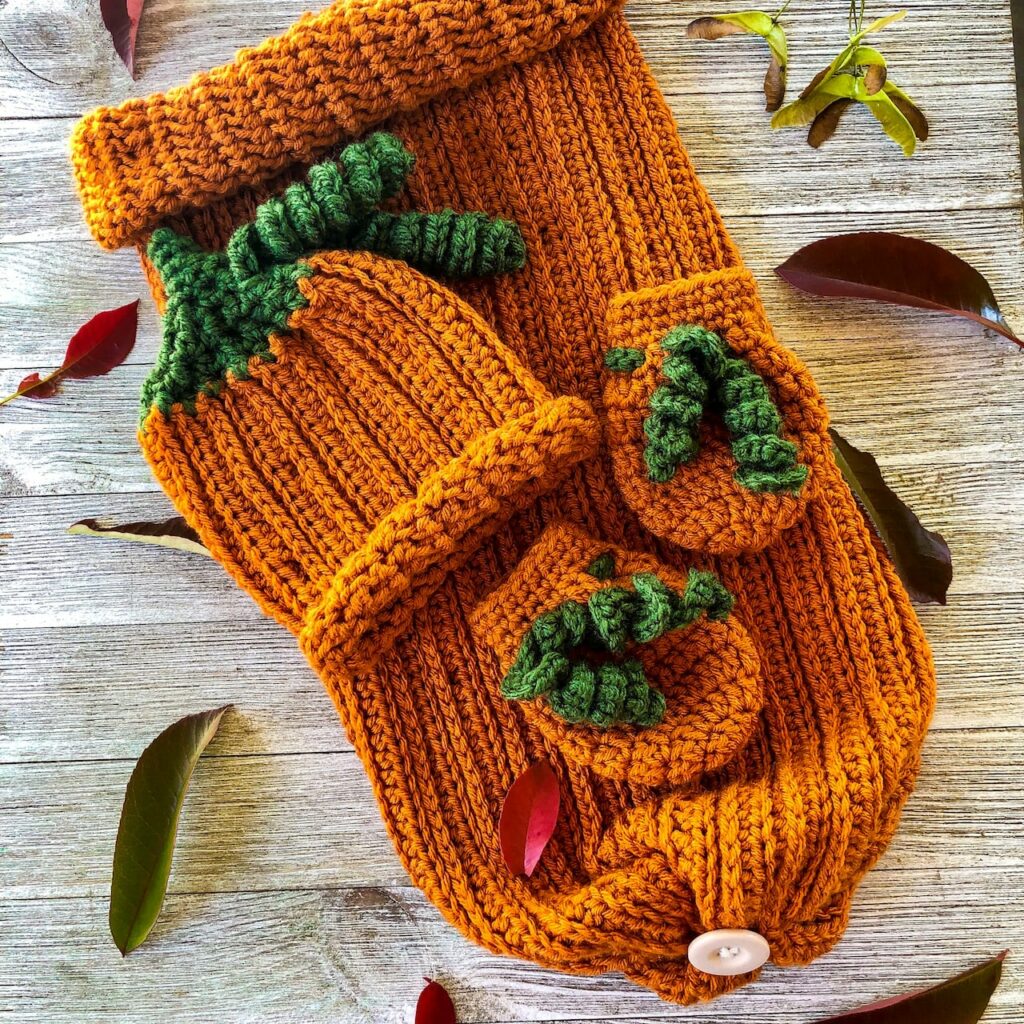
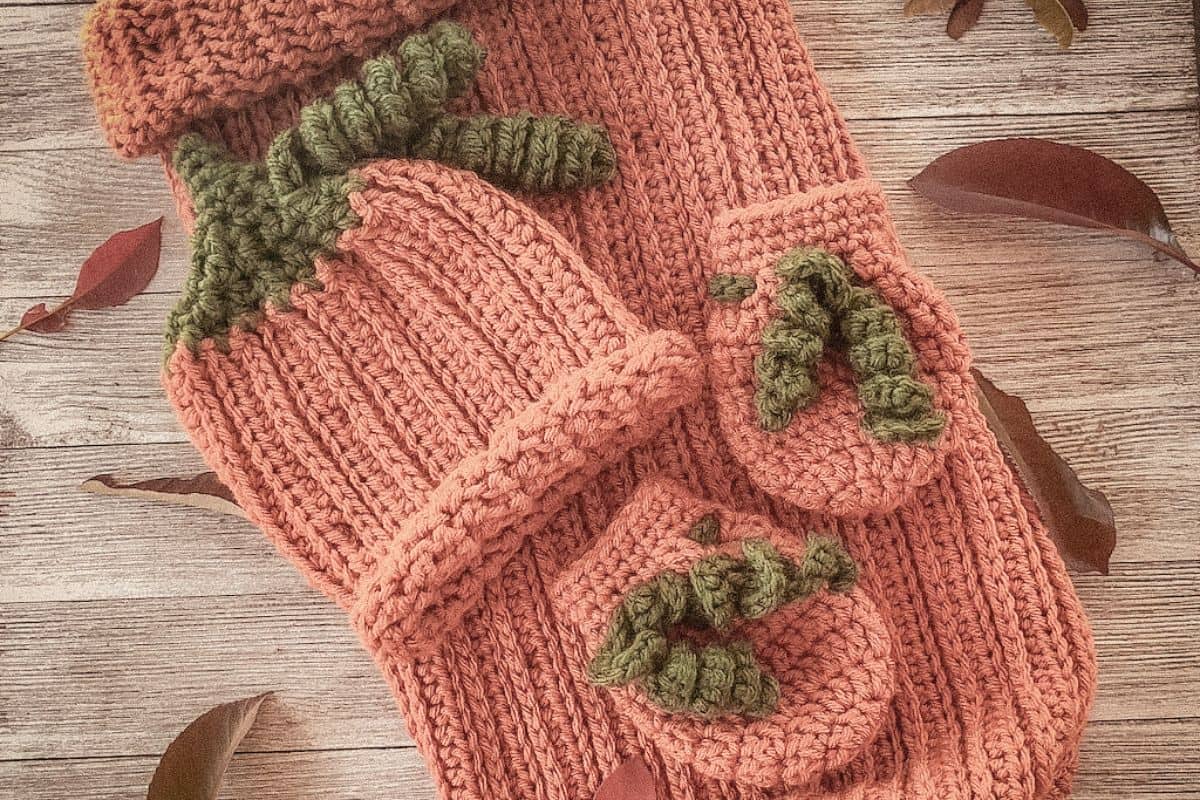
Pumpkin Baby Set: Hat, Cocoon & Mittens
Continue Learning
Need a little extra help with one of the techniques used in this pattern? These beginner-friendly tutorials will walk you through the basics.
- How to Crochet for Beginners — Review the essential skills you need to begin a crochet project.
- How to Single Crochet — Learn how to make the basic stitch used throughout this beanie.
- How to Make a Yarn Pom-Pom — Finish your beanie with an optional handmade pom-pom.

Thank you
I sincerely appreciate you visiting my blog! By sharing my content and/or making a purchase you are making it possible for me to continue producing and sharing free content for everyone to enjoy. Your support is amazing!
I am new to your site. In fact I am new to crocheting. Can you please tell me how I can get your patterns where I can print them as a PDF and not have 24 pages because of all the advertisements. The patterns I was looking for were the baby hat and a medium sized dog sweater. Thanks so much.
Hi Luanne,
Welcome, and I’m so glad you found my site—and even more excited that you’re diving into crochet! 🧶
Great question — viewing a pattern on the blog, it’s designed to be free to access, which does mean it includes ads to help keep the content free for everyone. However, I totally understand wanting a clean, ad-free version to print.
Taking screenshots or copying and pasting to avoid ads may seem like a quick fix, but it actually violates copyright laws — even for free patterns. That said, I do offer properly formatted PDF versions of my patterns, including the baby hat and medium-sized dog sweater, and I’d be happy to point you straight to those!
Just shoot me a quick message via the Contact button on my website or email me directly at [email protected]
- and I’ll send over the links to the PDF versions you’re looking for.
If you ever need help getting started with any of the patterns, don’t hesitate to reach out — I'm happy to help!
Best wishes,
RaeLynn
Hi thank you for such an amazing easy pattern camebup a treat made pink one for my newbaby cousin & one for her 3 year old sister. They look very cute. Thanks from Alison
Hi Allison,
You are so very welcome! Thank you for such a kind comment. 🙂
I am so pleased your little Ribbed baby beanies turned out so well! Feel free to pass pics on to me at [email protected] if you get a a chance - I'd love to see them!
Sincerely,
RaeLynn
Hey! I really want to make this for my niece for Christmas. She will be 18 months. I was wondering if you had a recommendation on how much bigger to make the hat. She is also a little smaller, but her head is just under average.
Hi Amber,
Honestly, the best thing to do is measure her head and follow the chart for her proper head size. My son was a year old and wore a 9 month old hat size as he was quite small. If she is smaller, it is likely you could go for the 1 year size, but without accurate measurements I can't promise.
Does that make sense?
Sincerely,
RaeLynn
So very cute! Especially the applique. However, I can't get the coupon code link to even open.
Hi Collene,
I am so sorry. I have been out-of-state due to moving. Raverly had just done a new update at the time of the event this was part of and some people were having issues with the codes because of it.
If you email me your email address I will be happy to send you a copy of the pattern. My email address is [email protected]
Sincerely,
RaeLynn
Hi RaeLynn, love this easy pattern. I will be making a lot of these and giving them to our church for a donation. Thanks for the pattern and God bless.
Hi Brenda,
I absolutely LOVE hearing that. You've just made my week. You are so very welcome.
God bless you and yours as well.
Sincerely,
RaeLynn
Saw this little cutie & k newI had to make it for Charity. Was watching TV so grabbed an I hook & a skein of Csron yarn & whipped this up in no time. Thanks so much for sharing the pattern. Many warm little ones will benefit from it. Sure enjoyed making it too.
Awe thank you so much Sandy! I am so glad you liked it! 🙂
Love this pattern and will probably use it to make other item. But what I was wondering was the pattern for the little bear applique you put on your hat. It is adorable. ?
Hi Lorraine,
I am very glad you like the little bear applique! It's actually in the paid PDF version of the pattern as a bonus. If you look under the section "Prefer a PDF" I mention it as a bonus. However, I am actually going to be doing a promotion of this pattern in May where you will be able to get the PDF, including the applique for free. If you sign up for my email list, I will be sending out notifications when the promotion is active.
Best wishes,
RaeLynn
What does blo mean?
Hi Nita,
Blo means back loop only. Here is an article that will show you the parts of a crochet stitch and explain where the back loop is located.
Link: https://www.itchinforsomestitchin.com/how-to-crochet/
Please let me know if you have any more questions!
Sincerely,
RaeLynn
Hi Angel,
That's correct! A couple of things.
The "size" part mostly has to do with the number of rows your crochet rather than the number of chains in the foundation chain. For this pattern, the foundation chain simply gives the length of the hat, not the width ( or circumference once it seamed together).
For the larger sizes, the length of the hat is the same (head height), but width should increase (number of rows).
That being said, if the beanie seems too large based solely on the foundation chain then please make sure you are using the proper hook size and yarn weight.
If you use a medium#4 weight or chunkier the stitches will be larger, making the hat larger overall. Same is true if you are using a larger hook size than stated in the pattern. Imagine how much bigger the hat would be if you used both a larger yarn weight AND a larger hook size!
Also, I don't know the size of your head, but I actually have a child size head! I believe my head size is considered roughly the size of an 11 year old - now taking that into consideration, plus using a larger hook and/or yarn weight - it is definitely possible that the hat may end up fitting you!
Let me know if you have any other questions.
Sincerely,
RaeLynn
Is it really ch 46 for all of the sizes except the preemie which is ch 26? Because I made the 6 to 9 month size hat and it fits me lol
Hi RaeLynn have to tell you that this beanie pattern is amazing. I was making loads of them for adults and just could not keep up. Such an easy peazy pattern with no thinking to it but just to sit and crochet and let your mind go.
Hi Karin,
Thanks so much for your sweet compliment!
Sometimes it’s nice to have a super easy pattern that you can just let your hands do while you “veg out”, isn’t it?
I particularly like doing this one while binge watching tv - because I actually get to focus on the show! Lol.
Thank you so much for visiting!
Best wishes,
RaeLynn
Hi Rae Lynn, this is exactly what I was looking for, for a Panthers hat. Could you tell me how many rows you did of one color before you switched to the other color? I ,too ,will be making the 9-12 month size so the count should be the same.
Thanks so much!
Diane
Hi Diane,
I apologize for the delay. I had to dig through my son’s stuff to find this hat and almost gave up - when suddenly, there it was! Lol
It looks like I did 3 rows before changing colors. For the striped hat I used Caron Simply Soft, which is a a medium 4 yarn. So if you are using a lightweight 3 (which is what I originally did the pattern in - solid light blue) you may want to go 5-6 rows before changing.
Please let me know if you have any other questions!
Best wishes,
RaeLynn
Thank you for the free pattern today. I will be teaching a young girl how to crochet soon. This will be an easy pattern for her to use and learn from. It will also help with her doing charity work for the NICU unit at the hospital her grandmother works. I am also a patient there
Hi Mary,
You are so very welcome. I applaud the charity cause the young girl will be doing. That's exactly what I do with all the baby hats I create. I even did a feature of The Preemie Project, which is a similar idea. Crafting for a Cause is so near and dear to my heart - I love hearing how others are getting involved as well.
I am so sorry to hear that you are currently a patient at the hospital. Although I do not know your particular circumstance - I did spend months in a hospital and a year in recovery about 22 years ago - so I can relate somewhat. Please know that my thoughts and prayers are with you.
I wish you all the very best and hope that you enjoy the pattern. 🙂
Sincerely,
RaeLynn