It’s stash-buster time folks!
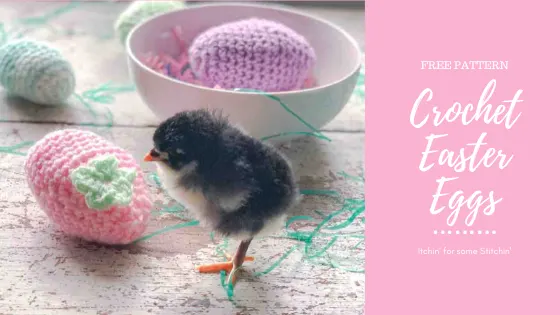
Today I am going to share with you my pattern for crochet Easter eggs.
These have become one of my favorite projects for using up that extra yarn you stashed in your craft room, your closet, under the sofa…
They are super simple and actually really fun to whip up!

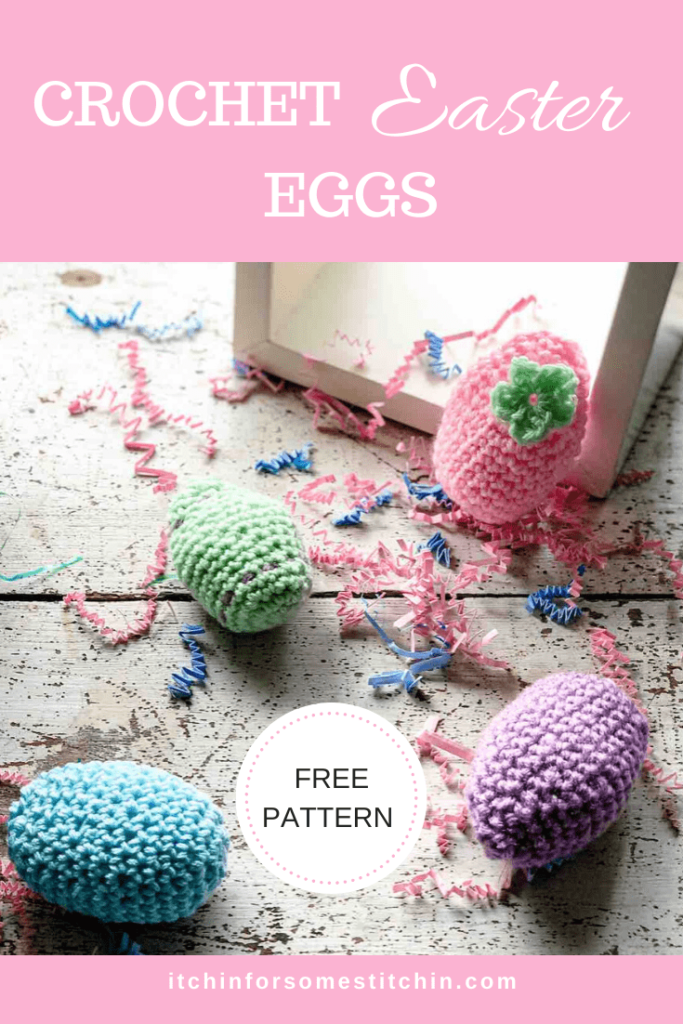
You can make them very basic by using just one color yarn or mix up by making stripes, using multi-color yarn, or even by adding flowers, buttons, bows or other decorations.


Looking for lots of crafty inspiration, tips, tutorials, and a great crochet community? Join my Facebook group!
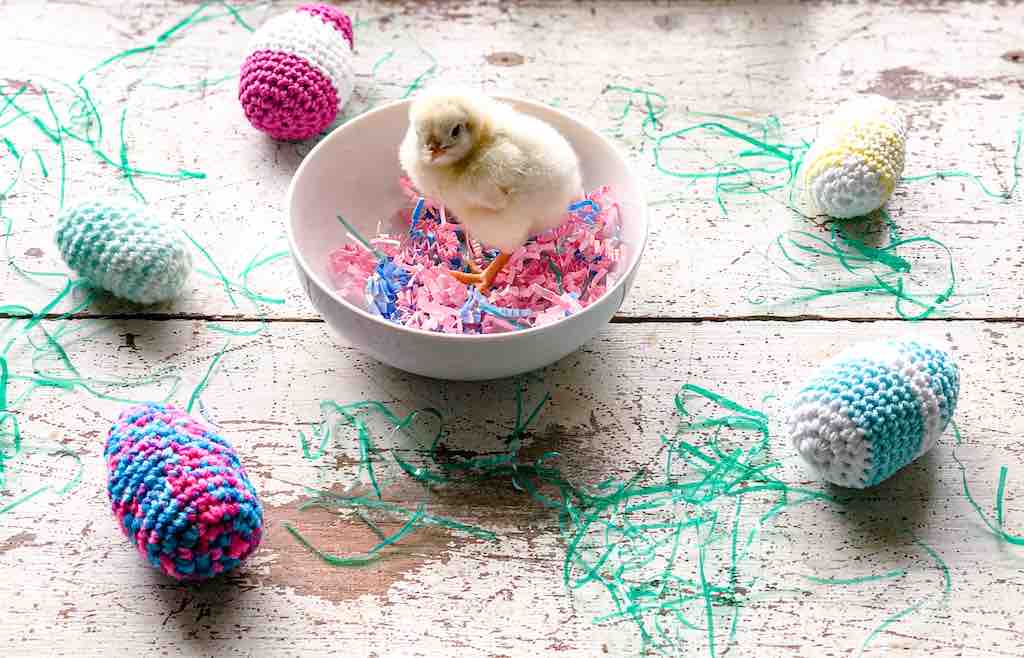
These eggs make fabulous Easter decor!
You can put them in a bowl or basket as the centerpiece of a table or simply place them around the house where they can be “eye candy” for your guests.
Of course, you can also put them in your kiddos Easter baskets!
Check Out These Other Patterns I LOVE!
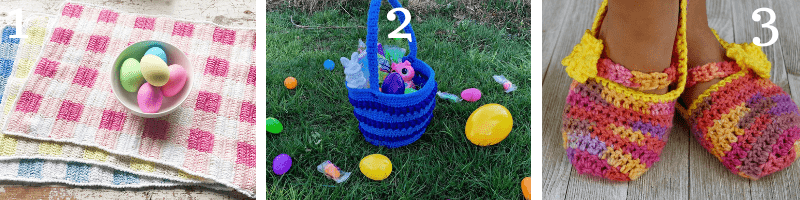

Easy Easter Egg Pattern
**THIS IS AN ORIGINAL PATTERN. Please see my Copyright Statement for details.

Summary:
These Easter Eggs are easy, colorful, and super fun to make! They require very little yarn and thus, make a great scrap-buster project for anyone looking to use up their extra yarn. Designed with a simple construction these little eggs are absolutely addicting – you can’t make just one!
Prefer a PDF?
This pattern is available as a large print, ad-free, printable PDF pattern.
Love Pinterest? I do!
PIN this pattern to your Pinterest boards for later HERE. You can also follow all my boards!

Instructions
Add this pattern to your Ravelry que HERE.
Level of Difficulty: Advanced Beginner/Easy
Finished Dimensions:
Small (use Lightweight 3 or DK yarn) — about 2.5 – 3 inches in length from top to bottom.
Large (use Medium 4 worsted weight yarn) — about 4 – inches in length from top to bottom.
Gauge:
19 stitches and 16 rows = 4-inches in single crochet (sc), using medium 4 worsted weight yarn.
Materials:
- Light weight 3, DK, and/or Medium 4 worsted weight yarn
I can’t tell you what yarns I used in this pattern becauseI used whatever I had in my yarn stash/scrap bucket.
It is a stash buster project after all! ?
~ Total yardage: 10 to 20 yards
- Hook: G/6 4.25 mm.
- Tapestry needle
- Scissors
- Poly-fil
(Click HERE to find my favorite crochet tools & resources)
Abbreviations:
~Click on the links if you need a review of each technique.
Pattern is written in US terms.
Stitch/es (st/sts)
Slip-stitch (slp-st)
Chain stitch (ch)
Single crochet (sc)
Sc2tog – a single crochet decrease
Additional Notes:
- This pattern is worked in the round.
Instructions:
Make a magic ring -OR- Ch 3 and slp-st into the first ch to form a ring (chaining method).
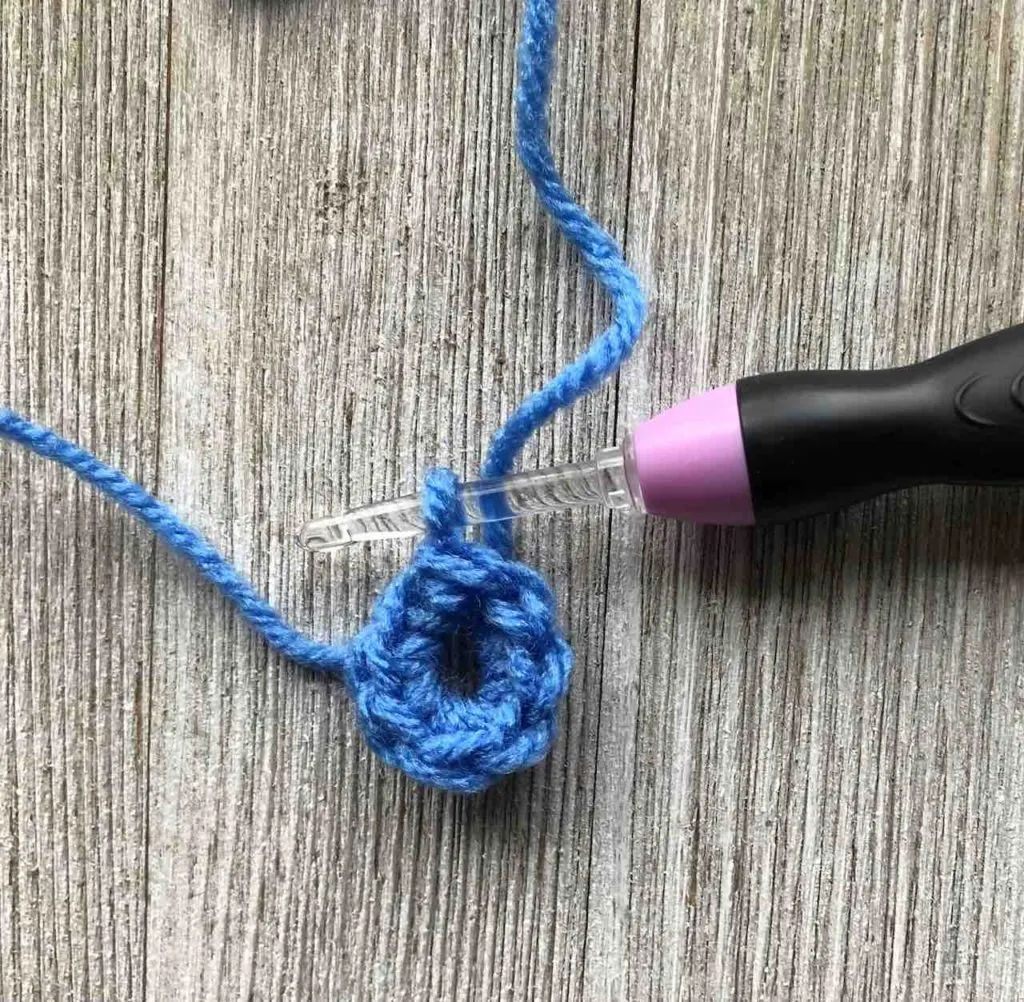
Round 1: ch1 and work 7 sc into the ring
At the end of round 1 be sure to slp-st the first and last sts together to close the ring.
If you used the magic ring, you should also pull the ring closed.
Round one should look like the photo below.

Round 2: Ch 1, skip the first stitch (the slp-st & ch 1 tends to cover this stitch), work 2 sc in each st around including in the slp-st from the previous round, slp-st into the first st to close. (14)


NOTE: This is atypical. Traditionally you do not skip the first stitch and do not work into the slp-st from the previous row.
However, I found that this pattern is easier to work and looks better if you skip the first stitch (thus it does not count) and instead work in the slp-st (which makes the slp-st count as a stitch).
You will skip the first stitch and work into the slp-st in every of this pattern
Round 3: Ch 1, skip the first stitch (the slp-st & ch 1 tends to cover this stitch) *sc in the next stitch, work 2 sc into the next st*
Repeat from * to * around – place the final stitch into the slp-st from the previous round, slp-st into the first st to close. (21)
Rounds 4 – 7: Ch 1, skip the first stitch (the slp-st & ch 1 tends to cover this stitch), sc in each st around including the slp-st from the previous round, slp-st to first st to close. (21)
NOTE: At this point your project should start to curl up like a little bowl.
Round 8: Ch 1, skip the first stitch (the slp-st & ch 1 tends to cover this stitch), *sc in the next 2 sts, 2 sc in the next st*
Repeat from * to * around – place the final stitch into the slp-st from the previous round, slp-st into the first st to close. (28)
Round 9: Ch 1, skip the first stitch (the slp-st & ch 1 tends to cover this stitch), sc in each st around including the slp-st from the previous round, slp-st to first st to close. (28)
Round 10: Ch 1, skip the first stitch (the slp-st & ch 1 tends to cover this stitch), *sc in the next 2 sts, Sc2tog the next 2 sts*
Repeat from * to * around – place the final stitch into the slp-st from the previous round, slp-st into the first st to close. (21)
Round 11: Ch 1, skip the first stitch (the slp-st & ch 1 tends to cover this stitch), sc in each st around including the slp-st from the previous round, slp-st to first st to close. (21)
Round 12: Ch 1, skip the first stitch (the slp-st & ch 1 tends to cover this stitch), *sc in the next 2 sts, Sc2tog the next 2 sts*
Repeat from * to * around – place the final stitch into the slp-st from the previous round, slp-st into the first st to close. (16)
Round 13: Ch 1, skip the first stitch (the slp-st & ch 1 tends to cover this stitch), sc in each st around including the slp-st from the previous round, slp-st to first st to close. (16)
~ You can start stuffing the egg at this point and continue adding more and more as you continue making the egg.
Round 14: Ch 1, skip the first stitch (the slp-st & ch 1 tends to cover this stitch), *sc in the next 2 sts, Sc2tog the next 2 sts*
Repeat from * to * around – place the final stitch into the slp-st from the previous round, slp-st into the first st to close. (12)
Round 15: Ch 1, skip the first stitch (the slp-st & ch 1 tends to cover this stitch), sc in each st around including the slp-st from the previous round, slp-st to first st to close. (12)
Round 16: Ch 1, skip the first stitch (the slp-st & ch 1 tends to cover this stitch), *Sc2tog the next 2 sts*
Repeat from * to * around – place the final stitch into the slp-st from the previous round, slp-st into the first st to close. (6)
Finishing
- Bind off leaving a long tail.
- Finish stuffing the egg if you have not done so already.
- Thread the tail into a tapestry needle and sew together the remaining stitches to seal the hole at the top.
- Decorate egg if desired.
Need to see it in action?
Now aren’t these egg just super fun to make? I simply love them!
Interested in more stash buster projects?
Check out:
15 Stash-buster Projects to Keep You Busy While “Staying in”
Thank you for coming to my blog! By sharing my content and/or making a purchase you are making it possible for me to continue producing and sharing free content for everyone to enjoy. I sincerely appreciate your support!
Until next time… Happy Crocheting!

