
Learn all about crochet headbands; what they are, how long they should be, the best stitches for making them, and a free pattern for a stylish crochet headband that can be worked up about an hour.
What is a headband or head wrap?
Simply put, a headband is a band of fabric worn around the forehead.
They are especially helpful to individuals who engage in sporting activities like running, cycling, gym workout, tennis, etc. because they keep hair out of one’s eyes and absorb sweat.
Thus, headbands are quite useful!
However, they are not worn only for functional purposes, many people wear headbands for purely decorative reasons. They add style and personality to your wardrobe!
In crochet, you will often see crochet headbands called head wraps, head warmers, or ear warmers.
They are usually used interchangeably by many crocheters and crochet designers.
On the other hand, some crochet designers reserve the names head warmers and ear warmers for headbands that are a bit thicker and used mostly in the fall to winter seasons.
How long should a crochet headband be?
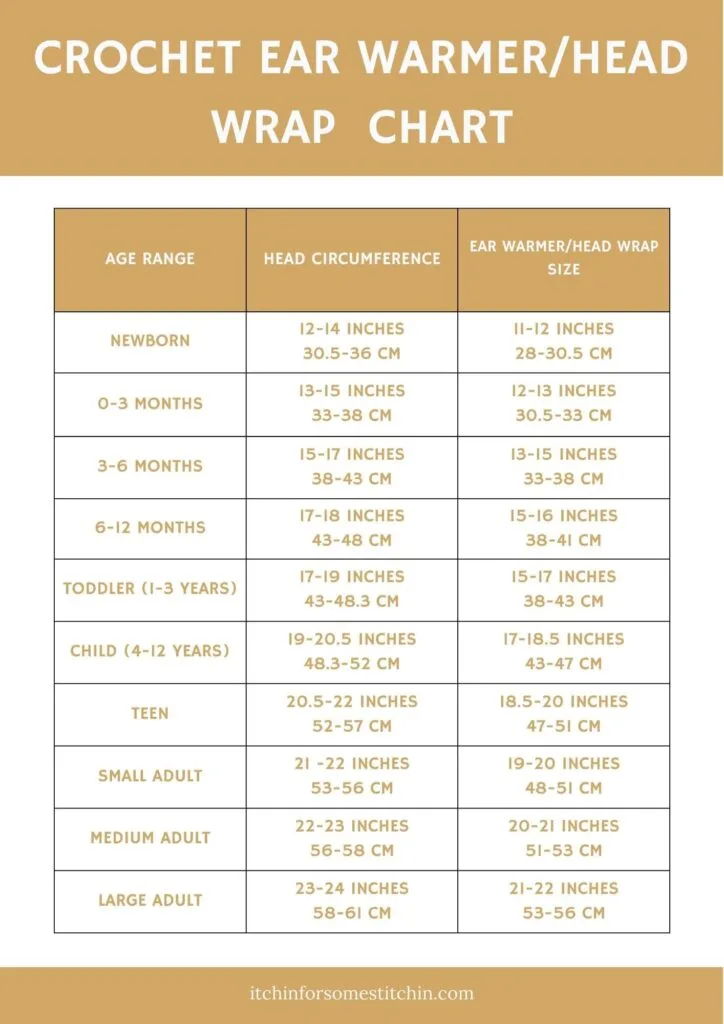
The answer to this question actually depends on the circumference of the head for which you are crochet the headband.
If you are making a crochet headband for a child, you don’t want to end up creating a headband that fits an adult. So, it definitely helps to know the individual’s head measurement before you start crocheting.
That being said, if you can’t measure the person’s head, you can crochet based on “average” head measurements.
The average adult head measures between 21 and 23 inches. Headband are designed to be tight, in crochet, this is called negative ease.
In other words, the crochet headband should be smaller than the head measurement.
A good rule of thumb is to crochet the headband about 2 to 4-inches smaller than the recipient’s head measurement.
I personally use 2-inches and have found that a 4-inch negative ease is too tight for me and causes headache, but again, this is personal preference.
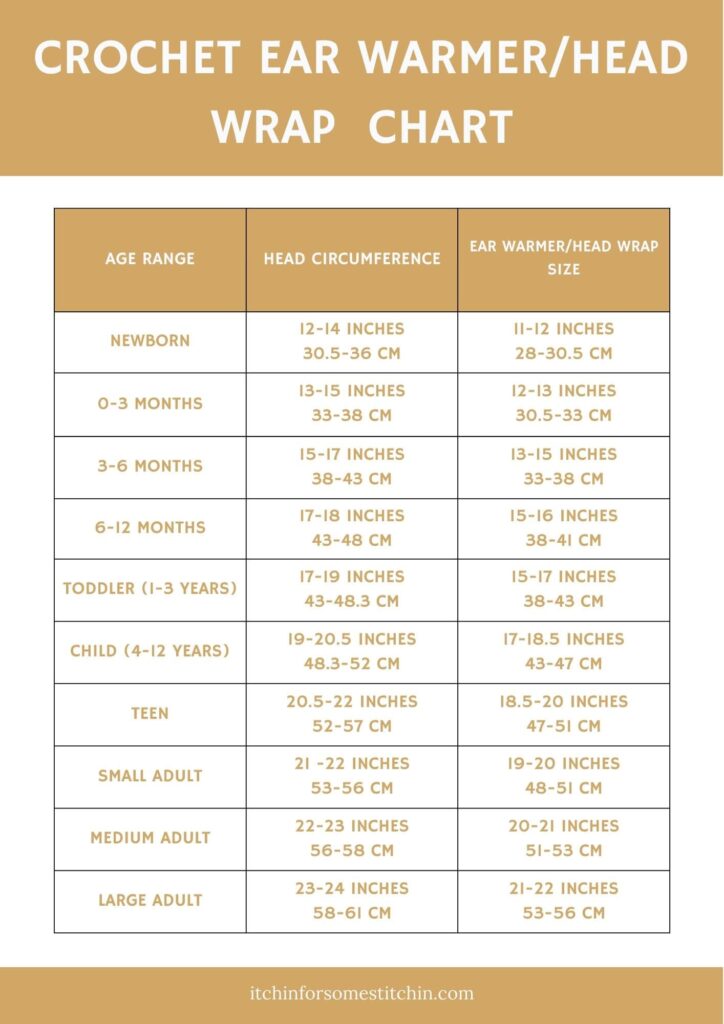
If you are following a pattern, the crochet designer probably included a sizing chart and you should follow the provided chart for best results.
The Leanna Crochet Head Wrap Pattern I’ve provided below includes one such sizing chart.
How many rows does it take to crochet a headband?
The number of rows it take to crochet a headband is really dependent on multiple factors, including, yarn thickness and stitch type.
If you are crochet a headband with bulky or chunky yarn it will require fewer rows than a crochet headband made with medium or thin yarn.
Additionally, if you are working a small stitch, such as the single crochet, it will take more rows than if you are working a taller stitch like the double crochet.
How wide should a crochet headband be?
There is a lot of personal preference in the answer to this question.
Some people prefer narrow headbands, while others choose wider headbands that cover the ears or even wider!
On average, crochet headbands should be about 4-inches wide. This is enough to cover the ears and provide some warmth.
However, like I said, it is entirely up to you!
Also, babies have smaller heads. Thus, I do suggest crocheting a narrower headband of about 1 – 2 inches depending on the baby’s head size.
What is the best stitch for crochet headbands?
Crochet headbands can be worked up in any number of stitches!
However, the best stitches are ones that are simple and not wide – so there are no holes or gaps in the headband.
Some of the most commonly used stitches include:
- Single crochet
- Half-double crochet
- Double crochet
- Treble crochet
However, please note that if you crochet only using the double or treble crochet, the stitches may not be tight enough for a headband as these can have quite large gaps between stitches.
They do however, work great when used in combination with other stitches.
The Leanna Crochet Headband is worked using a combination of stitch types and you see that it creates quite a solid headband with no holes or gaps.
How to crochet a simple crochet head wrap for beginners
The simplest crochet ear warmers use a thick yarn, larger hook, and the single crochet stitch.
These headbands are perfect for beginners because they work up quickly, it is easier to see the stitches when using a chunky or bulky yarn and a larger hook, and the single crochet stitch is often one of the first stitches beginners learn (plus it’s super easy!).
For an easy crochet beginner headband that fits the bill, try the Simple & Sweet Chunky Bowtie Head Warmer Pattern.
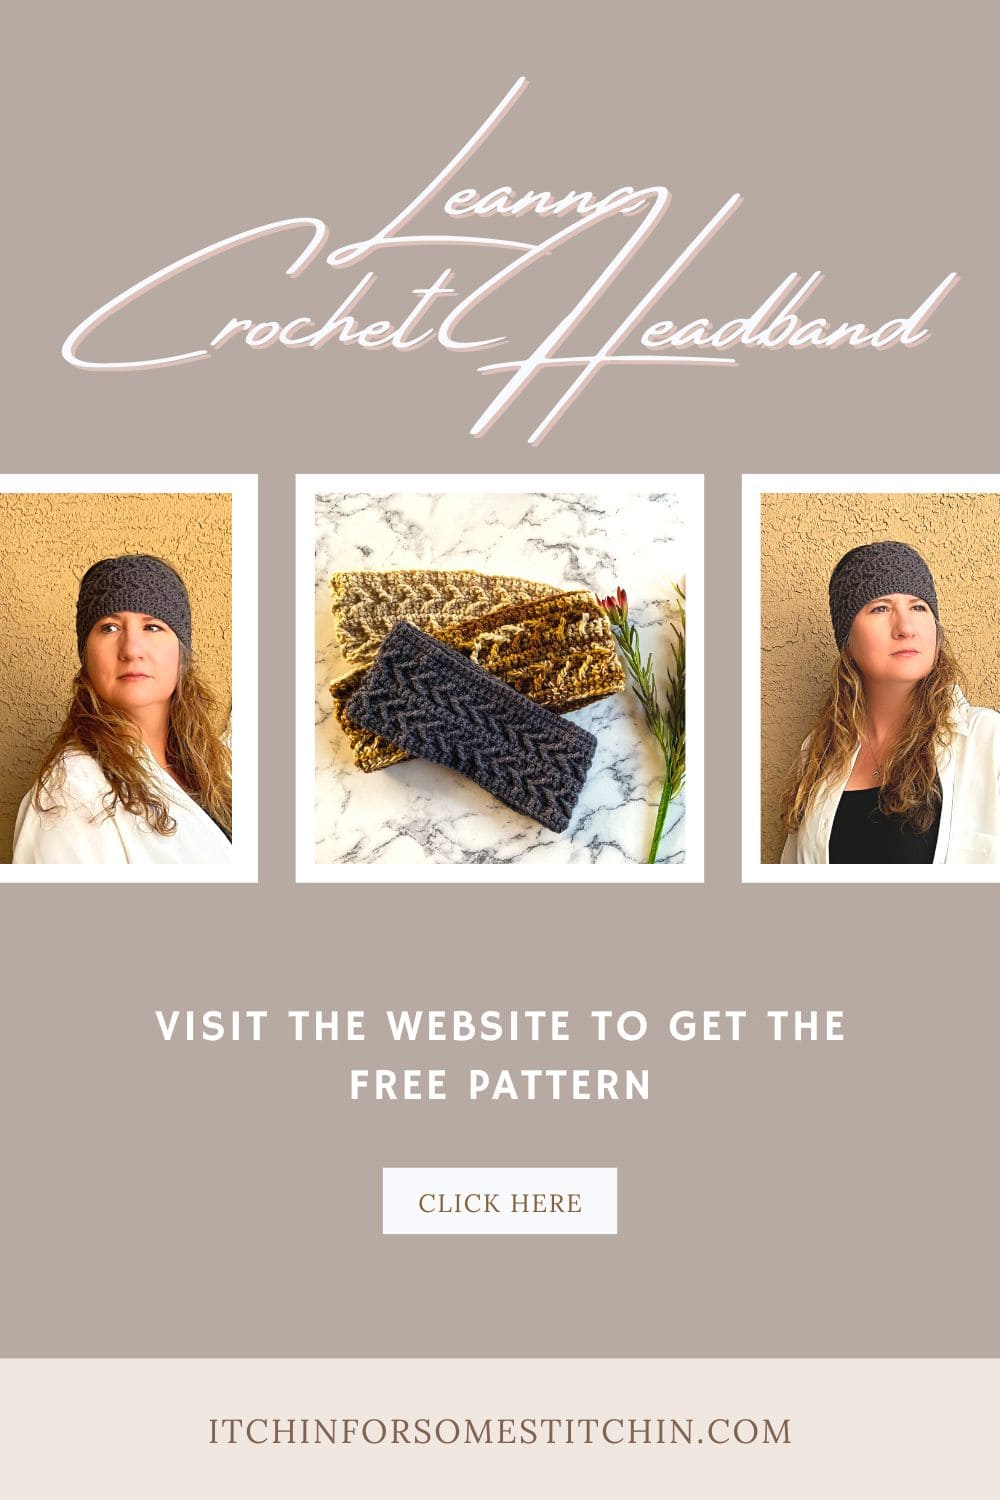
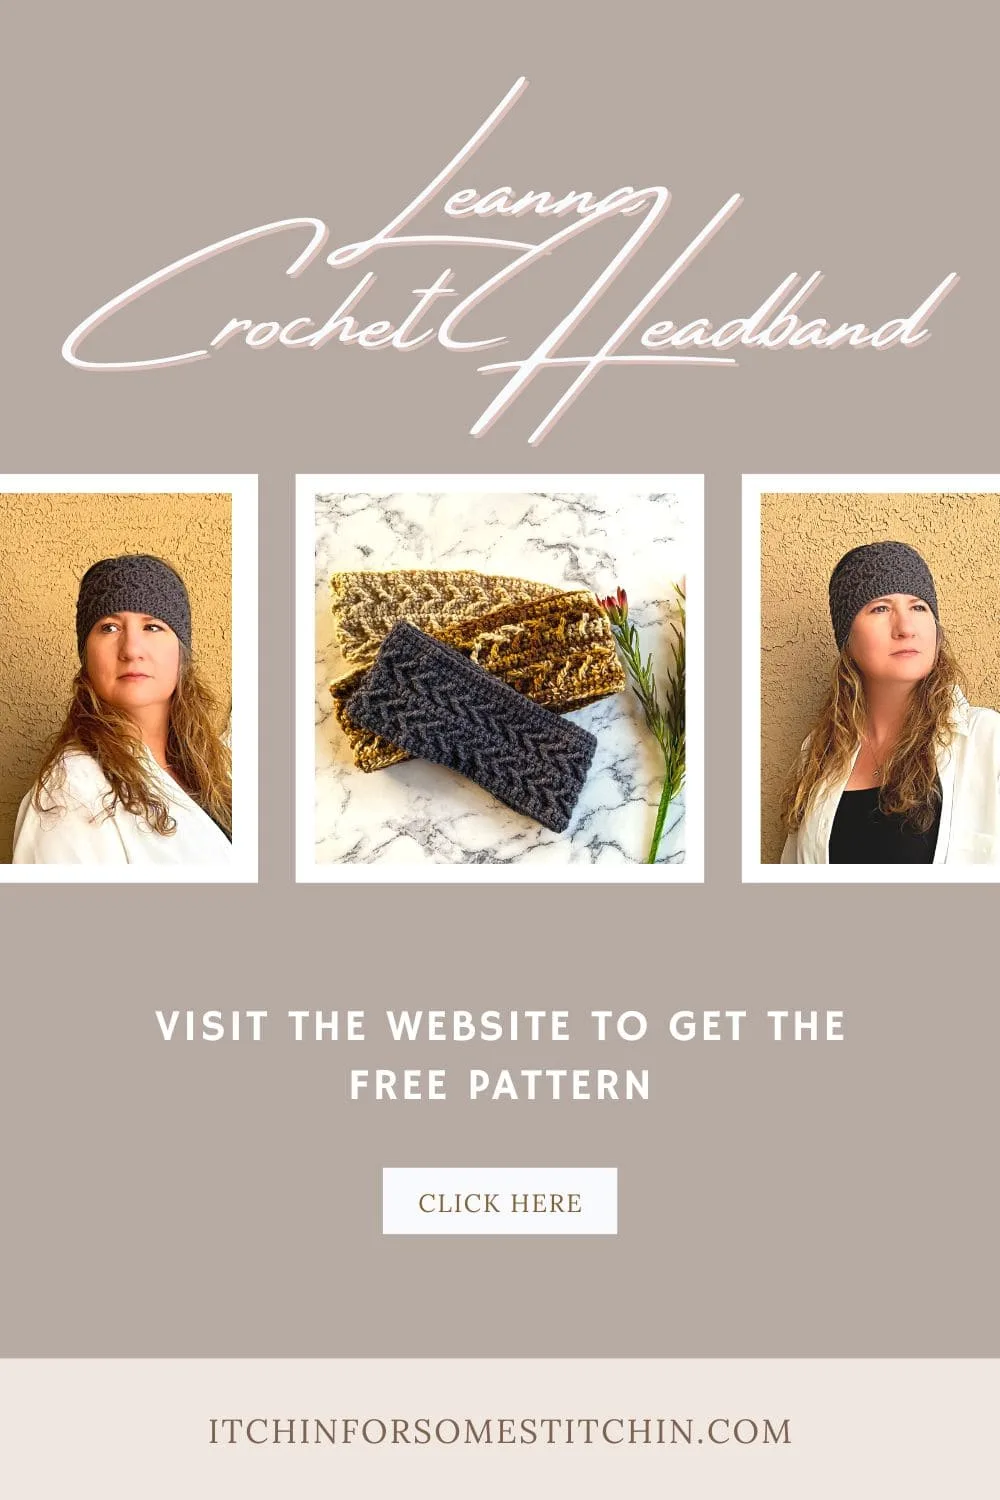
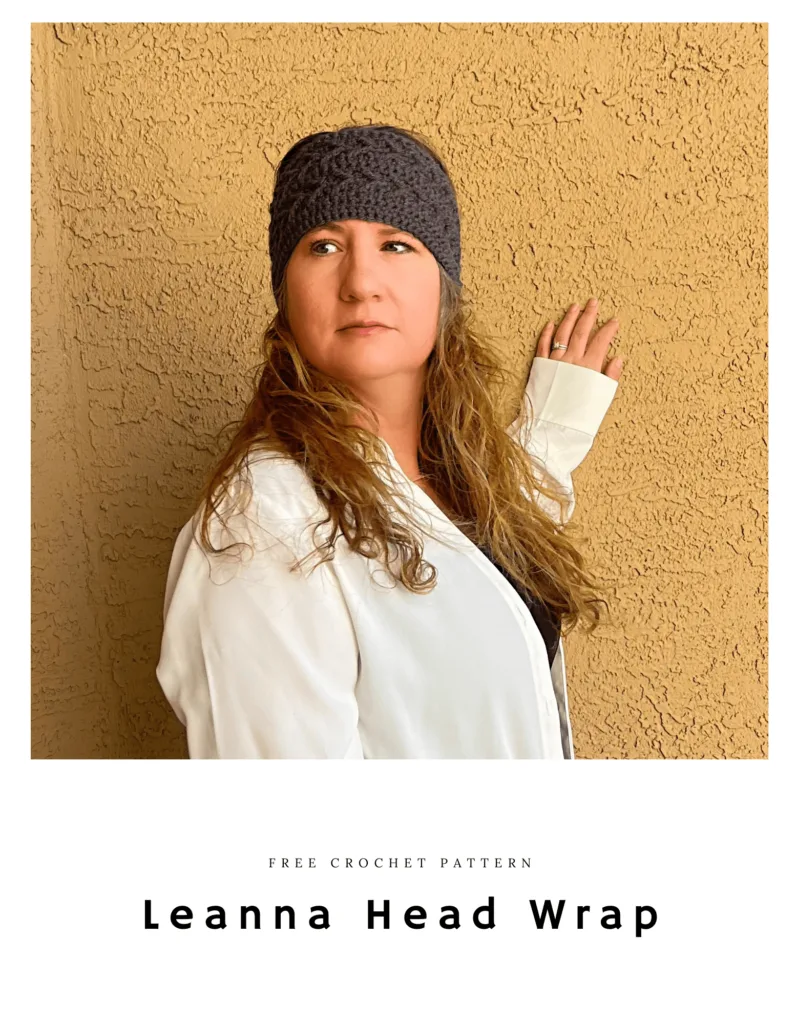
Leanna Crochet Head Wrap Pattern
**THIS IS AN ORIGINAL PATTERN. Please see my Copyright Statement for details.
- Pin this pattern to your Pinterest Boards to Save It
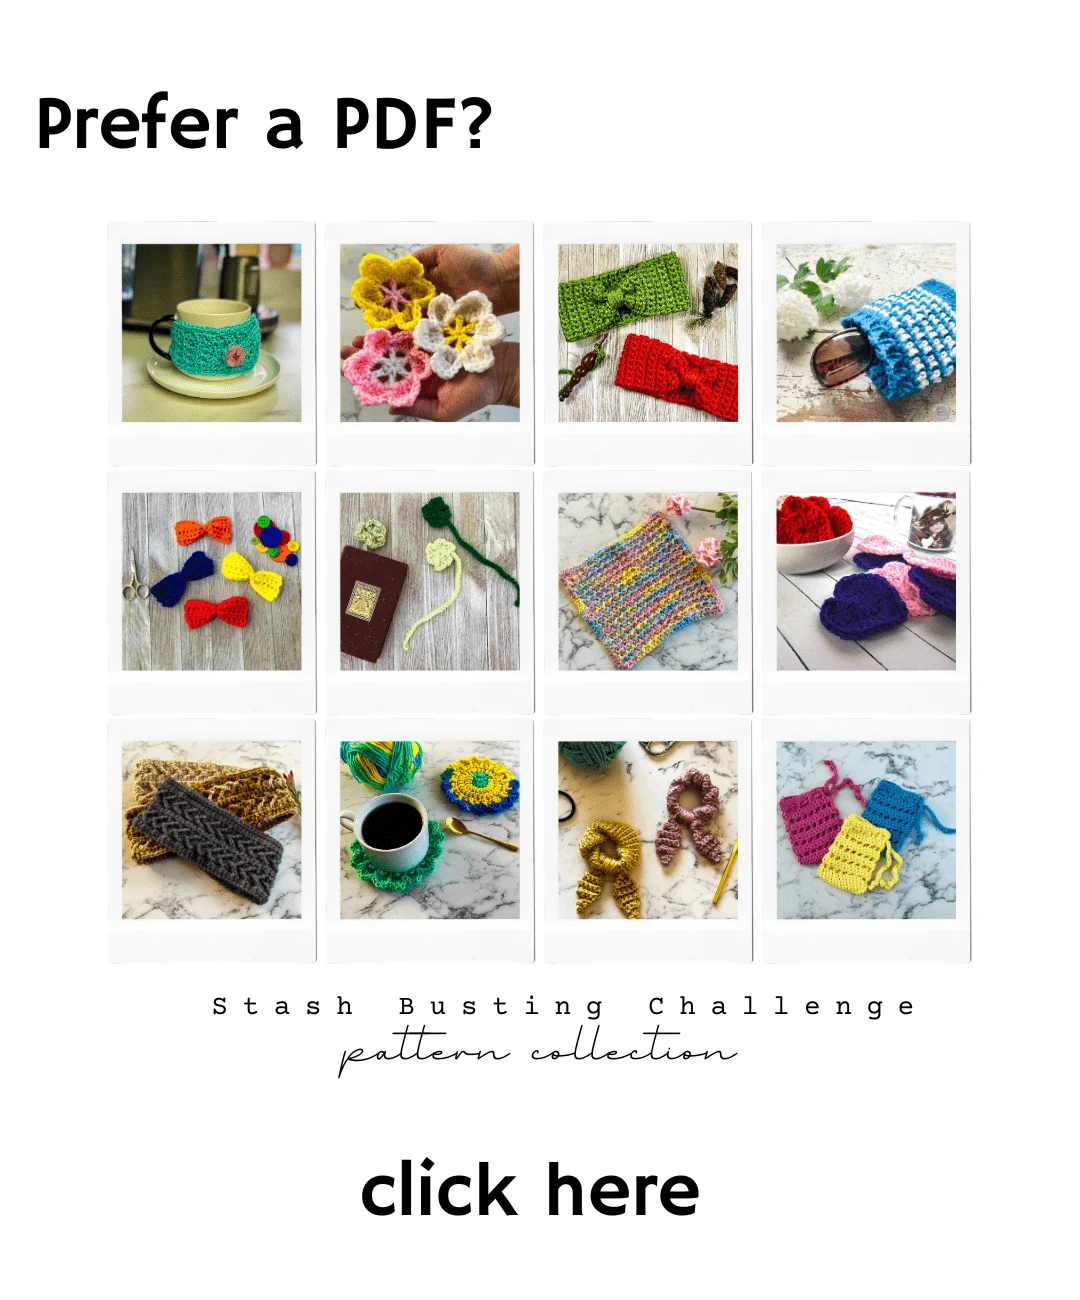
The Leanna Crochet Headband PDF pattern is currently only available as part of the Stash Busting Challenge pattern collection.

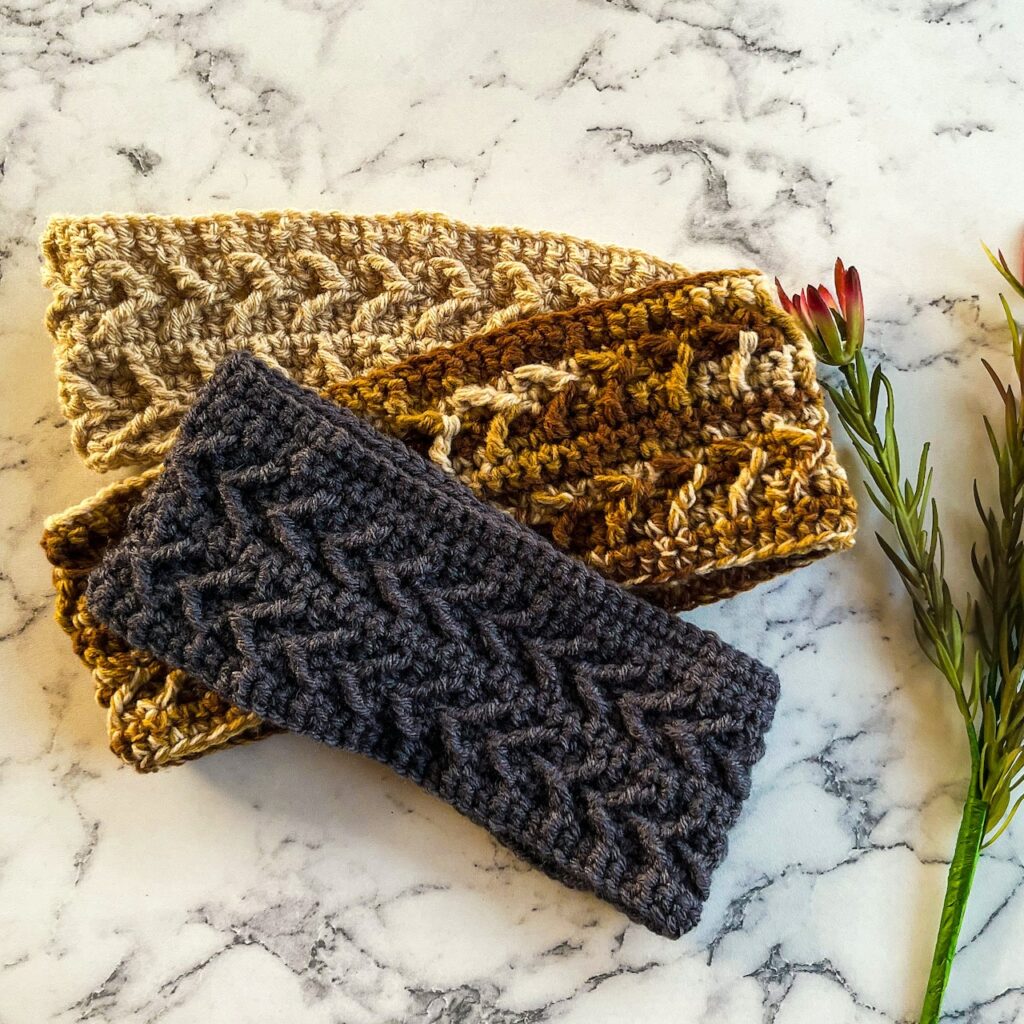

Stylish, classy, and fun. The Leanna Head Wrap is worked up using the gorgeous horizontal chevron stitch. Worked up in about an hour and uses less than one skein of yarn. Add a touch of beautiful texture to your wardrobe with this lovely crochet accessory!
Plus, it makes a great stash buster project!
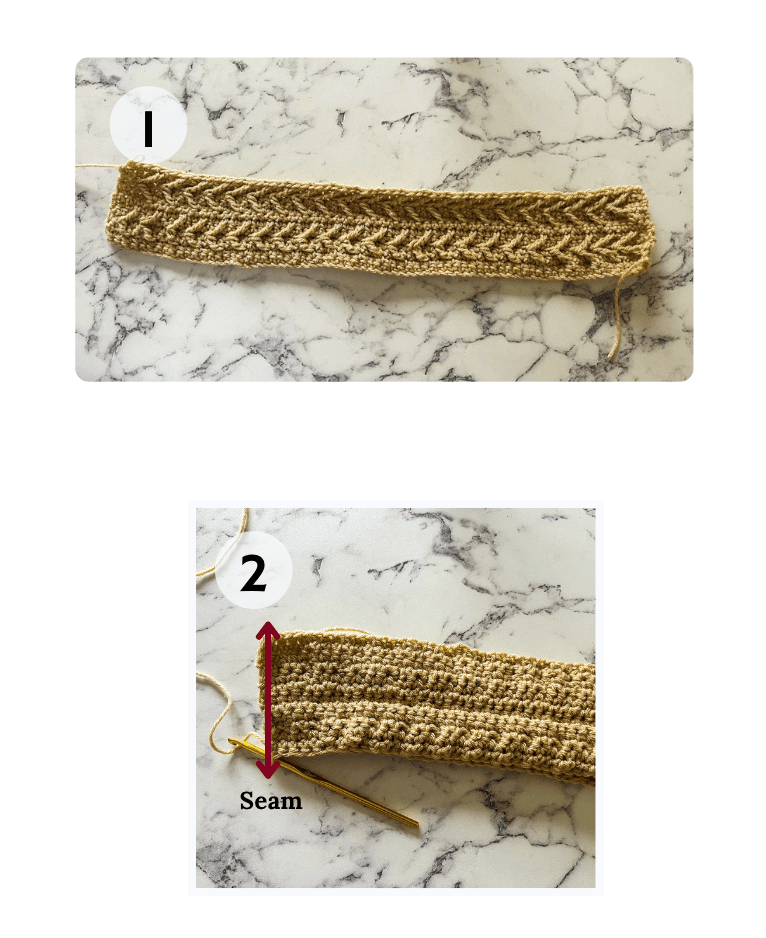
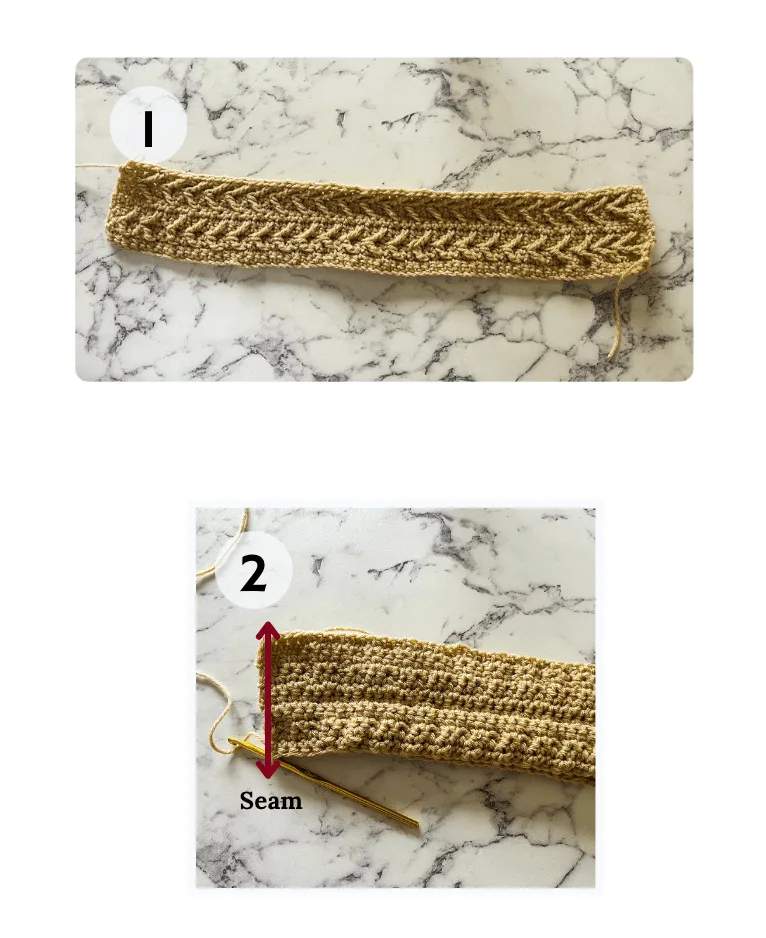
Construction
- This pattern is constructed flat in rows as one piece. See Image 1.
- The two short edges are then seamed together to forma a large ring. See Image 2.
Difficulty level
Difficulty level : Intermediate/Easy


Gauge/Tension
12.5 stitches and 8 rows = 4 x 4-inches in double crochet using H/8 5.00mm hook in double crochet.es in double crochet using G/6 4.25mm hook in double crochet (dc)
Recommended yarn
Red Heart Super Saver, medium 4 worsted weight, 100% acrylic, 198g/7oz, 364yds/333m per skein.
Yardage requirements
*provided requirements are estimates only
Total yardage: 90yds / 82m to 182 yds / 166m
Yarn alternatives
Other Materials
- Crochet Hook size H/8 5.00 mm or whatever hook is necessary to obtain the correct gauge.
- Measuring tape (optional)
- Stitch markers (optional)
- Scissors
- Tapestry needle for weaving in ends
Abbreviations
Pattern is written in US terms.
- Stitch / es (st / sts)
- Yarn over (Yo)
- Skip (sk)
- Wrong side (WS)
- Slip stitch (slp-st)
- Chain stitch (ch / chs)
- Single crochet (sc)
- * ___ * Repeat indicated instructions
Special Stitches
Modified Front post treble crochet (FPtr) – YO twice, working in front of the previous row (See video, link above), insert hook from front to back around post of indicated stitch, yo and pull up a loop (4 loops on hook), [yo and draw through 2 loops on hook] 2 times (2 loops left on hook), insert hook into the next st, yo and pull up a loop (3 loops on hook), yo and pull through all 3 loops.
Finished Dimensions/Sizing
All measurements are approximate, measured flat pre-use, and are provided in inches. Headband can be made to any size per the chart below.
- Headband measures approximately 4-inches wide.
Additional Notes
Read all pattern notes, instructions, and other provided details carefully before starting the project to make sure you understand everything. It could save you hours & a lot of headaches!
- For gauge/tension, make a swatch of each square that measures at least 10 x 10 cm / 4 x 4 inches using the stitch provided under the Gauge Section. If your swatch matches the gauge, then you are all set to start the project. If the gauge is wrong, you might need to change your crochet hook – increase your hook size if your stitches are smaller & decrease your hook size if your stitches are larger.
- All given measurements are unblocked and measured pre-wear and as fabric pieces may stretch during/after blocking, and wearing.
- Provided measurements are as exact as possible, but are given as approximates. This is because yarn variances, crochet tension & individual technique might give variations in the result, which changes from person to person.
- This pattern is worked flat in rows.
- Care Instructions: Hand wash & lay flat to dry or follow instructions on the yarn label.
Instructions
Body
Make a foundation chain in multiples of 6 + 3 until it reaches the desired ear warmer/head wrap size indicated in the chart on under Finished Dimensions/Sizing for the desired head circumference.
Row 1 (WS): Sc in the bpo of the 2nd ch from the hook and in the bpo of each ch across.
Pro Tip: Loop a short piece of yarn around the back of any stitch on row 1 to mark the right side.
Row 2: Ch 1, turn work, sc in each of the first 2 sts, mark the 2nd sc with a stitch marker, sc in the next st and in each st across.
Row 3: Ch 1, turn work, sc in each st across.
Row 4: Ch 1. turn work, sc in the first 6 sts, work 1 modified FPtr around the marked st 2 rows below, remove the stitch marker, *sc in each of the next 2 sts, skip 2 sts 2 rows below, work a modified FPtr around the next st* Repeat from * to * across to the last st, sc in the last st.
Row 5: Ch 1, turn work, sc in each st across.
Row 6: Ch 1, turn work, sc in the first st, work a modified FPtr around the next modifed FPtr 2 rows below, *sc in the next 2 sts, work modified FPtr around the next FPtr 2 rows below* Repeat from * to * across to the last 3 sts, work 1 sc into each of the last 3 sts.
Rows 7-9: Ch 1, turn work, sc in each st across.
NOTE: On row 8, mark the second sc worked with a stitch marker.
Repeat rows 4 – 9 for pattern.
Do not bind off. Continue to Assembly instructions on below.
Pro Tip: For a thinner head wrap do not continue repeating rows 2-9. This may work best for babies and children with small head height.
Assembly
- Fold the head wrap with the right sides on the inside and the wrong sides on the outside so that the two loose short ends are aligned.
- Slp-st the two short edges together.
Bind off & weave in ends.
Crochet Headband FAQs
Let’s answer some of the common questions people have about soap savers!
What is the best yarn for a crochet headband?
You can use pretty much any yarn to crochet a head wrap!
What you choose really comes down to personal preference as it really has to do more with the look and feel you want for your head warmer.
That being said, wool and wool blends have great elasticity, which makes them a great choice as they stretch and return to the original shape quite well.
I like alpaca blends because they are incredibly soft and provide fantastic warmth!
It is a fantastic choice for a crochet head or ear warmer to be worn in the colder weather months.
Lighter headbands work up nicely with wool – cotton blend.
Keep in mind that %100 cotton is not elastic and does not hold it’s shape as well, so although it can be used to crochet a headband, it wouldn’t typically be my preference.
My favorite yarn for crochet headbands for year round wear that don’t require a lot of warmth, is acrylic or acrylic blends.
This yarn holds it’s shape quite well, is typically easy to find at a local craft store, and can be very cost effective depending on the brand and blend.
How much yarn is needed for a crochet headband?
Crochet head bands are generally small projects requiring less than one skein of yarn.
That makes them a fabulous scrap buster project!
I found the yarn I needed for the Leanna Crochet Headband in my stash, it was an incomplete skein thrown in a drawer and I didn’t even use the whole partial skein!
How do you measure your head for a crochet headband?
It’s easy!
- Remove any hairstyles and/or bands, clips, etc. that may affect the measurement
- Place the end of a flexible tape measure at the mid-point of your forehead
- Wrap the tape measure around your head
- Record the number when the tape reaches the mid-point of your forehead again
That’s it!
More crochet headband patterns
Thank you for coming to my blog! By sharing my content and/or making a purchase you are making it possible for me to continue producing and sharing free content for everyone to enjoy. I sincerely appreciate your support!
Until next time… Happy Crocheting!


Please share!