Have you ever seen crochet cables?
That’s right. I said crochet cables. Not knitting cables.
No?
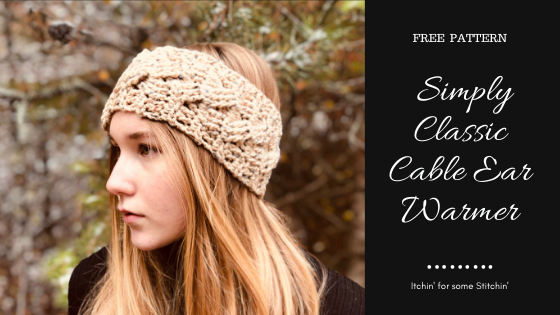
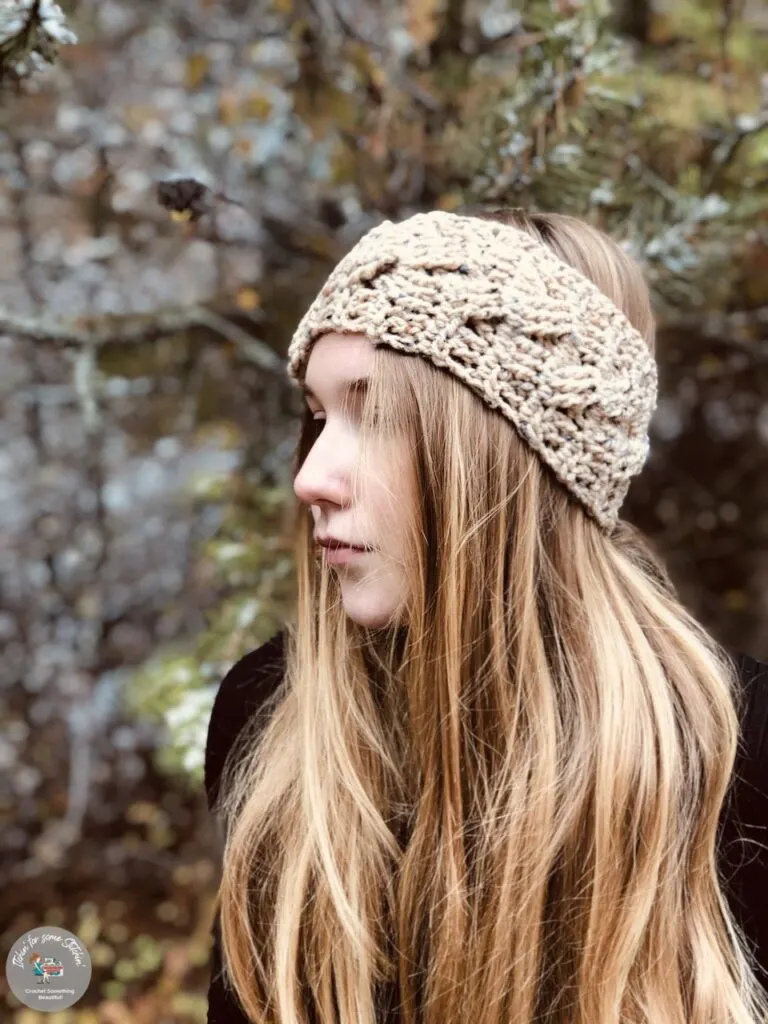
Well, let me share with you one of my favorite new patterns, it’s a super simple crochet cable ear warmer pattern!

That’s right!
You can create cables as a crocheter and it’s easier than you may think!
When I first started crocheting I thought cabling was only something that knitters could do.
I used to dream about all the gorgeous cables I saw in knitting projects and wished I could make them as a crocheter.
Don’t laugh, but it was 10 years before I realized that I actually could!

And, turns out, doing basic crochet cabling really isn’t as hard as you might think.
Once you wrap your brain around it and get a little practice under your belt you’ll be doing it in your sleep! 😂😉
Looking for lots of crafty inspiration, tips, tutorials, and a great crochet community? Join my Facebook group!
This simple ear warmer actually developed from my crochet cabling practice, so expect some more cabled patterns in the future. 😃
Check Out These Other Patterns I LOVE!
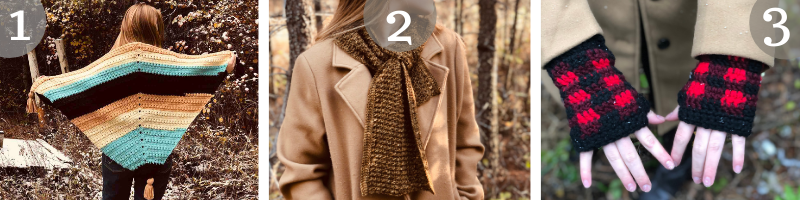
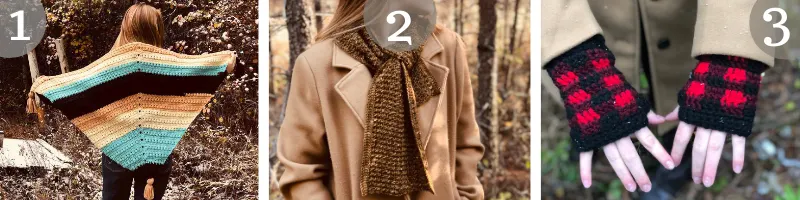
1. Winter Wonderland Triangle Shawl / 2. Alpine Ridges Comfort Scarf / 3. Simply Chic Buffalo Plaid Fingerless Gloves
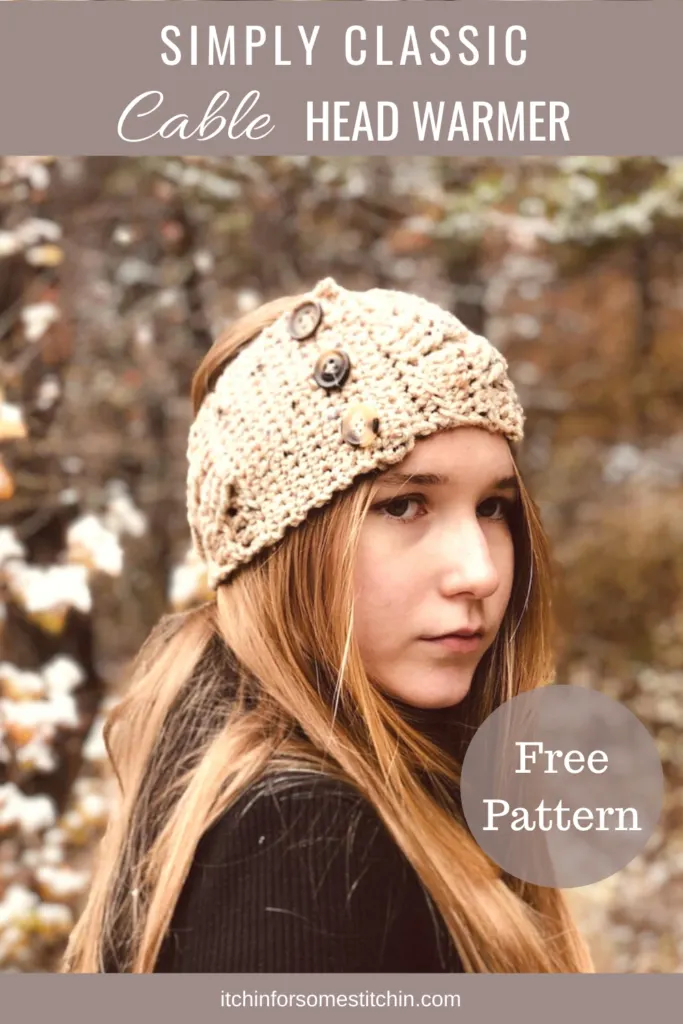
How to Crochet a Simply Classic Cabled Ear Warmer
**THIS IS AN ORIGINAL PATTERN. Please see my Copyright Statement for details.

Prefer a PDF?
This pattern is available as a large print, ad-free, printable PDF pattern.
Get it in these places:
Love Pinterest? I do!
PIN this pattern to your Pinterest boards for later HERE.
You can also follow all my boards!


Summary:
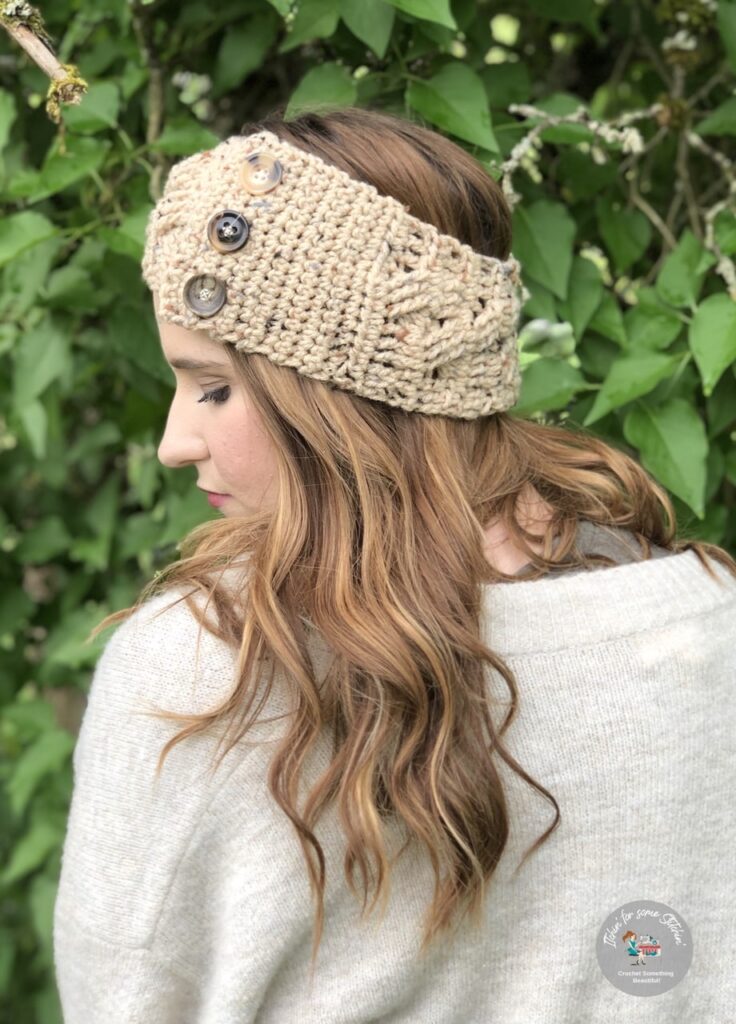
Such a classic look! This simply classic cabled ear warmer keeps your ears toasty throughout the colder seasons, but also makes a stylish accessory year round. Adds a chic touch to your casual wardrobe, plus, it is simple to put together and whips up in under an hour!
Difficulty level: Level 3 – Intermediate
Finished Dimensions:
3.75 – 4 inches wide. Length varies according to the chart below.

Gauge: 11 stitches and 7 rows = 4-inches in double crochet (dc)
Materials:
- Medium 4, worsted weight yarn
~ Total Yardage – 10 to 20 yards
- Hook size – J10/6.00mm
- 3 1-inch buttons
- Coordinating thread
- Sewing needle
- Scissors
- Tapestry needle for weaving in ends
(Click HERE to find my favorite crochet tools & resources)
Abbreviations:
Pattern is written in US terms. *Click on abbreviation names for tutorials
Stitch/es (st/sts)
Front post double crochet (FPDC)
Back post double crochet (BPDC)
Front post treble crochet (FPTC)
Back post treble crochet (BPTC)
Special Stitches/Techniques:
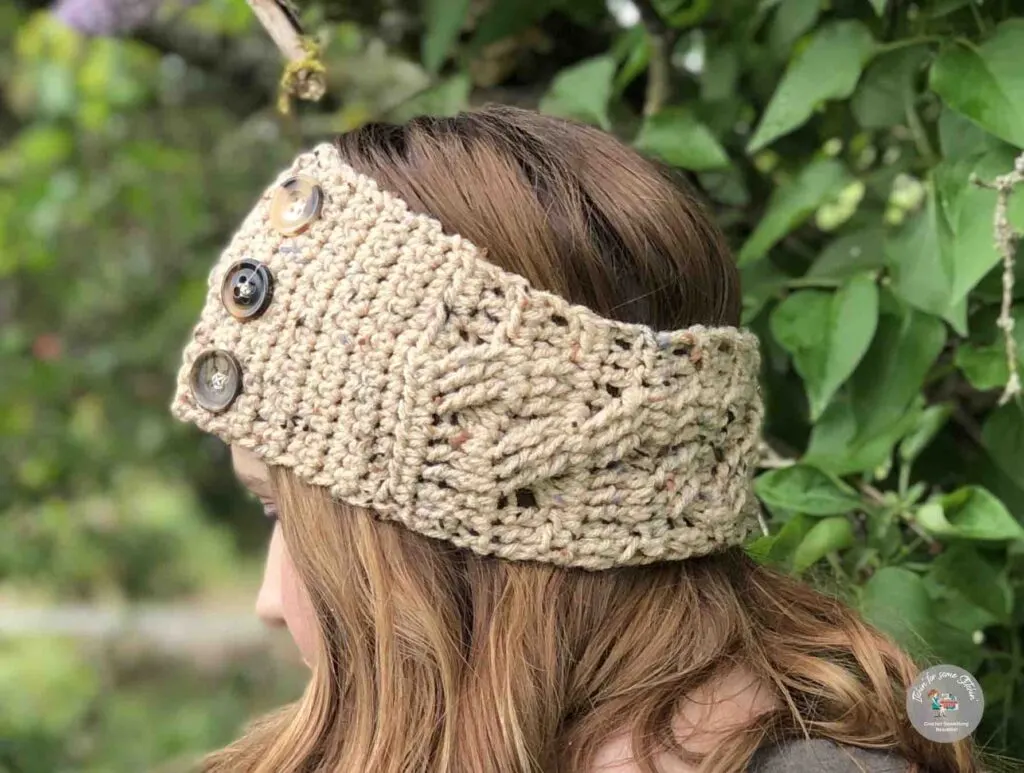
Crochet cables – creating a series of overlapping front post (FP) and back post (BP) stitches in such a way that the end results looks like a twisted rope.
Additional Notes:
- Read all pattern notes, instructions, and other provided details carefully before starting the project to make sure you understand everything. It could save you hours & a lot of headaches!
- Make a swatch that measures at least 10 x 10 cm / 4 x 4 inches using the stitch provided under the Gauge Section. If your swatch matches the gauge, then you are all set to start the project. If the gauge is wrong, you might need to change your crochet hook – increase your hook size if your stitches are smaller & decrease your hook size if your stitches are larger.
- All measurements given are unblocked.
- Provided measurements are as exact as possible, but are given as approximates. This is because yarn variances, crochet tension, & individual technique might give variations in the result, which changes from person to person.
Instructions:
Ch 16
Row 1: sc in the 2nd ch from the hook and in each ch to end. (15)
Row 2: Ch 1 (counts as a st), turn work, sc in the next st, *ch 2, skip 3 sts, sc in the next 2 sts*, Repeat from * to * two more times, sc in the last st.
Row 3: Ch 1 (counts as a st), turn work, sc in the 1st st, *work 3 sc in the next ch 2 space, sc in each of the next 2 sts*, Repeat from * to * one more time, work 3 sc in the next ch 3 space, sc in the last st. (15)
Rows 4-10: Ch 1, turn work, sc in each st across. (15)
Note: Section measures approximately 3 – inches.
Row 11: Ch 3 (counts as a dc), turn work, dc in each st across. (15)
Row 12: Ch 3 (counts as a dc), dc in the next 2 sts, skip 3 sts, FPTC in the next 3 sts, FPTC in each of the 3 skipped sts (start at the right & work towards the left), skip the first set of FPTC stitch es and FPTC into each of the next 3 sts, dc in the each of the last 3 sts. (15)
Row 13: Ch 2, (counts as a hdc), turn work, hdc in the next 2 sts, BPDC in the next 9 sts, hdc in each of the last 3 sts. (15)
Row 14: Ch 3 (counts as a dc), dc in the next 2 sts, FPDC in the next 3 sts, skip 3 sts, FPTC in each of the next 3 sts, FPTC in each of the 3 skipped sts (start at the right & work towards the left), dc in each of the last 3 sts. (15)
Row 15: Ch 2, (counts as a hdc), turn work, hdc in the next 2 sts, BPDC in the next 9 sts, hdc in each of the last 3 sts. (15)
Repeat rows 12 – 15 until the ear warmer reaches the desired length minus 1 – inch according to the size chart above under Finished Dimensions.
Once the ear warmer reaches your desired length, at the end of your last row, do not bind off, *ch 1, turn work, sc in each st to end*, Repeat from * to * 3 more times. (15)
Note: Section measures approximately 1 – inches.
That’s it!
I told you it was easier than it looks, didn’t I?
These intricate cables may look intimidating, but once you have the sequence down it’s really quite easy and works up quickly!
I am ready to start cabling sweaters, how about you?! 😉🤣
Please be sure to share your makes with me on social media with #itchinforsomestitchin and #cableearwarmer.
Thank you for coming to my blog! By sharing my content and/or making a purchase you are making it possible for me to continue producing and sharing free content for everyone to enjoy. I sincerely appreciate your support!
Until next time… Happy Crocheting!


Please Share!