I’ve been on this big stash-buster kick recently!
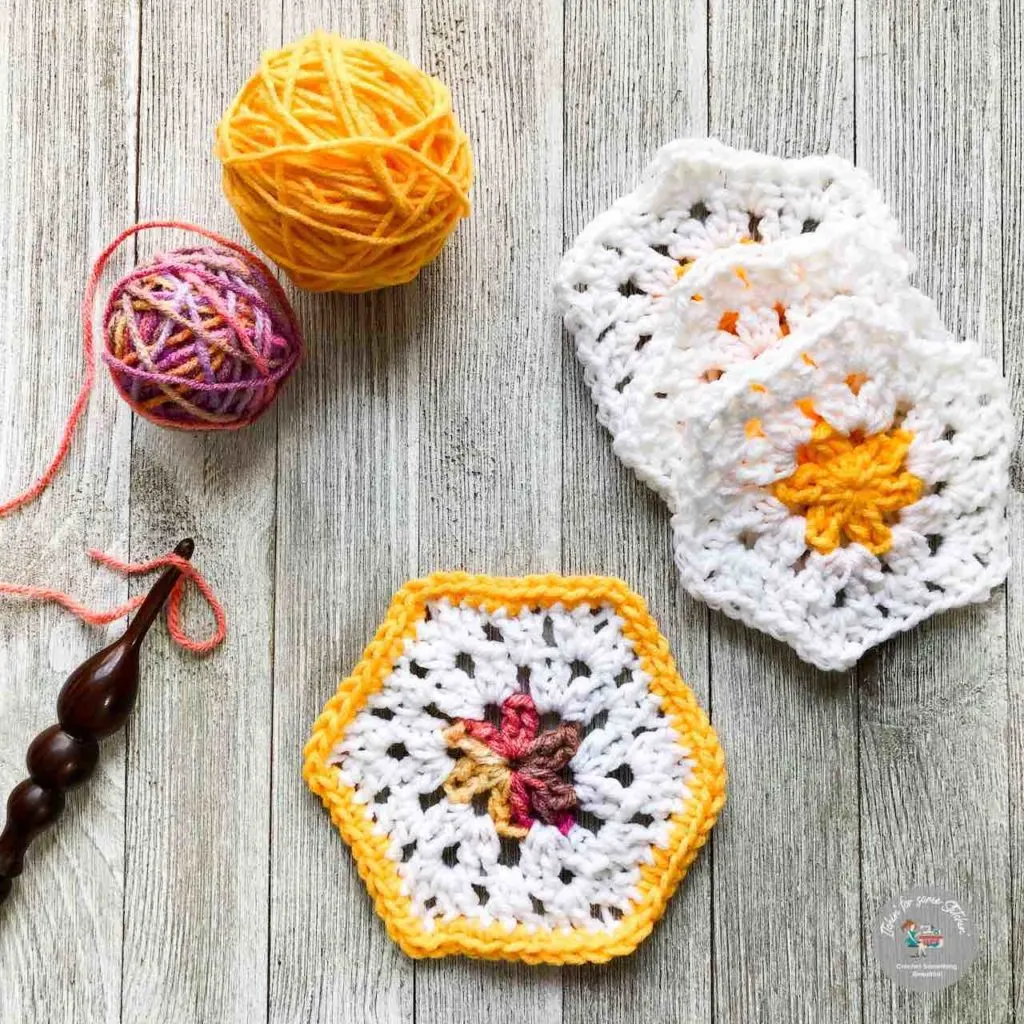
So, today I am going to share with you how to crochet basic granny hexagons – another awesome stash-buster project!
Hexagons are great stash-busters because they require such little yarn, you may even find enough in your scrap bucket (that’s where I got mine!).
Plus, they are actually so much easier than you might think!
Honestly, I avoided learning how to do hexagons for many years because they looked so complicated to me.
I’m not sure why I was so intimidated by them, I mean I have no problem making granny squares.
Looking for lots of crafty inspiration, tips, tutorials, and a great crochet community? Join my Facebook group!
In truth, it seems so silly to me now that I’ve done them and know how simple they really are.
In fact, I may actually like them more than I like granny squares!
So, if you are a fan of granny squares, you’ll simply love granny hexagons! ?
Check Out These Other Patterns I LOVE!

Basic Granny Hexagon Pattern
Add this pattern to your Ravelry que HERE.
Summary:
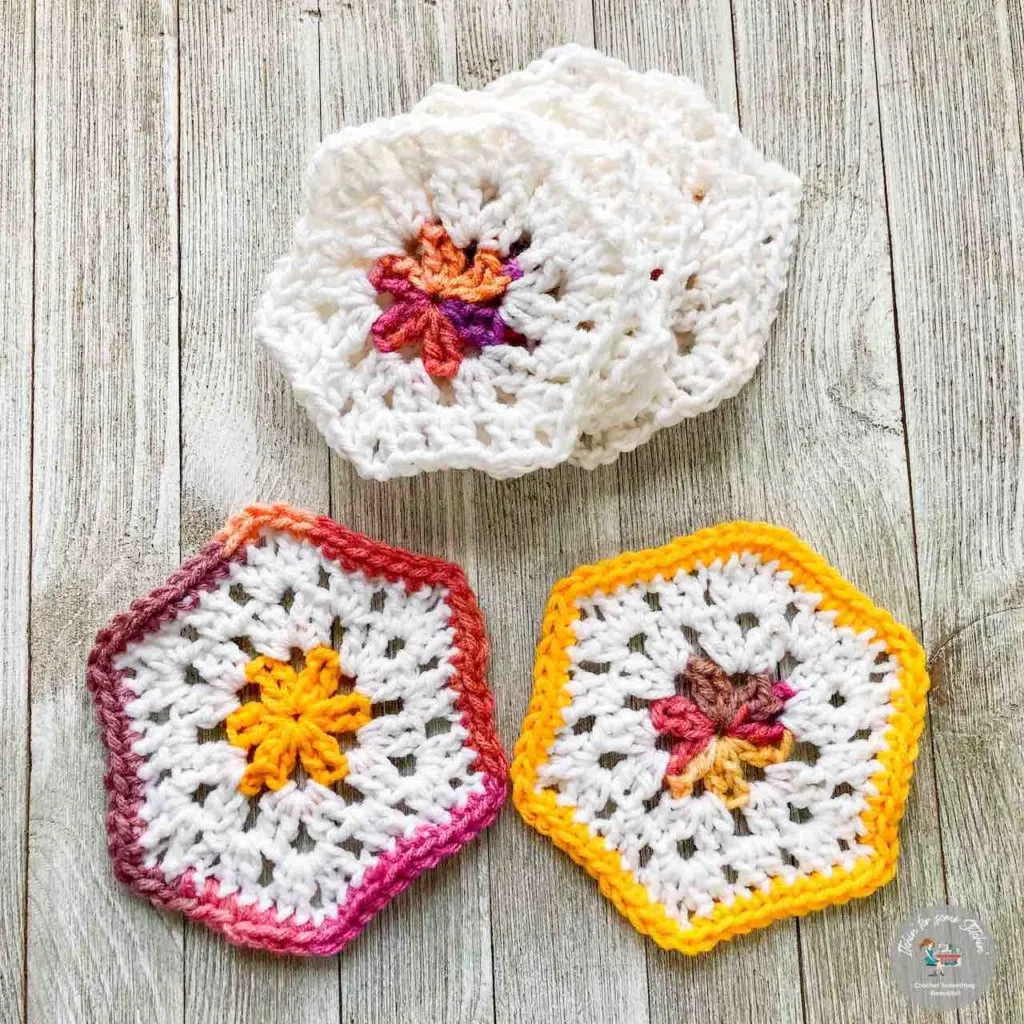
Granny hexagons are a super fun way to use up your yarn stash! Plus, they are extremely versatile. You can use them to make blankets, bags, coats, and more. Think of all the various designs you can do, especially since each hexagon can be made in a multitude of colors or just one color. The possibilities are limited only by your imagination!
Prefer a PDF?
This pattern is available as a large print, ad-free, printable PDF pattern.
Get it in these places:
Love Pinterest? I do!
PIN this pattern to your Pinterest Boards HERE. You can also follow all my boards!
Level of Difficulty: Advanced Beginner/Easy
Finished Dimensions:
This really depends on how many rounds you choose to do. For three rounds, using the hook and yarn used in this tutorial, the hexagon should be about 4 to 4.5 inches in length and width.
Materials:
- Medium 4 worsted weight yarn
I can’t tell you what yarns I used in this pattern because I used whatever I had in my yarn stash/scrap bucket.
After all, this is a stash-buster project!
~ Total yardage: 5 to 20 yards
- Hook: J/10 6.00 mm.
- Tapestry needle
- Scissors
(Click HERE to find my favorite crochet tools & resources)
Abbreviations:
~Click on the links if you need a review of each technique.
Pattern is written in US terms.
Stitch/es (st/sts)
Slip-stitch (slp-st)
Chain stitch (ch)
Double crochet (dc)
Additional Notes:
- This pattern is worked in the round.
Instructions:
Make a magic ring -OR- Ch 3 and slp-st into the first ch to form a ring (chaining method).
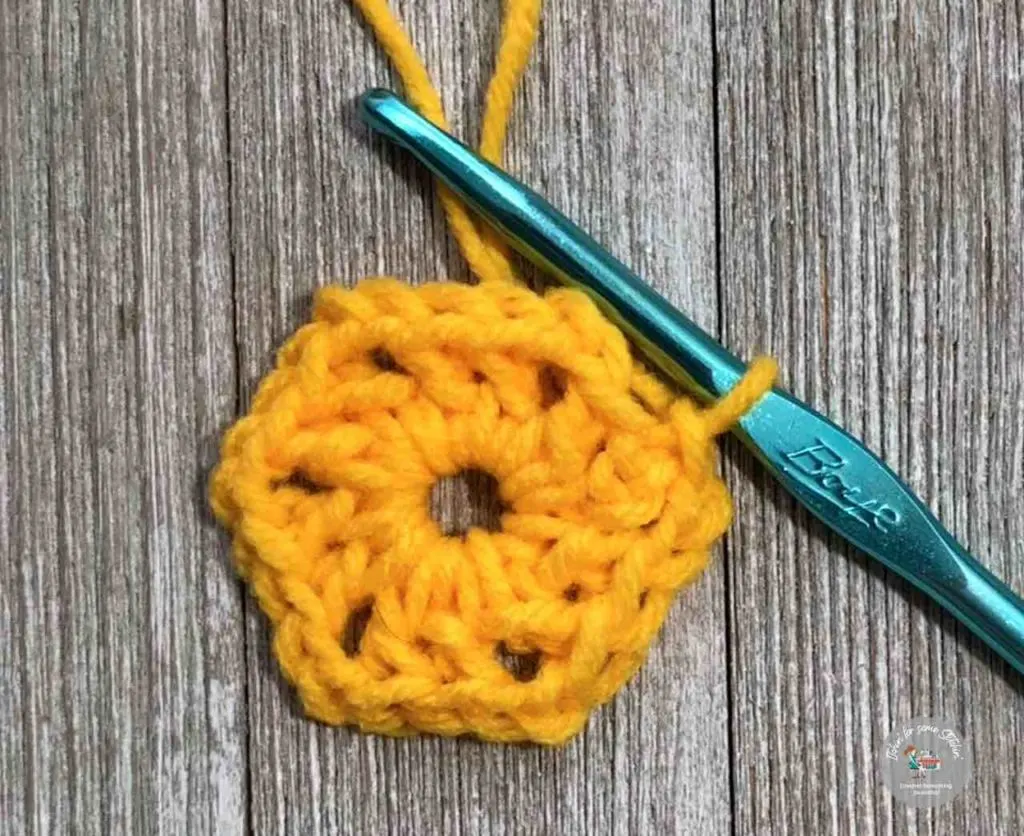
Round 1: Ch 3 (counts as your 1st dc), work 1 dc into the ring, *ch 2, work 2 dc into the ring*
Repeat from * to * 4 more times, then make one last ch 2 and slp-st to the top ch of the ch 3 to close.
This creates six 2 dc clusters each separated by a ch 2- space.
If you used the magic ring, you should also pull the ring closed.
Round one should look like the photo below.
Round 2: Ch 4 (counts as 1 dc and 1 ch st), work 2 dc into the ch-2 space from the previous round, ch 2, work 2 more dc into the same ch-2 space from the previous round, *ch 1, work 2 dc into the next ch-2 space from the previous round, ch 2, work 2 more dc into the same ch-2 space from the previous round*
Repeat from * to * 3 more times, ch 1, work 2 dc into the last ch-2 space from the previous round, ch 2, work 1 dc into the same ch-2 space from the previous round, slp-st to the top ch (the 3rd ch) of the ch 3 to close the round.
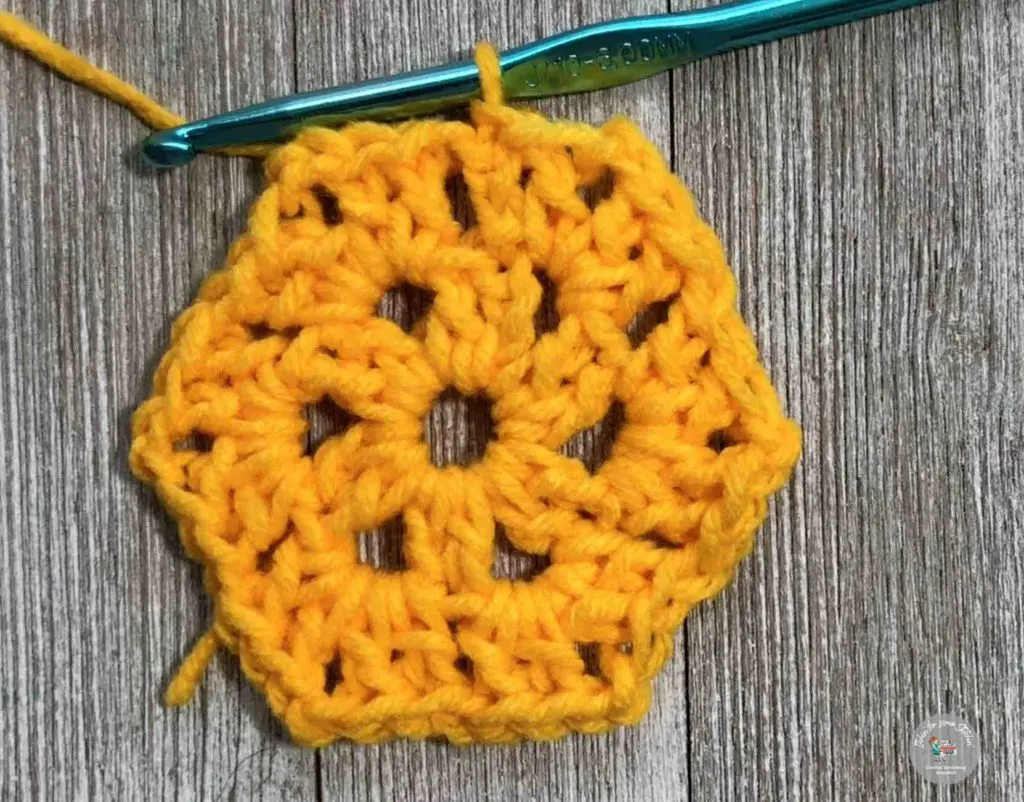
At the end of round 2, your hexagon should look like the one below.
NOTE. Every time you work (2 dc, ch 2, 2 dc) into the same ch-2 space, you are creating a corner.
Round 3: Ch 4 (counts as 1 dc and 1 ch st), work 2 dc into the first ch 1-space from the previous round, ch 1, work (2 dc, ch 2, 2 dc) into the first corner, *ch1, work 2 dc into the next ch 1-space from the previous round, ch 1, work (2 dc, ch 2, 2 dc) into the next corner*
Repeat from * to * 3 more times, ch 1, work 2 dc into the last ch-1 space, ch 1, work (2 dc, ch 2, 1 dc) into the last corner, slp-st into the top ch (3rd ch) of the ch 3 to close the round.
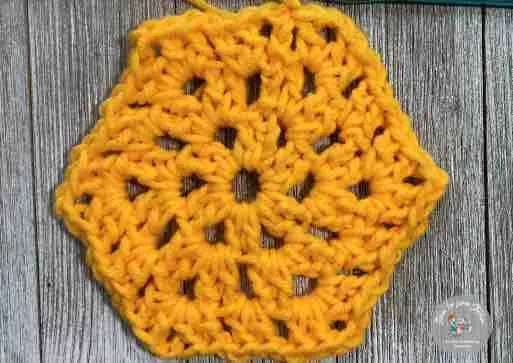
When you complete round 3, your hexagon should look like the one in the photo below.
How to make more rounds:
To continue adding rounds to your hexagon, you essentially continue in the same manner as for round 3.
Here’s what you need to remember:
1. Every time you get to 2 dc from the previous round you want to make a ch 1 — this will create a ch-1 space for the next round.
2. Every time you get to a ch-1 space you need to work 2 dc into that space — this creates hexagon “edges” for the next round.
3. Every time you come to a corner you need to work (2 dc, ch 2, 2 dc) into that corner — this creates a new corner for the next round.
When you are done adding the number of rounds you like to have, the final step is to bind off & weave in ends.
Need to see it in action?
Now didn’t I tell you granny hexagons are easy to make?
No need to be intimidated by them!
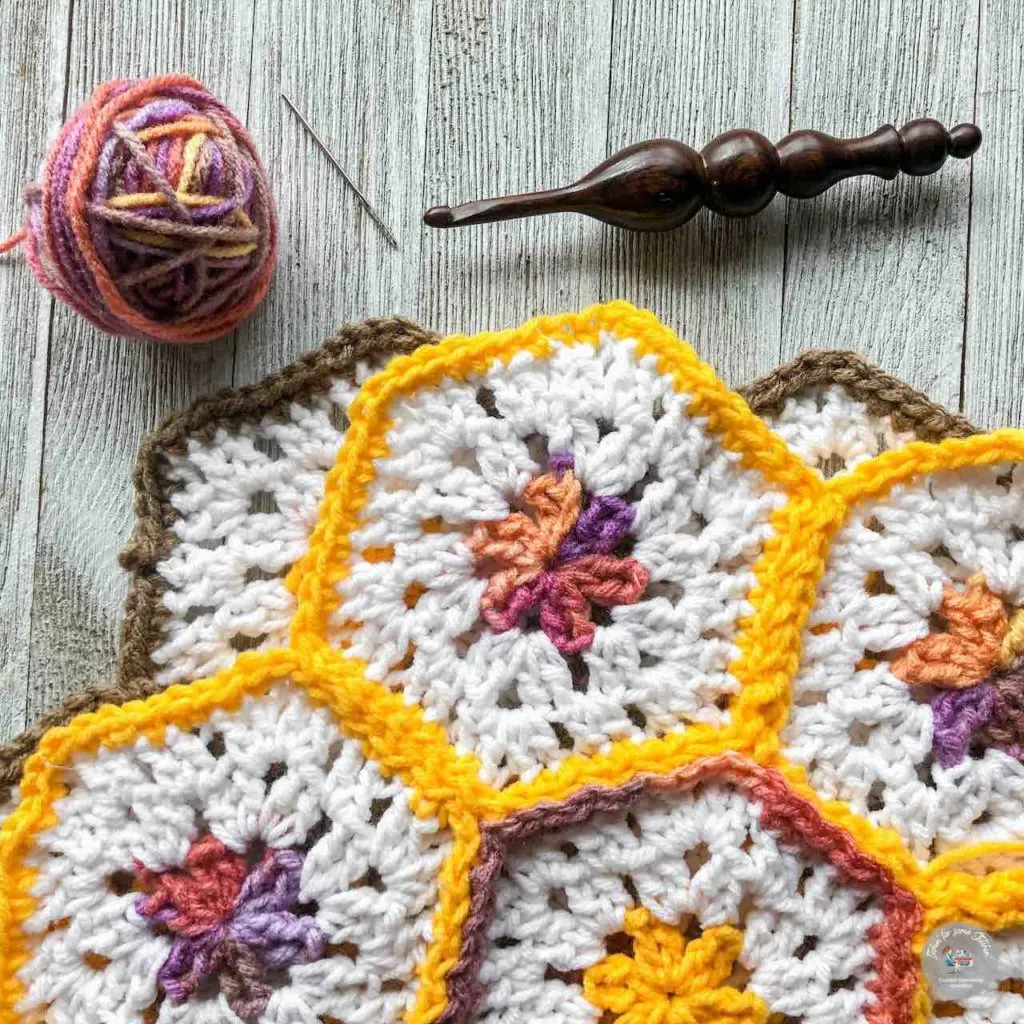
In fact, here’s a great project to use them in!
Interested in more stash buster projects?
Check out:
15 Stash-buster Projects to Keep You Busy While “Staying in”
29 Quick Crochet Projects You Can Do In a Weekend or Less!
Thank you for coming to my blog! By sharing my content and/or making a purchase you are making it possible for me to continue producing and sharing free content for everyone to enjoy. I sincerely appreciate your support!
Until next time… Happy Crocheting!

Please Share!

Amanda
Sunday 12th of April 2020
Thank you for the video tutorial on granny hexagons. I've been crocheting for 30 years and crocheted my first granny square about 5 years ago. Actually 5 of them for a 12 inch granny square swap. They looked okay, I think I did good for the first time especially because they were all different types with flowers. I never got to send them because we had to move and a lot of other things were going on. Thanks again for the great help. Amanda
Itchin4Stitchin
Monday 13th of April 2020
Hi Amanda,
You are very welcome! I hope you enjoy making the granny hexagons. Granny squares were actually one of the first things I learned in crochet. Funny that it took me over 10 years to finally tackle hexagons. lol. I am sure your granny squares were beautiful!
Best wishes,
RaeLynn