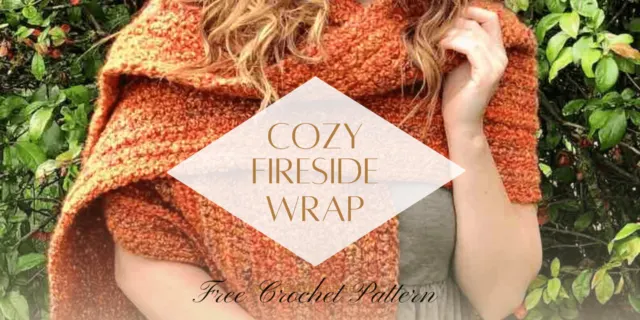
INTRODUCING
The Cozy Fireside Wrap
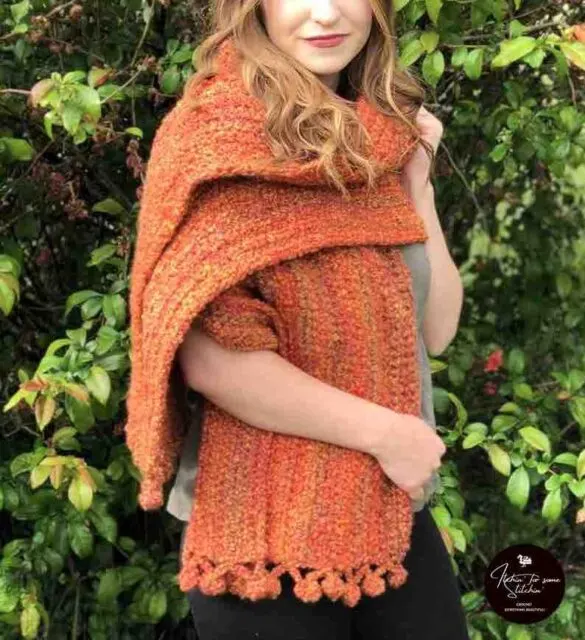
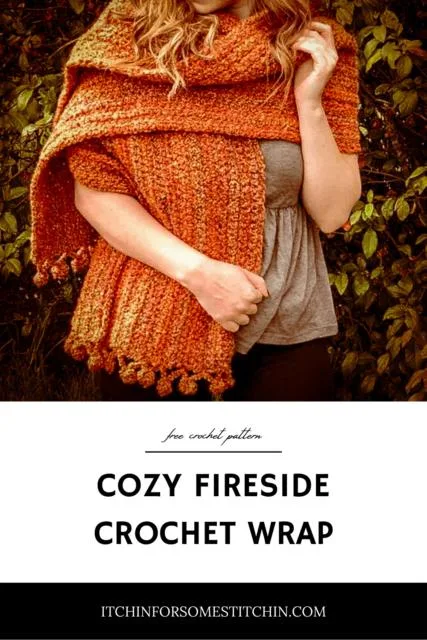
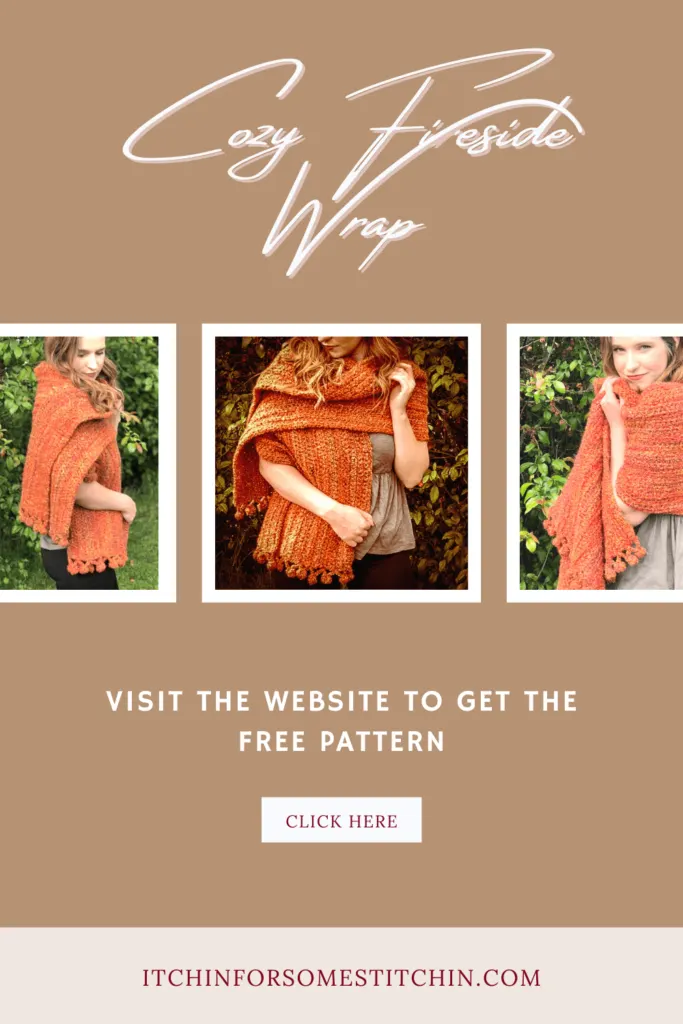
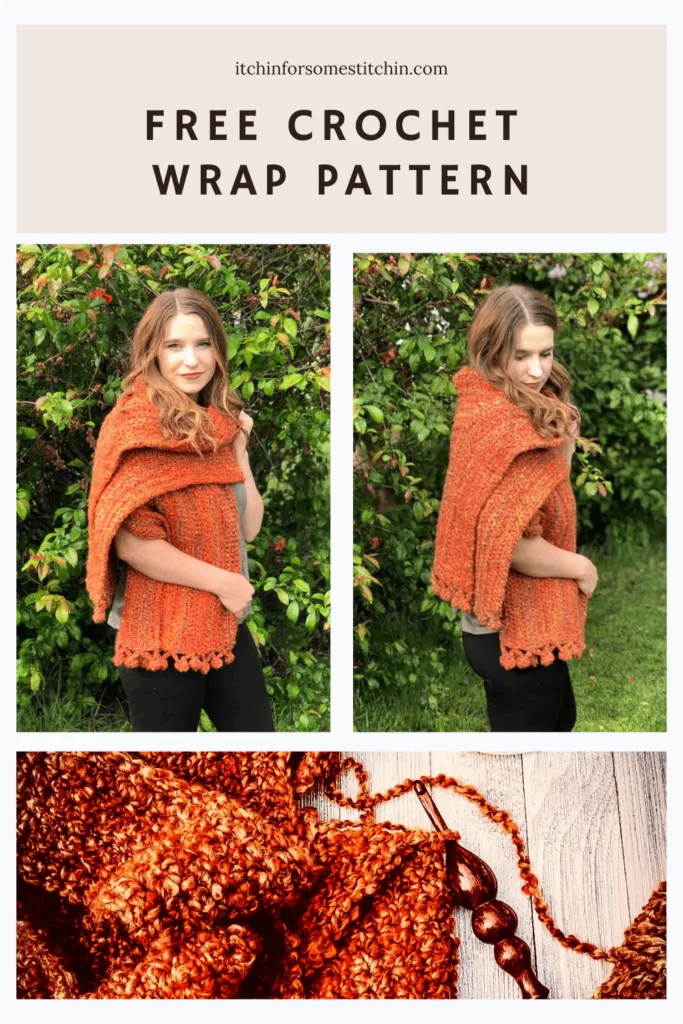
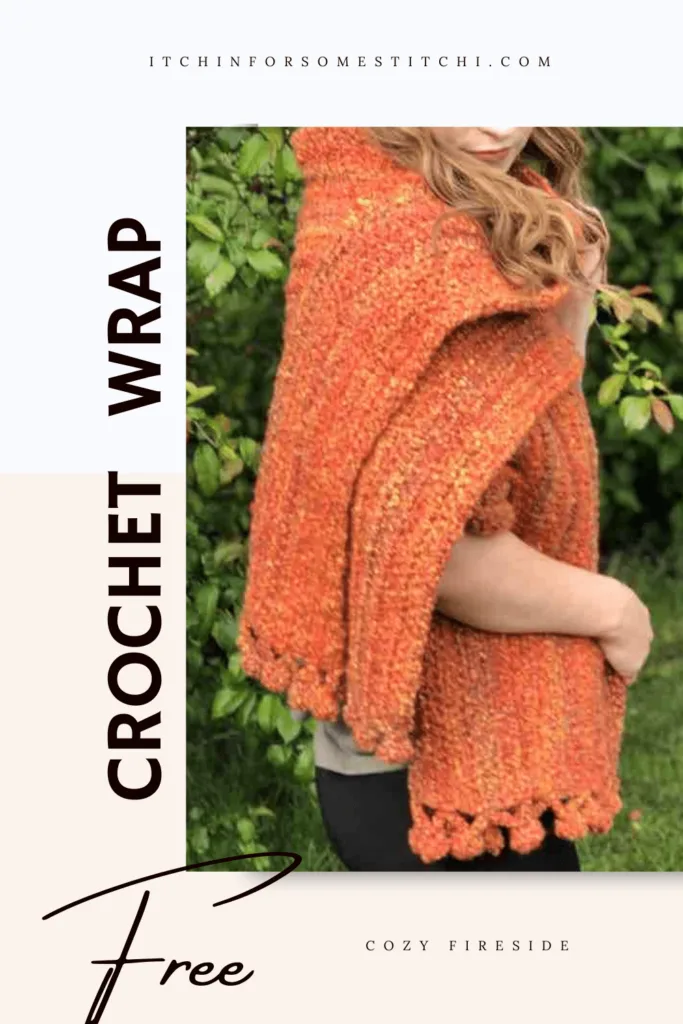
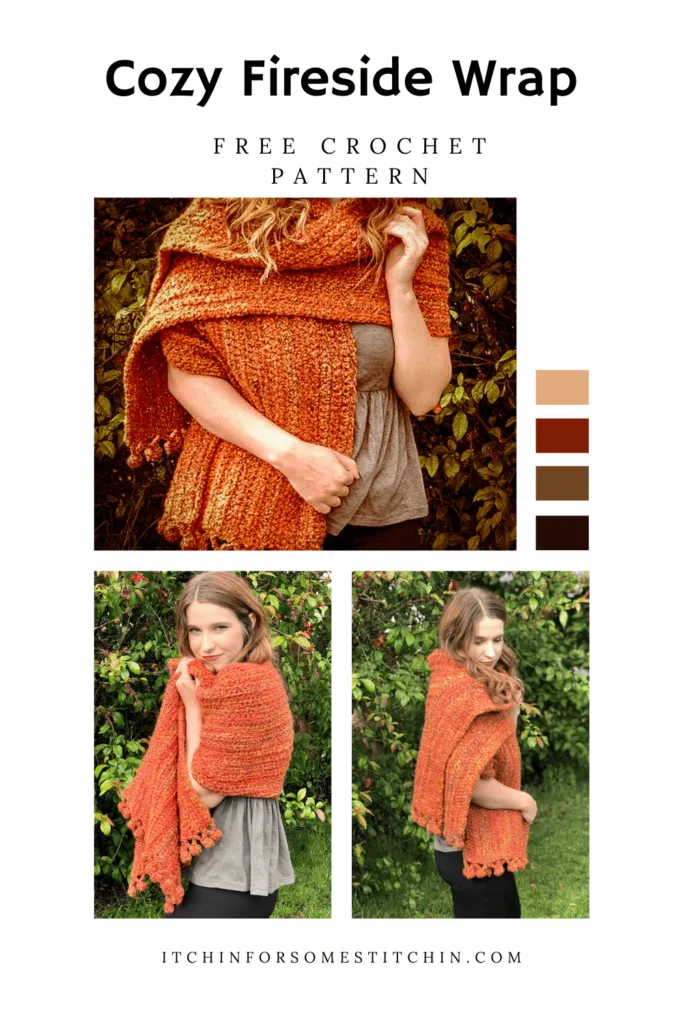
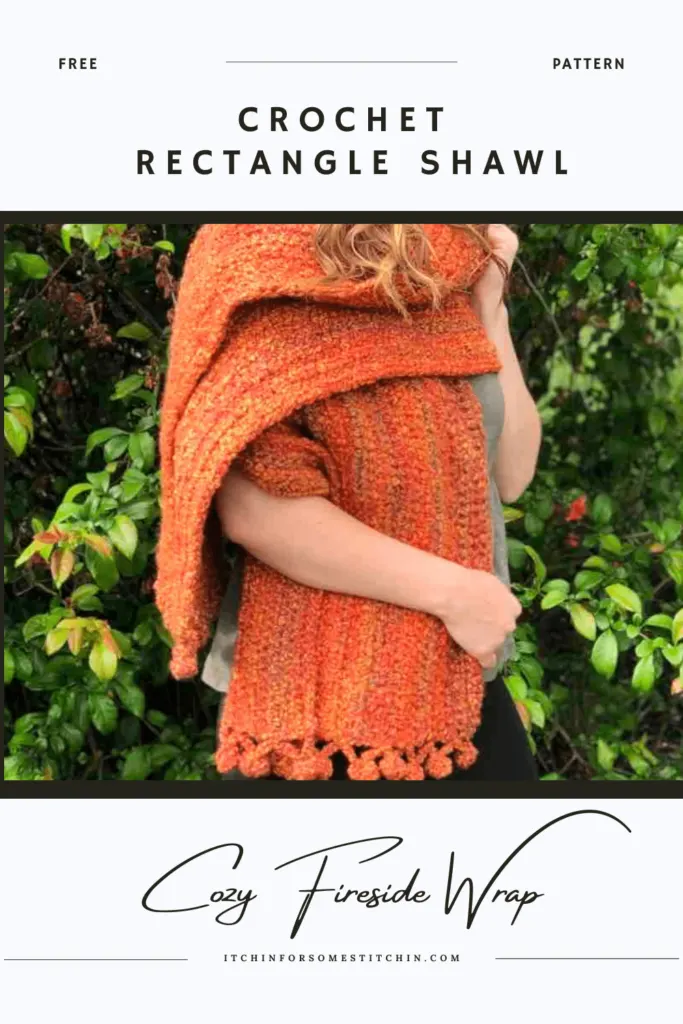
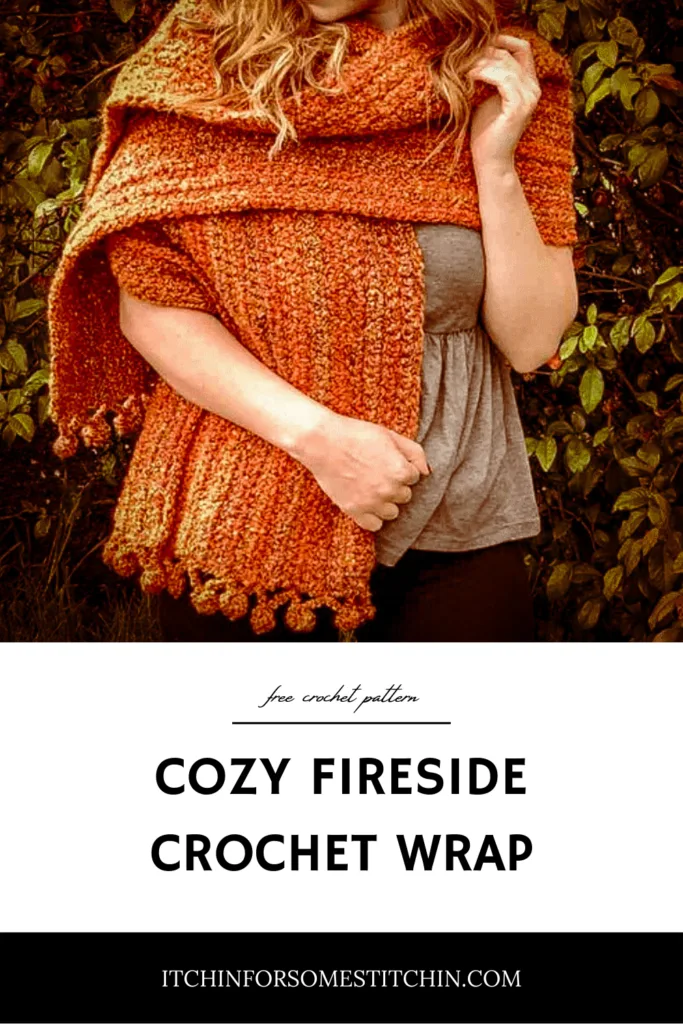
It doesn’t get any cozier than this soft, but fashionable autumn wrap. The pom pom edging is super simple and adds just the right touch. Simply perfect for when the weather turns a bit chilly! Imagine snuggling up in it on a cool fall evening as you sit by a toasty fire, drink hot cocoa, or go for a stroll in the crisp air. It will keep you warm and stylish all season long!
About Cozy Fireside
Difficulty Level
This is a level 2 – Advanced Beginner

Gauge
measured using 6.0mm hook
10 stitches and 8 rows = 4-inches in half-double crochet (hdc)
10 stitches and 10 rows = 4-inches in single crochet (sc)
Finished Dimensions (in inches)
- 16 wide X 72 Long without edging
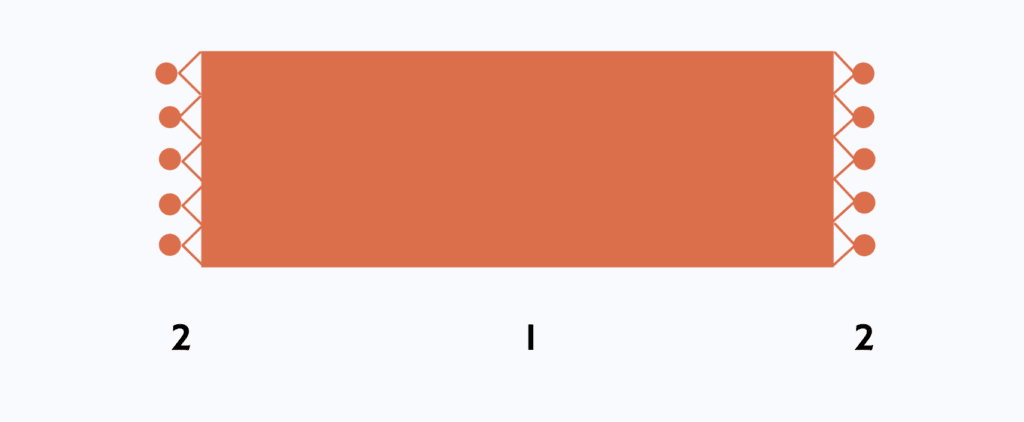
Construction (See Schematic Below)
- This wrap is worked in rows as one large rectangle.
- Edging is added last.
Abbreviations
This pattern is written in US terminology.
- Stitch/es (st/sts)
- Round/s (rnd/rnds)
- Chain stitch (ch)
- Slip stitch (slp-st)
- Half-double crochet (hdc)
- *____* Repeat indicated instructions
Special Stitches
Cluster st - Yarn over (yo), insert hook into st, *yo, pull through 2 loops,* Repeat from * to * 2 more times, yo, pull through all 4 loops.
Recommended Yarn
Yarn Bee Fireside (bulky 5), 97% Acrylic & 3% Polyester, in Mandarin, 6 ounces/180 yds/164.59 m per skein.
Total yardage: approximately 4 skeins / 720 yds/ 658.36 m.
US/UK Conversion
US terminology UK terminology
Slip stitch (slp-st) = Slip stitch (ss)
Half-double crochet (hdc) = Half-treble crochet (htr)
Yarn Alternatives
Bulky 5 weight yarn
Other Materials
- Crochet Hook size J/6.00mm or whatever hook is necessary to obtain the correct gauge.
- Scissors
- Tapestry needle for weaving in ends
Inspiration
This pattern was inspired by my mother who lives in the mountains where it gets quite cold. I wanted to make her an accessory piece for layering. I wanted it to be warm and snuggly as well as stylish, but also something she could take off easily when going indoors or as the day warmed up.
Prefer a PDF?
This pattern is available as a large print, ad-free, printable PDF pattern.
Get it in these places:
Join the Newsletter!
Subscribe to get our latest content by email & receive a Ravelry coupon code for a FREE crochet PDF pattern of your choice!
Yarn Details
The concept behind the Cozy Fireside Wrap was simple elegance.
I wanted to created my mom a simple piece that would add a stylish touch to her cooler weather wear.
I was quite fortunate that my husband had just purchased me a ton of gorgeous yarn from Hobby Lobby. Yarn Bee Fireside was one of those yarns..
I was immediately attracted to the color he’d picked out – Mandarin.
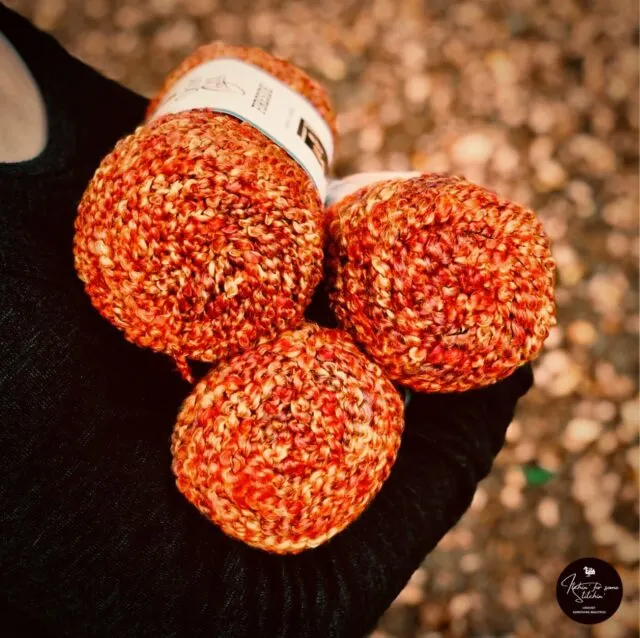
It was perfect for a transitional piece and I knew my mother would love it.
And, bonus, this yarn felt absolutely amazing!
I found only one con to working with this yarn.
Because of it’s ridge-like texture, it can be quite difficult to see your stitches!
Eventually I was able to find all my stitches by “feel”, but I do highly recommend using simple stitches, such as the half-double crochet, double crochet, or even treble crochet, when working with it.
I did attempt to use the single crochet, but since the stitches are quite small I found it impossible with this yarn – my eyes are not that good! 😂
You can purchase it at Hobby Lobby stores.
Other Patterns I Love & You Will too!
Cinnamon Spiced Ribbed Sweater
Alpine Ridges Comfort Scarf
Moravia Crochet Beanie
Let’s Get Crafty!
Looking for lots of crafty inspiration, tips, tutorials, and a great crochet community? Join my Facebook group!
Pattern Notes:
Read all pattern notes, instructions, and other provided details carefully before starting the project to make sure you understand everything. It could save you hours & a lot of headaches!
- Make a swatch that measures at least 10 x 10 cm / 4 x 4 inches using the stitch provided under the Gauge Section. If your swatch matches the gauge, then you are all set to start the project. If the gauge is wrong, you might need to change your crochet hook – increase your hook size if your stitches are smaller & decrease your hook size if your stitches are larger.
- All measurements given are unblocked.
- Provided measurements are as exact as possible, but are given as approximates. This is because yarn variances, crochet tension, & individual technique might give variations in the result, which changes from person to person.
- Stitch counts are given in ( ) at the end of each row. If no stitch count is given, then the count is the same as the previous row.
- Care Instructions: Hand wash & lay flat to dry or follow instructions on the yarn label.
Love Pinterest?
I do!
PIN this pattern to your Pinterest boards for later.
You can also follow all my boards!
**THIS IS AN ORIGINAL PATTERN. Please see my Copyright Statement for details.
Instructions
Body:
Ch 170
Row 1: Hdc in 3rd ch from hook (does not count as a st) and in each ch across. (168 sts)
Row 2: Ch 2 (does not count as a st), turn work, hdc in each st across. (168 st)
Repeat row 2 until your project measures 16 – inches in width.
Edging:
NOTE: work edging on the short ends only.
— Attach yarn at the right-hand corner of one of each short edge using a slp-st.
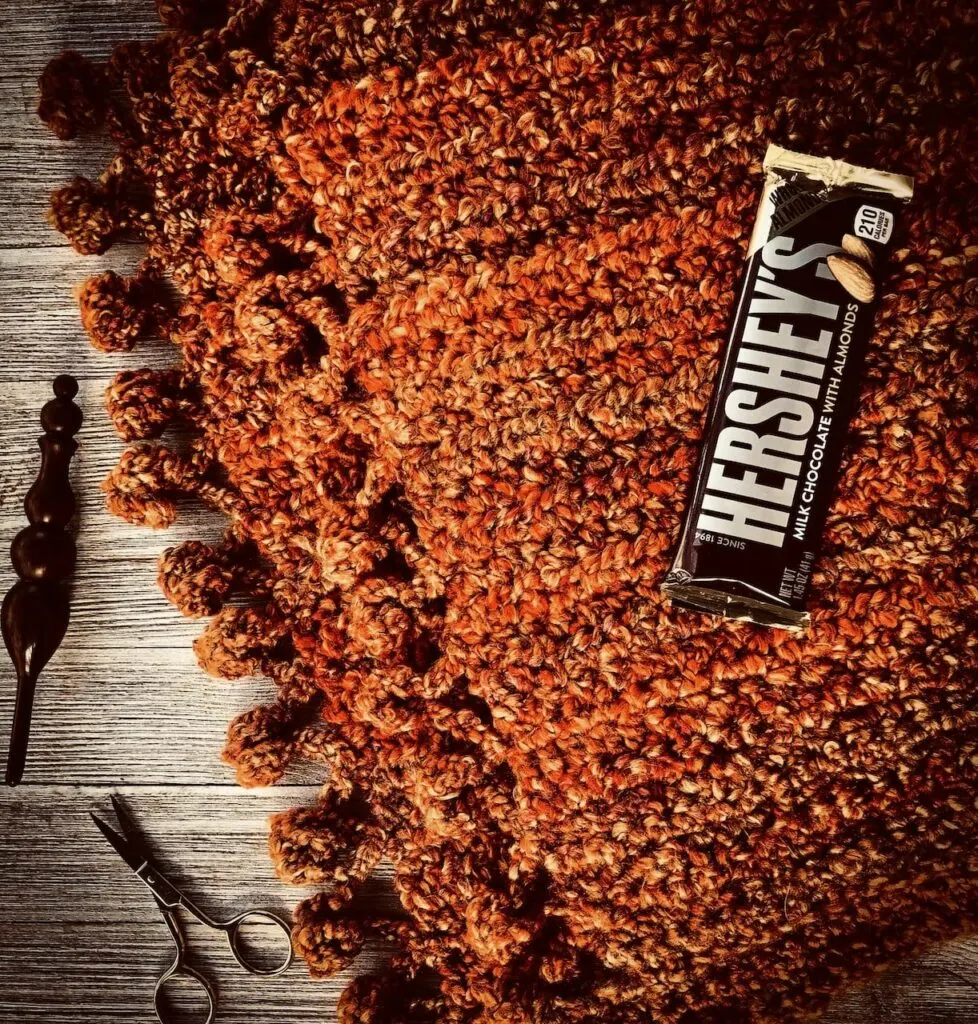
*Ch 6, cluster st in 3rd ch from hook, ch 3, cluster st in top of previous cluster, fold top cluster onto bottom cluster, slp-st together at the base, ch 4, slp-st into the next st*
NOTE: the “next st” is wherever you want your next pom pom to be placed, for this pattern I skipped 2-3 sts before starting the next pom pom to produce 13 pom poms on each side, you can make as many or as little pom poms as you desire.
Thank you for coming to my blog! By sharing my content and/or making a purchase you are making it possible for me to continue producing and sharing free content for everyone to enjoy. I sincerely appreciate your support!
Until next time… Happy Crocheting!

Please Share!


Karen
Sunday 28th of August 2022
How did you do your pom poms?
Itchin4Stitchin
Sunday 28th of August 2022
Hi Karen,
The instructions for the pom pom edging is provided in the pattern. It is the last part of the instructions. Please feel free to contact me via email at [email protected] if you need help with the instructions.
Sincerely,
RaeLynn
Beverly
Monday 15th of August 2022
What would you have to do different to use a 3 or 4 weight yarn with this pattern? I live in South Georgia and we don't have many cold days, just cool ones. I would like to try making this pattern if not for the heat concern. Thank you for your help. Beverly
Itchin4Stitchin
Monday 15th of August 2022
Hi Beverly,
I think the adjustment would be quite easy to do. Make your foundation chain with the lightweight 3 or medium 4 as long as you would like your wrap to be. Then follow the pattern instructions until the wrap is as wide as you want it to be. Does that make sense?
Sincerely,
RaeLynn