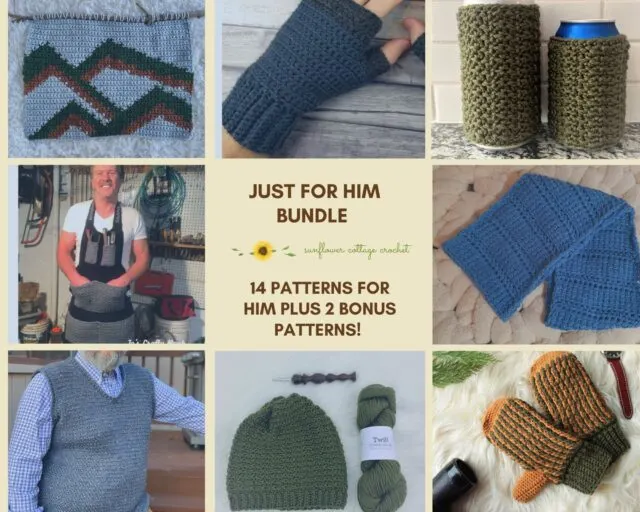
You know folks, sometimes you just have to make something special.
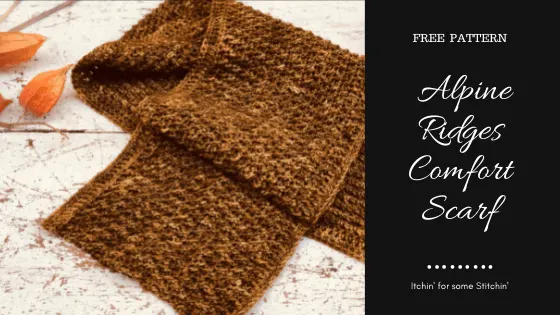
And that’s what I am sharing with you today, a special crochet scarf pattern.
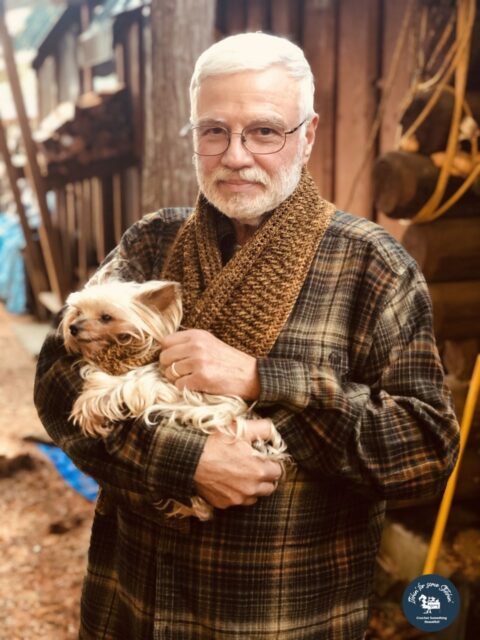
It’s special because I designed it for someone special – my dad.

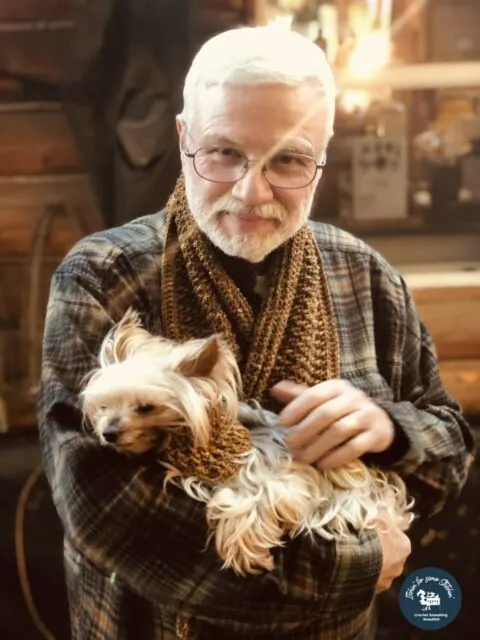
My dad is in his 70’s folks and his neck is always cold, so you’ll never see him without a wrap about his neck and last year his favorite one needed to be replaced.
And folks, dad asked me to crochet him a new one!
This was really a huge deal to me and I was happy to comply.

I mean, isn’t it great when people appreciate your work and want to wear your creations?
I think so!
So, I picked the stitch, but I let dad pick the yarn and the yarn color for his new scarf.
Looking for lots of crafty inspiration, tips, tutorials, and a great crochet community? Join my Facebook group!
Yarn Details: It’s all about the yarn baby!
Dad was very specific about the feel of the yarn he wanted. He was also set on olive green for the color.
So, I had a bit of trouble finding both the right color and yarn texture, especially because we were living the in wilds of the Idaho-Montana mountains at the time
Seriously ya’ll, the nearest yarn store was 2 hours away!
The solution?
I hand-dyed dad’s yarn.


I was just learning the basic yarn dyeing techniques at the time and had some 75% Superwash Merino/25% Nylon, 3 ply fingering weight yarn on hand.
Luckily, I was able to order some olive acid dye and my first line of Gylden Olive yarn was born!
You can purchase it via my Etsy shop below (when in stock or create a custom order).
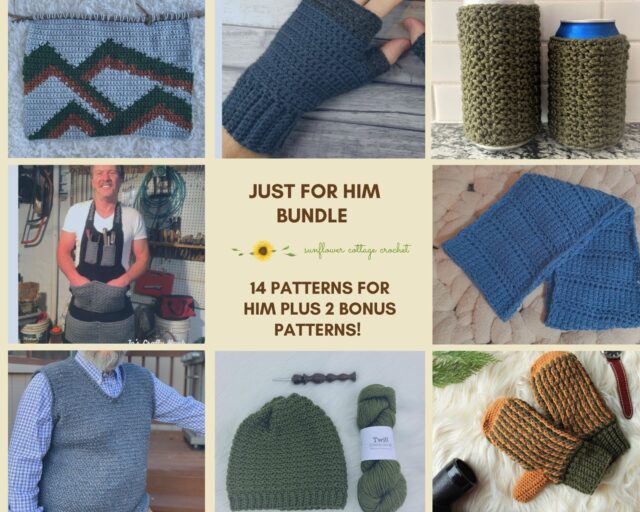
Recommended for You!
Crochet Alpine Stitch Scarf
**THIS IS AN ORIGINAL PATTERN. Please see my Copyright Statement for details.

The fall and winter seasons in the Idaho-Montana mountains can be brutal folks.
And dad really needed a scarf that would keep his neck warm, without heaviness, and with the specific feel he wanted.
The bare yarn I hand for dyeing was the perfect feel for dad, but it was a thinner fingering weight that wouldn’t provide as much warmth as a thicker wool blend.
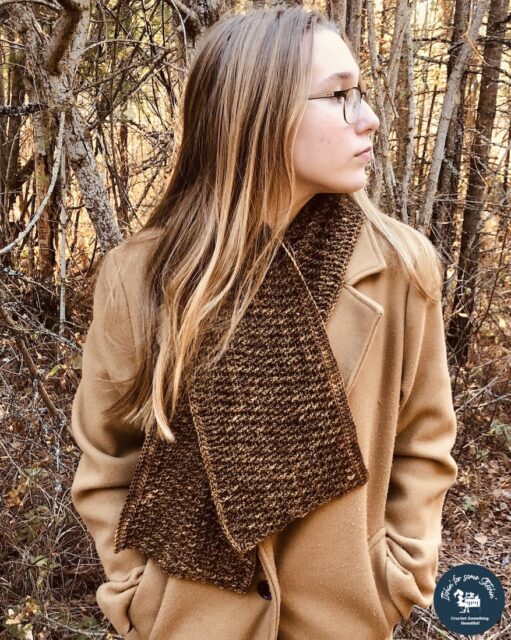
So I decided use the alpine stitch for dad’s scarf because the stitches create a dense crochet fabric that would help keep his neck super warm in the cold weather months, plus, it has an amazing texture!
Prefer a PDF?
This pattern is available as a large print, ad-free, printable PDF pattern.
Get it in these places:

Love Pinterest? I do!
PIN this pattern to your Pinterest boards for later HERE.
You can also follow all my boards!

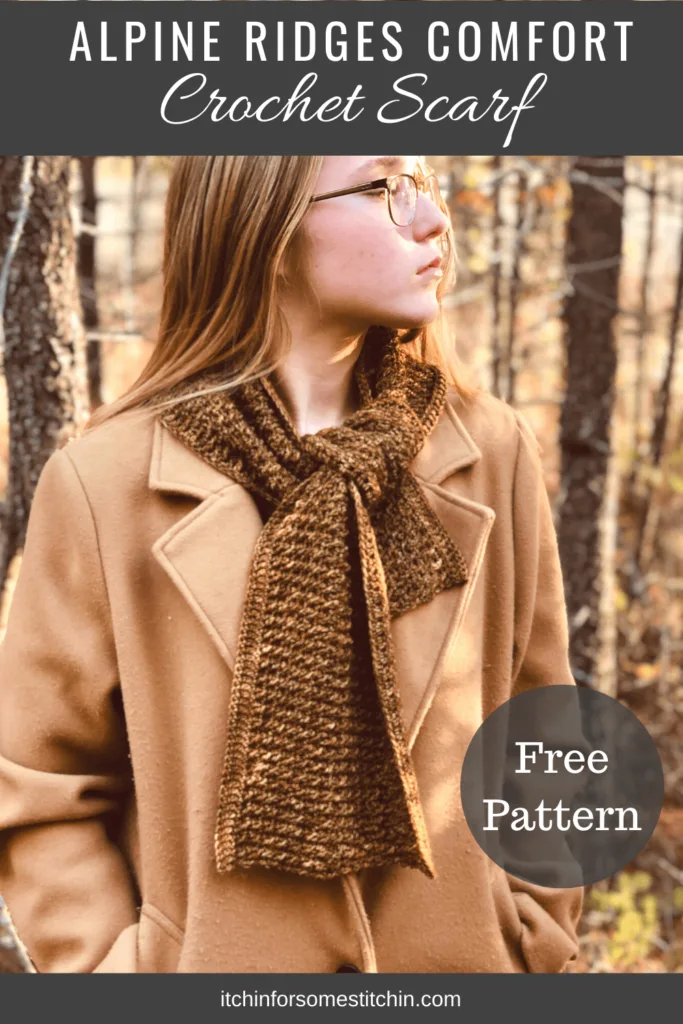
Summary:
Style. Comfort. Elegance. Warmth. The Alpine Ridges Comfort Scarf has it all. Designed with a unique set of crochet stitches, this scarf is truly an eye-catching piece! The perfect cool weather accessory to add a touch of graceful beauty to your fall or winter wardrobe. Great for both men and women!
Difficulty level: Level 3 – Intermediate
Finished Dimensions (in inches):
Approximately 7.5 (W) X 44.5 (L)
Gauge:
17 stitches and 5.5 rows = 4-inches in double crochet (dc)
Materials:
- 1.25 hanks of 75% Superwash Merino/25% Nylon, 3 ply fingering weight yarn (415 yards/100grams per hank)
NOTE: I used Olive Gold indie dyed yarn for this project.
~ Total Yardage – 519 to 530 yards
- Hook size – G/6 – 4.25mm
- Scissors
- Tapestry needle for weaving in ends
- Materials for your favorite blocking method
Abbreviations:
Pattern is written in US terms. *Click on abbreviation names for tutorials
Stitch/es (st/sts)
Front post double crochet (FPDC)
Special Stitches:
Alpine stitch – a 4-row repeat pattern where rows of front post double crochet stitches are alternated with rows of single crochet stitches to create a beautiful textured diamond shape pattern on one side and a flat defined pattern on the other side
Additional Notes:
Read all pattern notes, instructions, and other provided details carefully before starting the project to make sure you understand everything. It could save you hours & a lot of headaches!
- Make a swatch that measures at least 10 x 10 cm / 4 x 4 inches using the stitch provided under the Gauge Section. If your swatch matches the gauge, then you are all set to start the project. If the gauge is wrong, you might need to change your crochet hook – increase your hook size if your stitches are smaller & decrease your hook size if your stitches are larger.
- All measurements given are unblocked.
- Provided measurements are as exact as possible, but are given as approximates. This is because yarn variances, crochet tension, & individual technique might give variations in the result, which changes from person to person.
- IMPORTANT: Keep your stitches loose throughout the entire project.
- The scarf will most likely curl as your crochet, you will need to use your favorite blocking method.
INSTRUCTIONS:
Very loosely Ch 201
Row 1: Sc in the 2nd ch from the hook and in each ch across. (200)
Row 2: Ch 3 (counts as a dc), turn work, dc in the next st and in each st across. (200)
Row 3: Ch 1, turn work, sc in each st across. (200)
Row 4: Ch 3, turn work, (counts as a stitch), sc the 2nd sc and instead work a FPDC around the dc directly below, “dc in the next sc, skip the next sc and instead work a FPDC around the dc directly below*, Repeat from * to * to the end, dc in the last sc of the row. (200)
Row 5: Ch 1, turn work, sc in each st across. (200)
Row 6: Ch 3, (counts as a stitch), turn work, *dc in the next sc, skip the next sc and instead FPDC around the dc directly below*, Repeat from * to * to end, dc in the last sc.
Row 7: Ch 1, turn work, sc in each st across. (200)
Repeat rows 4 – 7 until the scarf reaches approximately 7 – inches in width or your desired width. Be sure to end on a repeat of row 7.
Once you’ve reached your desired width, do not bind off:
- Ch 3 (counts as a st), turn work, dc in each st across. (200)
- Ch 1, turn work, sc in each st across. (200)
FINISHING:
- Fold the ear warmer in half with the right sides together.
- Slp – st the short edges together to create a ring.
- Block the scarf using your preferred method.
I’d love to see your Alpine Ridges Comfort Scarves!
Please be sure to share your makes with me on social media with #itchinforsomestitchin and #alpineridgescarf.
Thank you for coming to my blog! By sharing my content and/or making a purchase you are making it possible for me to continue producing and sharing free content for everyone to enjoy. I sincerely appreciate your support!
Until next time… Happy Crocheting!


Please Share!