


INTRODUCING
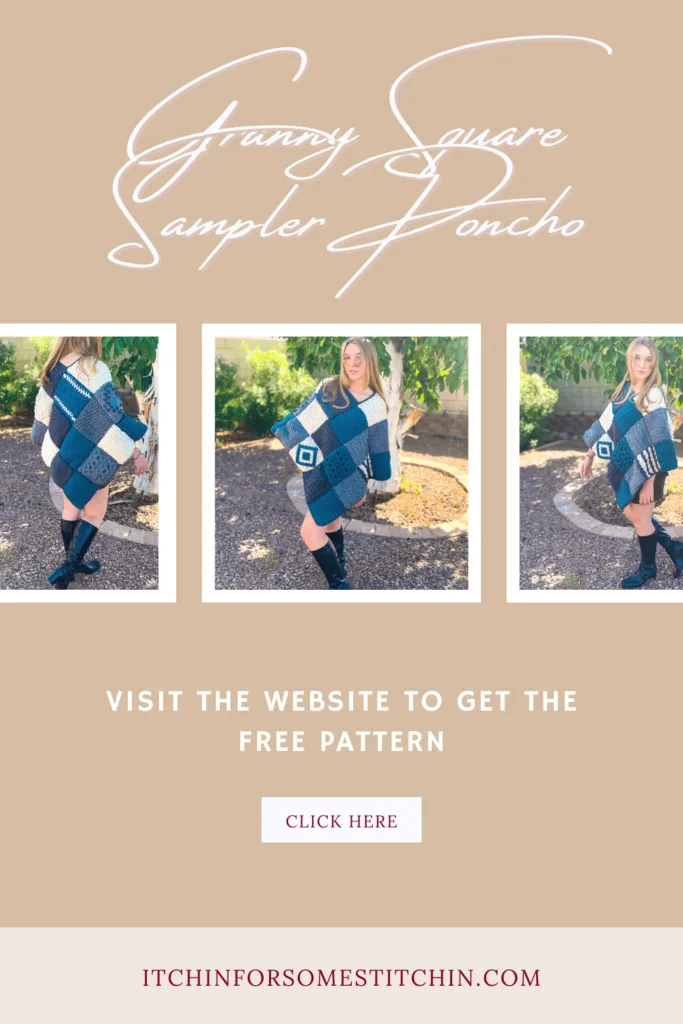
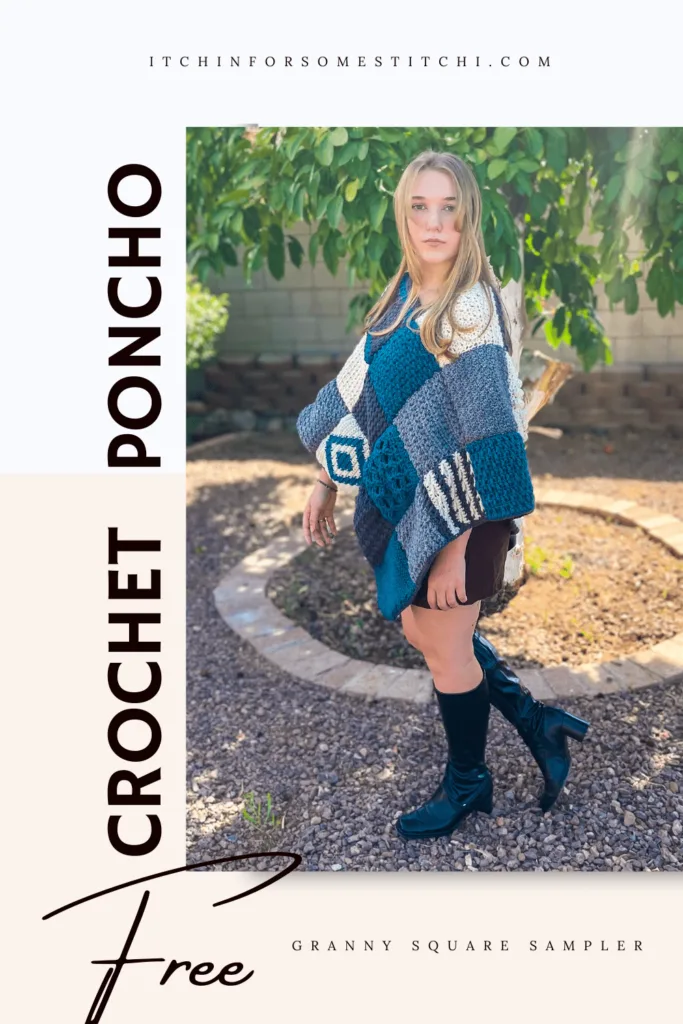
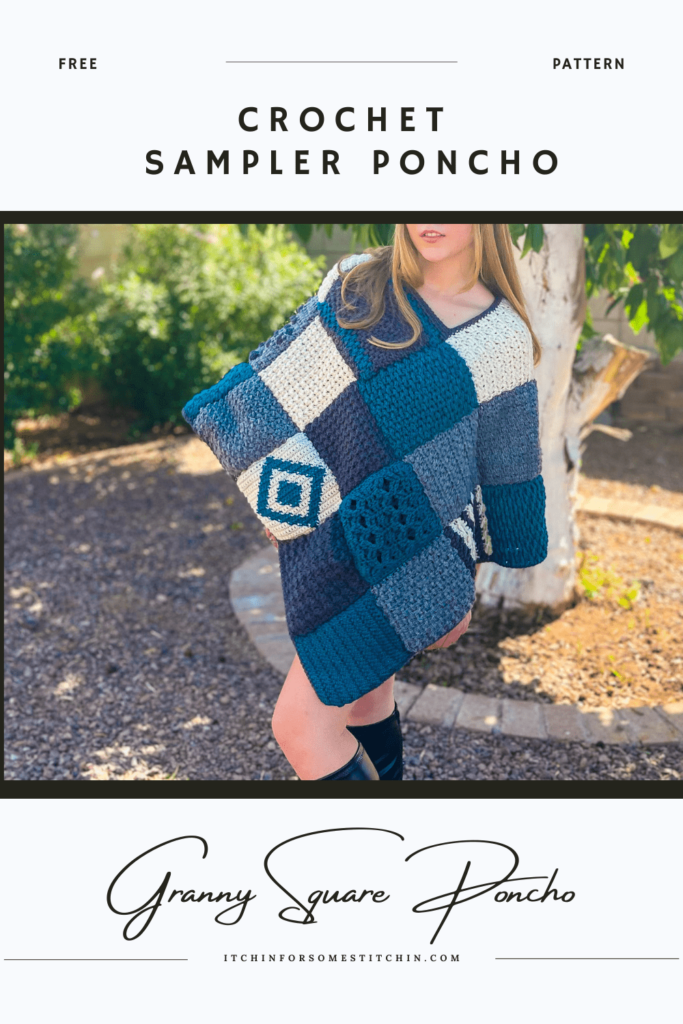
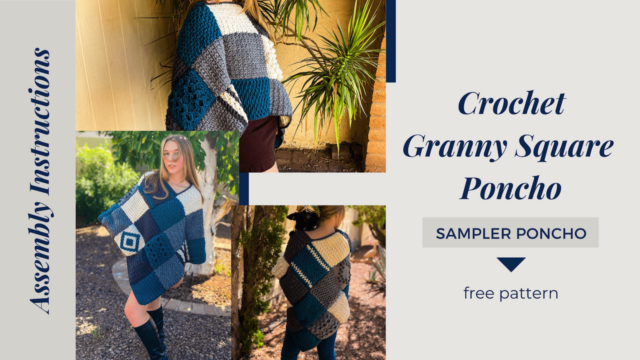
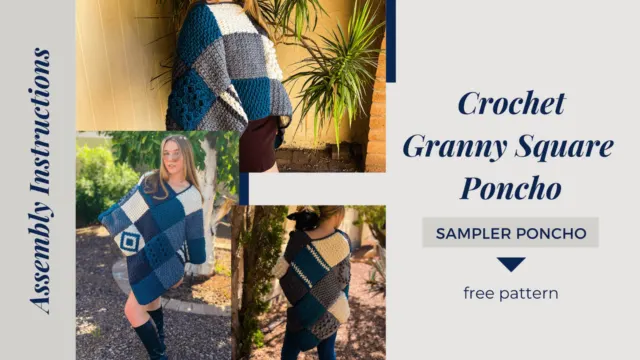
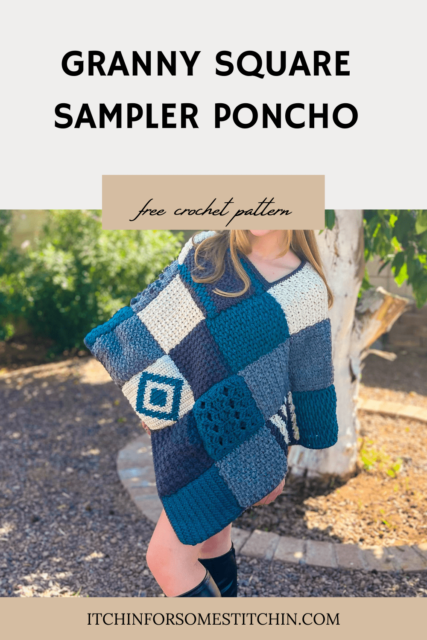
Sampler Poncho Assembly Instructions
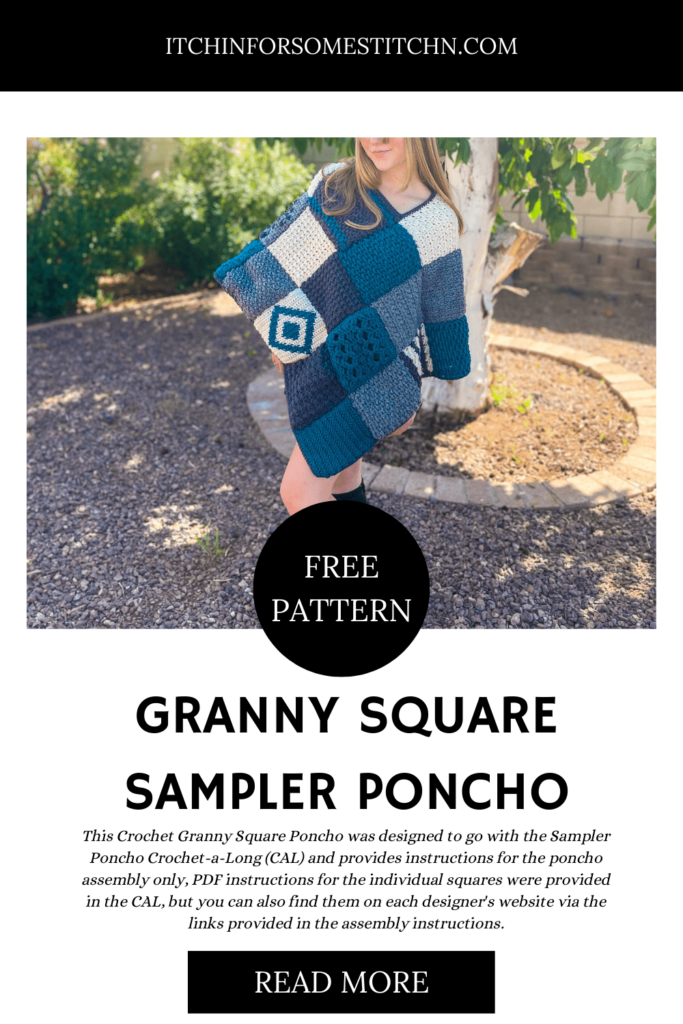
This Crochet Granny Square Poncho was designed to go with the Sampler Poncho Crochet-a-Long (CAL) and provides instructions for the poncho assembly only, PDF instructions for the individual squares were provided in the CAL, but you can also find them on each designer’s website via the links provided in the assembly instructions.
Click the button below to go to the CAL for the individual square patterns.
About Sampler Poncho
Difficulty Level
Difficulty level of the squares range from Level 1 Beginner to Level 3 Intermediate.
Difficulty level for the poncho assembly is Level 2 Advanced Beginner/Easy.


Gauge
There is no overall gauge for these instructions.
Gauges for individual squares are provided in the square pattern instructions.
Finished Dimensions (in inches)
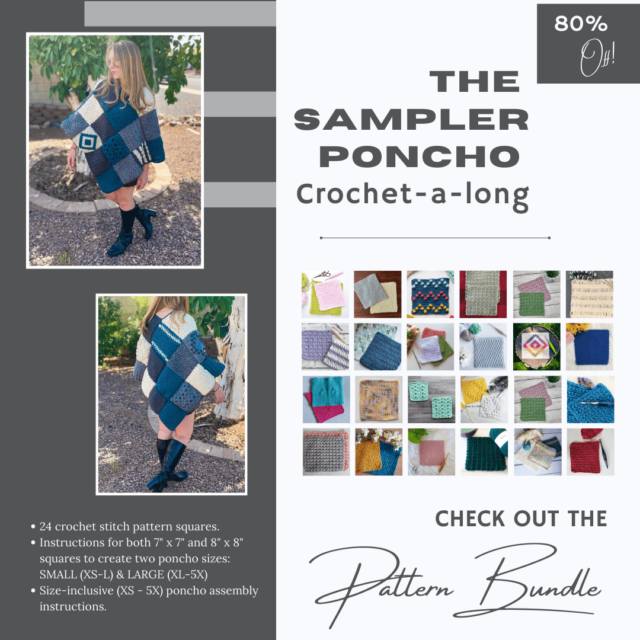
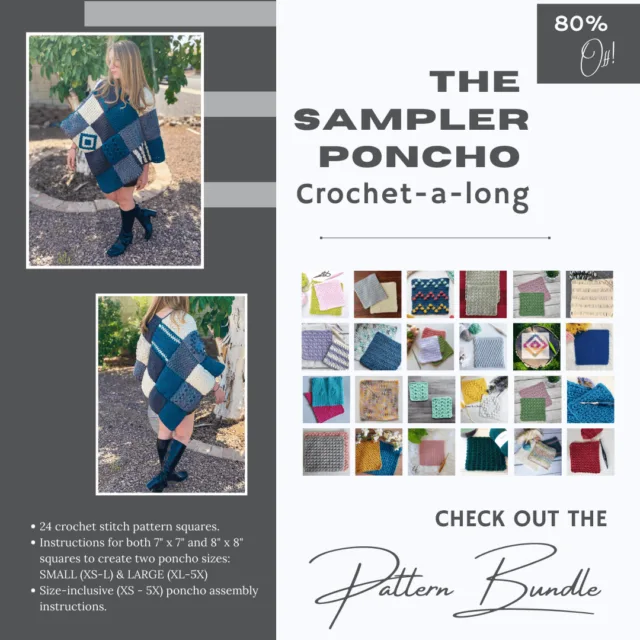
Each square pattern (see the Sampler Poncho CAL event page) provides instructions for a 7″x7″ square and an 8″X8″ square.
The poncho can be made in two sizes – small and large – that works for all sizes XS – 5X. Thus, it is a “two-sizes fit all” project.
***You will need to duplicate 6 squares of your choice to assemble the poncho. So, make one each of 18 squares and make 2 each of 6 squares for a total of 30 squares.
Extra small (XS), Small (S), Medium (M), and Large (L) = Small Poncho; make 30 – 7″ x 7″ squares.
Small Poncho finished dimensions are 32″ from shoulder to tip not including trim. Arm length is 20″ not including trim.
Extra large (XL), 1X, 2X, 3X, 4X, 5X = Large Poncho; make 30 – 8″ x 8″ squares.
Large Poncho finished dimensions are 36″ from shoulder to tip not including trim. Arm length is 23″ not including trim.
NOTE: Trim adds approximately 0.5″ around bottom of the poncho and around the neckline of the poncho.
Abbreviations
This pattern is written in US terminology.
- Stitch/es (st/sts)
- Slip stitch (slp-st)
- Single crochet (sc)
Special Stitches
Single Crochet 2 together (sc2tog) - Insert hook into first stitch, yarn over, pull up a loop (2 loops on hook, insert hook into the next st, yarn over, pull up a loop (3 loops on hook), yarn over, pull through all 3 loops.
Recommended Yarn
Yarnspirations Red Heart Super Saver, medium 4 worsted weight, 100% acrylic, 364 yds / 333 m, 7 oz / 198 g.
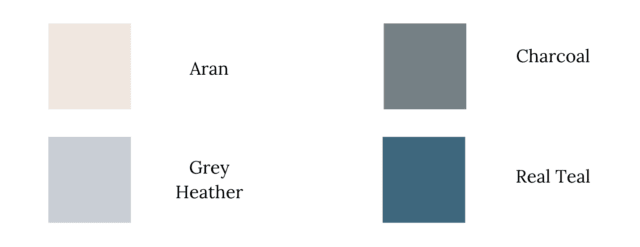
Colors: Real Teal, Charcoal, & Aran – 2 skeins for Small & Large Poncho Sizes Total yardage per color: 728 yds / 666 m
Yarnspirations Red Heart Super Saver, medium 4 worsted weight, 100% acrylic, 236 yds / 215 m, 5 oz / 141 g.
Colors: Grey Heather – 2 skeins for Small Poncho & 3 skeins for Large Poncho.
Total yardage: 472 yds / 430 m to 708 yds / 645 m.
Total poncho yardage: 2656 yds / 2428 m to 2892 yds / 2643 m.
US/UK Conversion
US terminology UK terminology
Slip stitch (slp-st) = Slip stitch (ss)
single crochet (sc) = double crochet (dc)
Yarn Alternatives
Medium 4 worsted weight yarn
- Craft Smart Value
Other Materials
- Crochet Hook sizes US 7/4.50 to US H/8 5.50 mm or whatever hook is necessary to obtain the correct gauge for each square.
- Measuring tape Stitch markers (optional)
- Scissors
- Tapestry needle for weaving in ends
Prefer a PDF?
This pattern is available as a large print, ad-free, printable PDF pattern.
NOTE: PDF does NOT include the written square patterns, but it does include links to the the written square patterns on each designer’s website.
Get it in these places:
Today is the last day to get all 24 square PDF patterns, plus the assembly instructions in one convenient bundle!

Join the Newsletter!
Subscribe to get our latest content by email & receive a Ravelry coupon code for a FREE crochet PDF pattern of your choice!
Other Patterns I Love & You Will too!
Cinnamon Spiced Ribbed Sweater


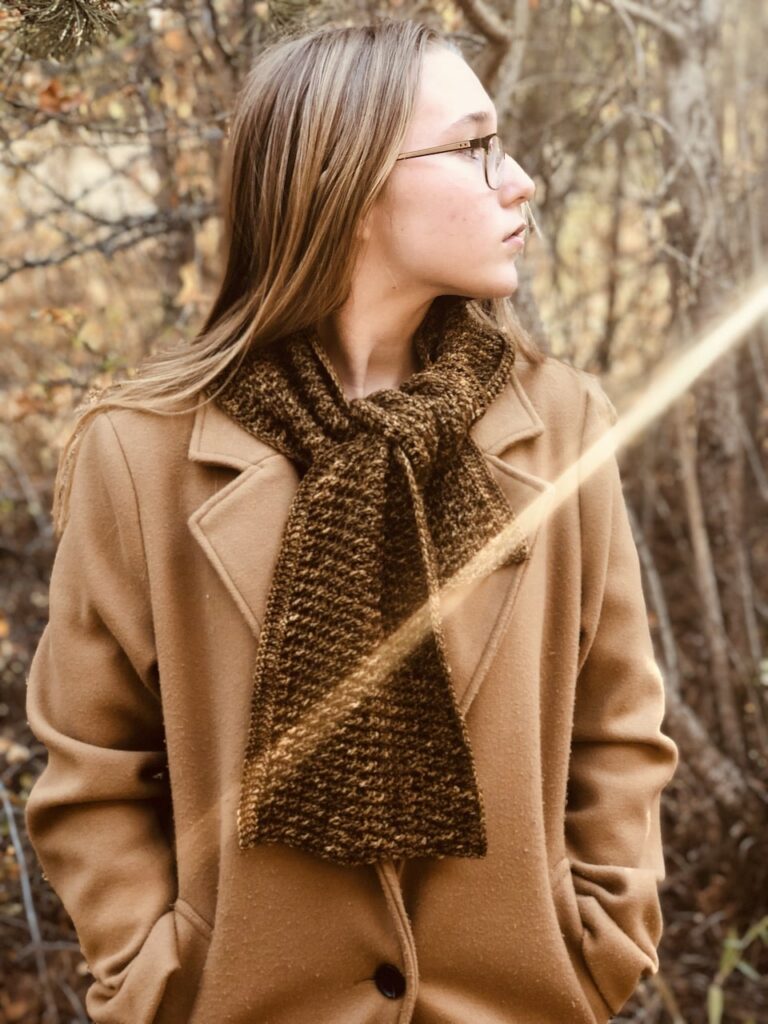
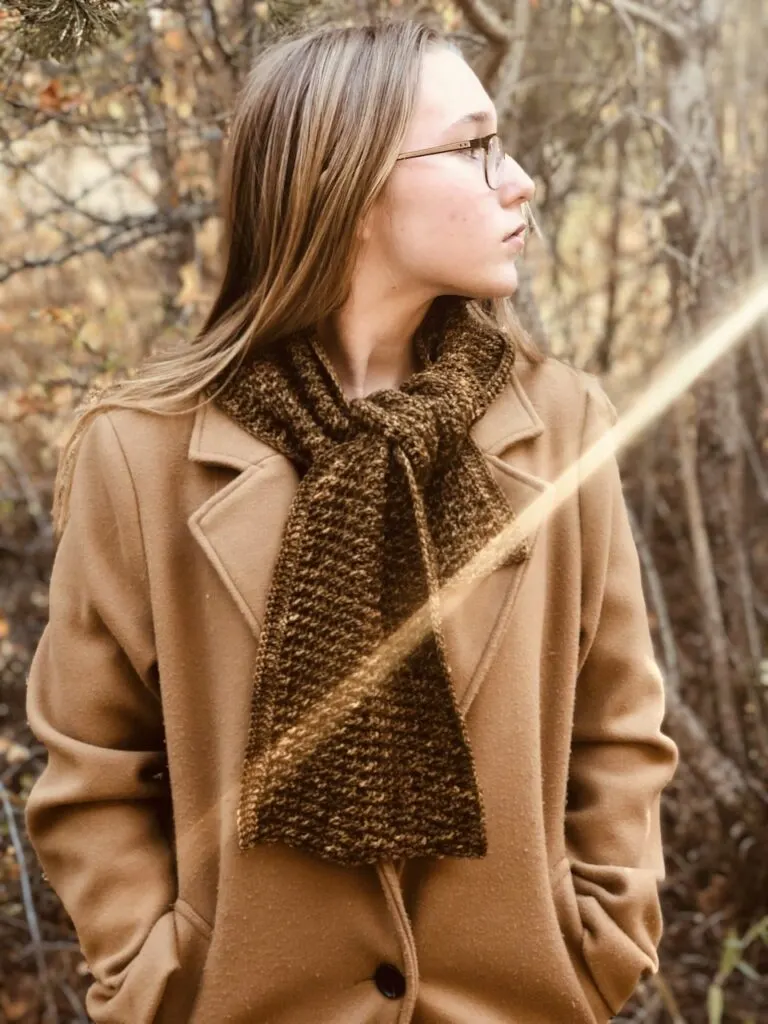
Alpine Ridges Comfort Scarf
Moravia Crochet Beanie


Let’s Get Crafty!
Looking for lots of crafty inspiration, tips, tutorials, and a great crochet community? Join my Facebook group!
Pattern Notes:
Read all pattern notes, instructions, and other provided details carefully before starting the project to make sure you understand everything. It could save you hours & a lot of headaches!
- Make a swatch that measures at least 10 x 10 cm / 4 x 4 inches using the stitch provided under the Gauge Section. If your swatch matches the gauge, then you are all set to start the project. If the gauge is wrong, you might need to change your crochet hook – increase your hook size if your stitches are smaller & decrease your hook size if your stitches are larger.
- All measurements given are unblocked and measured flat pre-wear and pre-seaming as fabric pieces may stretch during/after blocking, wearing, and seaming.
- Provided measurements are as exact as possible, but are given as approximates. This is because yarn variances, crochet tension, & individual technique might give variations in the result, which changes from person to person.
- The same size poncho may fit differently depending on each individual due to differences in individual body measurements.
- All seaming is done using the whip stitch. You can find a tutorial HERE.
- The trim requires crocheting continuously, this means that there will be NO joining at the end of each round, or turning and chaining.
- Some squares may stretch upon wear of the poncho, particularly around the shoulder areas.
- Stitch counts are given in ( ) at the end of each row. If no stitch count is given, then the count is the same as the previous row.
- Care Instructions: Hand wash & lay flat to dry or follow instructions on the yarn label.
Love Pinterest?
I do!
PIN this pattern to your Pinterest boards for later.
You can also follow all my boards!

**THIS IS AN ORIGINAL PATTERN. Please see my Copyright Statement for details.
Construction & Schematics
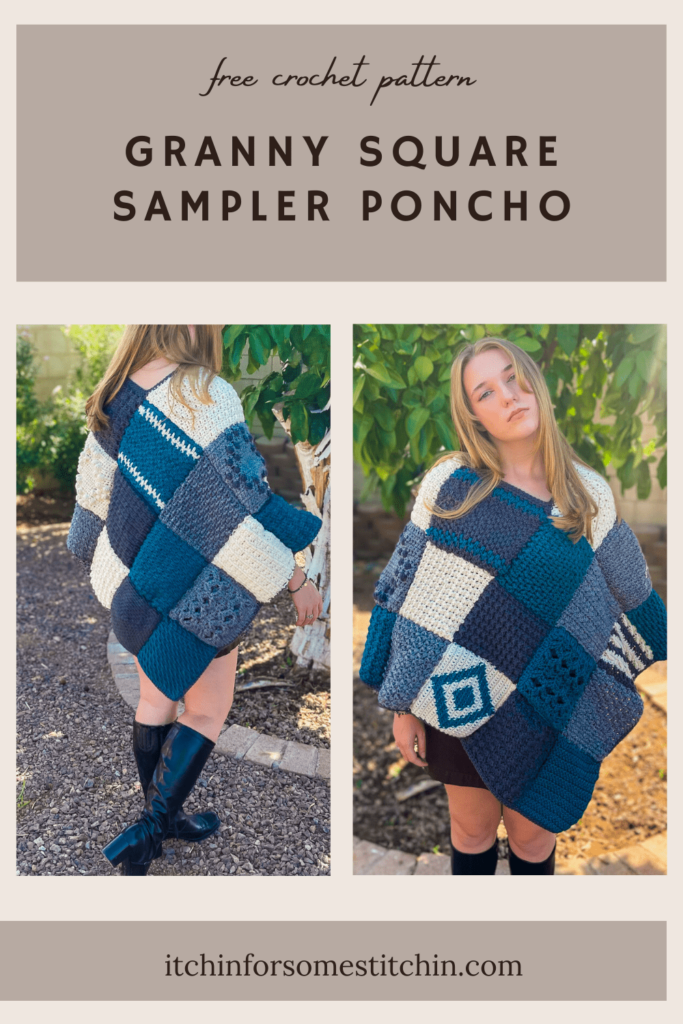
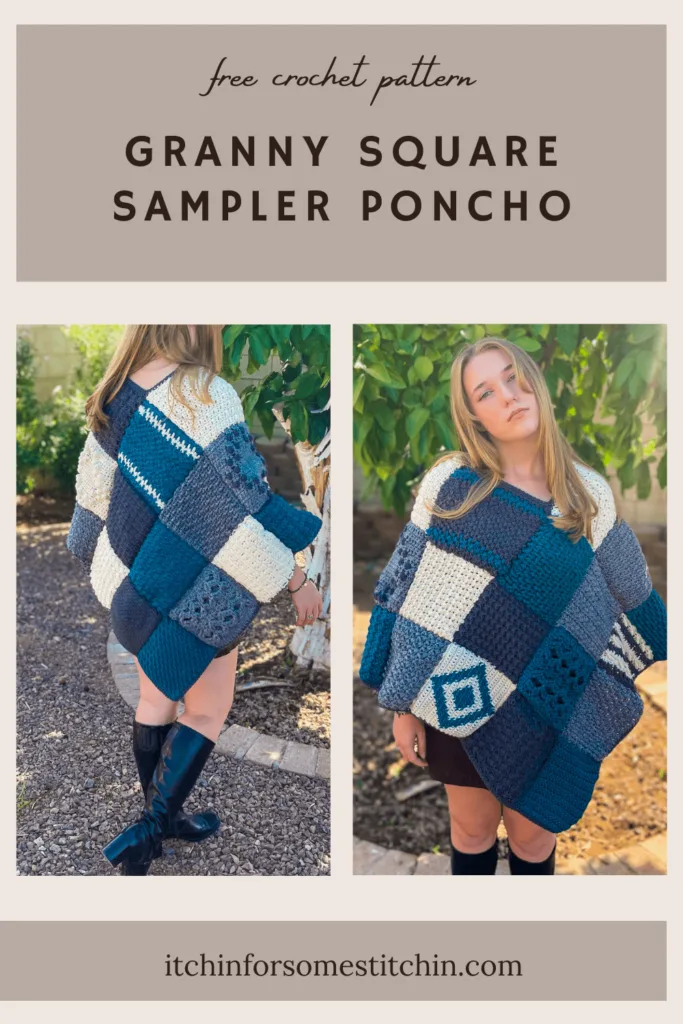
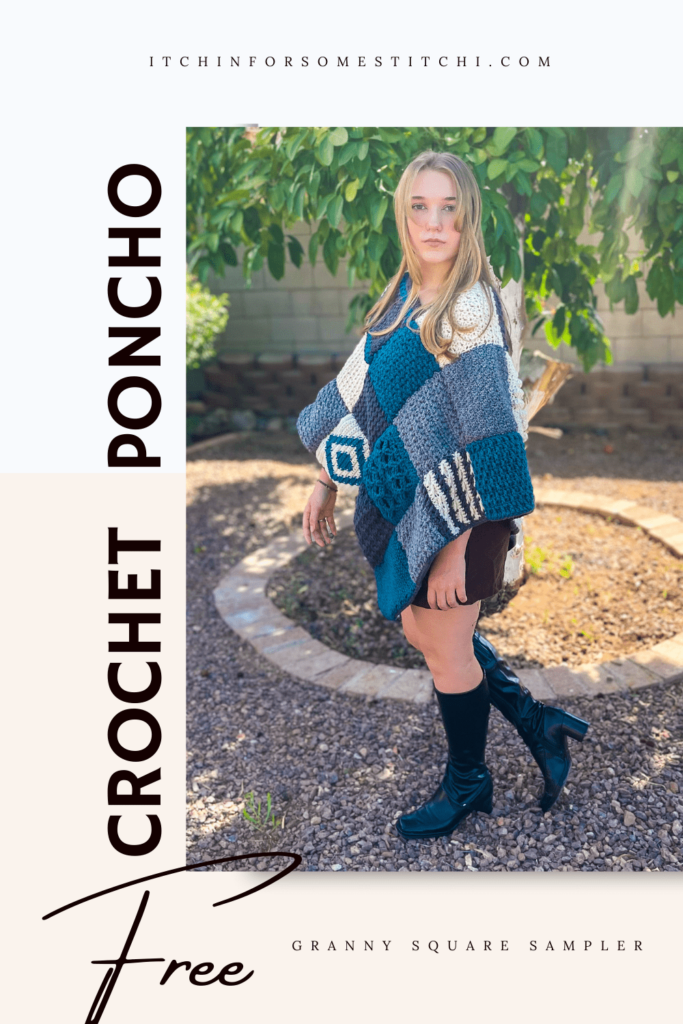
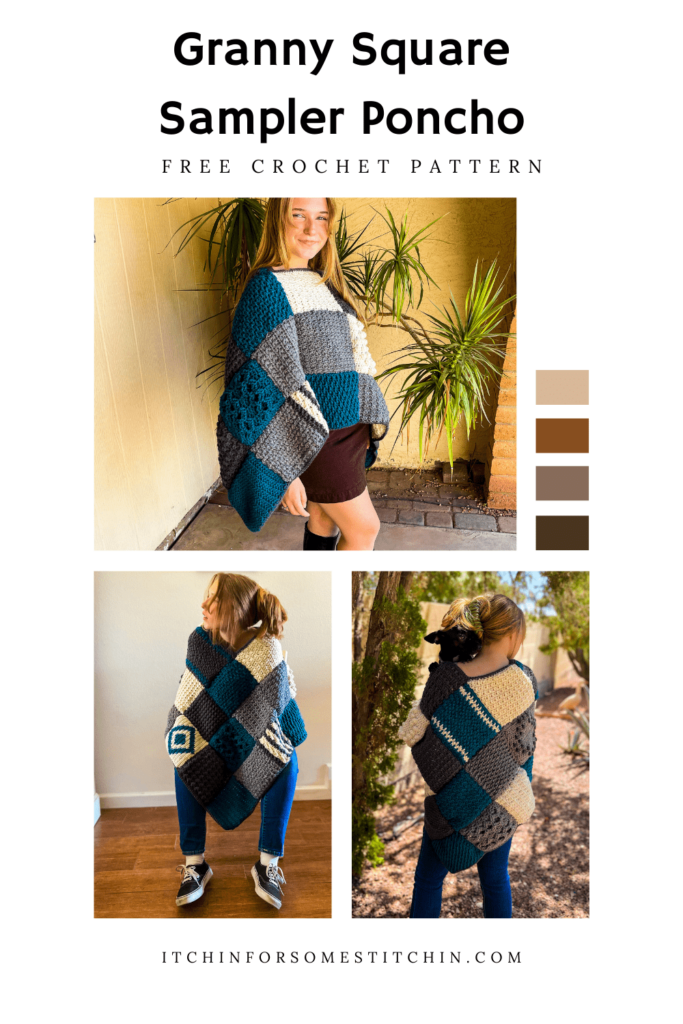
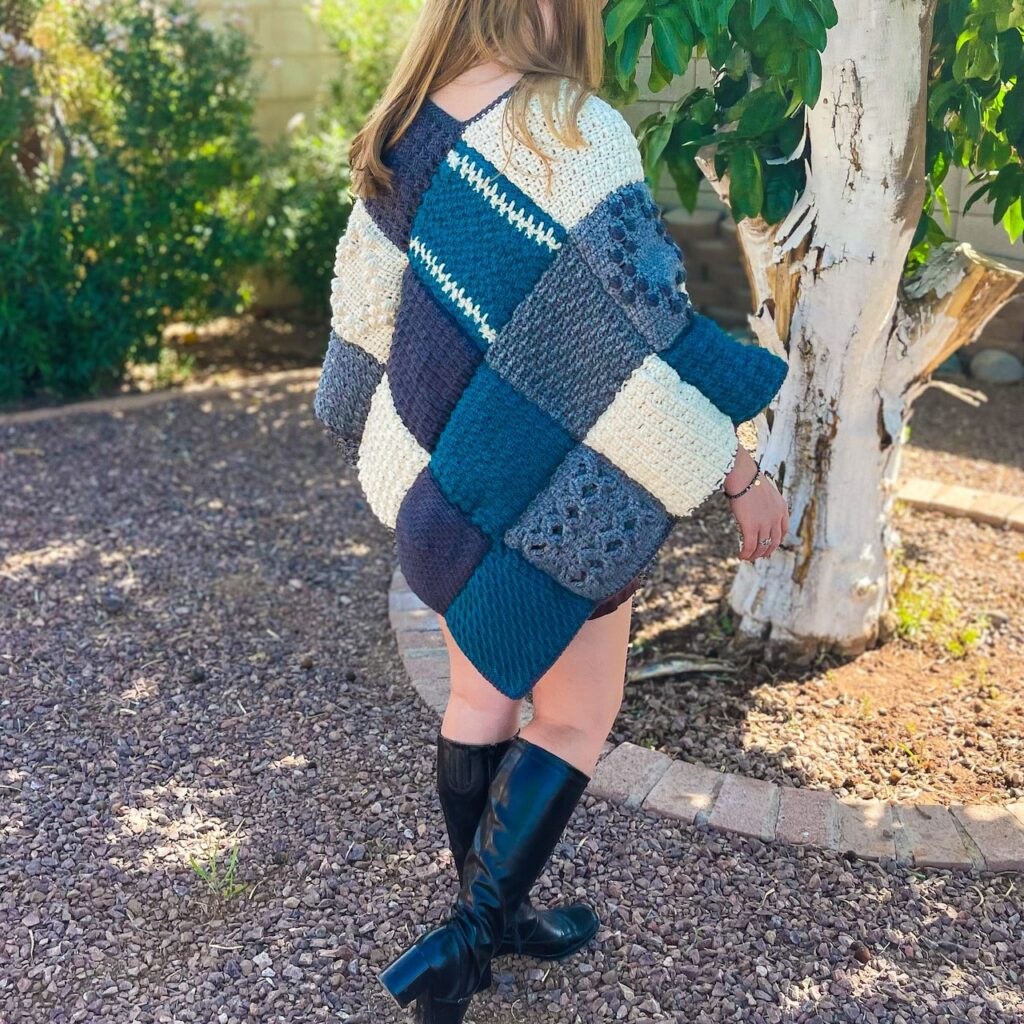
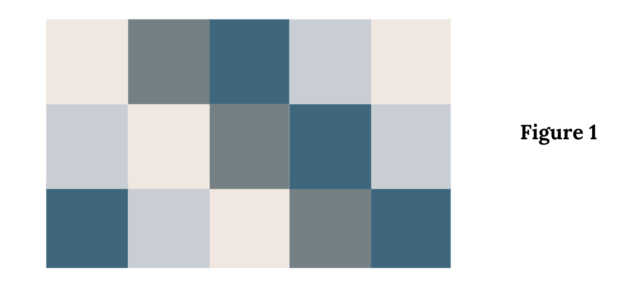
Step 1. Create 30 squares, each 7″ x 7″ for a Small Poncho or 8″ x 8″ for a Large Poncho. See color scheme for the poncho on the cover below.

Optional: Block squares.
Step 2. Assemble and seam together the 30 squares to create two rectangles, each 5 squares long and 3 squares wide for a total of 15 squares each. Bind off & weave in ends.

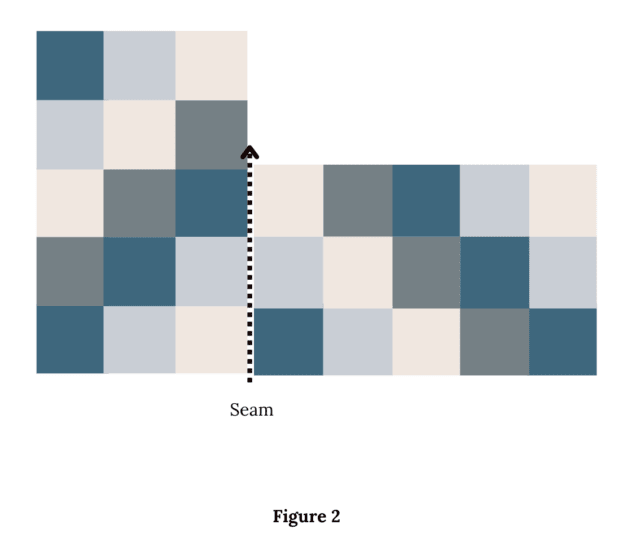
Step 3. With the wrong sides (WS) facing up (this is the side with the seams), seam the two rectangles together as indicated in the schematic below. Bind off & weave in ends.

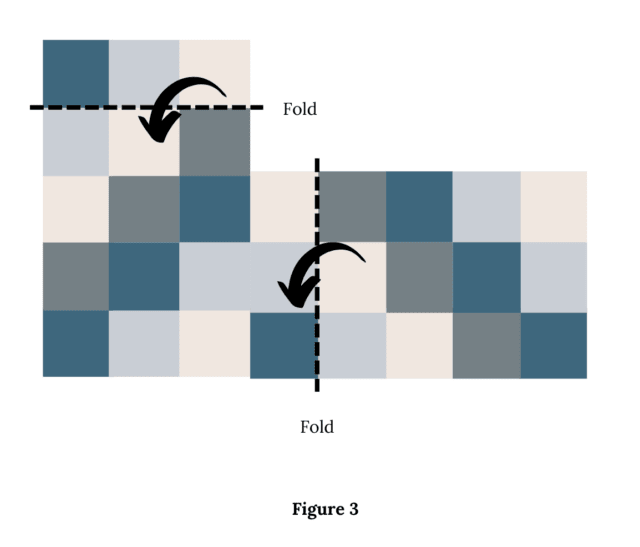
Step 4. With the right sides (RS) facing up ( this is the side without the seams), fold each rectangle as indicated by the dotted line and in the direction provided by the arrows as shown in Figure 3. below.

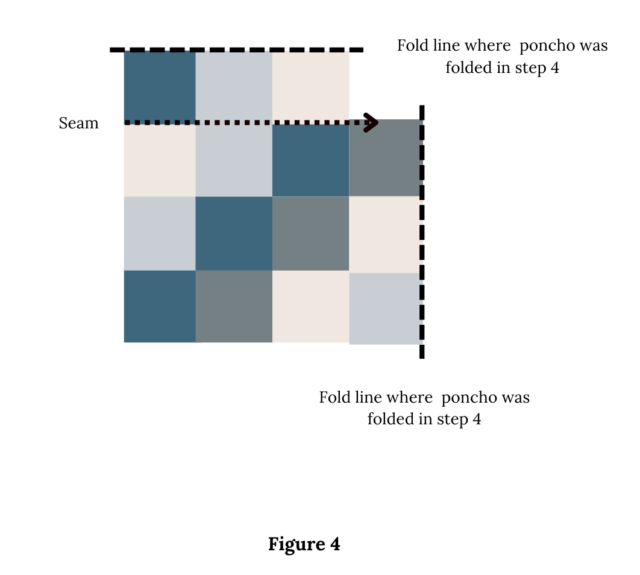
Step 5. After folding, WS is facing you. Seam poncho together as indicated by the dotted arrow in Figure 4 below. Bind off & weave in ends.
Step 6. Turn poncho right side out.

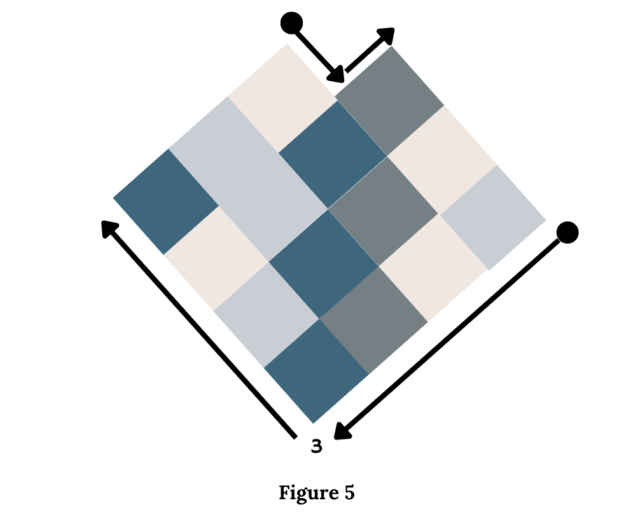
Step 7. Rotate poncho as indicated in Figure 5 below.
Step 8. Attach yarn using a slp-st where indicated by the black circles in Figure 5, sc into the same st as the slp-st and each st around until you get back to the start. Sc2tog the stitches on each side of a seam (do not work into the seams) and work 3 sc into the st at the bottom point of the poncho indicated by the number 3 in Figure 5 below. If you sc across a raw edge, the number of sts does not matter, but be sure to place your sts evenly.
Step 9. Crocheting continuously, sc around the hem and the neckline for one more round. Bind off & weave in ends.

Thank you for coming to my blog! By sharing my content and/or making a purchase you are making it possible for me to continue producing and sharing free content for everyone to enjoy. I sincerely appreciate your support!
Until next time… Happy Crocheting!


Please Share!