


INTRODUCING
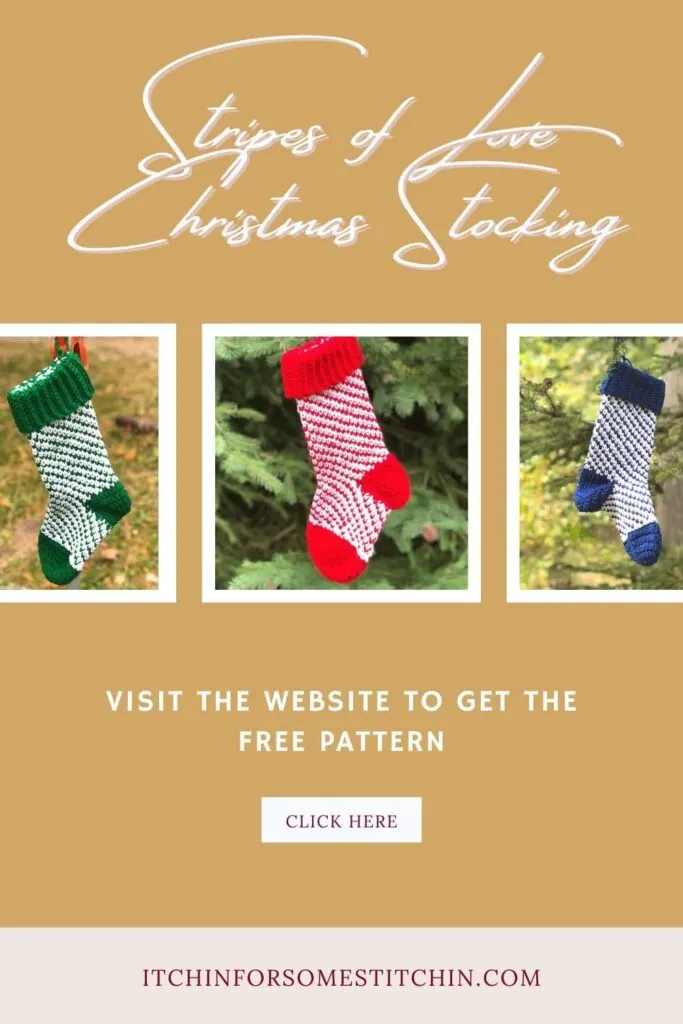
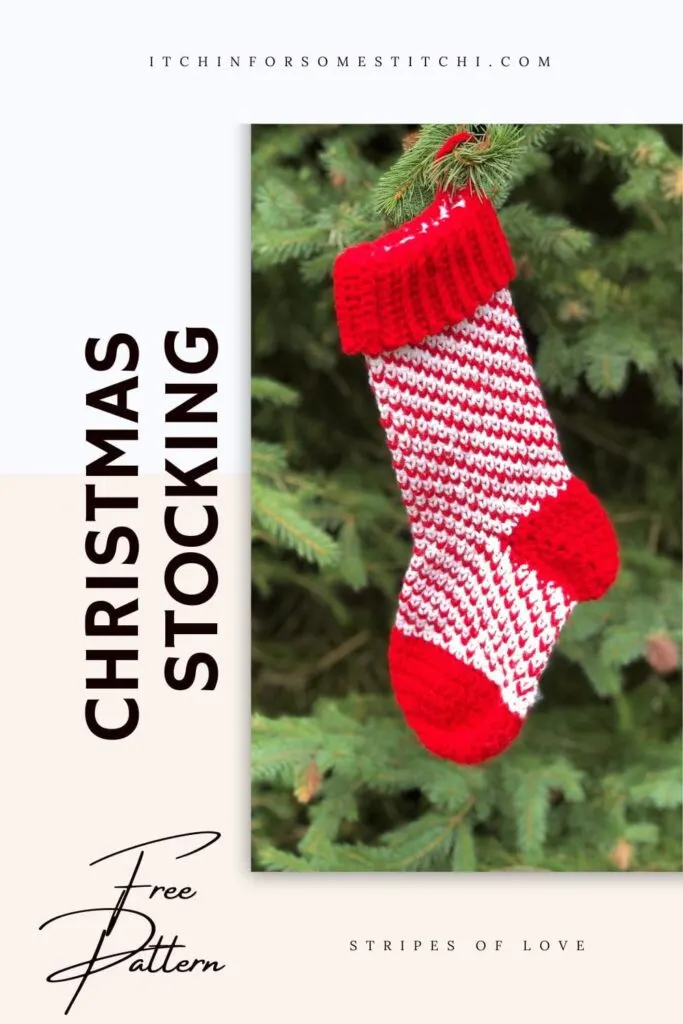
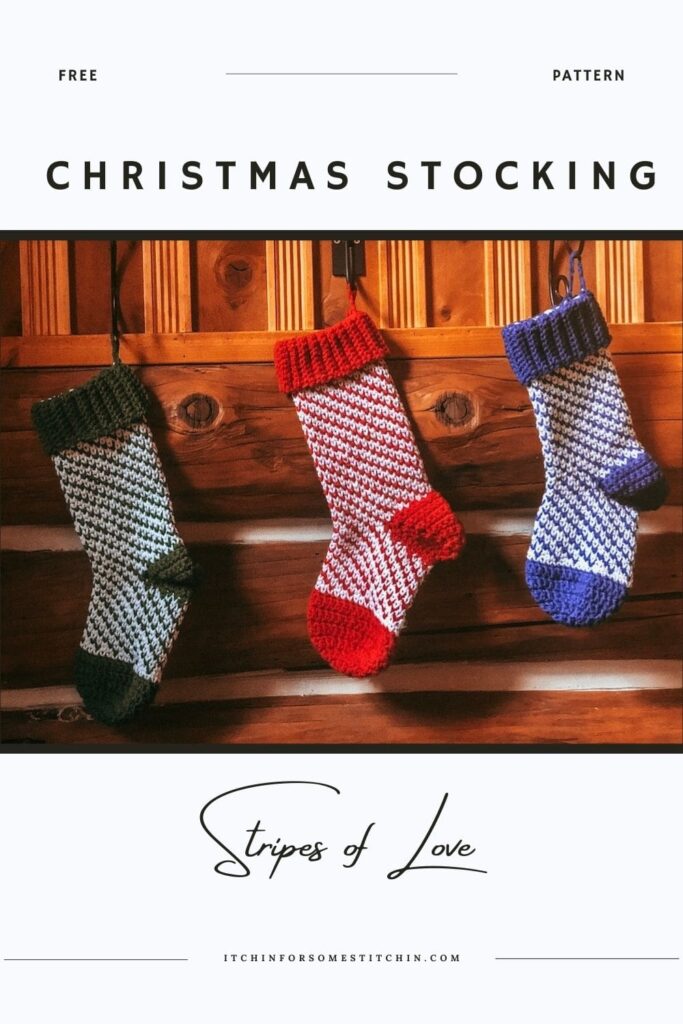
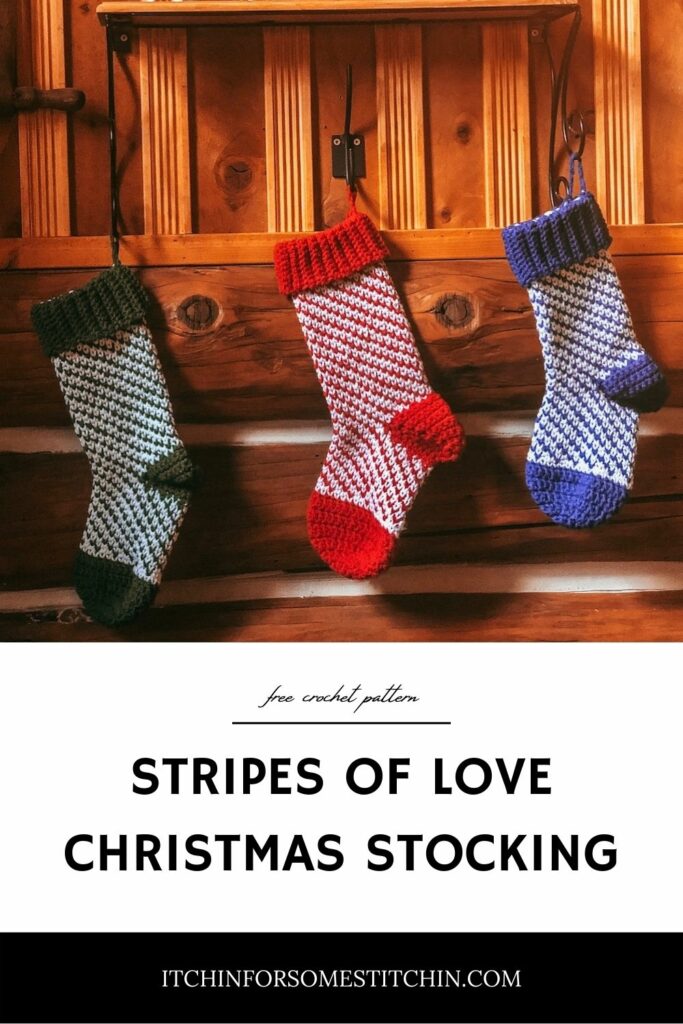
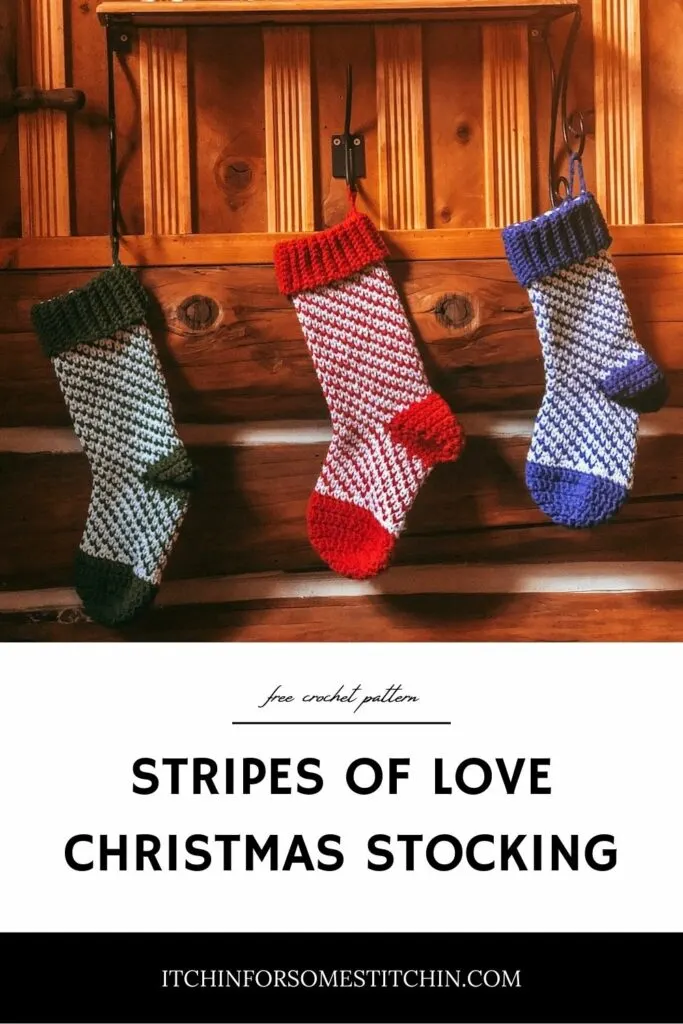
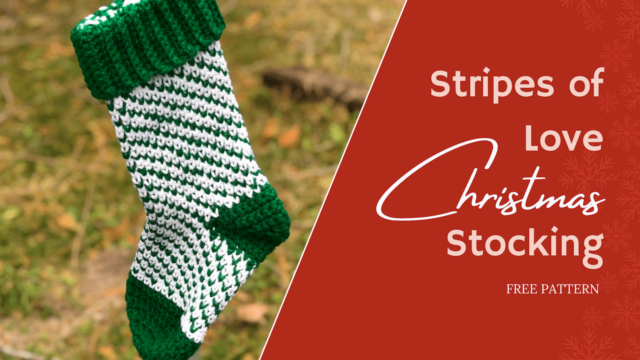
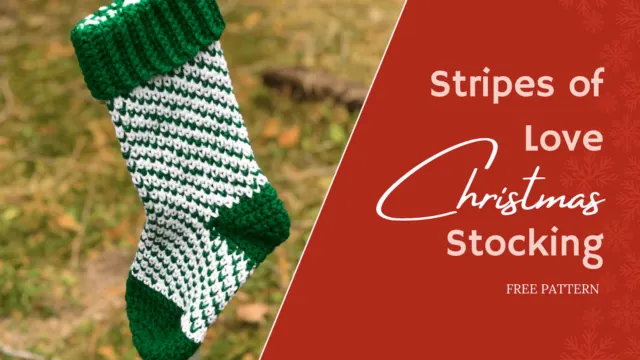
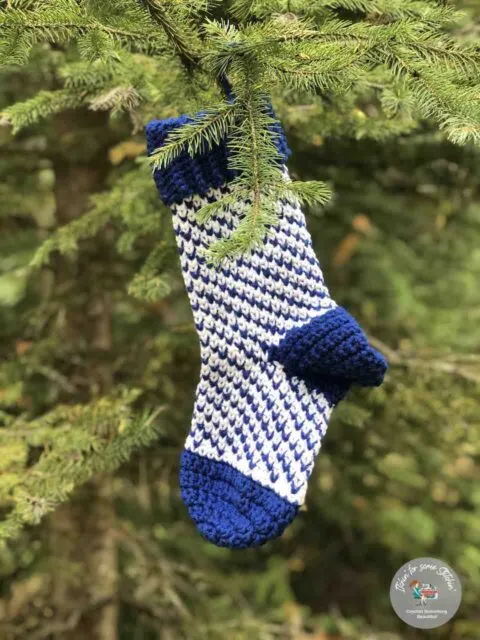
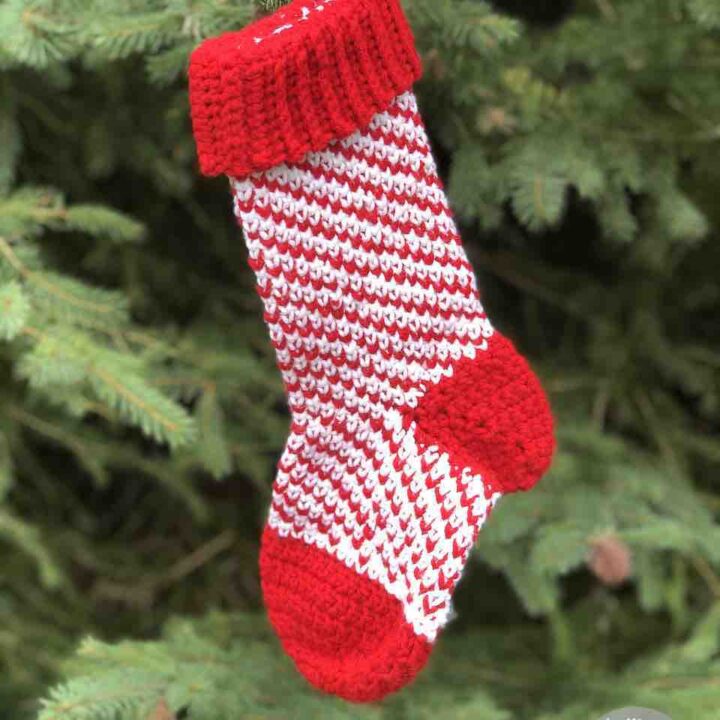
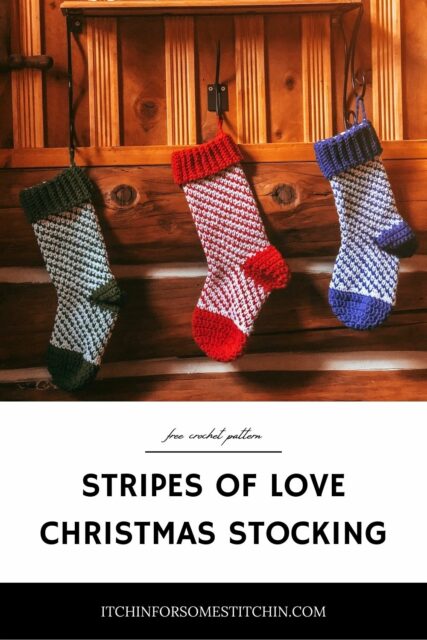
Stripes of Love Christmas Stocking
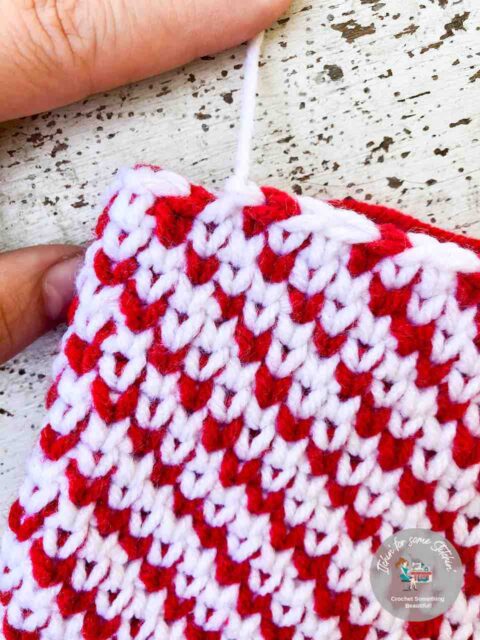
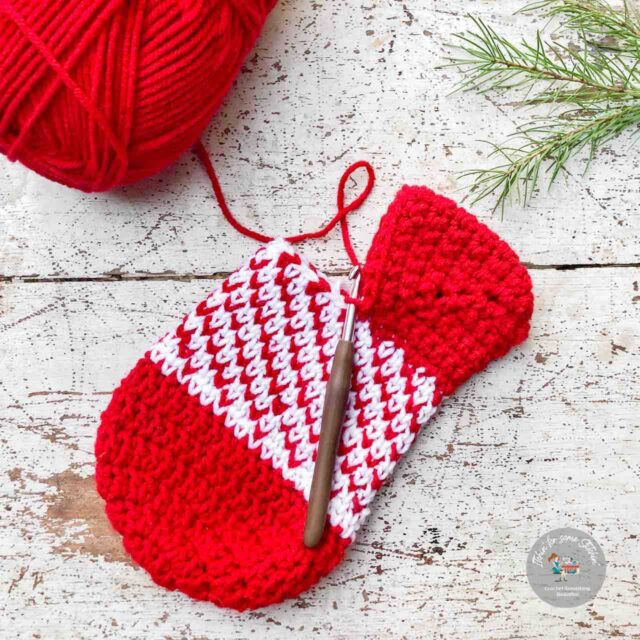
A fun and easy Christmas stocking that uses a special color pattern and the waistcoat stitch to create gorgeous stripes of little “hearts” throughout! Believe it or not, the stocking is crochet, but actually appears like it has been knitted! Whip one up in various colors to create a multitude of unique stockings that are sure to liven’ up your holiday decor this year!
About Stripes of Love
Difficulty Level
This is a level 3 – Easy / Intermediate


Gauge
15 stitches and 17.25 rows = 4 x 4-inches in in waistcoat stitch worked in the round using H/5.50 mm hook.
Finished Dimensions/Sizing
Overall – stocking measures 16-inches from toe to top and 5.25-inches wide.
- Toe – approx. 3.25-inches in length and 5.25 to 5.5-inches wide.
- Foot – approx. 3.75-inches in length and 5.25-inches wide.
- Heel – approx. 3.5-inches in length and 3.5-inches wide.
- Leg – approx. 10-inches in length and 5.25-inches wide.
- Cuff – approx. 2.5-inches in length and 5.25-inches wide.
Construction (See Schematic Below)
The main body of this stocking is worked in the round from the toe up.
There are five sections to this stocking:
A. Toe – worked in the round
B. Foot – worked in the round
C. Heel – worked in rows
D. Leg – worked in the round
E. Cuff – worked in rows
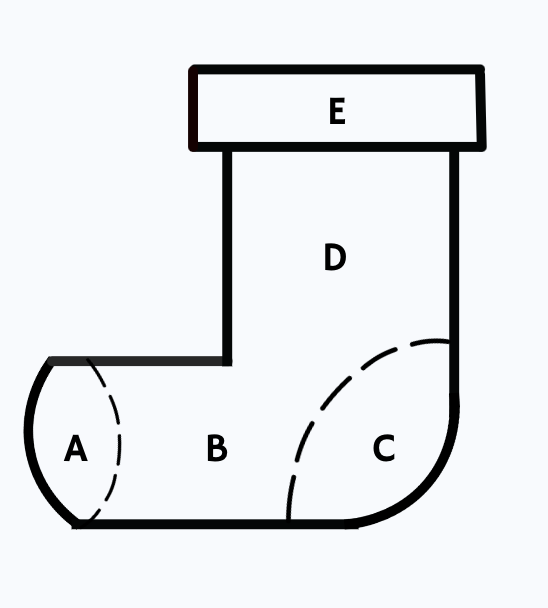
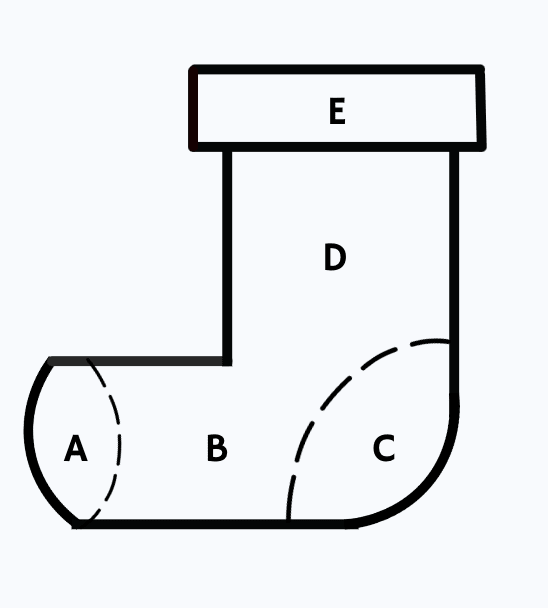
NOTE: The stocking cuff is worked flat in rows and is attached to the top of the stocking at the end of each row. Alternatively, the cuff could be worked separately and then seamed onto the top of the stocking.
Abbreviations
This pattern is written in US terminology.
- Stitch/es (st/sts)
- Round/s (rnd/rnds)
- Chain stitch (ch)
- Slip stitch (slp-st)
- Single crochet (sc)
- Double crochet (dc)
- Single Crochet 2 Together (sc2tog)
- Back Post Only (BPO)
- Back Loop Only (BLO)
- *____* Repeat indicated instructions
Special Stitches
Magic ring (MR) - an adjustable starting round used during the start of a crochet project worked in rounds.
Waistcoat stitch (knit stitch/central single crochet/center post stitch) – this is a modified single crochet stitch where instead of making a single crochet through the top of the previous stitch, you instead make it through the body of the previous stitch. Start by inserting your hook in the middle of the post, just under the inverted “v” and complete a single crochet stitch (pull up the loop, yarn over (YO), pull through both loops left on the hook.
Recommended Yarn
100% acrylic, medium worsted weight (4)
Color A = Red Heart with Love in Holly Berry
Color B = Red Heart Super Saver in White
Total yardage: approximately 240 – 382 yards for both colors.
- Color A – approximately 150-182 yds (including pom poms)
- Color B = approximately 80-100 yards
US/UK Conversion
US terminology UK terminology
Slip stitch (slp-st) = Slip stitch (ss)
Single crochet (sc) = Double crochet (dc)
Double crochet (dc) = Treble crochet (tr)
Yarn Alternatives
Medium 4 worsted weight yarn
Other Materials
- Crochet Hook sizes – H/5.50 mm (main body) and G/6-4.25mm (cuff) or whatever hook is necessary to obtain the correct gauge.
- Measuring tape
- Stitch markers (optional)
- Pom pom maker (optional)
- Scissors
- Tapestry needle for weaving in ends
Inspiration
This pattern was all about trying something new. I had always wanted to make a Christmas stocking and decided that I would also attempt a new stitch. I wanted that “knit” look for which I usually use the camel stitch, but this time went for the waistcoat stitch because I had never done it before. I couldn’t be more thrilled with the result!

Prefer a PDF?
This pattern is available as a large print, ad-free, printable PDF pattern, which includes a stitch chart as well as written instructions.
Get it in these places:

Join the Newsletter!
Subscribe to get our latest content by email & receive a Ravelry coupon code for a FREE crochet PDF pattern of your choice!
Yarn Details
The concept behind the Stripes of Love Crochet Christmas Stocking was “new”.
To do a pattern I had never done before. To use a stitch I had never done before.
In effect, it was to learn something new.
But that didn’t apply to my yarn. 😂
For this project, I turned to my yarn stash and found the perfect holiday colors.
Lucky me, I had some gorgeous Red Heart Super Saver and Red Heart with Love yarn to create exactly the Christmas stockings I had envisioned!
Red Heart yarn is a staple in my yarn stash because it has an enormous array of colors – so I can always find “that” color I need – and it’s very economical.
It’s literally my “go to” yarn when I need to find a specific color quickly or if need to be budget-friendly.
You can purchase it via my affiliate link below.
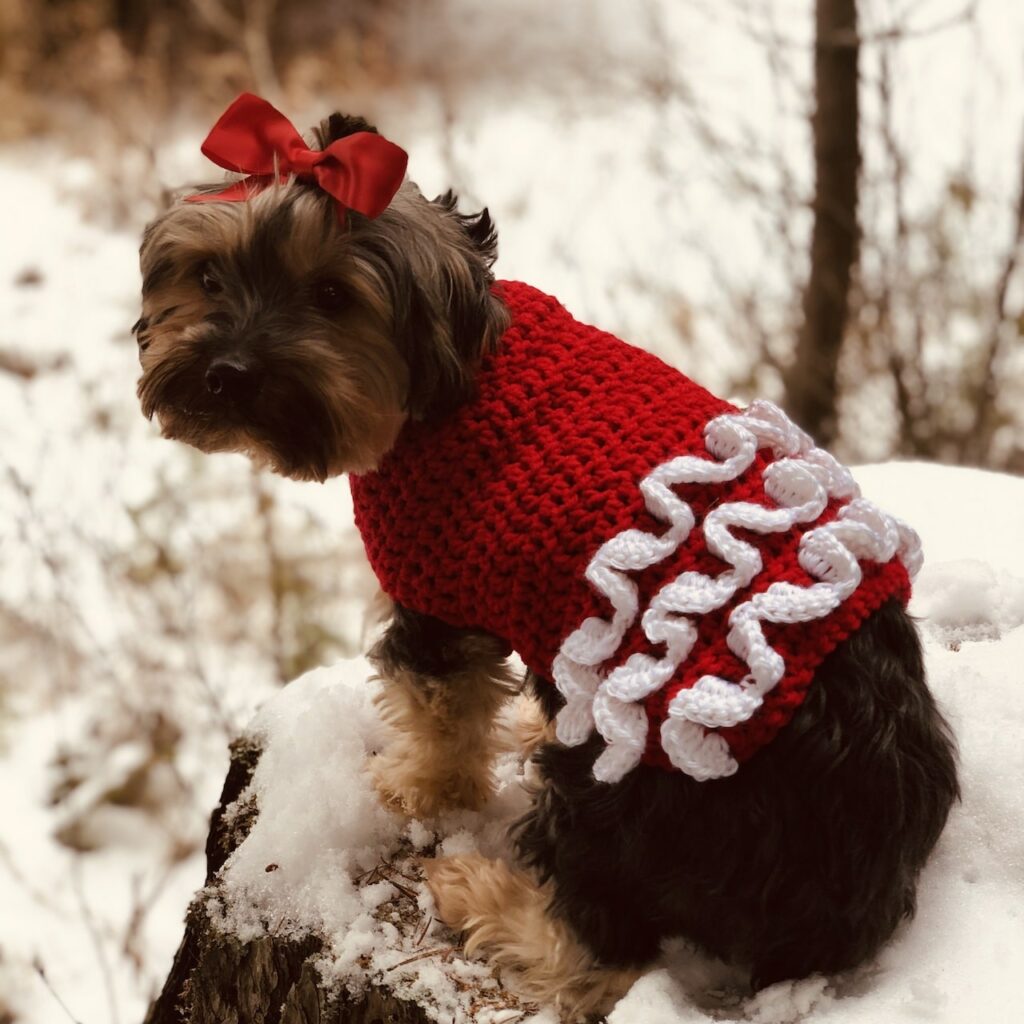
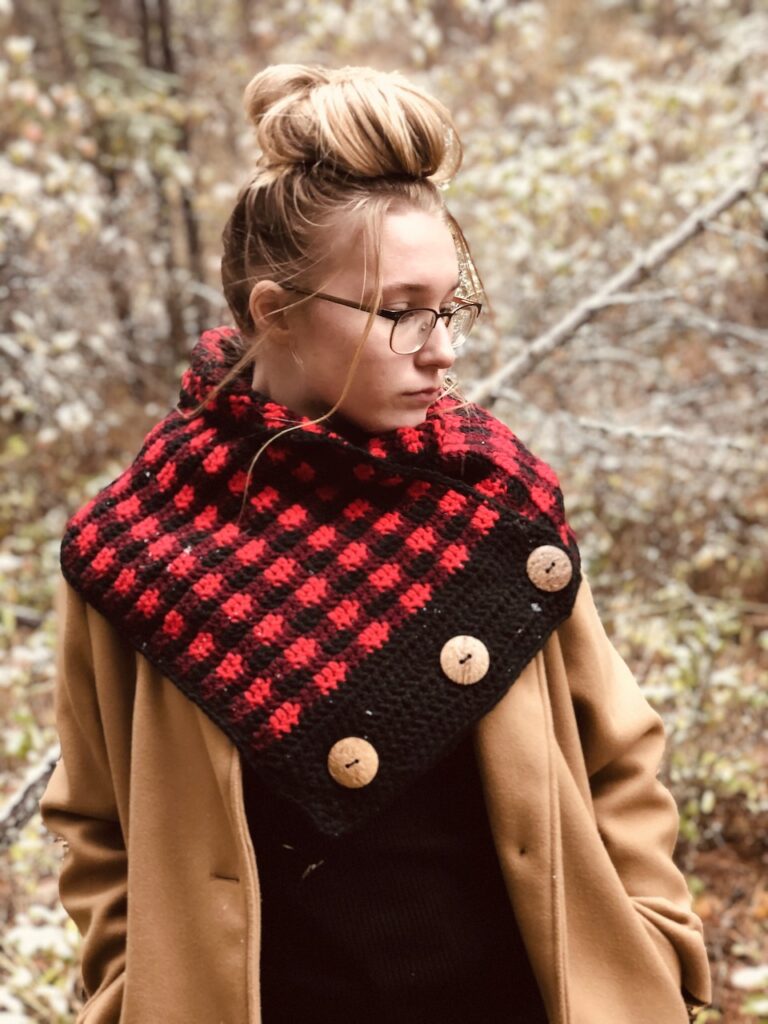
Other Patterns I Love & You Will too!
Nessa’s Ruffle Butt Dog Sweater

Simply Chic Buffalo Plaid Cowl

You’ll Always Be in My Heart Beanie


Let’s Get Crafty!
Looking for lots of crafty inspiration, tips, tutorials, and a great crochet community? Join my Facebook group!
Pattern Notes:
Read all pattern notes, instructions, and other provided details carefully before starting the project to make sure you understand everything. It could save you hours & a lot of headaches!
- Make a swatch that measures at least 10 x 10 cm / 4 x 4 inches using the stitch provided under the Gauge Section. If your swatch matches the gauge, then you are all set to start the project. If the gauge is wrong, you might need to change your crochet hook – increase your hook size if your stitches are smaller & decrease your hook size if your stitches are larger.
- All measurements given are unblocked.
- Provided measurements are as exact as possible, but are given as approximates. This is because yarn variances, crochet tension, & individual technique might give variations in the result, which changes from person to person.
- All color changes in this pattern are made using the slip-stitch (i.e. add the new yarn color with a slip-stitch).
- The color scheme for the waistcoat stitch in this pattern is color B – color B – color A – repeat, with one color B on top of the color A from the previous rnd and the color A to the left of the previous rnd color A.
- Beginner-friendly instructions using slp-st to close each round as well as the continuous rounds method is provided below. However, this pattern looks best when worked in continuous rounds, as the slp-st to close method (typically used by beginners) will leave a seam in the stocking.
- A tip when working the waistcoat stitches is to keep your tension and stitches loose. This will make working the stitches easier. Also a sharp pointed crochet hook can also help as you are working into the body of the stitch, not below the loops as usual.
- Some of the photos are done using Color A = Red Heart Paddy Green and Color B = Red Heart White.
- Stitch counts are given in ( )at the end of each row. If no stitch count is given, then the count is the same as the previous row.
- Care Instructions: Hand wash & lay flat to dry or follow instructions on the yarn label.
Love Pinterest?
I do!
PIN this pattern to your Pinterest boards for later.
You can also follow all my boards!

**THIS IS AN ORIGINAL PATTERN. Please see my Copyright Statement for details.
Instructions
Section One: Toe
Use H/5.5 mm hook
With color A, make a magic ring (NOTE: use Color A throughout)
Rnd 1: In MR, ch 2 (does not count as a st), work 9 dc into the ring, slp-st to first dc to join (9)
Rnd 2: Ch 2 (does not count as a st), 2 dc in each st around, slp-st to 1st dc to close the round (18)
Rnd 3: Ch 2 (does not count as a st), *2 dc in next st, dc in next st* Repeat from * to * around, slp-st to 1st dc to close the round (27)
Rnd 4: Ch 2 (does not count as a st), *2dc in next st, dc in each of the next 2 sts* Repeat from * to * around, slp-st to 1st dc to close the round (36)
Rnds 5-6: Ch 2 (does not count as a st), dc in each st around, slp-st to 1st dc to close the round (36)
Section Two: Foot
Use H/5.5 mm hook
Change to color B
Rnd 7: Sc in each stitch around, slp-st in 1st st to close (36)
NOTE: Choose either Slip-Stitch Joining Method or Continuous Rounds Method for rnds 8-21
Slip-Stitch Joining Method:
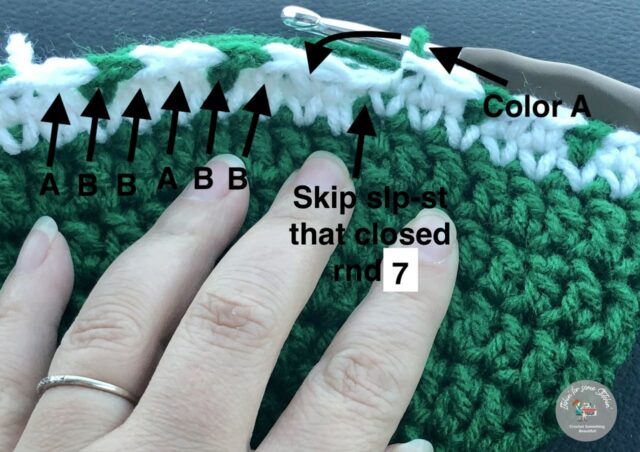
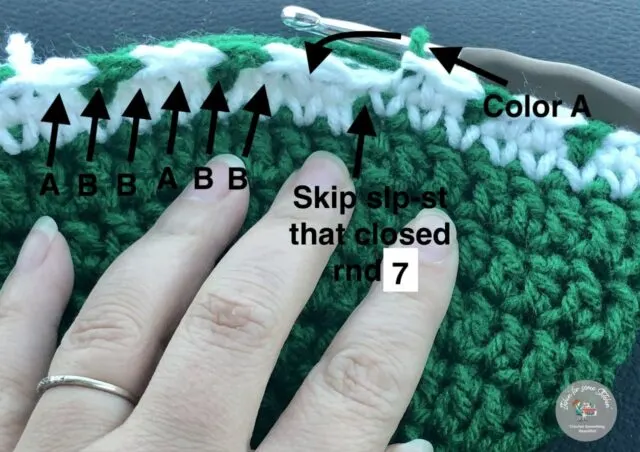
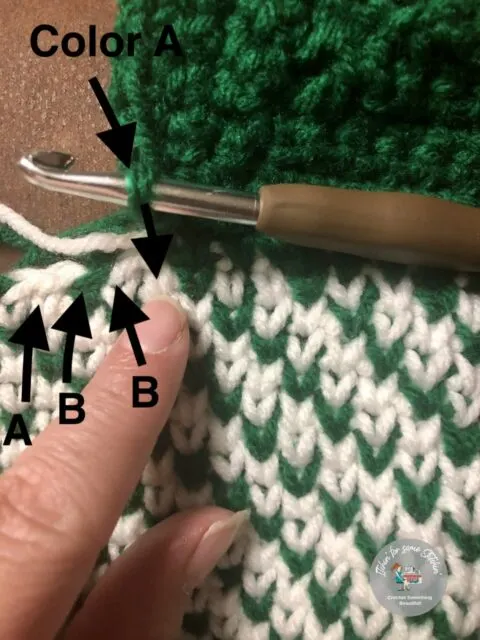
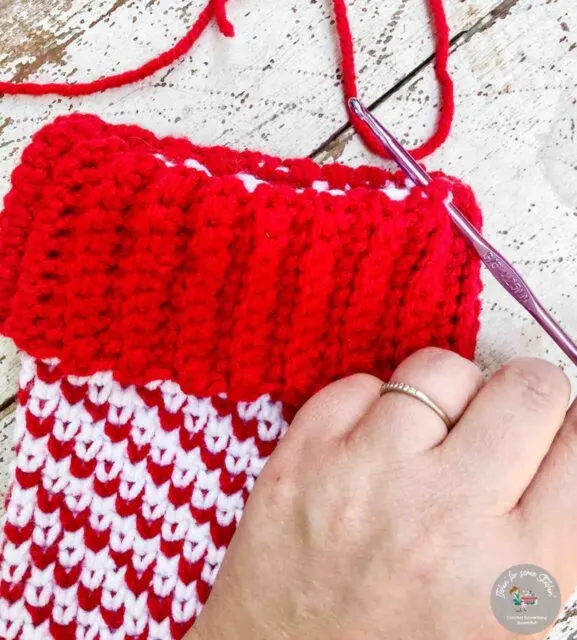
Rnd 8: With color B, waistcoat st into the first st (insert hook into the center of the inverted “v” & then make a single crochet), waistcoat stitch into the next stitch, *change to color A, waistcoat stitch into the next st, change to color B, waistcoat stitch into the next 2 sts*. Repeat from * to * around, slp-st to close (36)
NOTE: The first st is actually the second inverted “v” is located just below the first single crochet of rnd 7. The first inverted “v” you see is actually located just below the slp-st of rnd 7 where color A was attached and should be skipped.
See the Image 1 below.
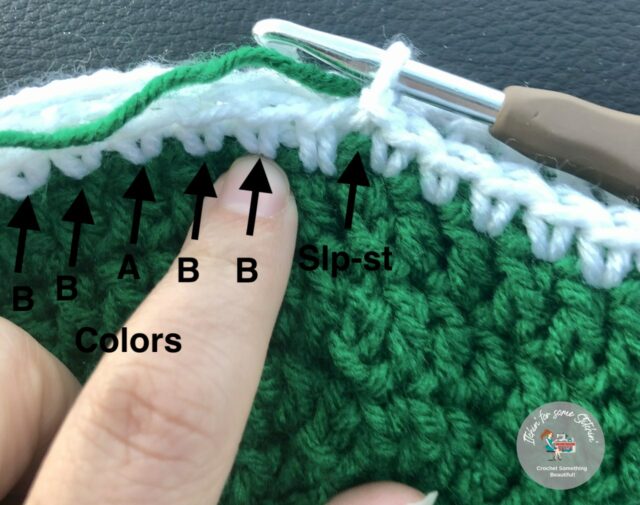

Rnds 9-21: Waistcoat stitch all the way around as you did in rnd 8, keeping the color B – color B – color A – pattern with one color B on top of the previous color A and the color A to the left of the previous color A, slp-st to close each round (36)
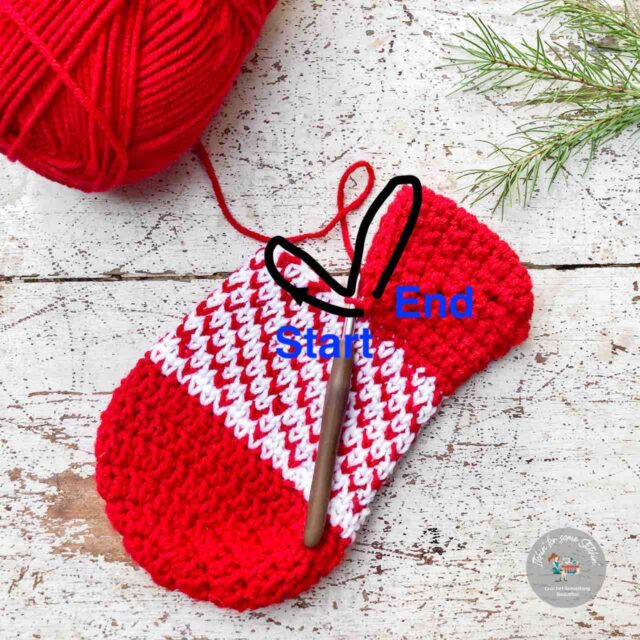
Note: The beginning of each rnd will start differently to keep the pattern going.
Bind off.

Continuous Rounds Method: Start rnd 8 with color B, waistcoat st into the first st (insert hook into the center of the inverted “v” & then make a single crochet), waistcoat stitch into the next stitch, *change to color A, waistcoat stitch into the next st, change to color B, waistcoat stitch into the next 2 sts*. Repeat from * to * around.
NOTE: The first st is actually the second inverted “v” is located just below the first single crochet of rnd 7. The first inverted “v” you see is actually located just below the slp-st of rnd 7 where color A was attached and should be skipped.
See Image 1.
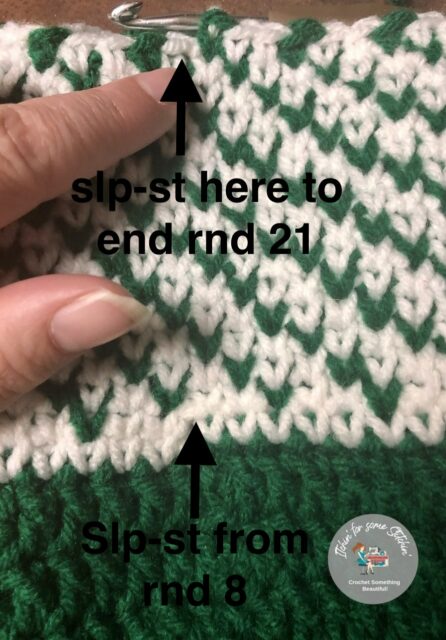
Skip the slp-st that closed rnd 7 and waistcoat st (using the appropriate color to keep the color pattern) into the first inverted “v” of the round. For all remaining rounds (rounds 9-21) simply repeat from * to * around keeping the color B – color B – color A – pattern with one color A on top of the previous color B and the color B to the left of the previous color B.
When you reach the end of rnd 21, slp-st to close. Bind off. (35)

Section Three: Heel
Use H/5.5 mm hook
From the slp-st of rnd 21, count b ack 9 stitches to the right and attach color A into the 9th st.
NOTE: use color A throughout.
Row 1: Ch 1, sc in the same st where you made the slp-st, sc in the next 17 sts (18)
Row 2: Ch 1, turn work, sc2tog the next 2 sts, sc in the next 14 sts, sc2tog the last 2 sts (16)
Row 3: Ch 1, turn work, sc2tog the next 2 sts, sc in the next 12 sts, sc2tog the last 2 sts (14)
Row 4: Ch 1, turn work, sc2tog the next 2 sts, sc in the next 10 sts, sc2tog the last 2 sts (12)
Row 5: Ch 1, turn work, sc2tog the next 2 sts, sc in the next 8 sts, sc2tog the last 2 sts (10)
Row 6: Ch 1, turn work, sc2tog the next 2 sts, sc in the next 6 sts, sc2tog the last 2 sts (8)
Row 7: Ch 1, turn work, sc2tog the next 2 sts, sc in the next 4 sts, sc2tog the last 2 sts (6)
Row 8: Ch 1, turn work, sc2tog the next 2 sts, sc in the next 2 sts, sc2tog the last 2 sts (4)
Row 9: Ch 1, turn work, sc2tog the next 2 sts, sc2tog the last 2 sts (2)
Row 10: Slp-st to the side of the previous row (does not count as a stitch), ch 1, turn work, sc in the slp-st, sc in each st across, slp-st in the side of the previous row (counts as a stitch). (4)
Row 11: Slp-st to the side of the previous row (does not count as a stitch), ch 1, turn work, sc in the slp-st, sc in each st across, slp-st in the side of the previous row, (counts as a stitch). (6)
Row 12: Slp-st to the side of the previous row (does not count as a stitch), ch 1, turn work, s c in the slp-st, sc in each st across, slp-st in the side of the previous row (counts as a stitch). (8)
Row 13: Slp-st to the side of the previous row (does not count as a stitch), ch 1, turn work, sc in the slp-st, sc in each st across, slp-st in the side of the previous row, (counts as a stitch). (10)
Row 14: Slp-st to the side of the previous row (does not count as a stitch), ch 1, turn work, sc in the slp-st, sc in each st across, slp-st in the side of the previous row, (counts as a stitch). (12)
Row 15: Slp-st to the side of the previous row (does not count as a stitch), ch 1, turn work, sc in the slp-st, sc in each st across, slp-st in the side of the previous row, (counts as a stitch). (14)
Row 16: Slp-st to the side of the previous row (does not count as a stitch), ch 1, turn work, sc in the slp-st, sc in each st across, slp-st in the side of the previous row, (counts as a stitch). (16)
Row 17: Slp-st to the side of the previous row (does not count as a stitch), ch 1, turn work, sc in the slp-st, sc in each st across, slp-st in the side of the previous row, (counts as a stitch). (18)

Section Four: Leg
Choose either Slip Stitch Joining Method or Continuous Rounds Method for rnds 1 – 38
NOTE: You should be able to start rnd 1 with color A into the inverted “v” of a color B stitch on the top of the foot and begin the waistcoat stitch pattern. If for some reason it doesn’t work out that way for you, then bind off row 17 & change colors as needed to start rnd 1 off and be able to keep the color B – color B – color A – pattern with one color B on top of the previous color A and the color A to the left of the previous color A.

Slip Stitch Joining Method
Rnd 1: waistcoat st around foot and heel changing colors to keep the color B – color B – color A – pattern with one color B on top of the previous color A and the color A to the left of the previous color A, slp-st to close each round (36)

Rnds 2-38: Repeat rnd 1
Note: the beginning of each rnd will start differently to keep the pattern going
Continuous Rounds Method: w aistcoat st around foot and heel changing colors to keep the color B – color B – color A – pattern with one color B on top of the previous color A and the color A to the left of the previous color A – continue to rnd 38. (35)
Bind off
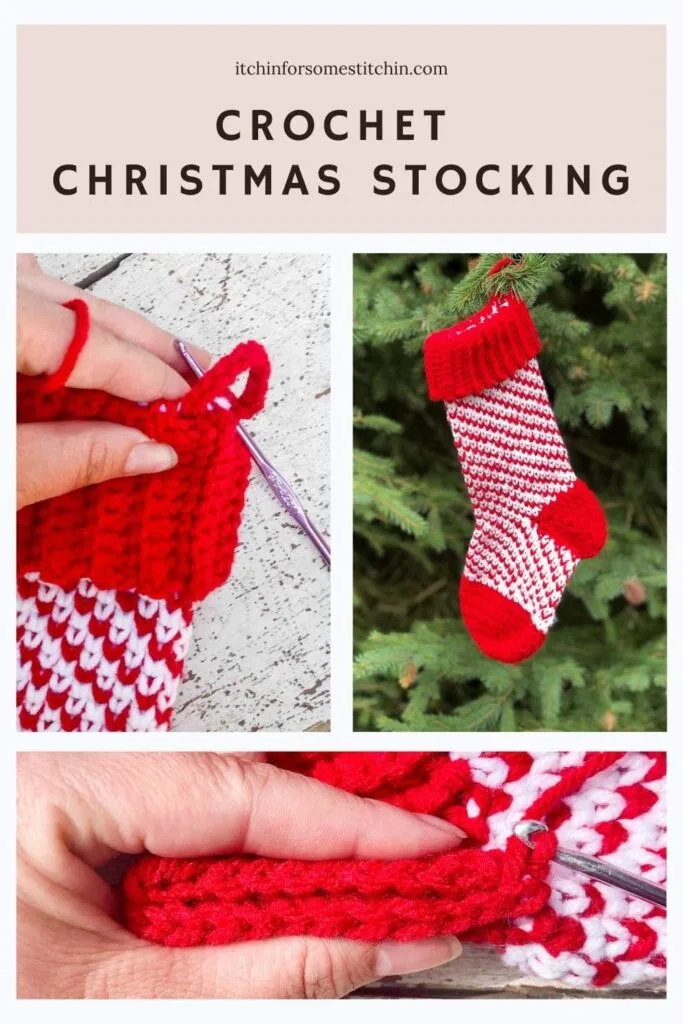
Section Five: Cuffs
Use G/6-4.25mm hook and color A throughout.
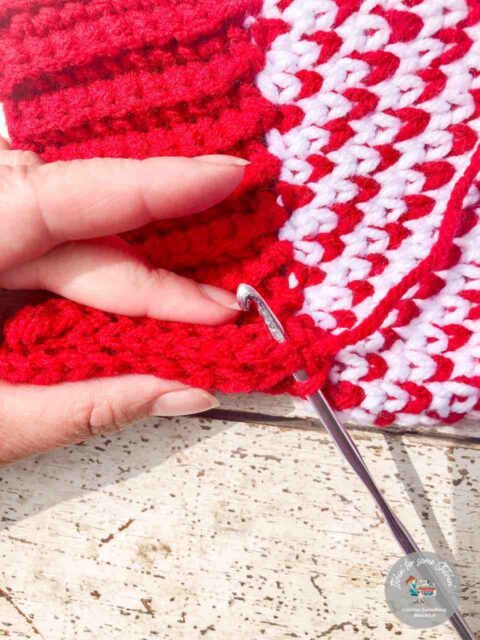
Attach color A at the slp-st, ch 11, turn work, sc in the bpo of the 2nd ch from the hook and in each st across, slp-st to the top of the leg at the base of the chain, skip the next st, slp-st into the next stitch, turn work * sc in blo of each st working towards the end of the cuff, ch 1, turn work, sc in the blo of each st across working towards the edge of the leg, slp-st to the top of the leg at the base of the row, skip the next st, slp-st into the next st, turn work* Repeat from * to * all the way around.


Once you’ve made the final slp-st, slp-st together the two edges of the cuff to seam them.


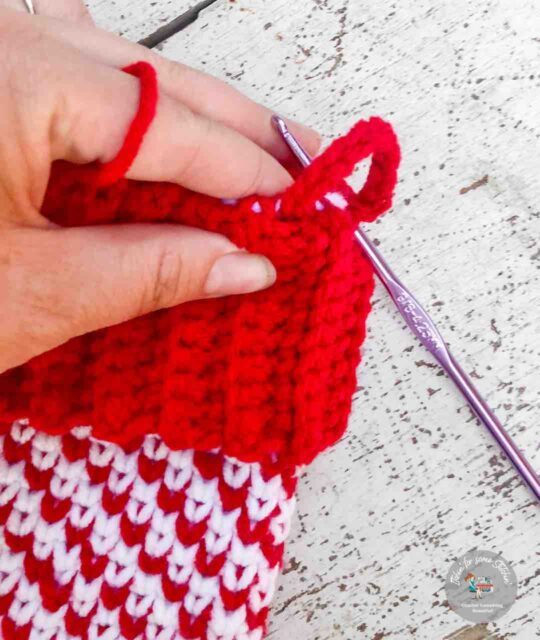
To create a hook, attach color A at the top of the cuff above the heel, ch 10, slp-st to the other side.


Embellishments:
Add pom poms or other decorations as you see fit.
Thank you for coming to my blog! By sharing my content and/or making a purchase you are making it possible for me to continue producing and sharing free content for everyone to enjoy. I sincerely appreciate your support!
Until next time… Happy Crocheting!


Please Share!