The trees are budding and the air is warming up. Spring has finally arrived.
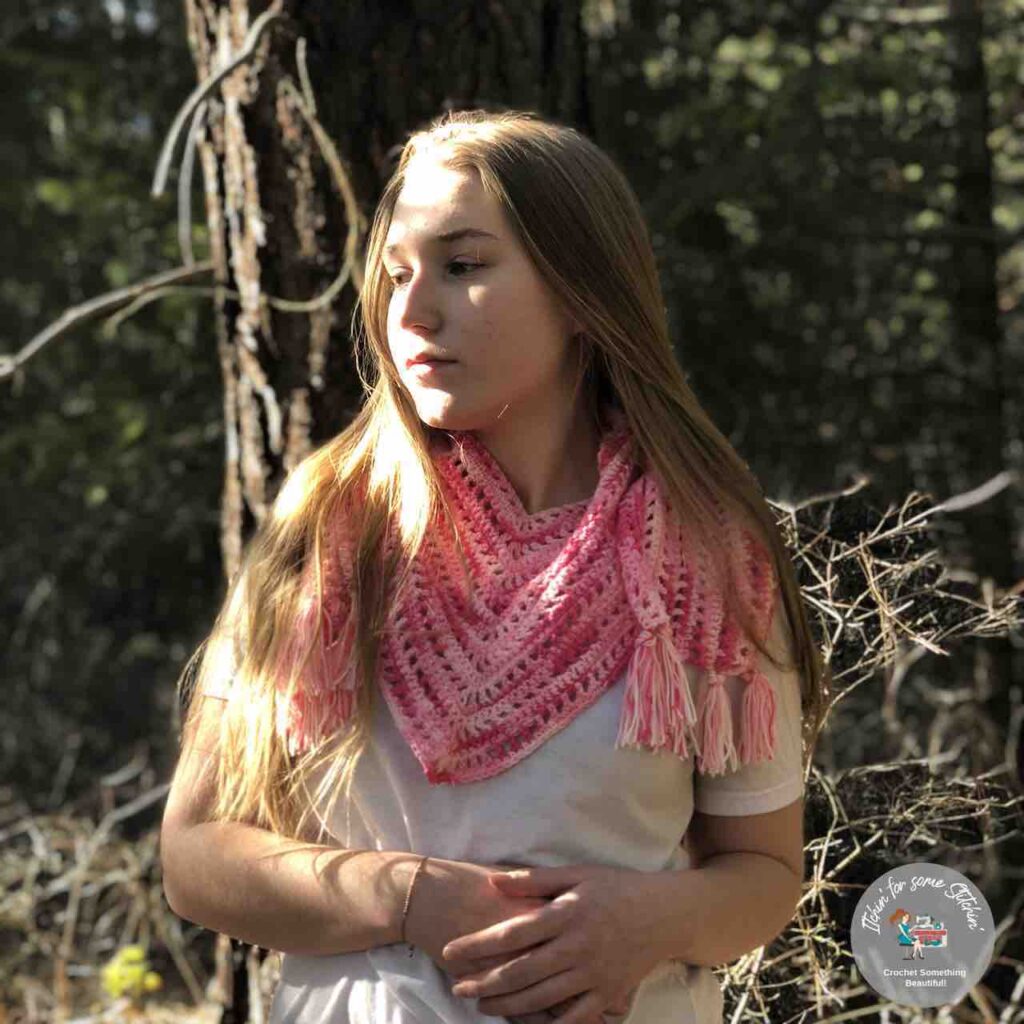
It’s just the right time to break out those fall to spring transitional pieces like scarves and shawls, and my newest crochet triangle scarf is absolutely perfect for the season!


It’s super simple repeating pattern that you can work up in about a day, making it a quick and easy spring project that’s great for adding a touch of style to your everyday wear.
When I designed this scarf I had something very simple in mind.
I wanted something lacy, yet warm enough for those cool spring mornings or evenings, but also something fun and colorful.
Something to add that little “pop” to your casual jeans and tee-shirt ensemble.
And personally, I really think that the Adia Triangle Scarf hits the mark!
Looking for lots of crafty inspiration, tips, tutorials, and a great crochet community? Join my Facebook group!
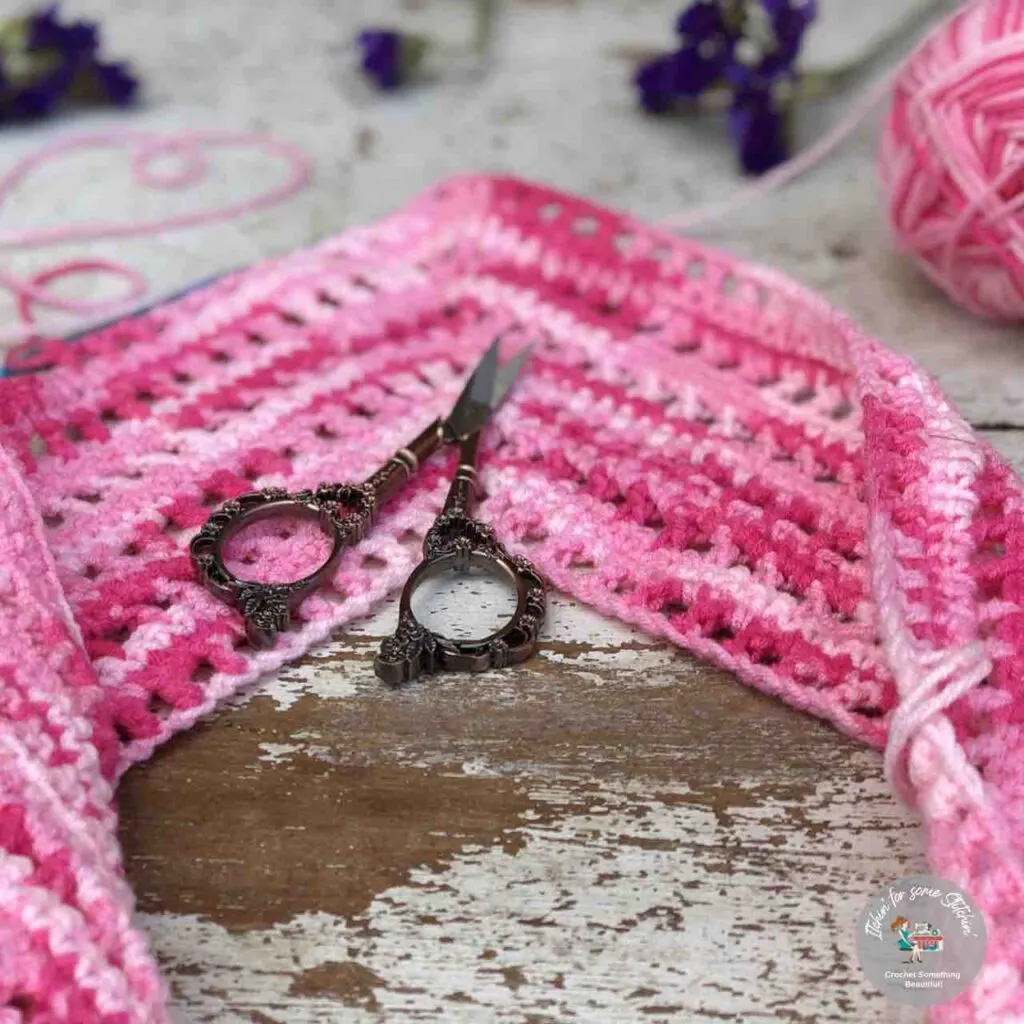
Yarn Details: It’s all about the yarn baby!
I initially chose a fingering weight yarn called DHFZ Milk Cotton from Yes Sewing for this project because it’s lightweight, what I didn’t know until I started working with it is how super soft this 100% acrylic yarn is!
Seriously folks, I was shocked.

I LOVED working with it!
It’s not very often that I want a project to go on even after its finished, but this project was an exception.
Milk cotton is literally one of the softest and smoothest yarns I have ever worked with and in truth, I wish I had ordered more so I could have made a shawl instead of a scarf.
I would just love to be wrapped in this softness all day!
That being said, I am honestly not disappointed with my scarf and I truly enjoy wearing it because it is so comfortable. 😃
I highly recommend this yarn if you are looking for a super soft, lightweight, fingering yarn!
You can purchase it via my affiliate link below and use coupon code IFSS at check out for an additional 25% off.
Check Out These Other Patterns I LOVE!

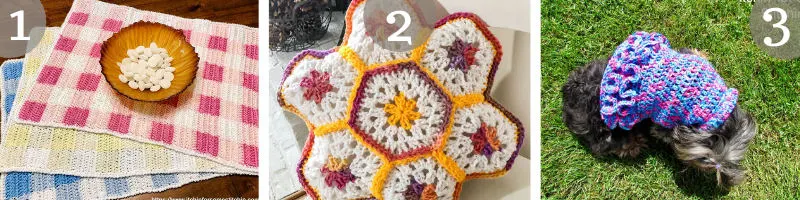
1. Spring Gingham Placemats / 2. Granny Hexagon Pillow / 3. Nessa’s Ruffle Butt Dog Sweater
Prefer a PDF?
This pattern is available as a large print, ad-free, printable PDF pattern. It includes sizes XS – 5X.
Get it in these places:
Love Pinterest? I do!
PIN this pattern to your Pinterest boards for later HERE.
You can also follow all my boards!
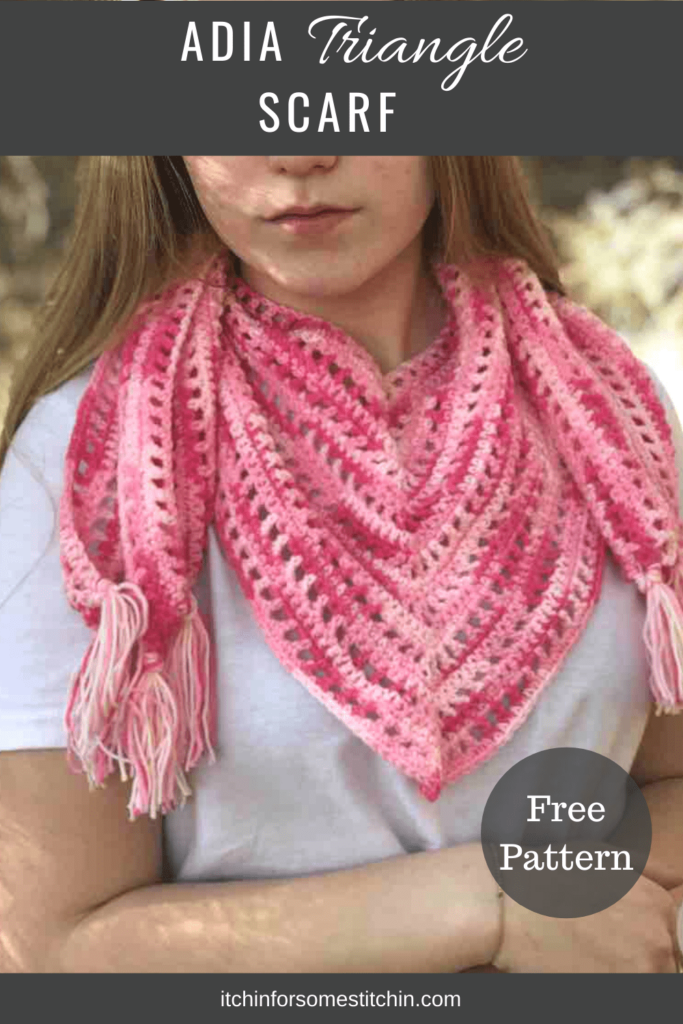
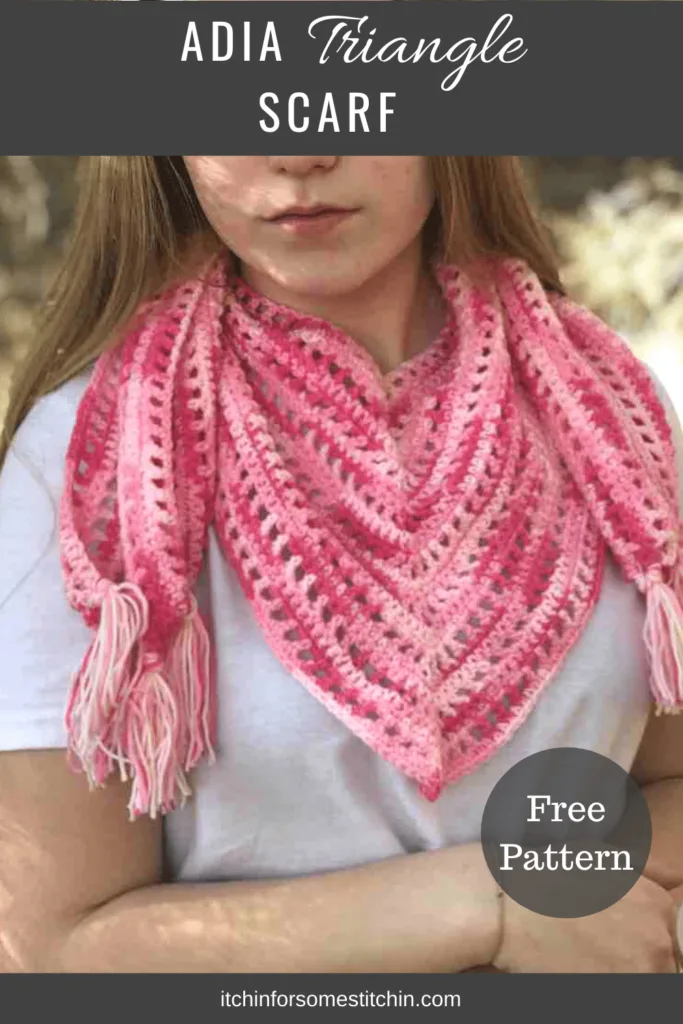
Adia Triangle Scarf Details
**THIS IS AN ORIGINAL PATTERN. Please see my Copyright Statement for details.

Summary:
Just a few simple stitches and some lightweight yarn and you’ll have a lovely warm weather scarf that’ll add a pop of color and a touch of style to your spring or summer wardrobes. The Aida Triangle Scarf is easy to work up and takes only a day to do!
Difficulty level: Level 2 – Advanced Beginner
Finished Dimensions:
All measurements are approximate, measured flat pre-wear, and are provided in inches.
Width = 9.5 – inches from tip of peak to top edge of the scarf.
Length = 26 – inches from center of scarf to the edge of the scarf. This is measured on each side of the center. Thus total length is 32 – inches.
Gauge: 16 stitches and 10 rows = 4-inches in double crochet = 4-inches.
Materials:
- 100% acrylic, DHFZ Milk Cotton, Fingering weight, color 01, 2 balls, approx. 400 yards / 366 meters.
Total yardage: 200 yards / 50 grams per skein.
~Yarn alternatives: Any fingering weight yarn.
- Crochet Hook size F/5 3.75mm or whatever hook is necessary to obtain the correct gauge.
- Measuring tape
- Stitch markers (optional)
- Scissors
- Tapestry needle for weaving in ends
Abbreviations:
Pattern is written in US terms. *Click on abbreviation names for tutorials
Stitch/es (st/sts)
Double crochet (dc)
Back Post only (bpo)
*____* Repeat indicated instructions
Additional Notes:
- Read all pattern notes, instructions, and other provided details carefully before starting the project to make sure you understand everything. It could save you hours & a lot of headaches!
- Make a swatch that measures at least 10 x 10 cm / 4 x 4 inches using the stitch provided under the Gauge Section. If your swatch matches the gauge, then you are all set to start the project. If the gauge is wrong, you might need to change your crochet hook – increase your hook size if your stitches are smaller & decrease your hook size if your stitches are larger.
- All measurements given are unblocked and measured flat pre-wear and pre-seaming as fabric pieces may stretch during/after blocking, wearing, and seaming.
- Provided measurements are as exact as possible, but are given as approximates. This is because yarn variances, crochet tension, & individual technique might give variations in the result, which changes from person to person.
- Some images in pattern are depicted using 100% acrylic, DHFZ Milk Cotton, Fingering weight, color 04.
- Care Instructions: Hand wash & lay flat to dry.
INSTRUCTIONS:
Chain 205
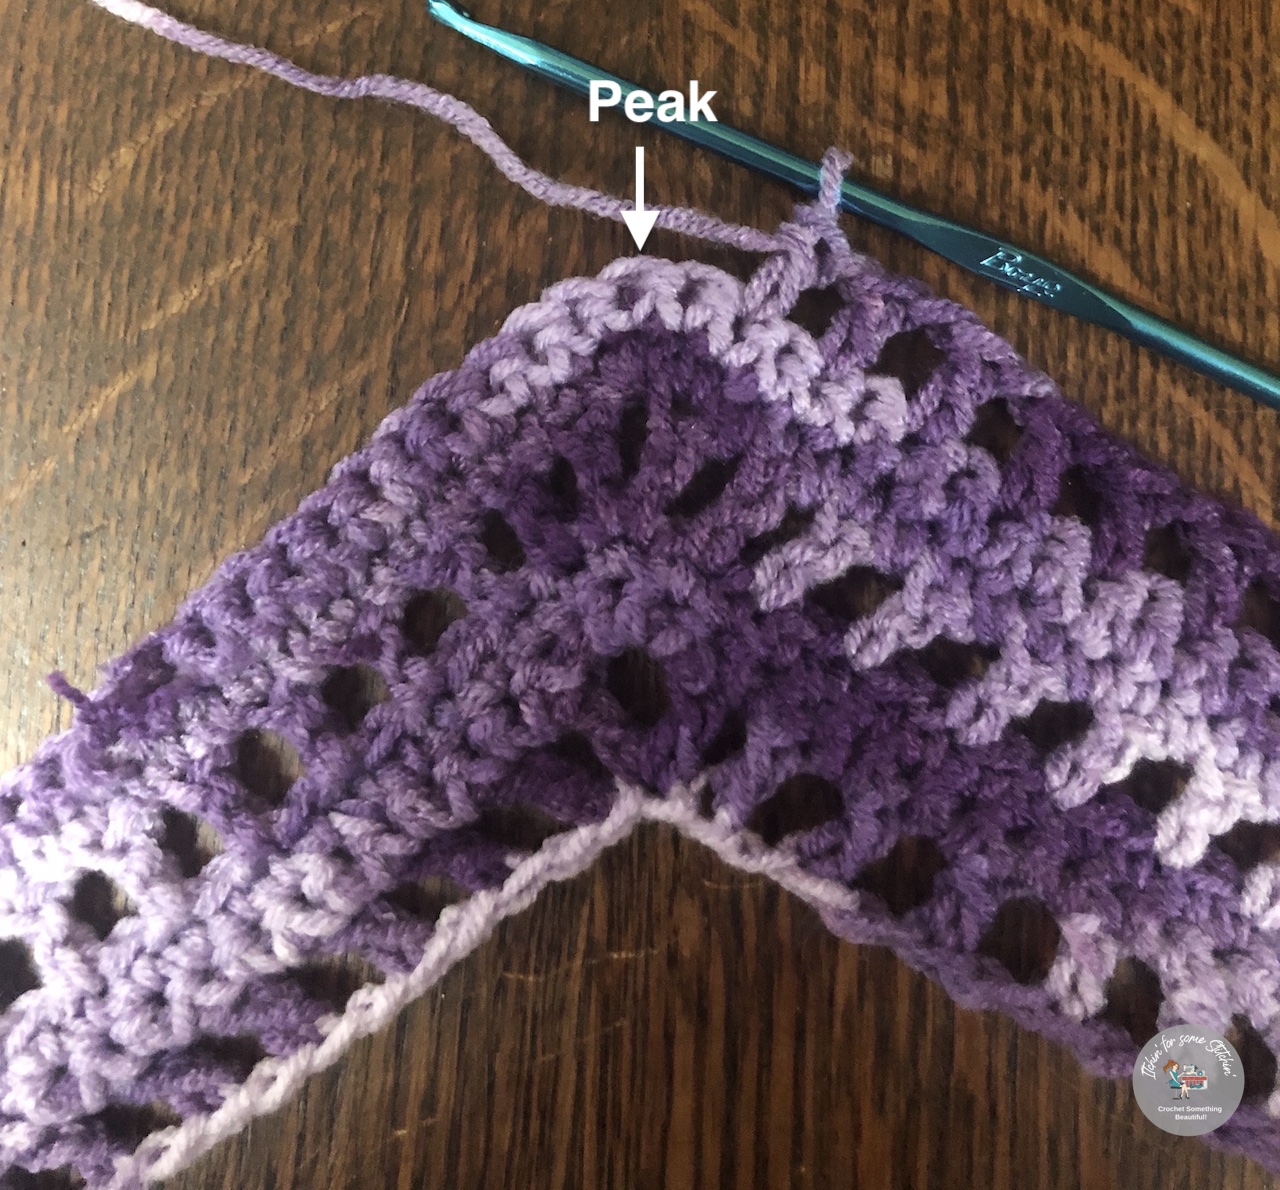
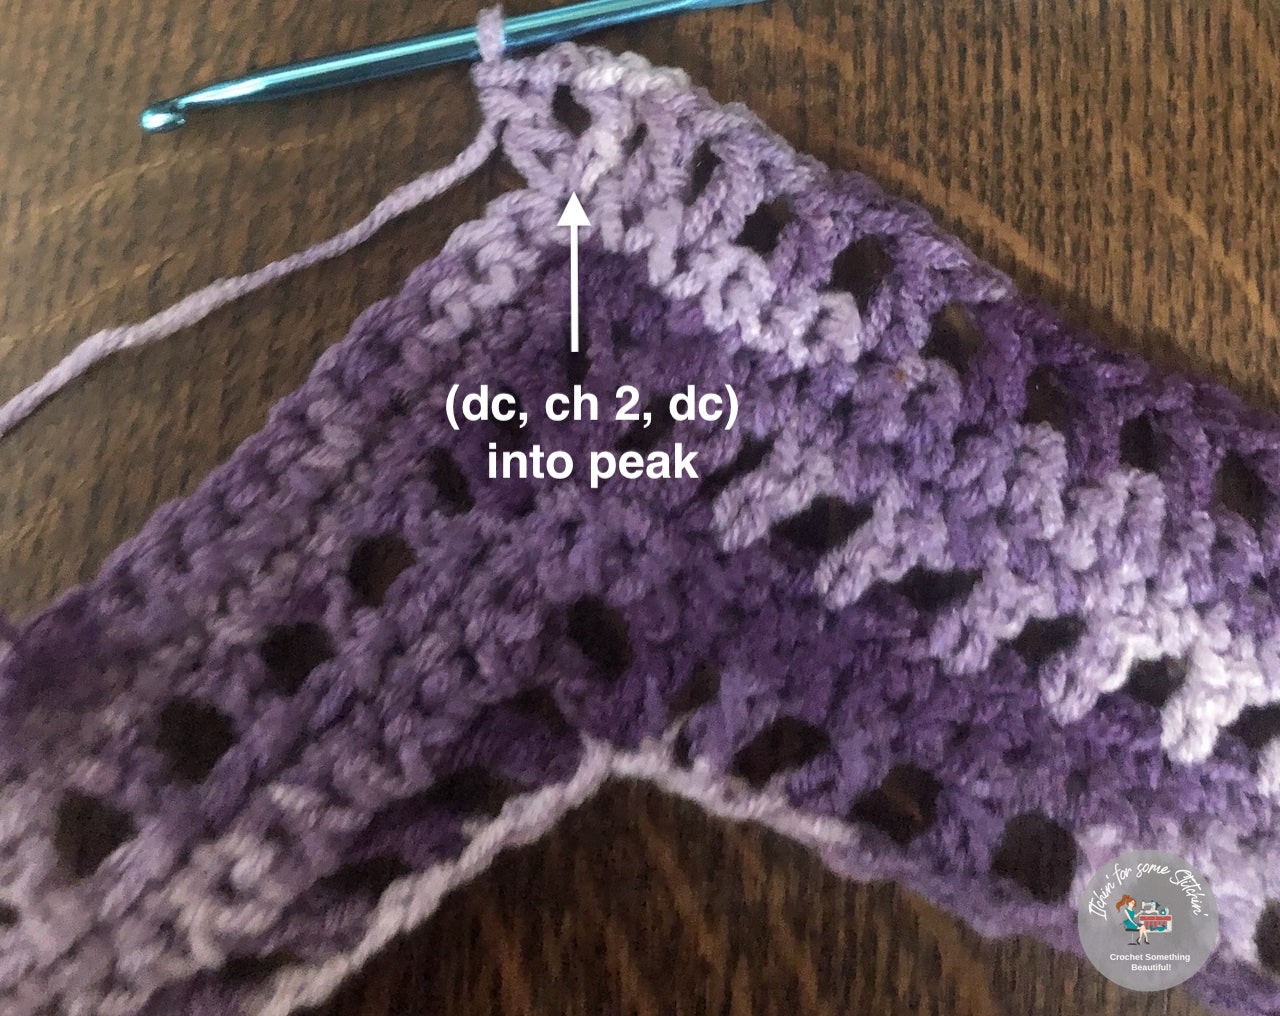
Row 1: Dc in the bpo of the 5th ch from the hook (counts as 1 dc and 1 ch), *ch1, skip the next ch, dc in the bpo of the next ch*. Repeat from * to * 49 more times, ch 1, (dc, ch 2, dc) in the next ch [forms the peak], ch 1, dc in the bpo of the next ch, *ch 1, skip the next ch, dc in the bpo of the next ch*, Repeat from * to * 50 more times. (52 dc on each side of the ch-2 space of the peak = 104 dc)
Row 2: Ch 1, turn work, *sc in the next dc, sc in the next ch 1-sp*, Repeat across to the (dc, ch 2, dc) peak, sc in the 1st dc of the peak, work 3 sc into the ch2-sp, sc into the 2nd dc of the peak, *sc in the next ch 1-sp, sc in the next dc* Repeat from * to * to the ch 4 from the previous row, sc in the ch 4-sp, sc in the 3rd ch of the ch 4. (209)
Row 3: Ch 1, turn work, sc in each st across. (209)
Row 4: Ch 4 (counts as 1 dc and 1 ch), turn work, *skip the next st, dc in the next st, ch 1*, Repeat from * to * 50 more times, dc in the next sc, ch 1, (dc, ch 2, dc) in the next st [peak], ch 1, dc in the next st, ch 1, dc in the next st, *ch 1, skip the next st, dc in the next st*, Repeat from * to * to end. (54 dc on each side of the ch2-space of the peak = 108 dc)
Row 5: Ch 1, turn work, *sc in the next dc, sc in the next ch1-sp*. Repeat from * to * across to the (dc, ch 2, dc) peak, sc in the 1st dc of the peak, work 3 sc into the ch2-sp, sc in the 2nd dc of the peak, *sc in the next ch1-sp, sc in the next dc*, Repeat from * to * across to the ch 4 from the previous row, ch 1 in the ch4-sp, ch 1 in the 3rd ch of the ch 4. (117)
Row 6: Ch 1, turn work, sc in each st across to end. (117)
Row 7: Ch 4 (counts as 1 dc and 1 ch), turn work, *skip the next st, dc in the next st, ch 1*, Repeat from * to * across until you reach the last st before the peak, ch 1, dc in the last st before the peak, ch 1, (dc, ch 2, dc) in the next st [creates peak], ch 1, dc in the next st, ch 1, dc in the next st, *ch 1, skip the next st, dc in the next st*, Repeat from * to * across to the end. (56 dc on each side of the ch 2-space of the peak = 112 dc)


Rows 8-25: Repeat rows 5-7. Row 25 should end on a row 7 repeat.
NOTE: The number of sts on each side of the peak in row 7 will increase by 2 with each repeat, therefore increasing the overall stitch count as well.
Finishing:
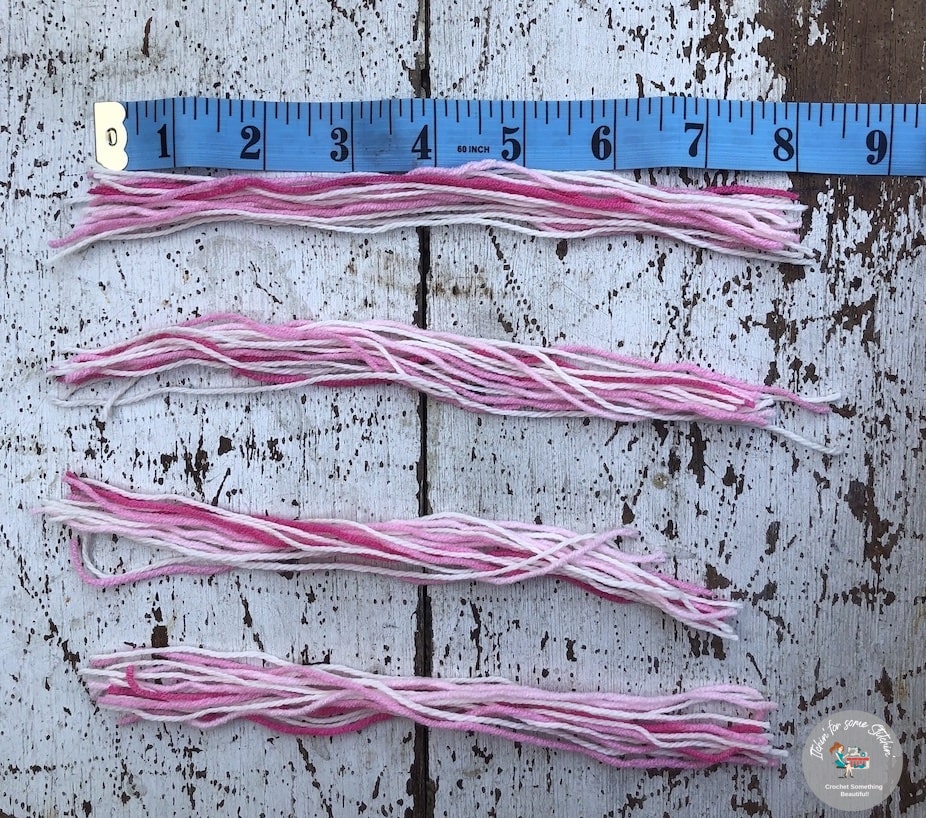
Add fringe in every other hole along the short edges of the scarf.
Step 1. Cut groups of yarn about 8-inches long with approx. 15 strands each.
Step 2: Fold each group in half to create a loop at one end.
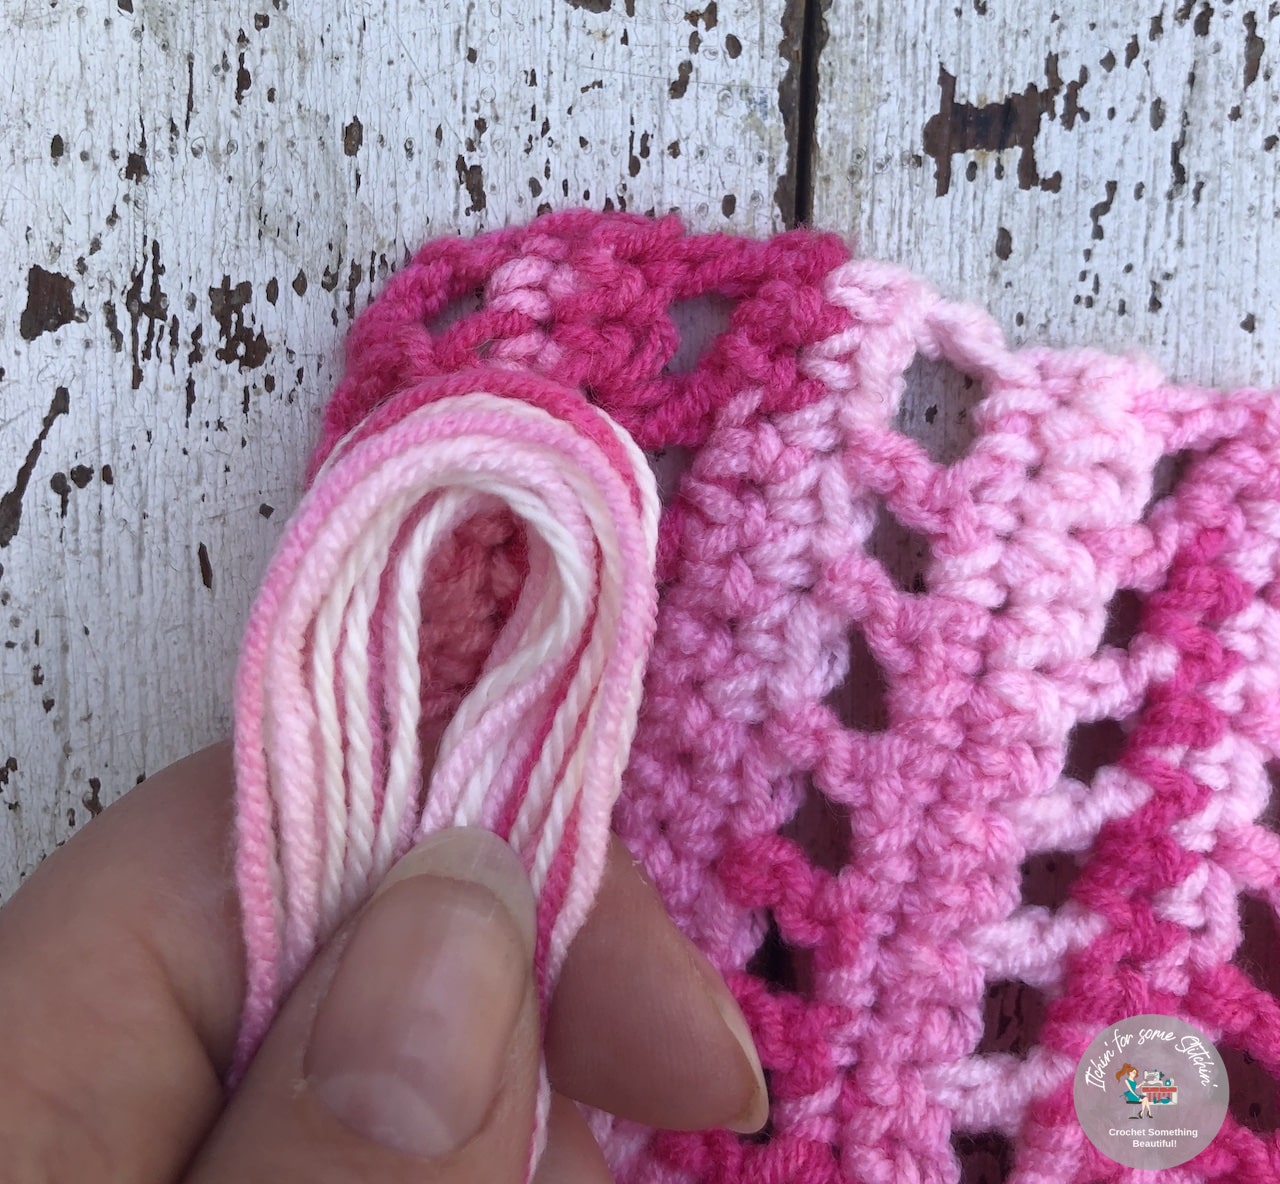
Step 3: Push “looped” end into the whole on the short edge of the scarf.
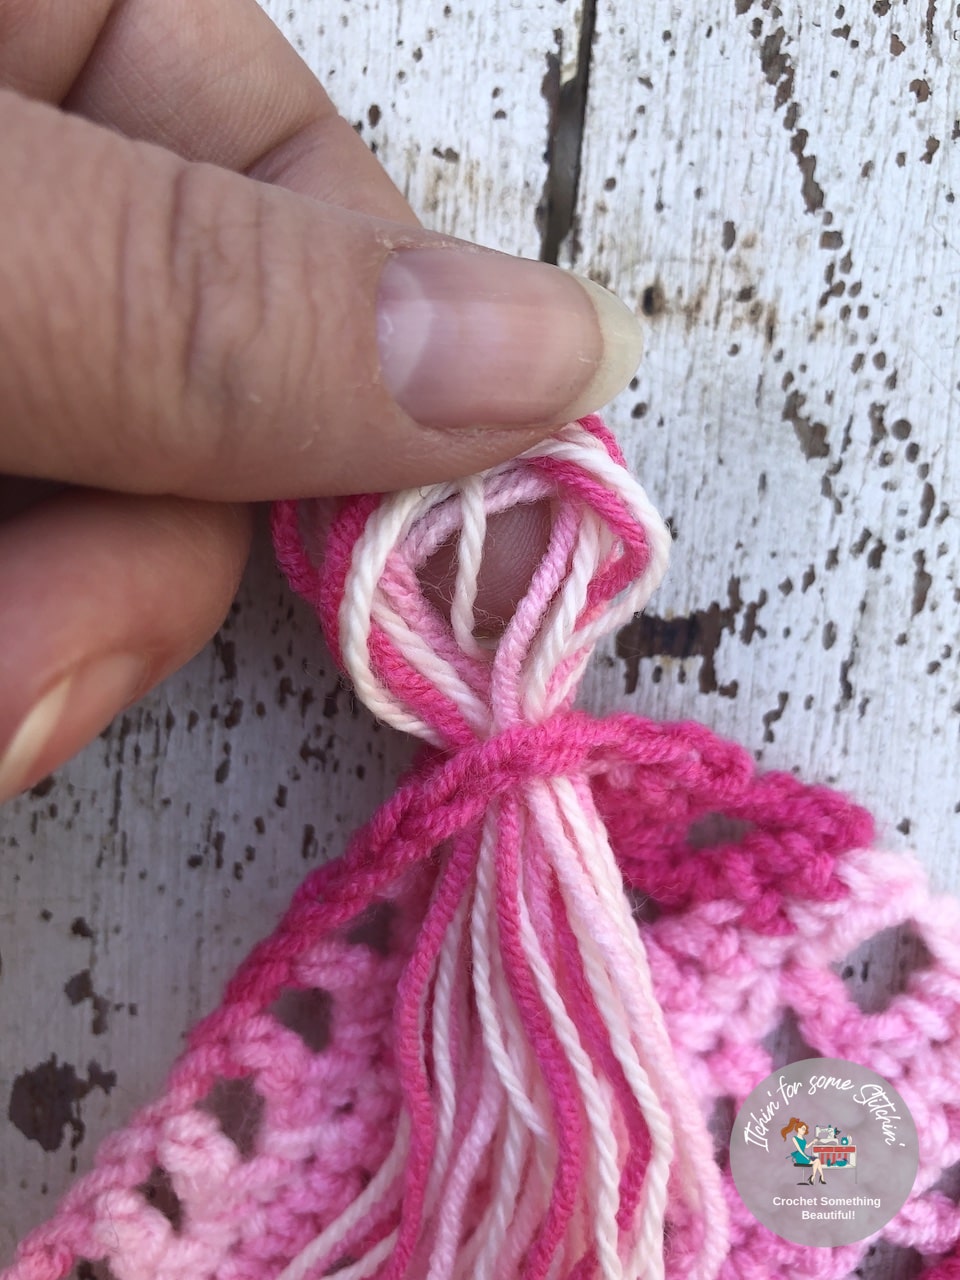
Step 4: Tuck the loose strands into the middle of the loop.
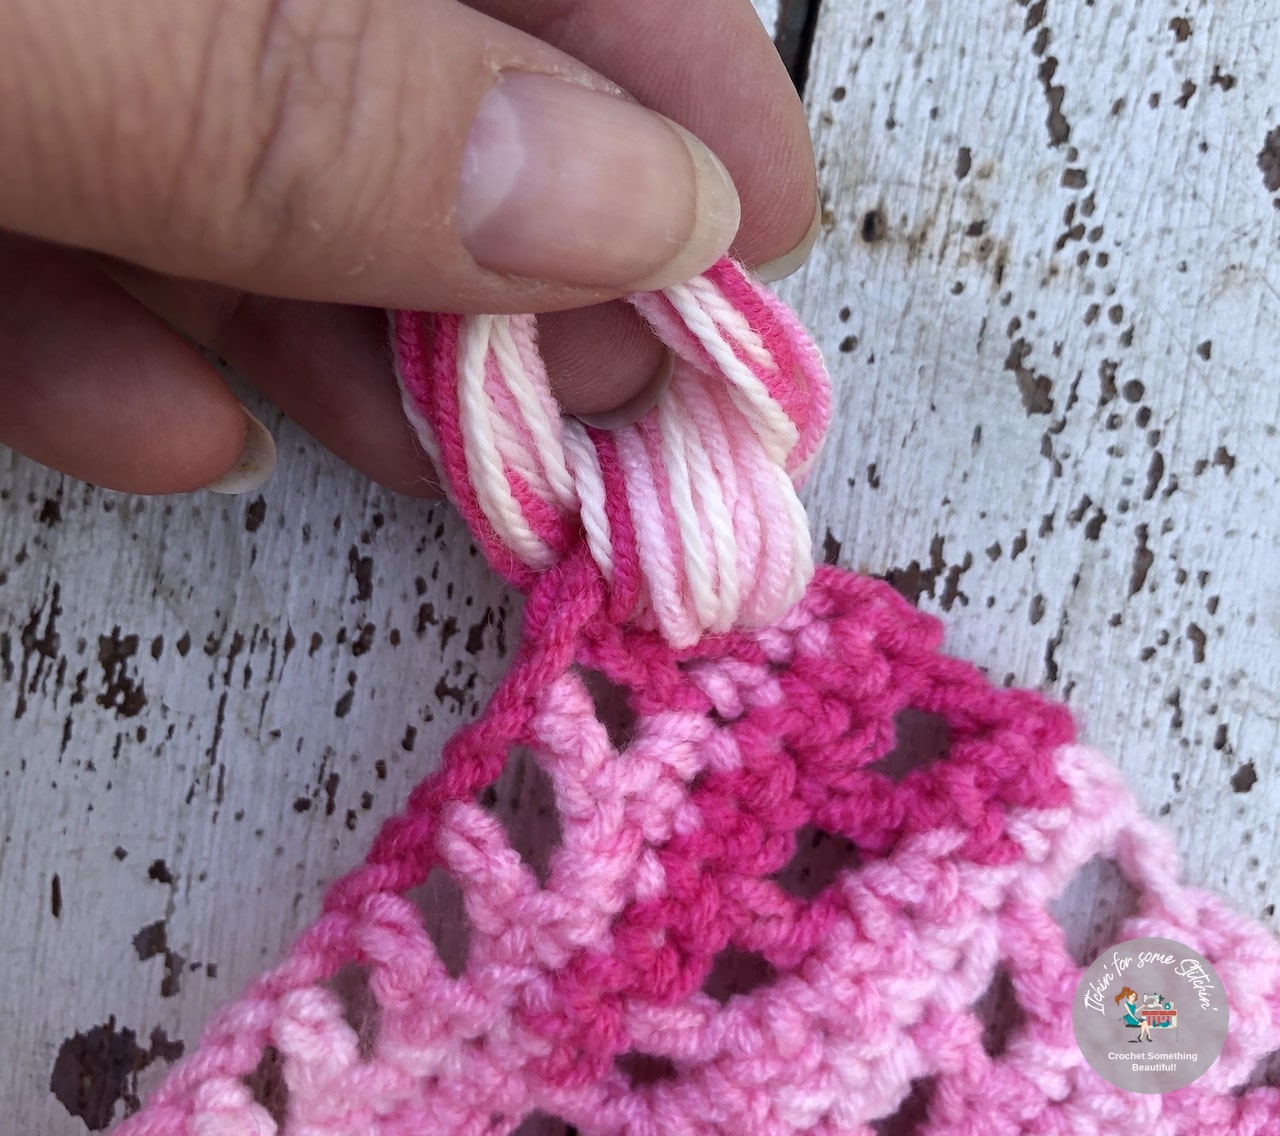
Step 5. Tighten the loop down by gently tugging the loose ends after it is through the loop.
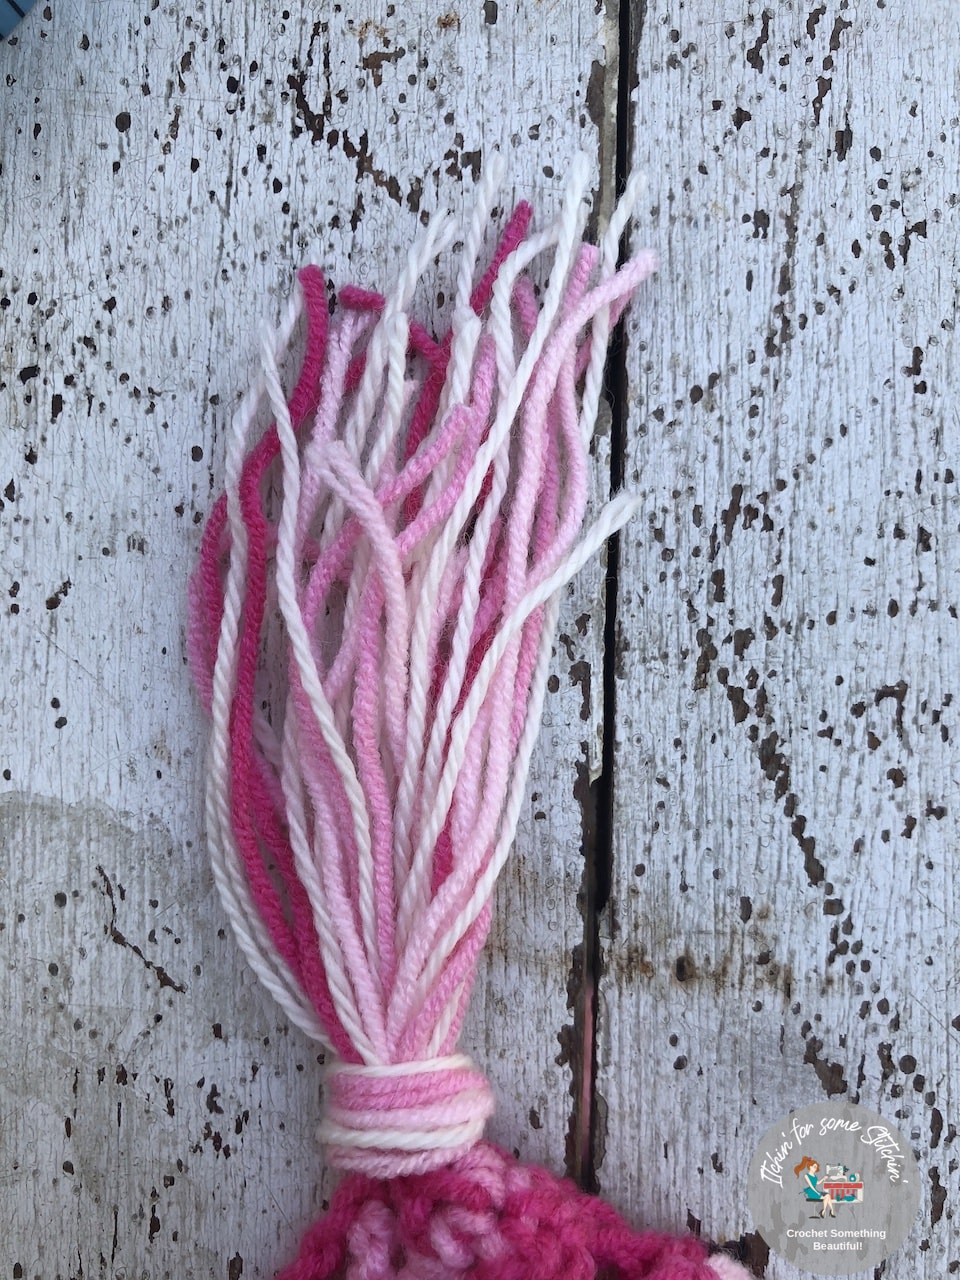
Step 6. After you do steps 1-5 along the short edges of the scarf, trim the loose strands so that each group of fringe is even.
Thank you for coming to my blog! By sharing my content and/or making a purchase you are making it possible for me to continue producing and sharing free content for everyone to enjoy. I sincerely appreciate your support!
Until next time… Happy Crocheting!


Please Share!
Barbara Paulson
Sunday 27th of June 2021
Beautiful Scarf ~ Length is stated as being 26" either side of center to side edge = 32" total; but 26 x 2 = 52, not 32. Is the total length from side to side at top edge 32" or 52"? Thank you!
Itchin4Stitchin
Wednesday 30th of June 2021
Hi Barbara,
First, I want to apologize for the delay in responding to you. I have been in the middle of moving and had hope that I would be able to unpack this scarf and double check for you soon, but as of yet, I still can't find the box it is in! From what you wrote, it looks like I may have a typo and it should be 52, but the only way for me to know for sure is to remeasure the scarf. I am going to reach out to my pattern testers in hopes that one can measure for me. I an so sorry I don't have an answer for you right now, but I promise I will get back to you ASAP!
Sincerely,
RaeLynn