Discover the perfect hemming technique for bridesmaid dresses made of satin and sheer polyester. This comprehensive guide provides step-by-step instructions and tips to achieve a flawless and professional-looking hem. Whether you’re a DIY enthusiast or a professional seamstress, this tutorial will help you create beautifully tailored bridesmaid dresses that will make your bridal party shine. Say goodbye to uneven hems and hello to picture-perfect dresses that will leave a lasting impression!
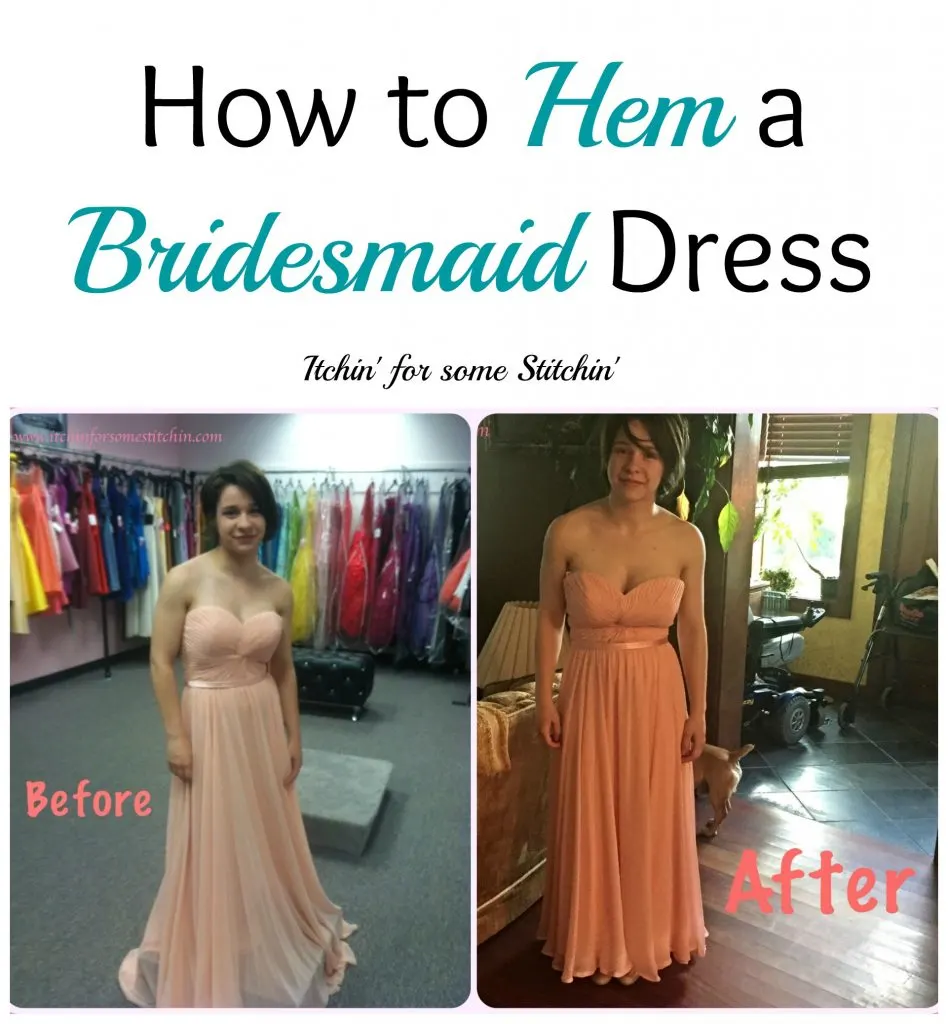
Let me tell you right off that this article on How to Hem a Bridesmaid Dress is not the original one.
I originally made this post in 2015 and it was one of my first blog posts ever. Three years later, I realized just how awful it was. LOL.
So, I gave a bit of an up date in 2018 and in 2023, I decided it needed a little polish.
However, you must know that all the photos are the original photos from 2015 as this dress no longer exists and, of course, has already been hemmed so I cannot repeat it.
Thus, please bear in mind that these pictures are from before I understood the value of good lighting and good photography. The tutorial itself, however, is still sound and valuable.
So hopefully, you’ll continue to follow along and learn something new despite the poor photography!
NOTE: The color of the dress is blush, but does seem darker in some photos due to lighting differences. I promise every picture is in fact of the same dress.
*This post may have affiliate links. See my full Disclosure Policy for details.
Check Out These Other Tutorials I LOVE!

1. Easy Zipper Pouch Tutorial / 2. How to Sew Scented Sachets / 3. How to Sew a Floor Pillow
My Other Sewing Resources
- Why Sewing Machine Thread Bunches Up & How to Fix It!
- How to Make Continuous Bias Binding from One Square of Fabric
- Beginner Sewing Basics: What You Need to Know Before You Start!
Project Summary:
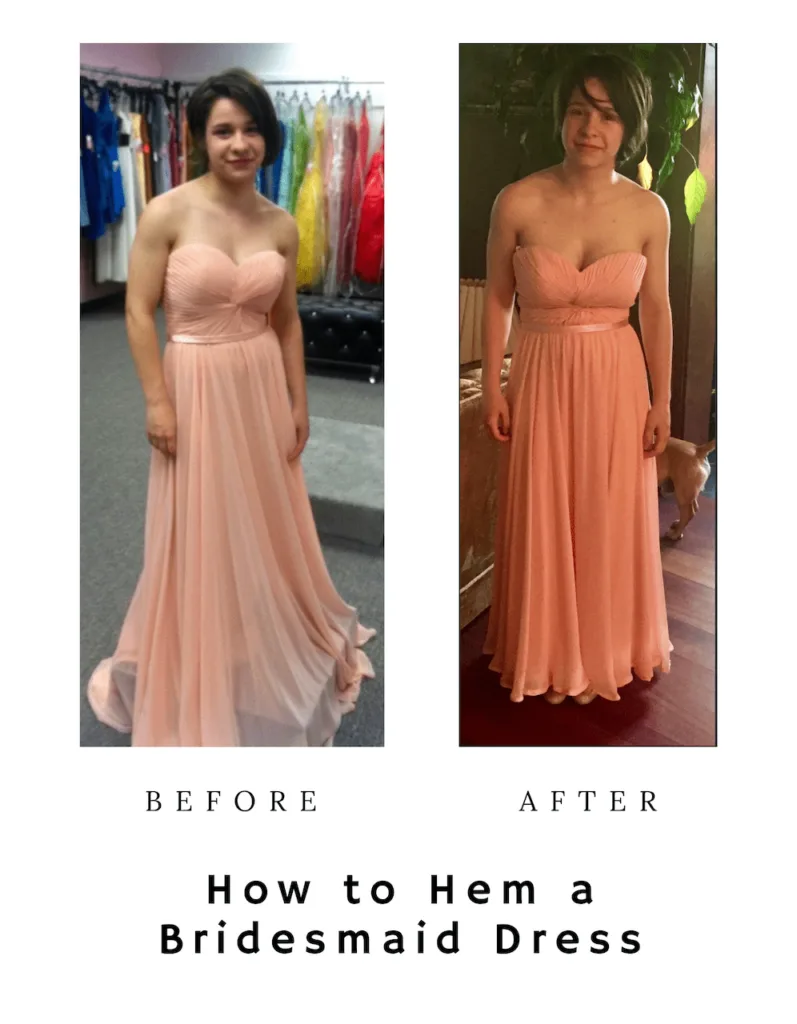
This is a tutorial I made in 2015 because I had to hem a bridesmaid dress pronto and wanted to share with others how a sewing beginner (at the time) could do this.
Here’s the background:
My step-daughter, Alex, was getting married and all her sisters were bridesmaids.
Unfortunately, one of her sister’s bridesmaid dress was almost a foot too long!
This is because the sister in question, Dakota, is uh… I’ll say “vertically challenged”. She stands only 4’91/2″ tall.
Now, I am not a professional seamstress.
I am an experienced sewer, but that’s not the same thing.
And in 2015, I was a sewing beginner who only had one week to hem this dress!
Difficulty Level: Level 1, Beginner
Materials:
- Sewing machine (For beginners I recommend this Brother Sewing Machine I bought for my daughter to learn on)
- Coordinating thread or Clear Invisible Nylon Thread
- Measuring tape
- Disappearing Ink Marking Pen
- Quilting/Sewing ruler
- Straight pins
- Fabric scissors (I use Fiskar’s Easy Action Scissors because they reduce hand strain)
- Rotary blade & mat
Additional Notes:
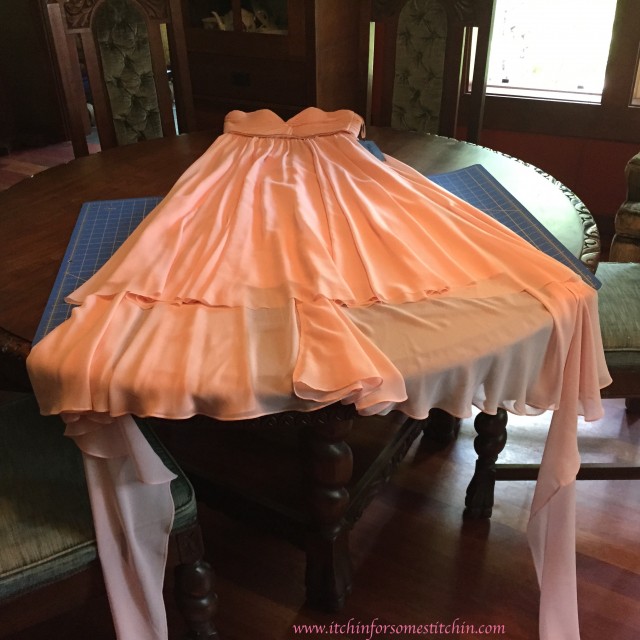
This dress had three layers. The bottom or inner layer was made of satin and the two outer layers were made of sheer polyester.
If you are hemming a bridesmaid dress with only one layer or layered similar to this, then this tutorial should work quite well for you.
How to Hem a Bridesmaid Dress Tutorial
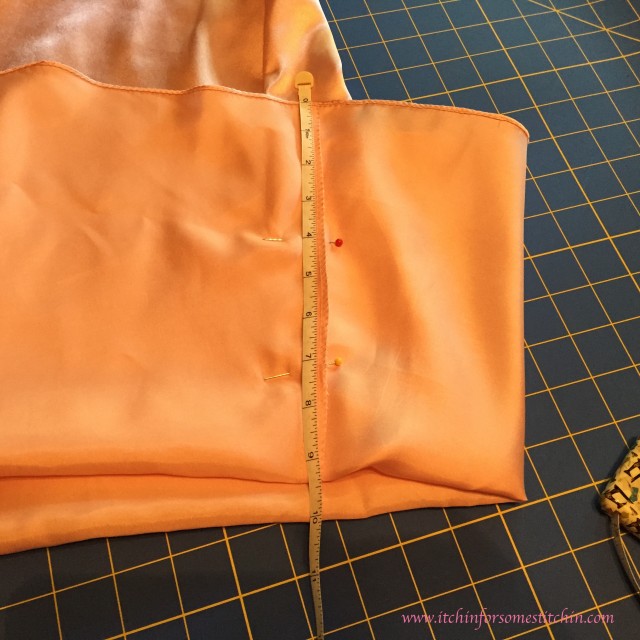
Step 1.
I needed to take nearly 9-1/2 inches off the inner layer, so the first thing I did was measure.
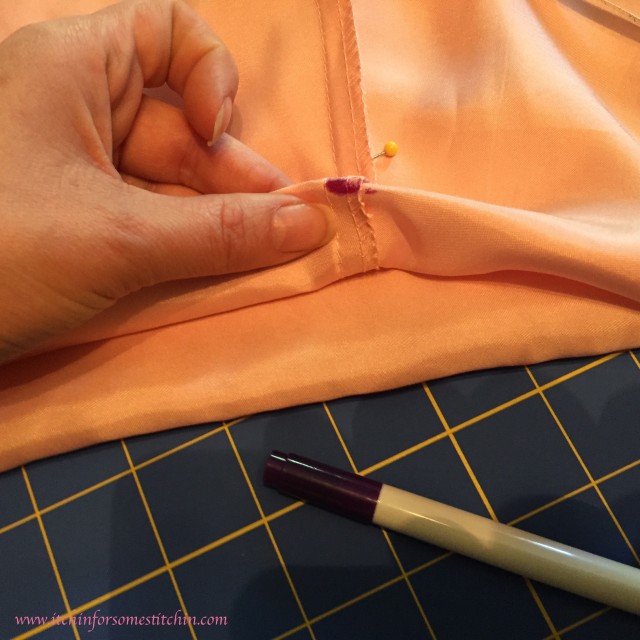
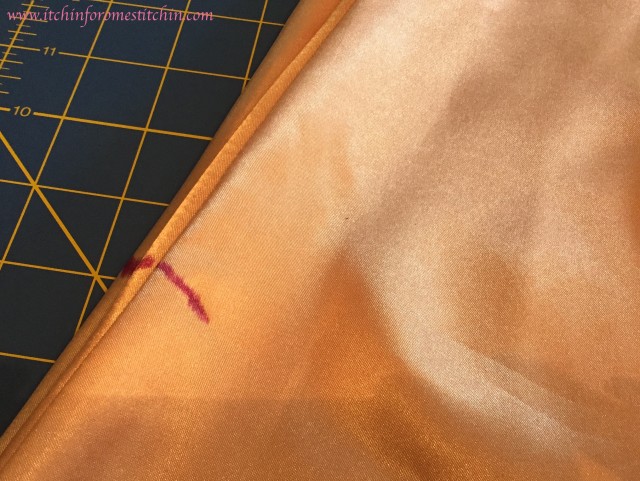
Step 2.
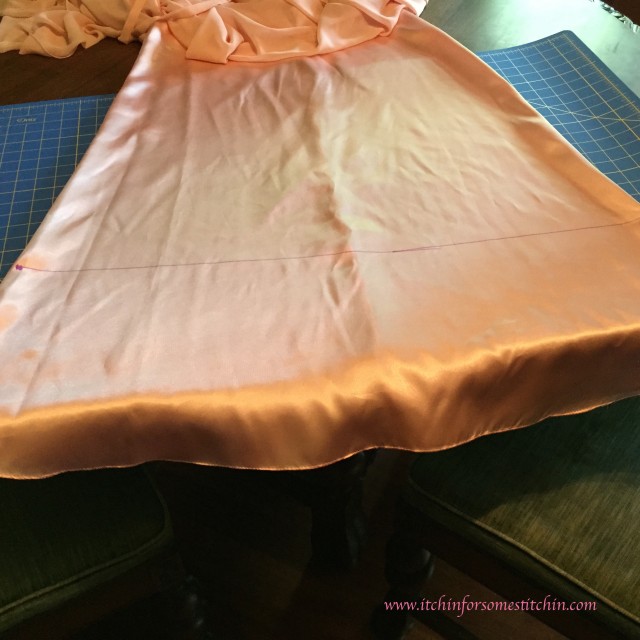
Using a fabric pen, I marked the bottom edge and the sides of the inner layer where I wanted to make the cut.
The marks fade and ultimately disappear from 30-minutes to several hours, depending on the type of fabric.
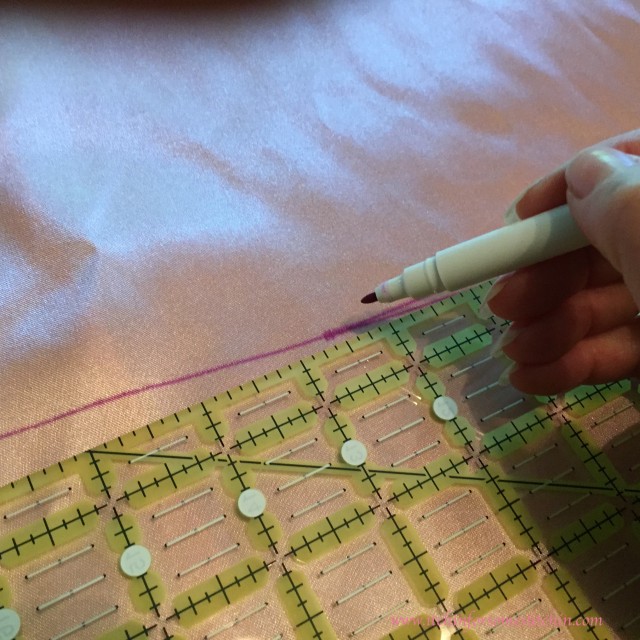
Step 3.
I used a large ruler to draw a line from each marked edge all the way across the fabric.
Step 4.
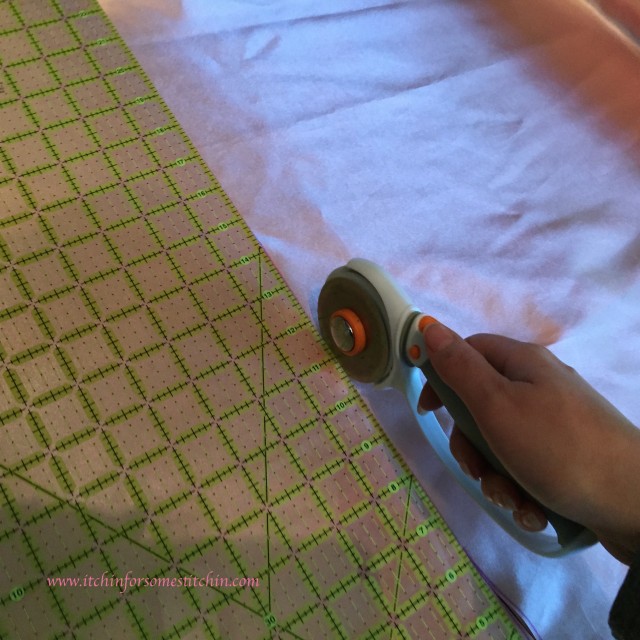
I used a ruler and a rotary blade to slice along the marked line.
Love Pinterest?
Save this post for later!
Step 5.
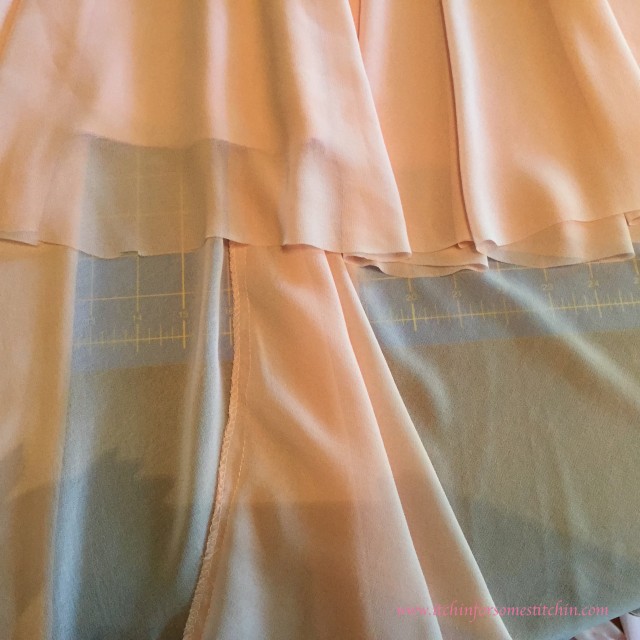
The top or outer layer was sheer polyester and there was a TON of it. I found the easiest thing to do was to lay the front part of the outer layer over the newly cut satin layer and repeat steps 3-4. I cut the sheer layer about 3-inches longer than the satin layer.
Step 6.
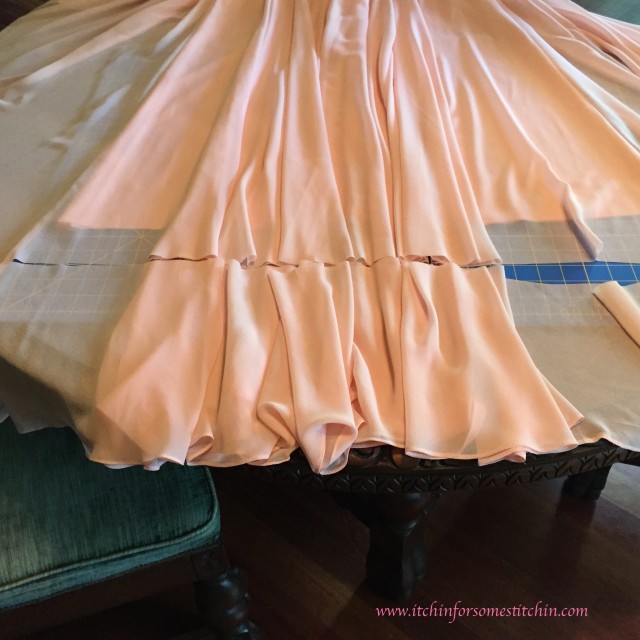
I laid the cut portions of the dress on top of the back part of the sheer polyester layer that still needed cutting and repeated steps 3-4.
I cut the back part of the sheer layer right along where I made the cut for the front part of the sheer layer so that both the front and back portions would be exactly the same length.
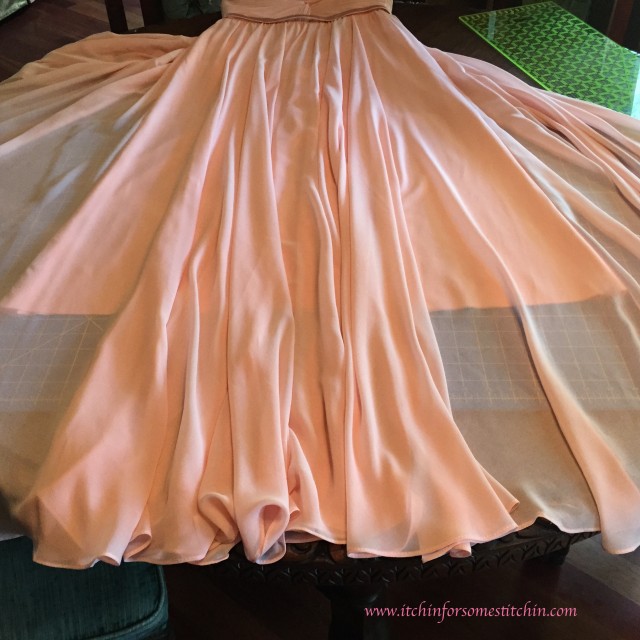
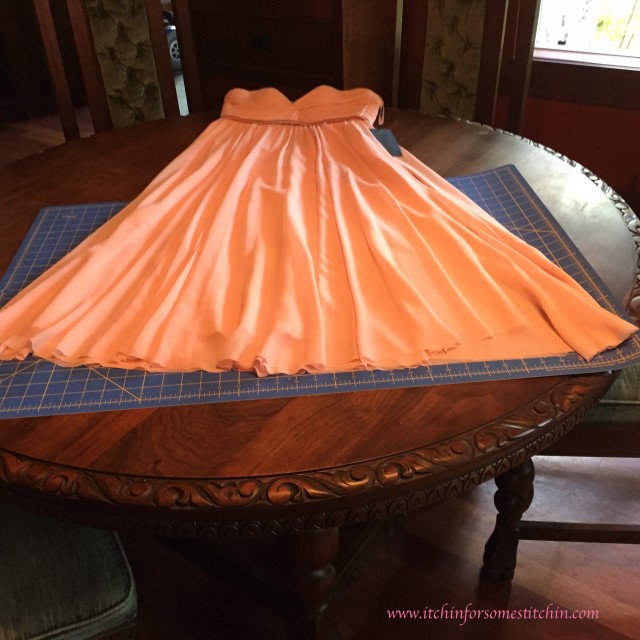
Here is the dress after all three layers, the inner satin, and the two outer sheer polyester layers, have been completely cut.
It’s lookin’ good, right? But, of course, it’s not finished.
The newly cut edges had to be sewn so they would not fray.
Step 7.
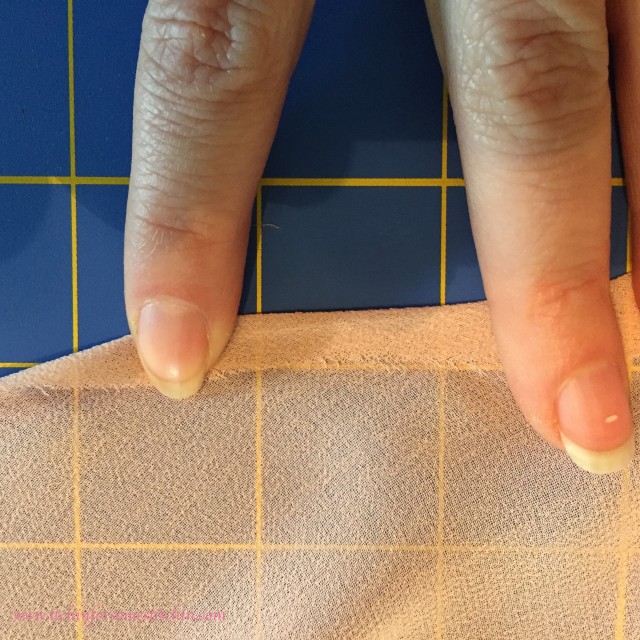
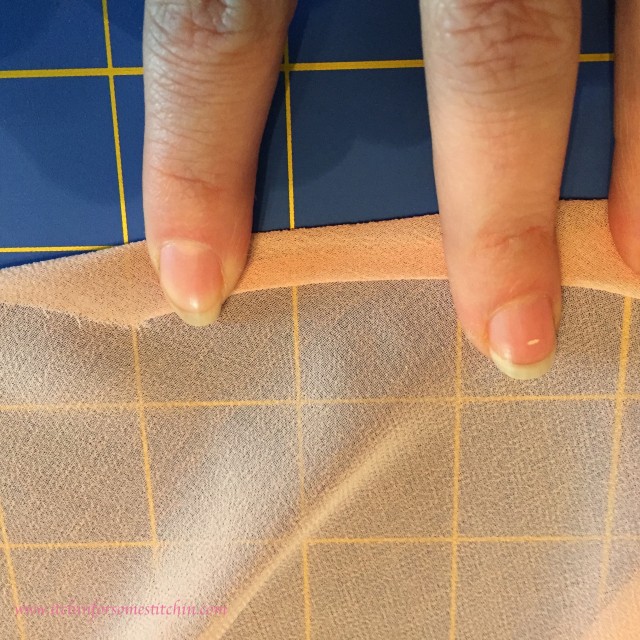
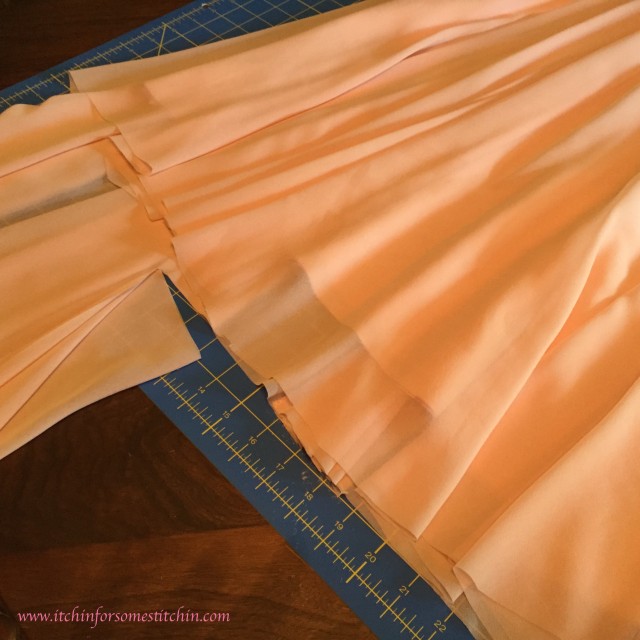
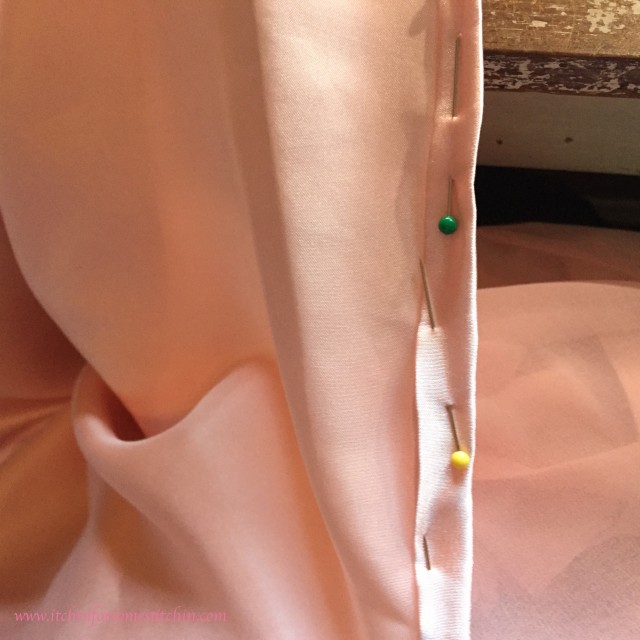
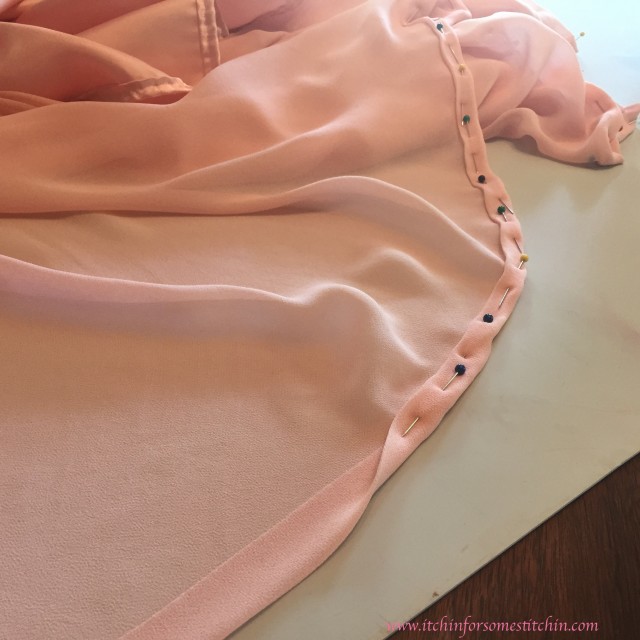
I double folded the edges of the dress. All the way around, both the satin and the sheer polyester layers. I started with the satin layer, but only took pictures of the sheer layer. The process was exactly the same.
Step 8.
As I folded, I pinned the folds down with straight pins.
Step 9.
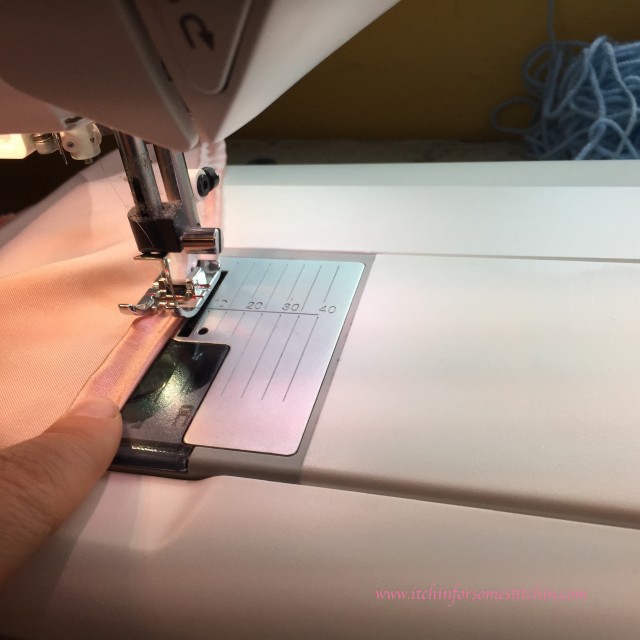
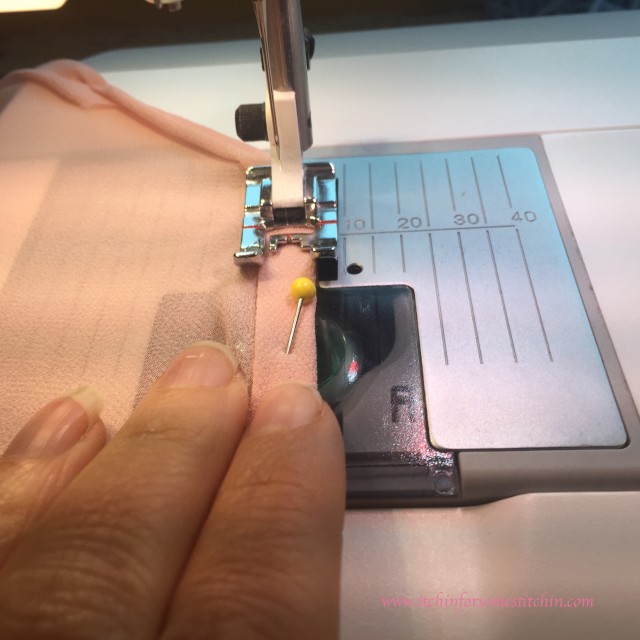
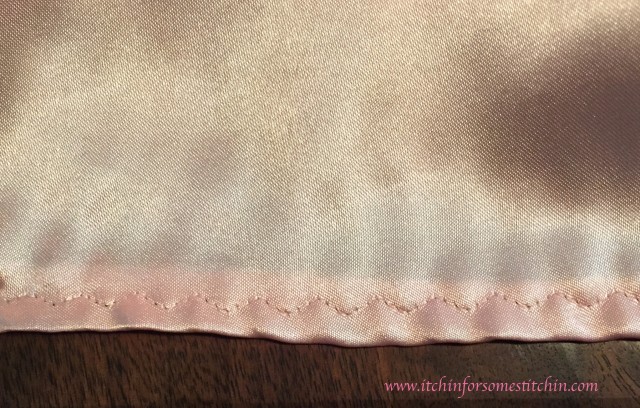
I used a zig-zag stitch on both the satin and polyester layers to keep the edges from fraying.
Since I was on a time crunch, I wasn’t able to run to the store to get matching thread so I decided to use clear nylon thread instead.
It worked out just fine.
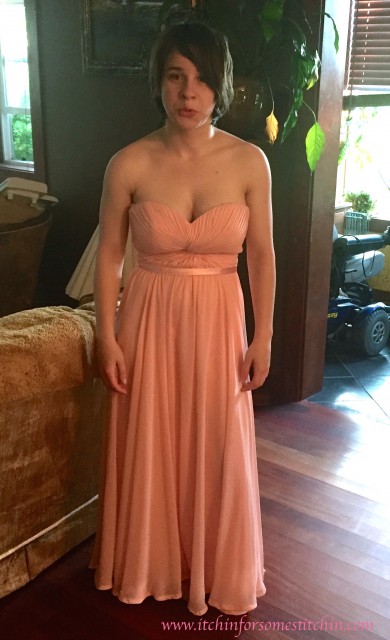
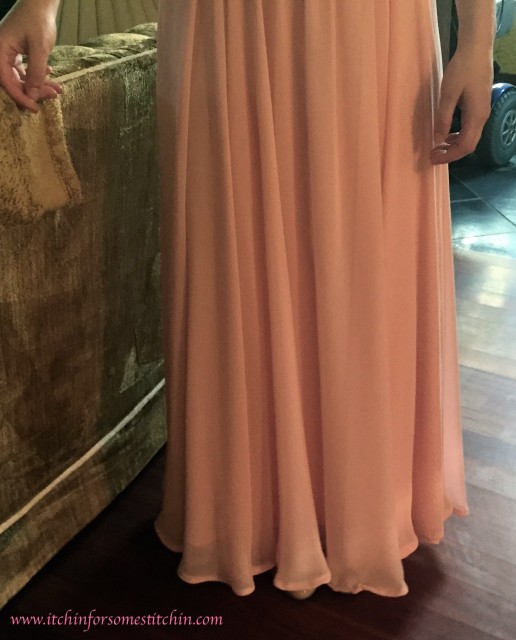
The dress is complete!
It took three hours just to fold and pin the sheer polyester layer and an entire day to finish the project.
You can see that the hemmed edge is not perfect, but also not bad for my second sewing project ever.
I wanted to correct my errors, but Dakota steadfastly told me, “No way. You’re done. They give the dress character.” LOL.
What she lacks in height, Dakota makes up for in attitude!
Until next time… Happy sewing!

Please Share!

May
Friday 10th of June 2022
Thank you so much for this. I need to alter my mother of groom dress for wedding in a month. I’ll need to cut probably a foot off the bottom and shorten straps. This is a great tutorial.
Itchin4Stitchin
Friday 10th of June 2022
Hi May,
I am so very glad this helped! I know your dress is going to look AMAZING!!
Best wishes,
RaeLynn
Thea Yegerlehner
Friday 28th of December 2018
Thank you so much for posting! I have to cut off 5 inches from my daughters bridesmaid dress! I wouldn't be so scared but it's her brothers/my son's wedding! LOL Your advice to use the rotary cutter was most appreciated! Plus the zigzag stitch!
Itchin4Stitchin
Friday 4th of January 2019
Hi,
I am so glad you found this post useful and hope that your daughter's bridesmaid dress alterations turned out beautifully! I think the rotary cutter is one of my favorite sewing tools. :)
Best wishes,
RaeLynn
Stella Lee@ Purfylle
Monday 8th of June 2015
This was your second ever sewing project? You did a fabulous job! I've been sewing for ever and I don't think I would have done it any better or faster. Dakota looks lovely in the gown.
Terri
Wednesday 24th of May 2023
@Itchin4Stitchin,
Itchin4Stitchin
Monday 8th of June 2015
Thanks so much! It's wonderful to hear from an experienced sewer that I did a good job. For most of my life I owned only a needle & thread. I was able to patch tiny holes or sew buttons on by hand. Then I mentioned to my fiancé that I would love to learn how to quilt. He bought me a fancy Husqvarna Viking that does way more than I will probably ever need! I've been so intimidated by it that it sat in my house for a year, until a few months ago when Alex asked me to sew her a Wendy Darling costume, which was my first sewing project. You can read all about it on the blog if you like. :)