Hey Crafters!
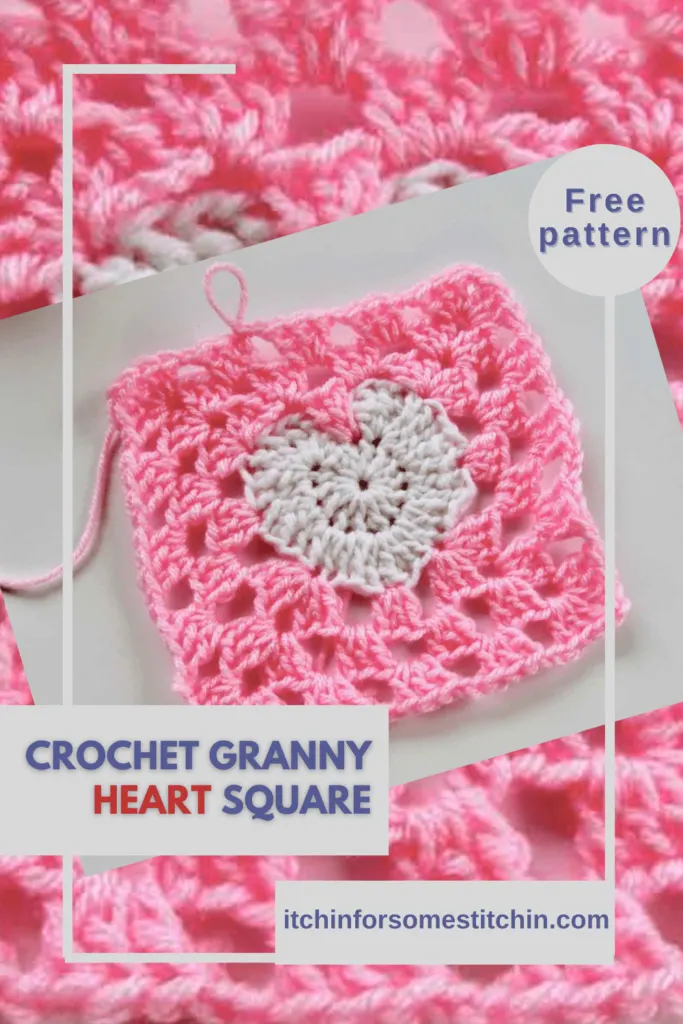
Today I want to share with you this awesome crochet heart granny square tutorial!
I just made it up! Really. It’s true.
The idea came to me just the other day as I was thinking about what I was going to do with all the crochet hearts I have leftover from my husband’s Valentine’s Day gift.
I thought about using them as appliqués on skirts, purses, or headbands, but I really wanted to do something a little different with them.
Perhaps there was a way to make them a part of a gift for my mom, because, as luck would have it, both her birthday and Mother’s Day are in May. And May just snuck up on me!
I was already thinking I might crochet her an afghan, but how could I add these lovely little crochet hearts?
Then it hit me. I could turn them into granny squares!
Well, granny heart squares to be exact.
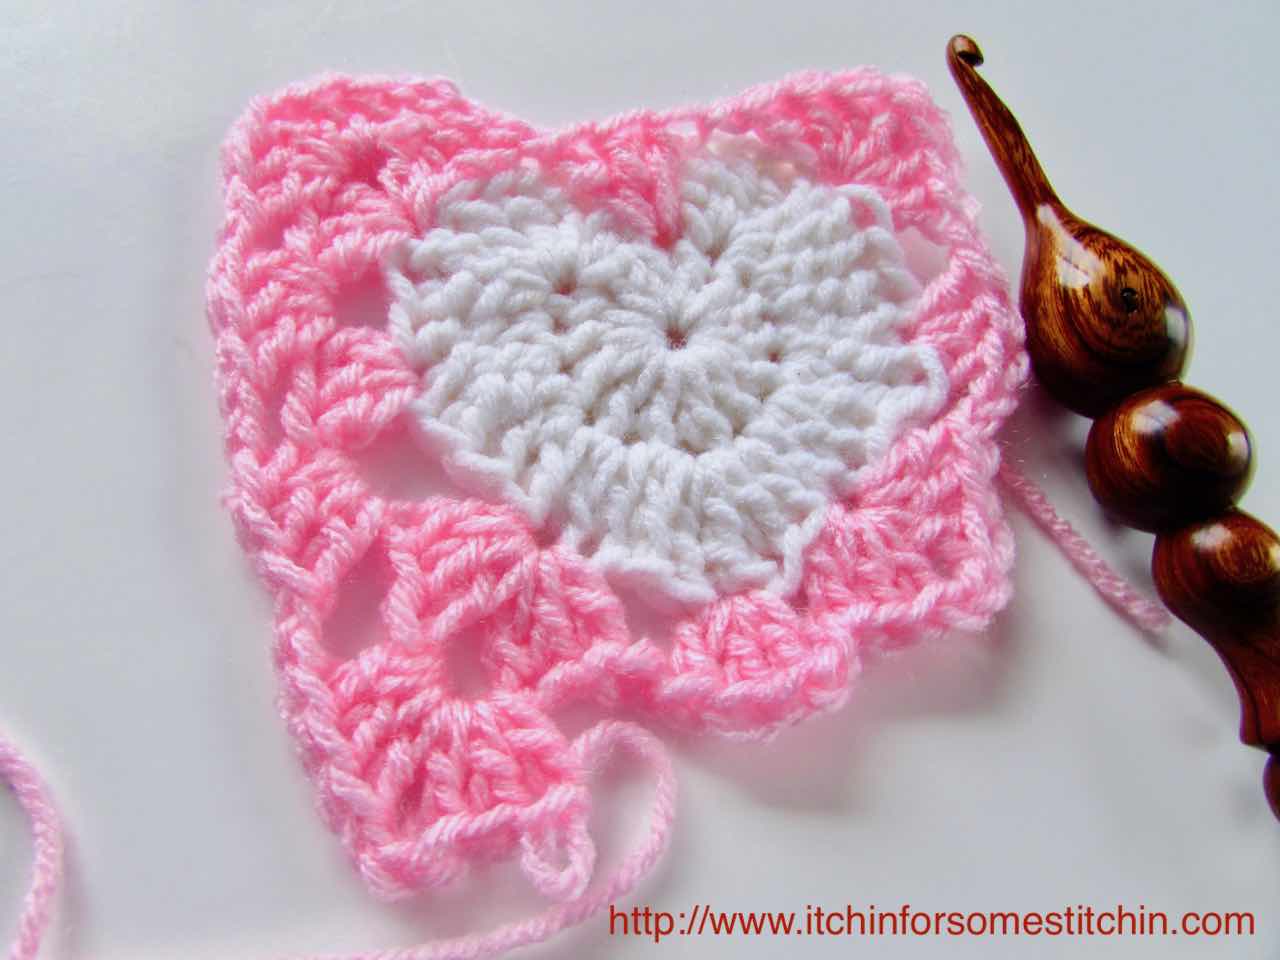
So, I grabbed a heart and a hook and an hour later I had a granny square with a sweet little heart in the middle. 🙂
Let me show you how I did it! Don’t worry. It’s super easy!
* This post contains affiliate links. See my full Disclosure Policy for details.
What is a Granny Square?
First of all, let me give a brief granny square definition, on the off-chance you don’t know what they are.
Hey, I didn’t know what granny squares were until my grandma told me. So, it’s not entirely silly to think that there are those out there who are unfamiliar with the idea.
Anyway, let’s plow on.
Granny squares are a classic crochet motif. The most basic one starts off as what appears to me as a four petal flower or pinwheel. The first round surrounding the flower or pinwheel adds the four corners and sides of a square. Each round makes the square larger and larger.
There are literally hundreds, if not thousands of granny square variations. Including ones that turn a circle into a square and like today’s tutorial, ones that have a heart at the center of the square.
How to Crochet a Heart into a Granny Square
**THIS IS AN ORIGINAL PATTERN. Please see my Copyright Statement for details.

Prefer a PDF?
The Granny Heart Square Pattern is available as a high quality, ad-free PDF.
Find it in the following places:
Heart Granny Square Pattern Instructions
Skill Level: Easy
Materials
- Medium worsted weight yarn
- Hook: J (6.0mm)
Abbreviations & Skills Required
- Slip-stitch (slp-st)
- Double crochet (dc)
- Chain stitch (ch)
~ Simply click on the links above if you need a review of these skills.
Basic Crochet Hearts
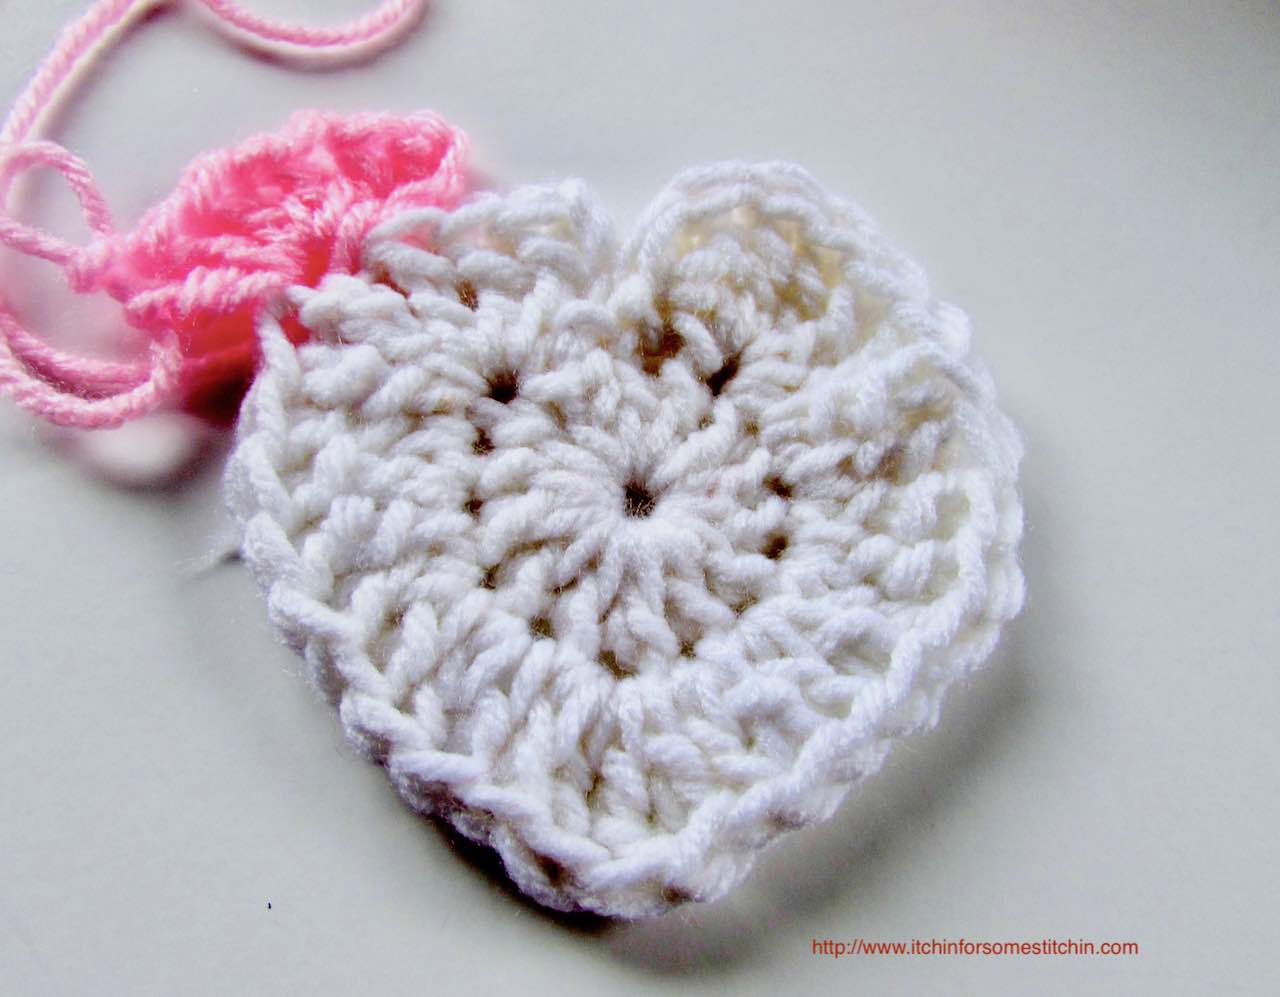
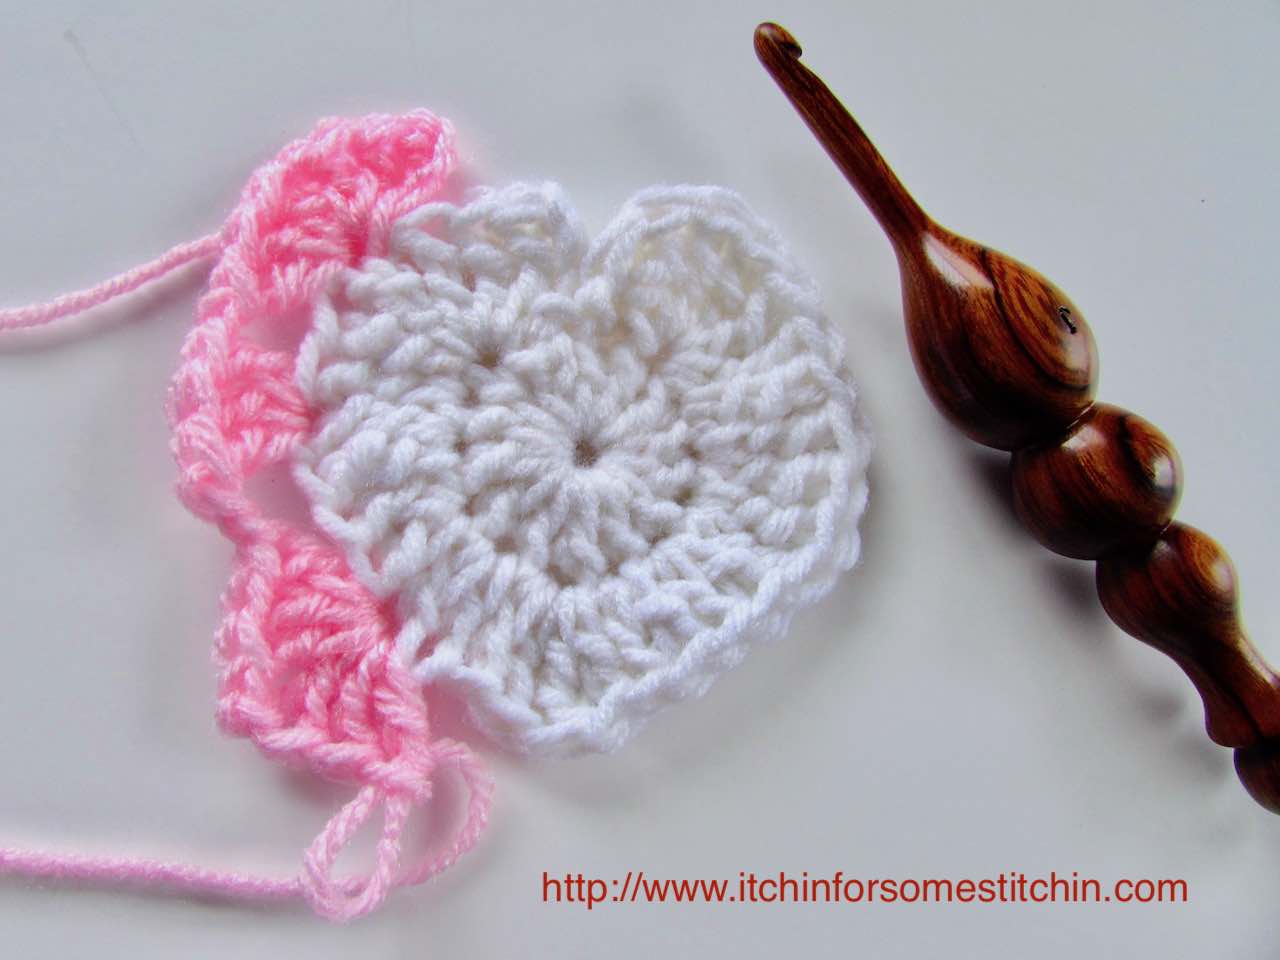
Before you make your heart granny squares you’ll need to whip up some crochet hearts.
Now, since I designed this pattern from hearts that I crocheted several weeks ago, I highly recommend you use my tutorial to create your hearts before continuing the crochet granny heart square tutorial.
See, A Quick & Easy Way To Crochet Hearts to make the hearts.
NOTE: The heart pattern is included in the pdf pattern available for purchase. It’s two patterns in one!
Granny Square with a Heart Tutorial
Once you’ve finished your hearts it’s time to turn them into squares!
My basic crochet heart has 28 stitches plus one chain 4 (ch4) that counts as a stitch, so there are actually 29 stitches in total.
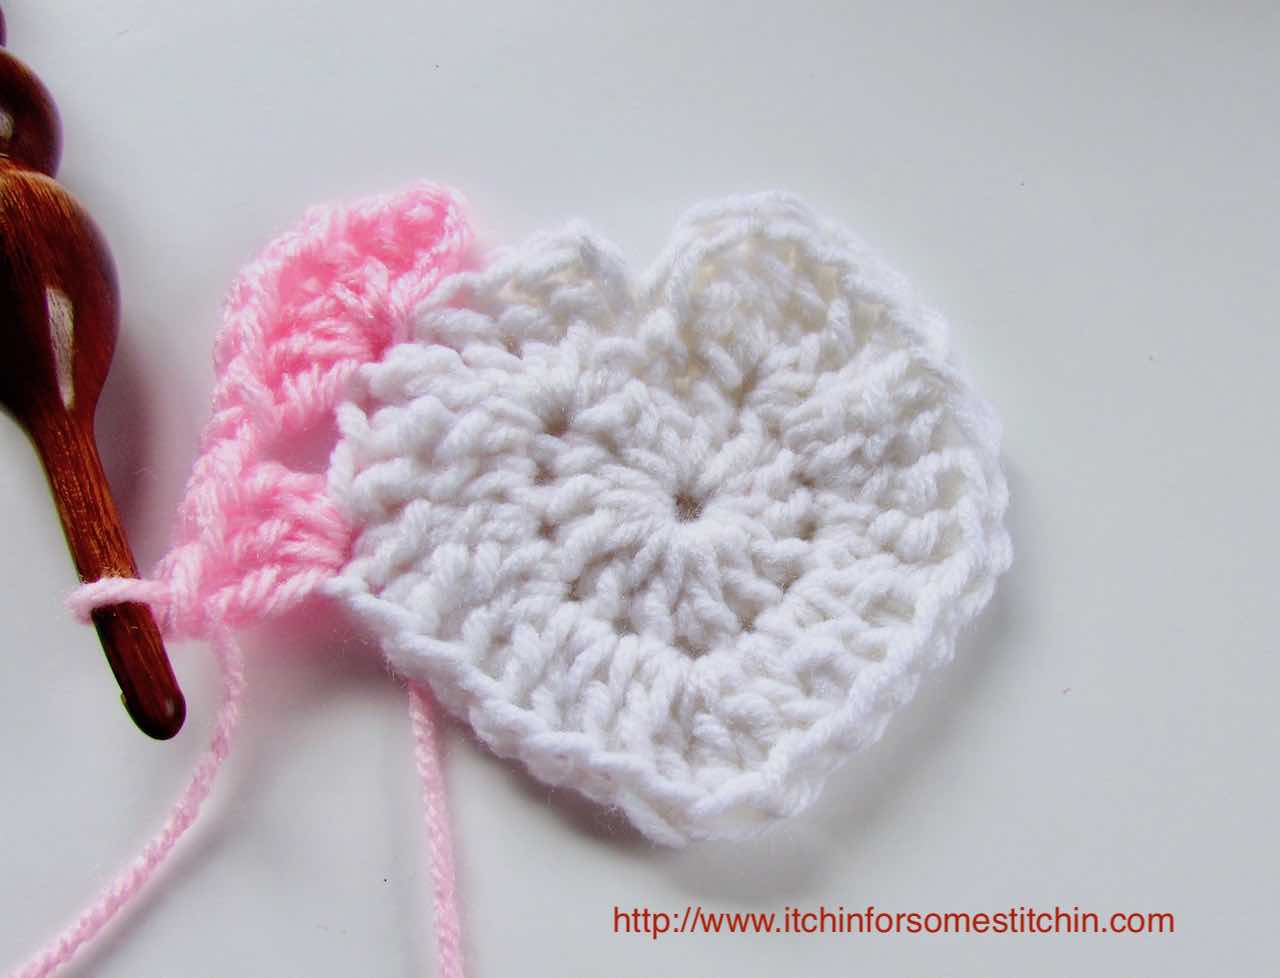
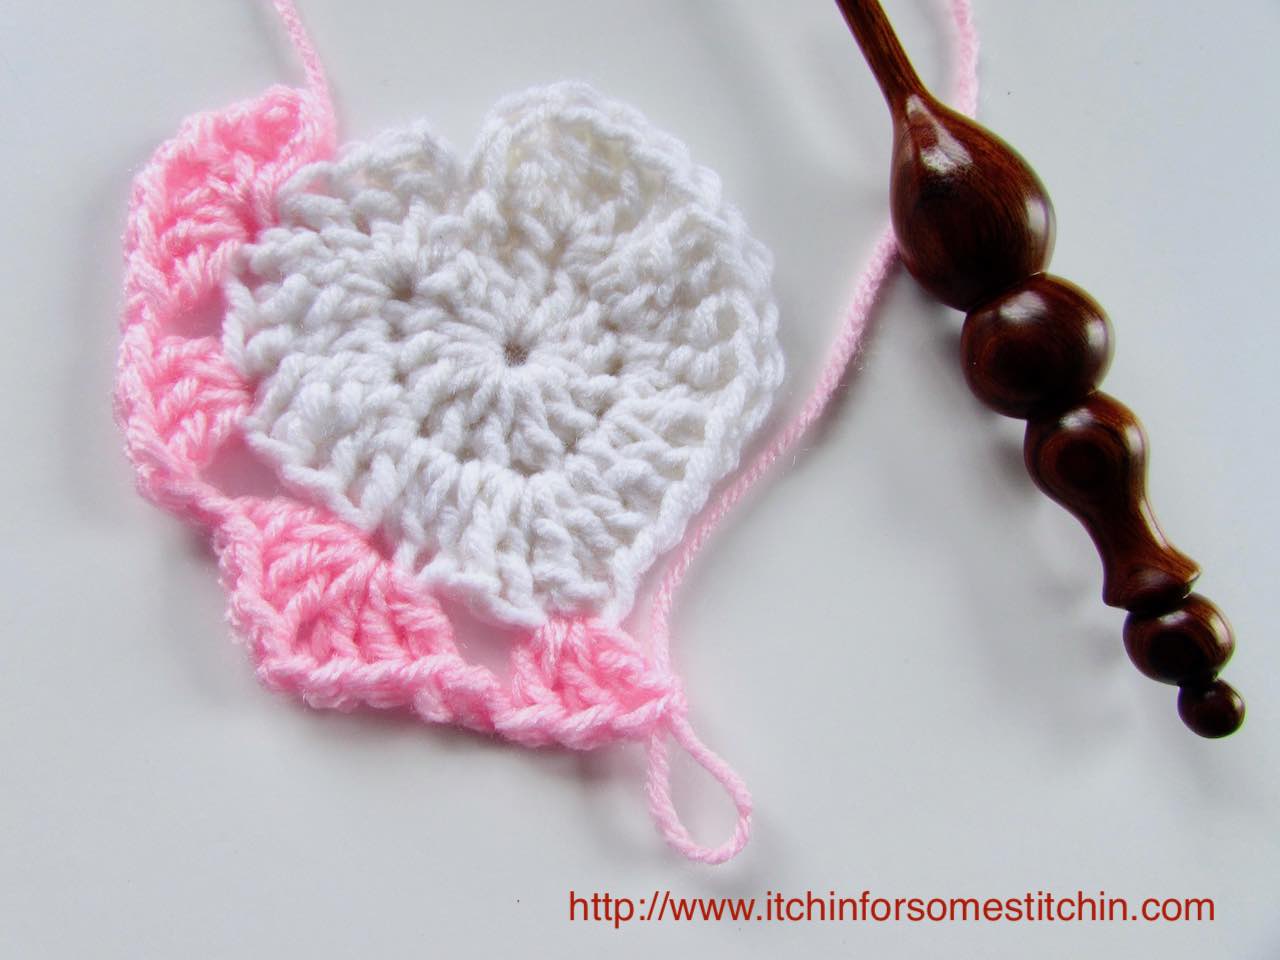
Round 1:
Create the first corner of the granny square heart,
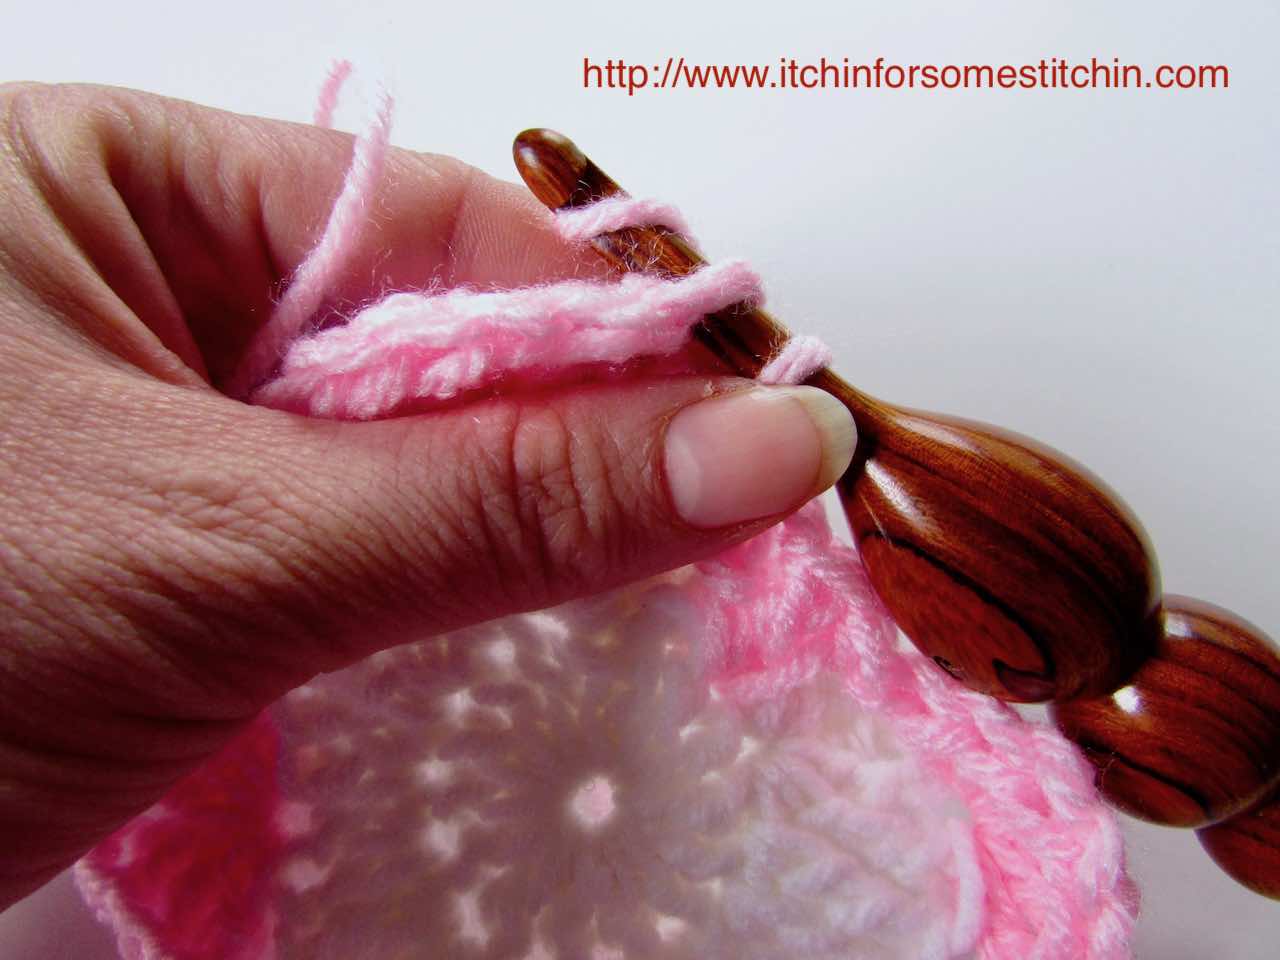
- Starting in the 3rd stitch to the left of the ch4—add new yarn color using the slip stitch (slp st).
- Ch3 (counts as 1dc)
- Work 2 double crochets (2dc)
- Ch2
- Work 3 double crochets (3dc) in the same stitch
Make the left side of the heart granny square.
- Ch1
- Skip the next 2 stitches
- Work 3dc in the next stitch
Create the second corner of the granny square with a heart.
- Ch2
- Skip the next 3 stitches
- Work 3dc in the next stitch
- Ch2
- Work 3dc in the same stitch
Make the bottom edge of the square.
- Ch2
- Skip the next 3 stitches
- Work 3dc in the next stitch (this should be the tip of the heart)
Continue up the other side of the heart by continuing to follow the pattern below:
Third corner of the granny heart square.
- Ch2
- Skip the next 3 stitches
- Work 3dc in the next stitch
- Ch2
- Work 3dc in the same stitch
The right side of the heart granny square.
- Ch2
- Skip the next 3 stitches
- Work 3dc in the next stitch
Fourth corner of the granny heart square.
- Ch1
- Skip the next 2 stitches
- Work 3dc in the next stitch
- Ch2
- Work 3dc in the same stitch
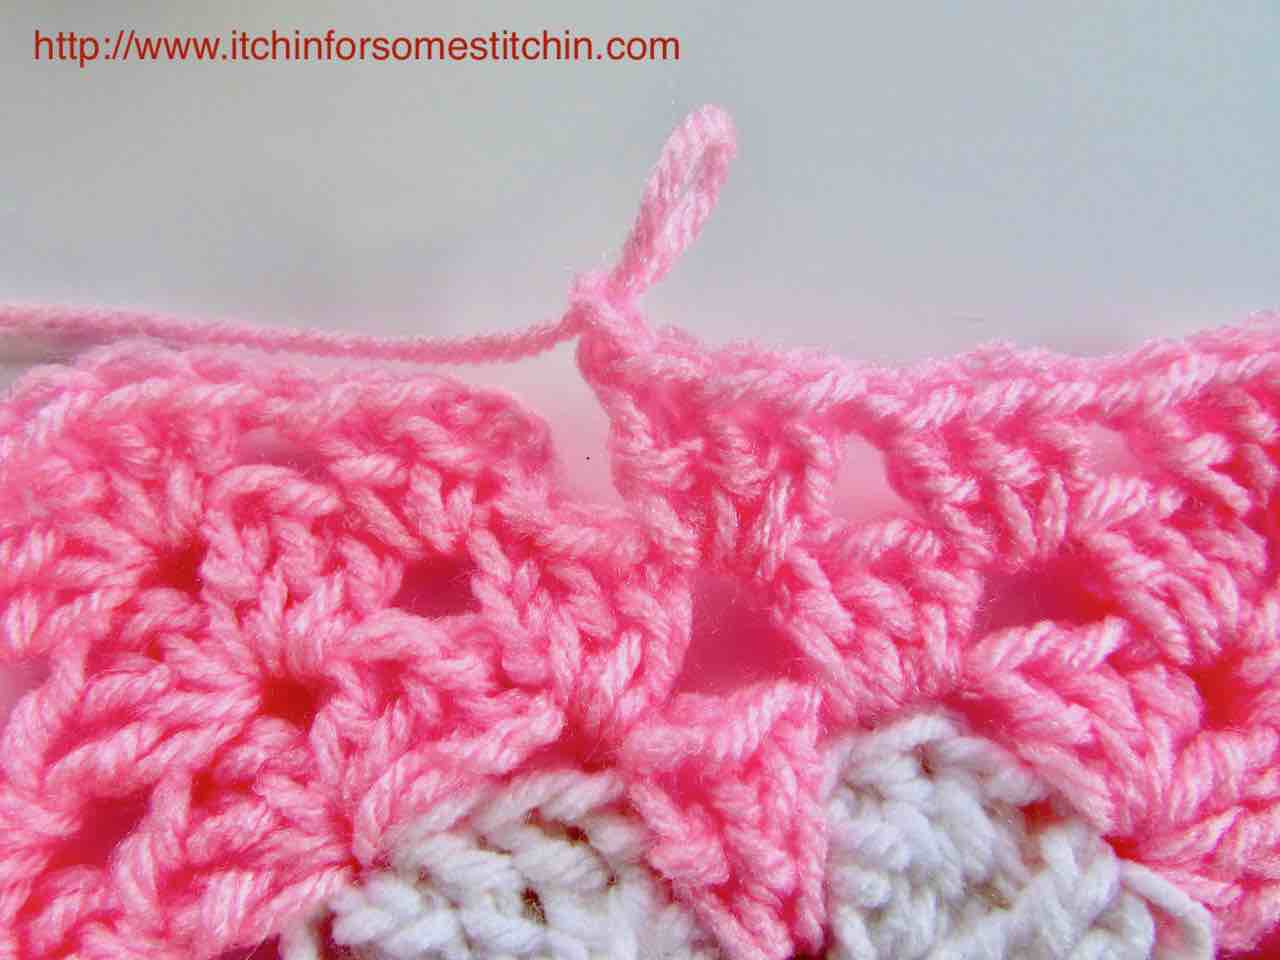
Crochet the top edge of the square.
- Ch1
- Skip the next 4 stitches
- Work 3dc in the top of the heart between the two arches
- Ch1
- Slip stitch (slp st) into the top chain of the ch3. You will have skipped the ch4 and 2 stitches when you do this.
You have just completed round one.
Okay, now I realize that it doesn’t yet look like a square.
That’s okay, your project will eventually take on the square shape as you continue to add rounds.
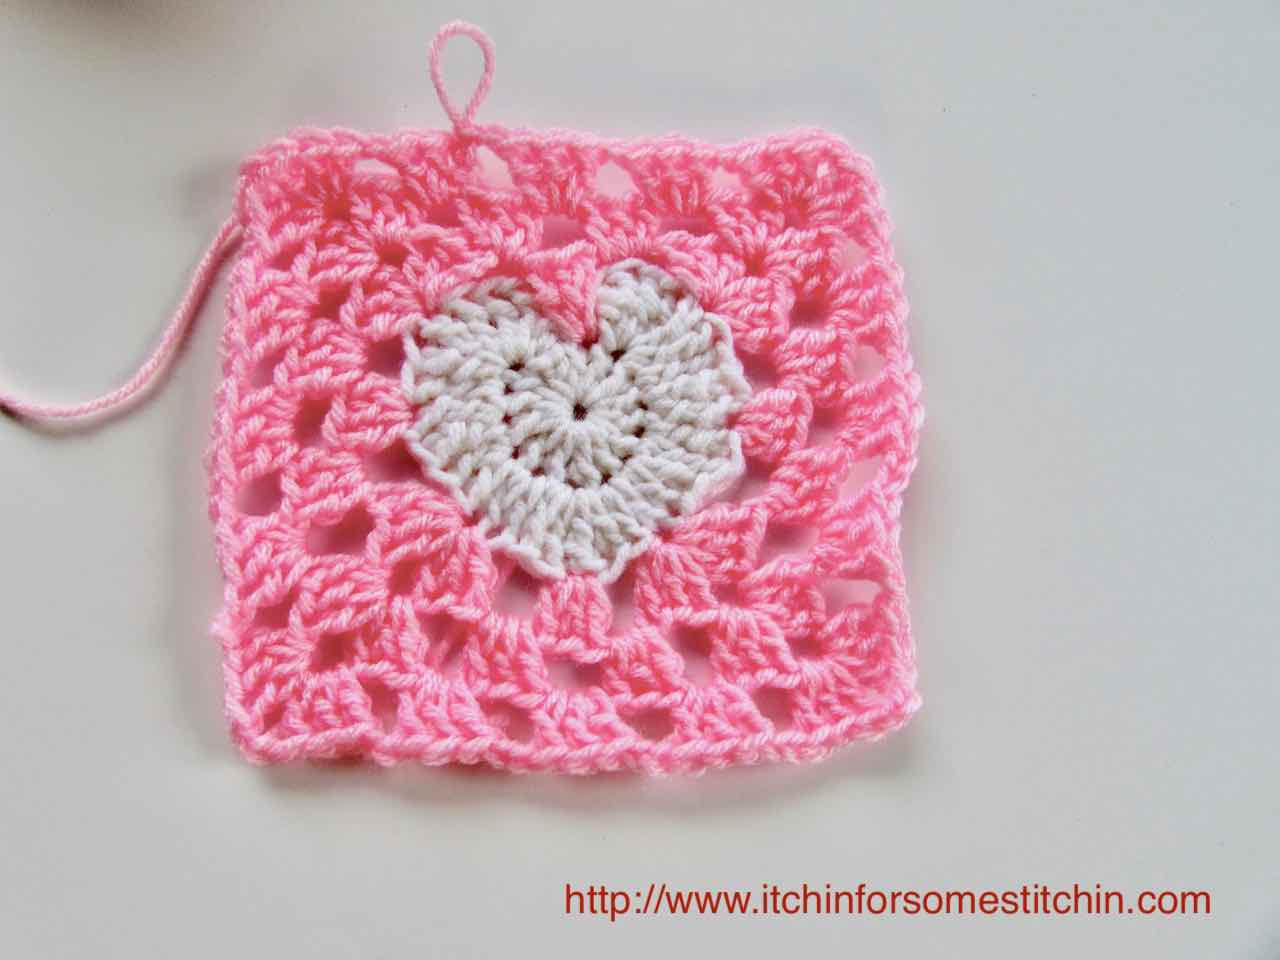
The remaining rounds work just like a traditional granny square.
Round 2:
Into your first granny heart square corner work:
- Ch 4– counts as 1 dc and one ch 1
- 3dc
- Ch2
- 3dc in the same stitch
Work the bottom edge of the square.
- 3dc in space
- ch2
- 3dc in space
- Ch2
Then continue up the other side of the heart by continuing to follow the pattern below:
Into your third granny heart square corner work:
- 3dc
- Ch2
- 3dc in the same stitch
Work the side of the square:
- Ch3
- 3dc in space
- Ch2
- 3dc in space
- Ch1
Into the fourth granny heart square corner work:
- 3dc
- Ch1
- 3dc in the same stitch
Work the top edge of the square.
- Ch1
- 3dc in space
- Ch1
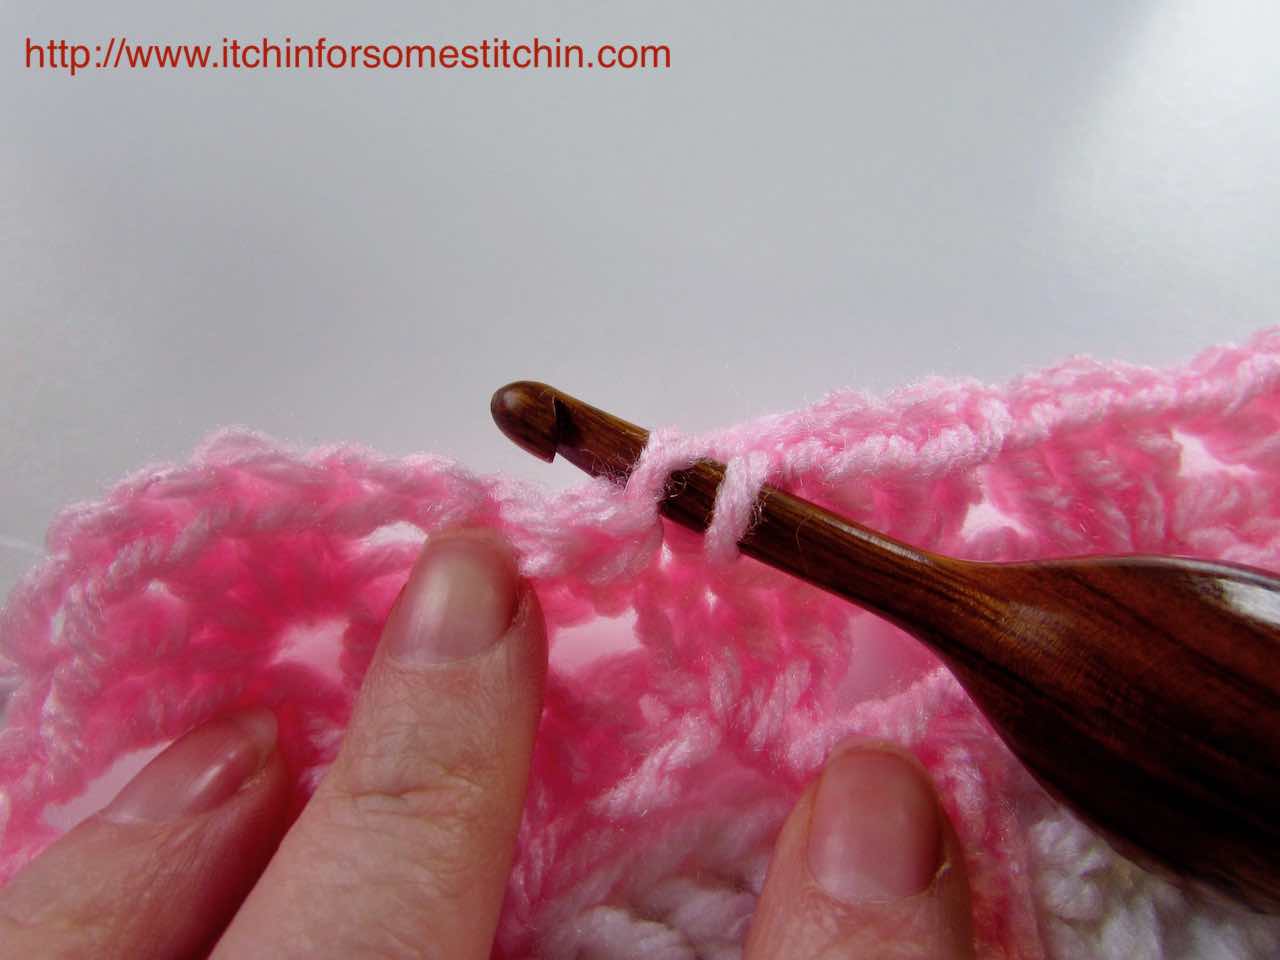
- 2dc in space
- slip stitch (slp st) to 3rd chain in the chain 4 (ch4) made at the beginning of the round.
Round three, and any other rounds you choose to add is worked in exactly the same way as round two.
Just remember that you are essentially working 3dc in each ch1 (if you are working the top section) or ch2 space (if you are working the bottom section).
Additionally, you are also working 3dc, then ch1 (if you are working the top of section) or ch2 (if you are working the bottom section), 3dc again in each corner.
That’s all it really boils down to.
Round 3:
- Ch3–counts as 1dc
- 2dc in space
- Ch1
- 1st corner: 3dc, ch1, 3dc in same stitch, ch 1
- 3dc in space, ch1 (1)
- 3dc in space, ch2 (2)
- 3dc in space, ch2 (3)
- 2nd corner: 3dc, ch2, 3dc, ch2
- 3dc in space, ch2 (1)
- 3dc in space, ch2 (2)
- 3dc in space, ch2 (3)
- 3rd corner: 3dc, ch2, 3dc, ch2
- 3dc in space, ch2 (1)
- 3dc in space, ch1 (2)
- 3dc in space, ch1 (3)
- 4th corner: 3dc, ch1, 3dc in same stitch, ch 1
- 3dc in space, ch1 (1)
- 3dc in space, ch1 (2)
- Slip stitch into bottom of the first ch3
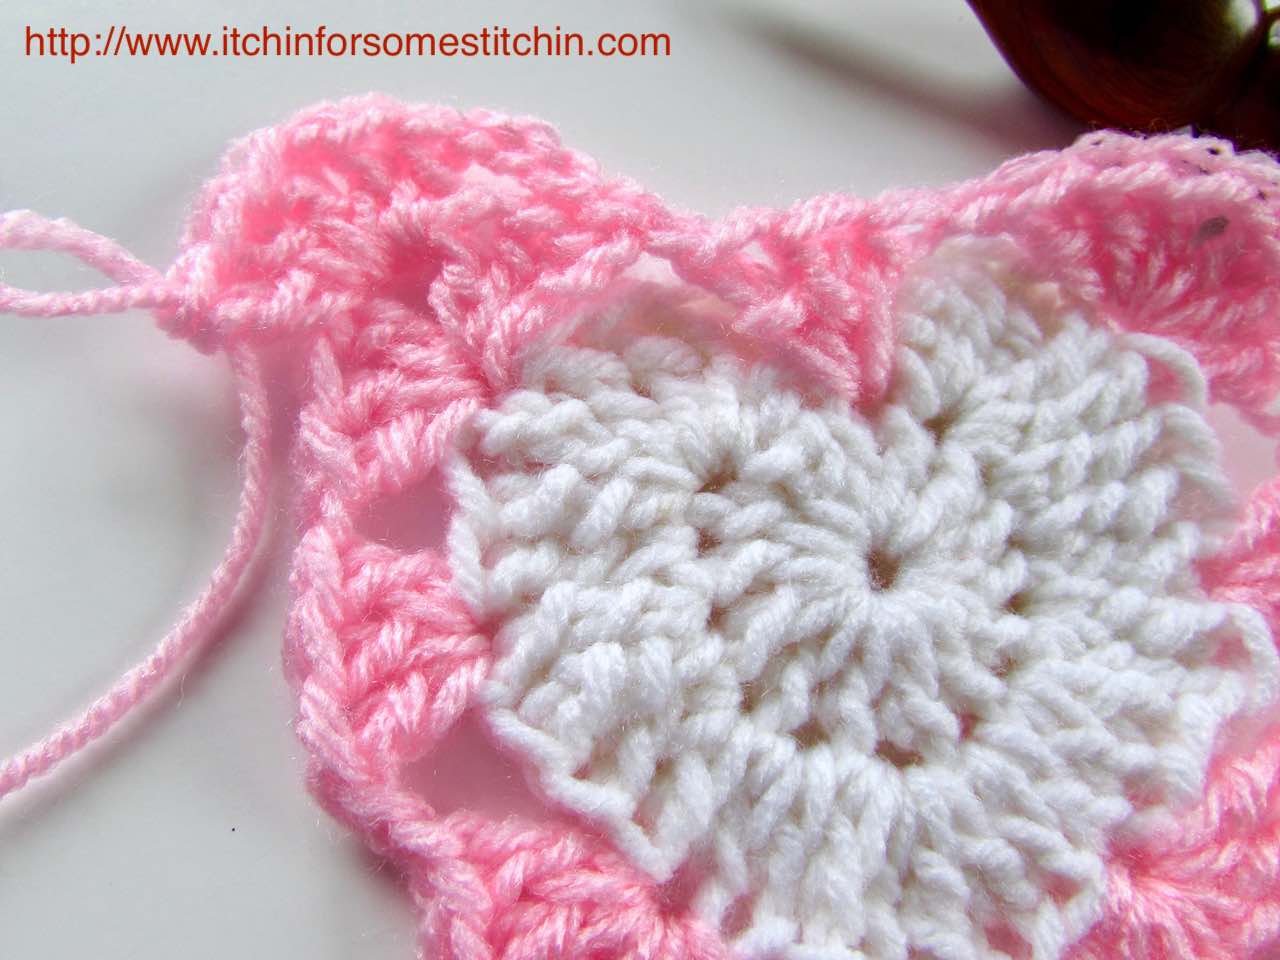
Granny Heart Square Tips
One
You are essentially trying to shape a heart into a square, thus, you need to make sure that you are paying attention to the chain 1 and chain 2 spaces you are working.
Since the bottom of the heart is not as wide as the top part of the heart, you need to be sure you are widening the square at the bottom and narrowing the square at the top.
That’s why, in this pattern, you use ch1 as you work the top section and ch2 as you work the bottom section.
Two
Remember: Each round should end with working 2dc. This is because the starting ch3 counts
Crochet Community on Facebook
Looking for lots of crafty inspiration, tips, tutorials, and a great crochet community? Join my Facebook group!
Other posts that may interest you
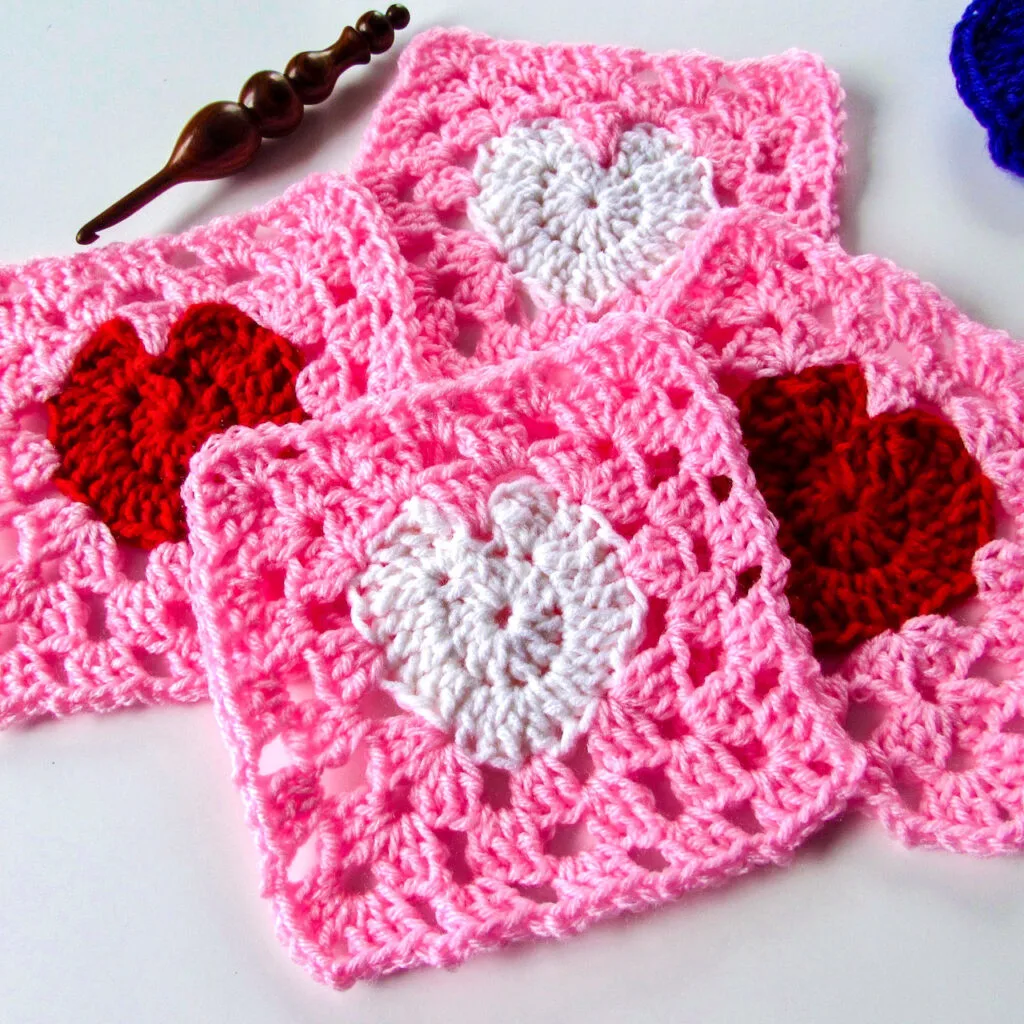
These lovely squares are perfect for making gifts. You can use them to create beautiful afghans, pillows, and bags for Valentine’s Day or Mother’s Day.
You can even use them to make clothing! Seriously. Granny squares can be made into dresses, cardigans, vests, and more.
Here’s a free granny square jacket tutorial to help inspire you!
I hope you enjoyed this tutorial on how to crochet a heart into a granny square and perhaps learned a new skill as well!


Thank you!
I sincerely appreciate you visiting my blog! By sharing my content and/or making a purchase you are making it possible for me to continue producing and sharing free content for everyone to enjoy. I sincerely appreciate your support!


Please Share!
Love Pinterest?
Save this post for later!