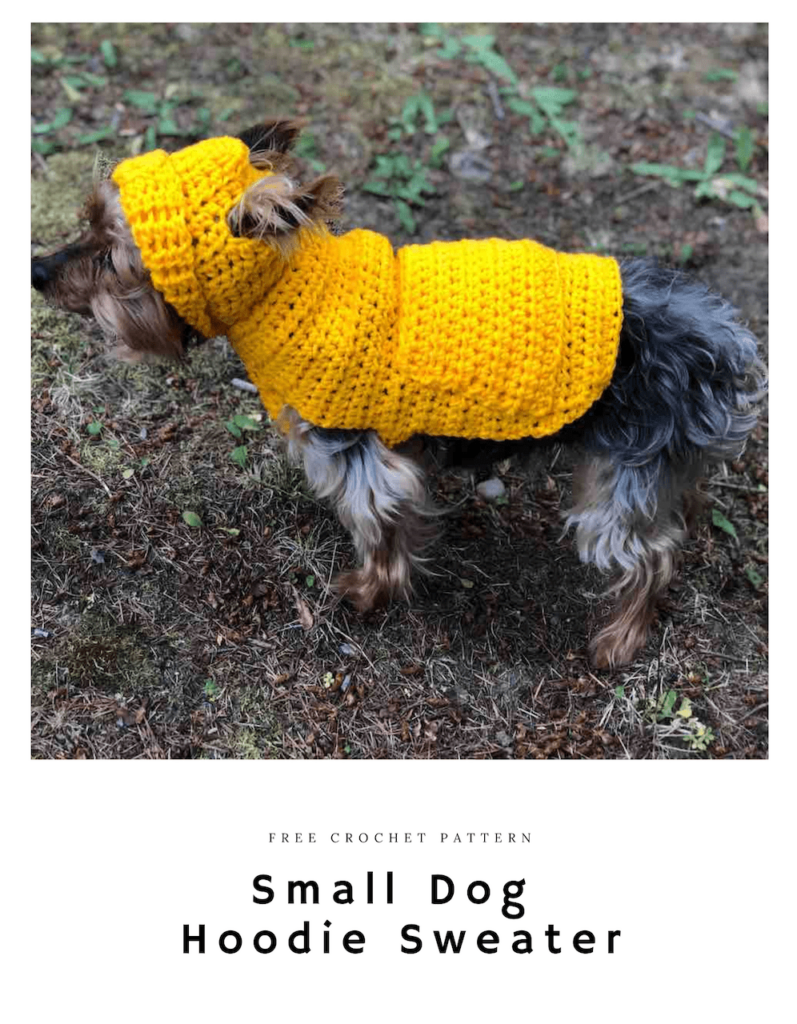
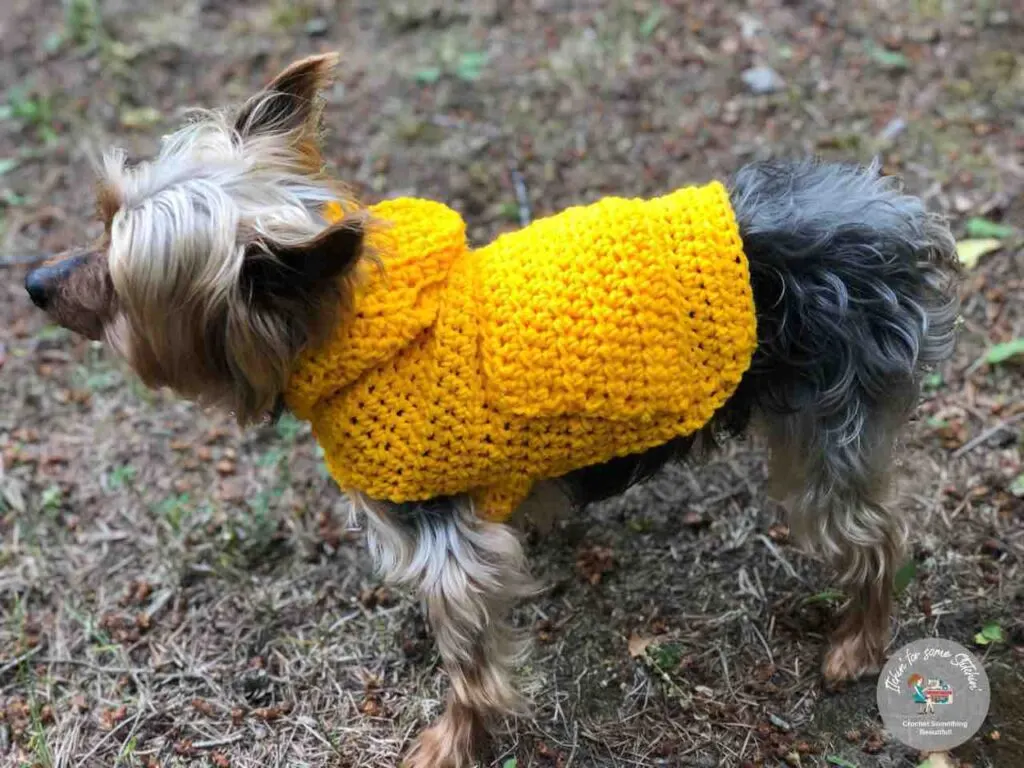
Inspired by my pup Jack, this small dog hoodie sweater crochet pattern was designed to keep little dogs warm, comfortable, and protected during colder weather. With added coverage and a hooded design, it’s a cozy handmade layer for chilly walks or quiet days at home.
This free crochet pattern includes step-by-step instructions to help you create a practical, well-fitting hoodie sweater made specifically for small dogs.

If you love crocheting for small dogs, this hoodie sweater is a natural next step from a classic dog coat. It builds on a simple sweater foundation while adding extra warmth through a hooded design and thoughtful construction details.
The original sweater was created years ago for my two Yorkshire Terriers, Jack and Jake, while spending time in the Idaho mountains and needing something functional for cold weather. Over time, that original design evolved into this hoodie version — offering more coverage while keeping the same cozy feel.
Whether you’re making this for your own dog or as a handmade gift, this pattern is designed to be both practical and enjoyable to crochet.
Where to Go Next with this Pattern
This hoodie sweater sits at the more structured end of my small dog sweater designs. It builds on a simple sweater foundation while adding extra coverage and warmth through the hooded construction.
If you’re here for the free pattern, everything you need to make the small dog hoodie sweater is included below. For those who prefer working from a printable pattern, the hoodie is also available as an ad-free PDF for easy stitching and saving.
If you’re newer to crocheting for dogs or want a quicker project, the Quick & Easy Small Dog Sweater offers the same basic fit without the added construction of a hood. And if you enjoy adding decorative details, the Ruffled Small Dog Sweater takes that same foundation in a softer, more playful direction.
For members of the Crochet Conservatory, this hoodie sweater is already included in the Library, along with other dog wearables designed to grow with your skills and your pup’s needs.

Yarn Details: It’s all about the yarn baby!
I used Mainstays Basic to create this pattern because it’s economical, soft, and comes in a variety of colors,

Plus, I know from past experience, that it holds up well to all the washing these sweaters get due to all the grass, dirt, and mucky water my dogs like to get into!
How to Crochet a Small Dog Hoodie Sweater with a Pocket

Prefer a PDF?
This pattern is available as a large print, ad-free, printable PDF pattern.

Summary:
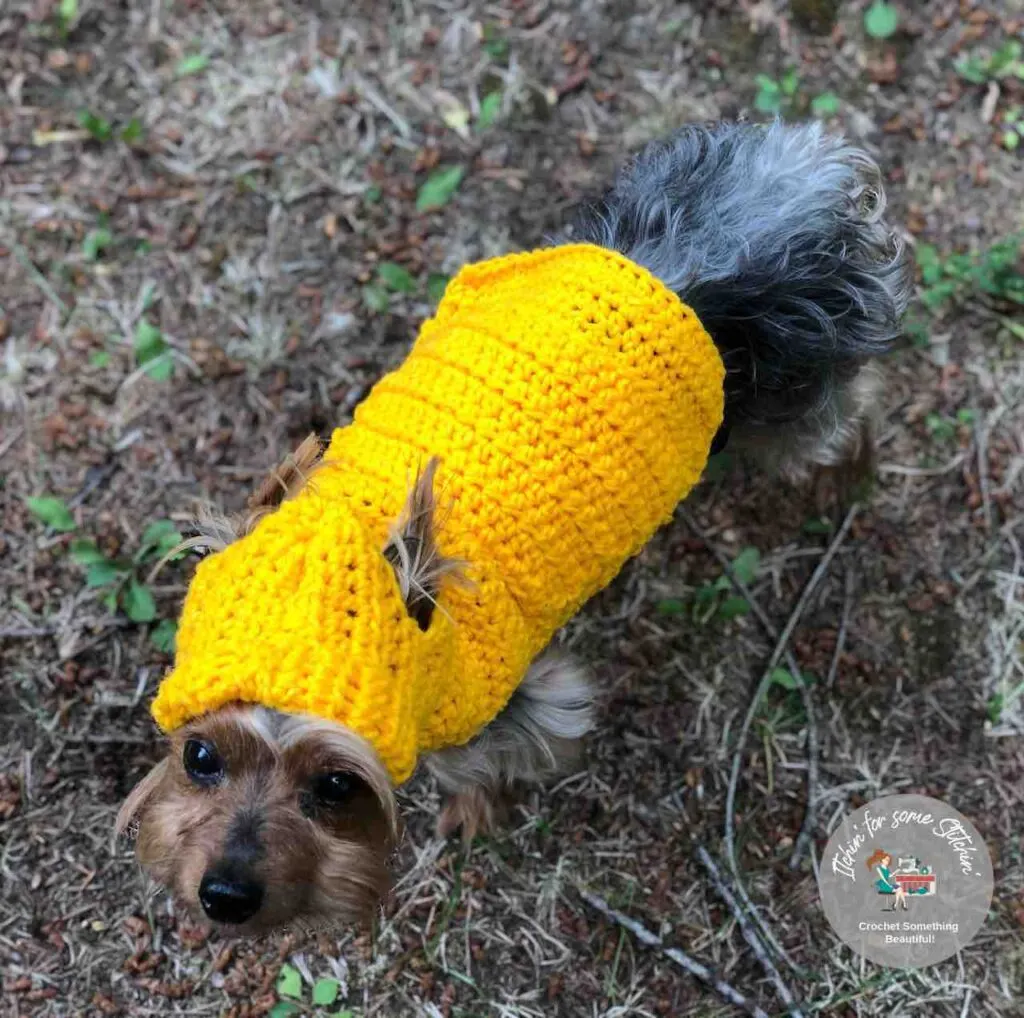
This small dog hoodie sweater with a pocket is perfect for your little fur babies who are about 10-lbs. It’s so cute and stylish your pup will be one smart looking pooch! Plus, it’s super easy to put together and requires only basic stitches, so it’s definitely beginner-friendly.
Before you begin, it helps to understand how to properly measure your dog so your sweater fits comfortably and correctly.
You can follow this step-by-step guide here:
→ How to Measure Your Dog for a Crochet Sweater
Difficulty level: Level 1 – Beginner
Finished Dimensions:
- Back measures about 9 1/2-inches from neck to end.
- Chest measures about 6-inches from neck to belly.
- 15.5″ check girth
Gauge:
11 stitches and 10 rows = 4 – inches in half-double crochet (hdc)
Materials:
- Stitch markers (optional)
- Scissors
- Tapestry needle
- Crochet Hook size: J/10 – 5.75mm
- Yarn: Medium 4 worsted weight – I used Mainstays Basic in Golden,100% acrylic, 7oz, 198.4g, 397 yds (363 mm)
~Total yardage = 160 to 200 yards
(Click HERE to find my favorite crochet tools & resources)
Abbreviations:
Pattern is written in US terms. *Click on abbreviation names for tutorials
Stitch (St)
Half-double crochet (hdc)
Single crochet 2 together (Sc2tog) – insert hook into first stitch, yarn over (yo), pull through the stitch (2 loops on hook), insert hook into next stitch, yarn over (yo), pull through through all 3 loops on the hook.
Additional Notes:
- Read all pattern notes, instructions, and other provided details carefully before starting the project to make sure you understand everything. It could save you hours & a lot of headaches!
- Make a swatch that measures at least 10 x 10 cm / 4 x 4 inches using the stitch provided under the Gauge Section. If your swatch matches the gauge, then you are all set to start the project. If the gauge is wrong, you might need to change your crochet hook – increase your hook size if your stitches are smaller & decrease your hook size if your stitches are larger.
- All measurements given are unblocked.
- Provided measurements are as exact as possible, but are given as approximates. This is because yarn variances, crochet tension, & individual technique might give variations in the result, which changes from person to person.
- Depending on your dog’s ears – shape, size, floppiness, etc.. – you may have to adjust the spacing and/or the earhole size.
- Depending on your dog’s head, you may need to fold up the front of the hood so that is not in your dog’s eyes.
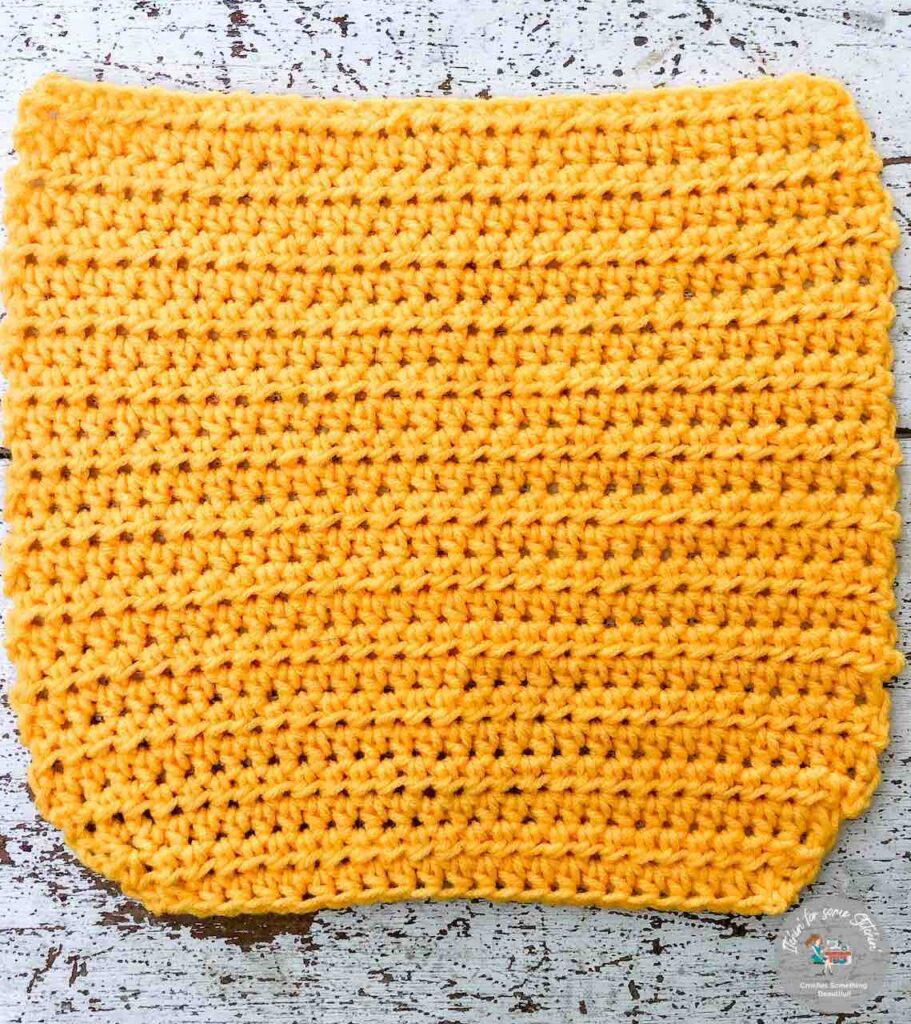
Back:
~ Start at the neckline and work towards the tail.
Chain 31
Row 1: Hdc in 2nd ch from hook working in the BPO and then across. (30 sts),
Rows 2: Ch 2 (does not count as a stitch), turn work, hdc in 1st hdc from hook and then across. (30 sts)
Rows 3 -20: Repeat row 2.
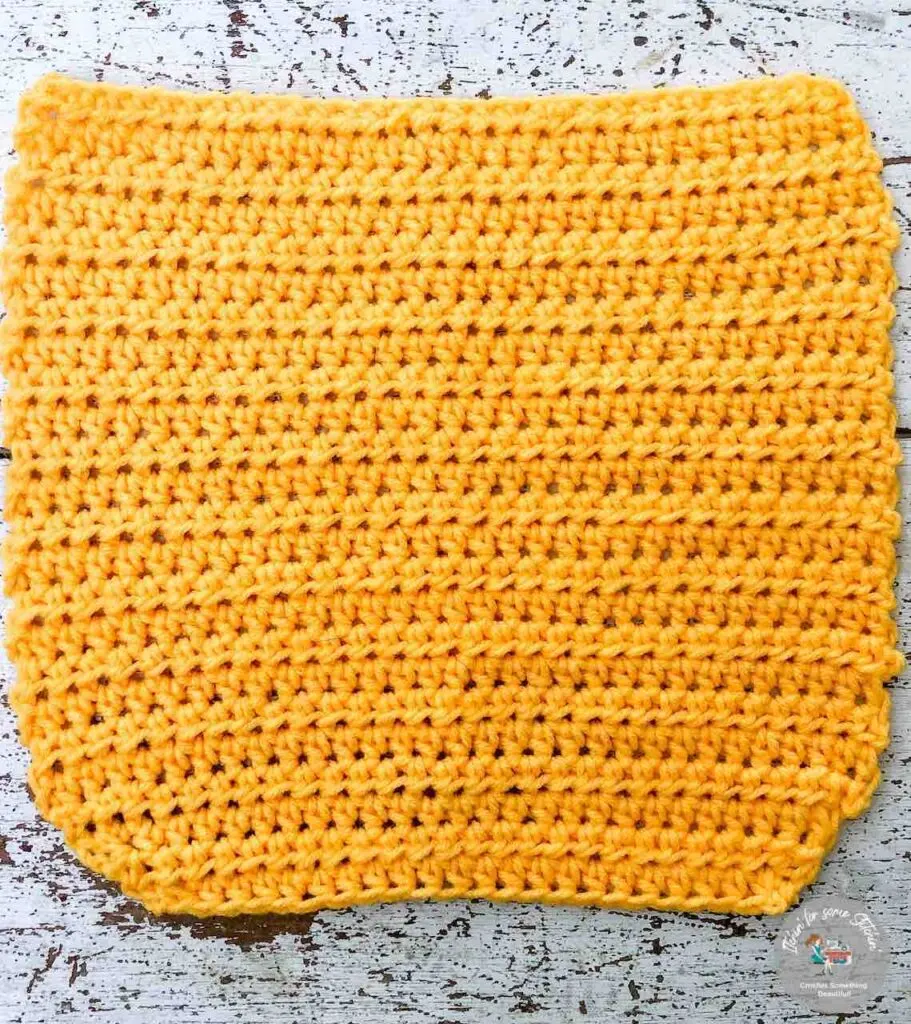
NOTE: Here is where you can adjust the length of the sweater. Do less repeat rows for shorter dogs and more repeat rows for longer dogs.
Row 21: Ch2, turn work, Sc2tog the first two stitches, hdc across, Sc2tog the last two stitches. (28 sts)
NOTE: Each time you Sc2tog it reduces your stitch count by one. Since you did it twice in row 21, your stitch count should now be 28 sts.
Row 22: Repeat row 21. (26 sts)
Row 23: Repeat row 21. (24 sts)
Row 24: Repeat row 21. (22 sts)
Love Pinterest?
I do!
PIN this pattern to your Pinterest boards for later.
You can also follow all my boards!


[/show_more]
[show_more more=”CLICK HERE TO VIEW PATTERN CHEST, POCKET, & HOOD INSTRUCTIONS” less=”CLOSE THE CHEST, POCKET, & HOOD INSTRUCTIONS” color=#810520 align=center size=150 list=» style=bold box=#810520]
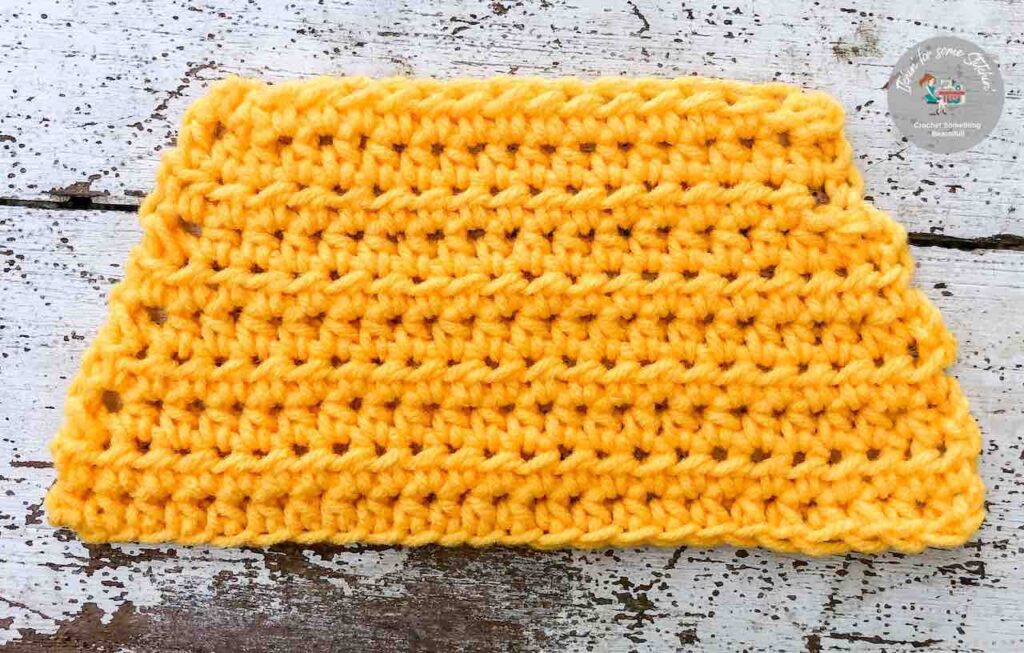
Chest:
~ Start at belly end and crochet towards the neck.
Chain 17
Row 1: Hdc in the 2nd ch from hook and in each ch across. (16 sts)
Rows 2-5: Ch 2, turn work, hdc across. (16 sts)
Rows 6-13: Ch2, turn work, Sc2tog the first two stitches, hdc across, Sc2tog the last two stitches.
~ Remember this reduces your stitch count by two for each row because you have Sc2tog twice.
Row 14: There should be only 2 stitches left. Sc2tog these last 2 stitches.


~ The chest piece should essentially be a triangle shape.
Ch 25
Row 1: Hdc in bpo of 2nd ch from the hook and in each ch across. (24 sts)
Row 2: Ch 2, turn work, hdc in each st across. (24 sts)
Row 3: Ch 2, turn work, sc2tog the first 2 sts, hdc in the next 20 sts, sc2tog the last 2 sts. (22 sts)
Row 4: Ch 2, turn work, hdc in each st across. (22 sts)
Row 5: Ch 2, turn work, sc2tog the first 2 sts, hdc in the next 18 sts, sc2tog the last 2 sts. (20 sts)
Row 6: Ch 2, turn work, hdc in each st across. (20 sts)
Row 7: Ch 2, turn work, sc2tog the first 2 sts, hdc in the next 16 sts, sc2tog the last 2 sts. (18 sts)
Row 8: Ch 2, turn work, hdc in each st across. (18 sts)
Row 9: Ch 2, turn work, sc2tog the first 2 sts, hdc in the next 14 sts, sc2tog the last 2 sts. (16 sts)
Row 10: Ch 2, turn work, hdc in each st across. (16 sts)

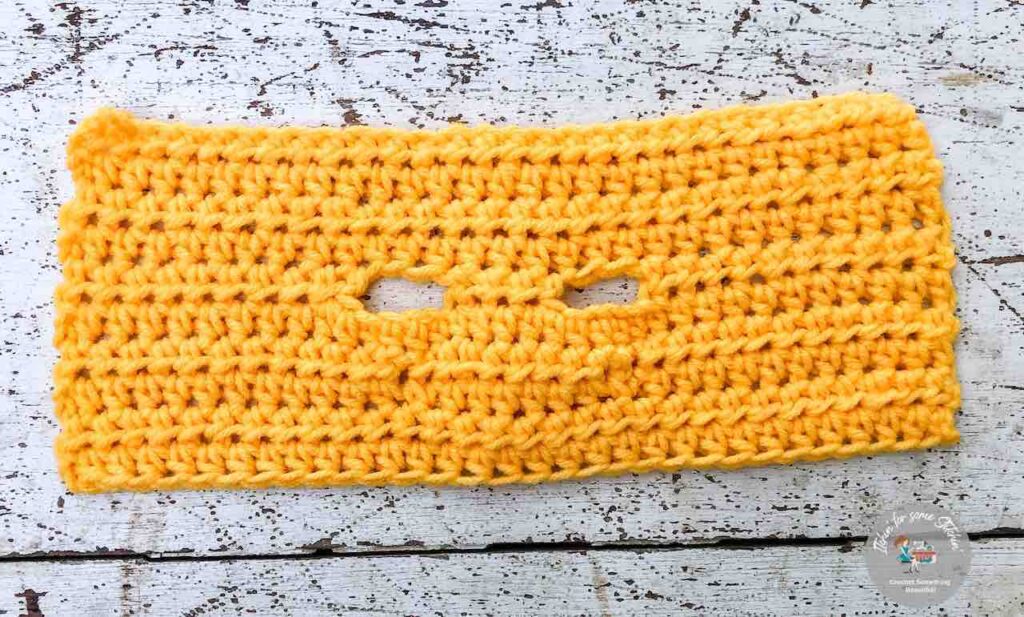
Hood
Ch 29
Row 1: Hdc in bpo of 2nd ch from the hook and in each ch across. (28 sts)
Row 2: Ch 2, turn work, hdc in each st across. (28 sts)
Row 3 – 4: Repeat row 2. (28 sts)
Row 5: Ch 2, turn work, hdc in the next 10 st, skip 2 sts, ch 5, hdc in the next 4 sts, skip 2 sts, ch 5, hdc in the next 10 sts. (34 sts)
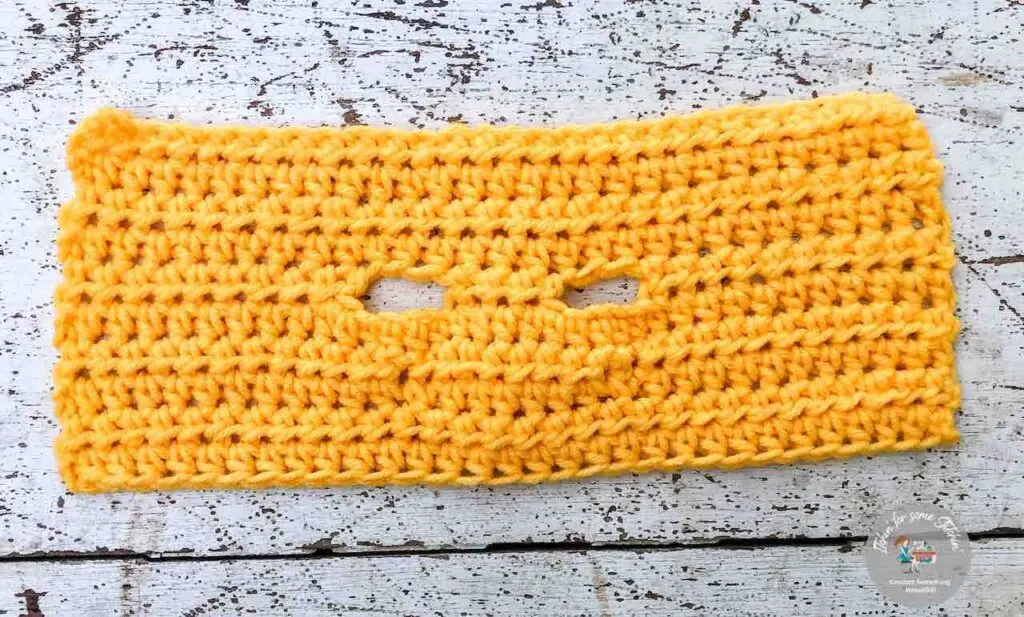
Row 6: Ch 2, turn work, hdc in the next 11 sts, sc2tog the next 2 sts, hdc in the next 6 sts, sc2tog the next 2 sts, hdc in the next 11 sts. ( 32 sts)
Row 7: Ch 2, turn work, hdc in the next 11 sts, sc2tog the next 2 sts, hdc in the next 8 sts, sc2tog the next 2 sts, hdc in the next 11 sts. ( 30 sts)
Rows 8 – 9: Ch 2, turn work, hdc in each sts across. (30 sts)
[/show_more]
[show_more more=”CLICK HERE TO VIEW PATTERN ASSEMBLY INSTRUCTIONS” less=”CLOSE THE ASSEMBLY INSTRUCTIONS” color=#810520 align=center size=150 list=» style=bold box=#810520]
Assembly:
Step One
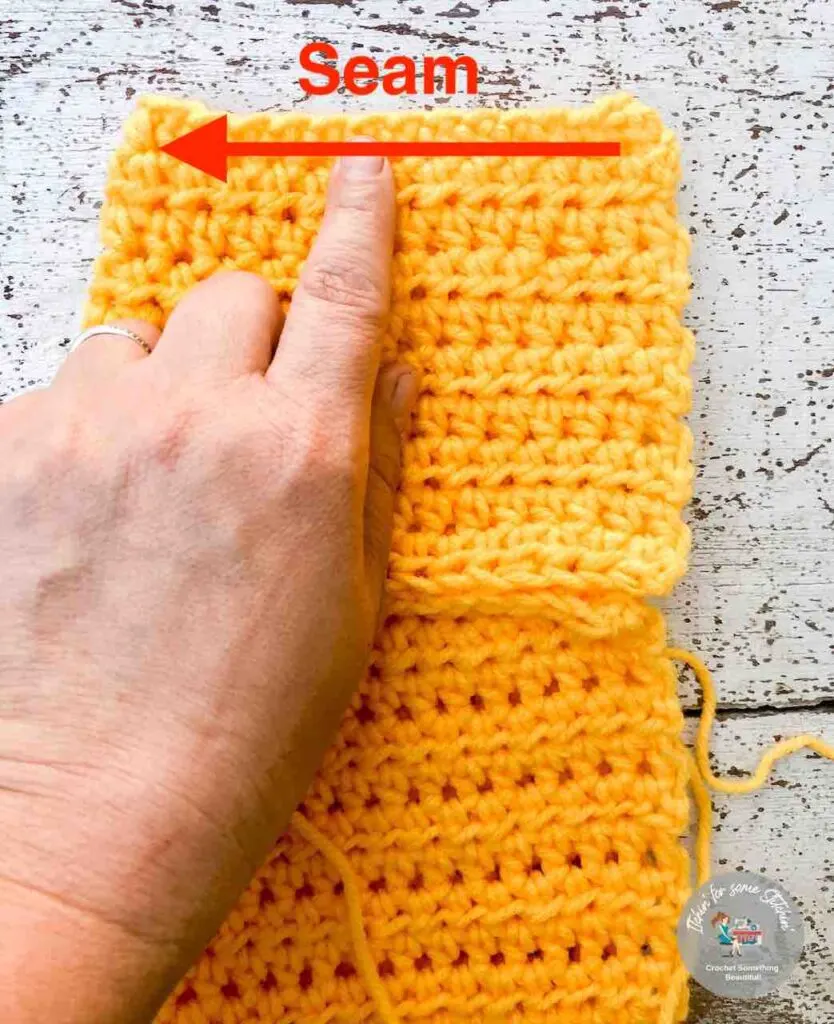
Place the hood along the top edge of the back piece with the right sides together.
Step Two
Seam the two edges together.
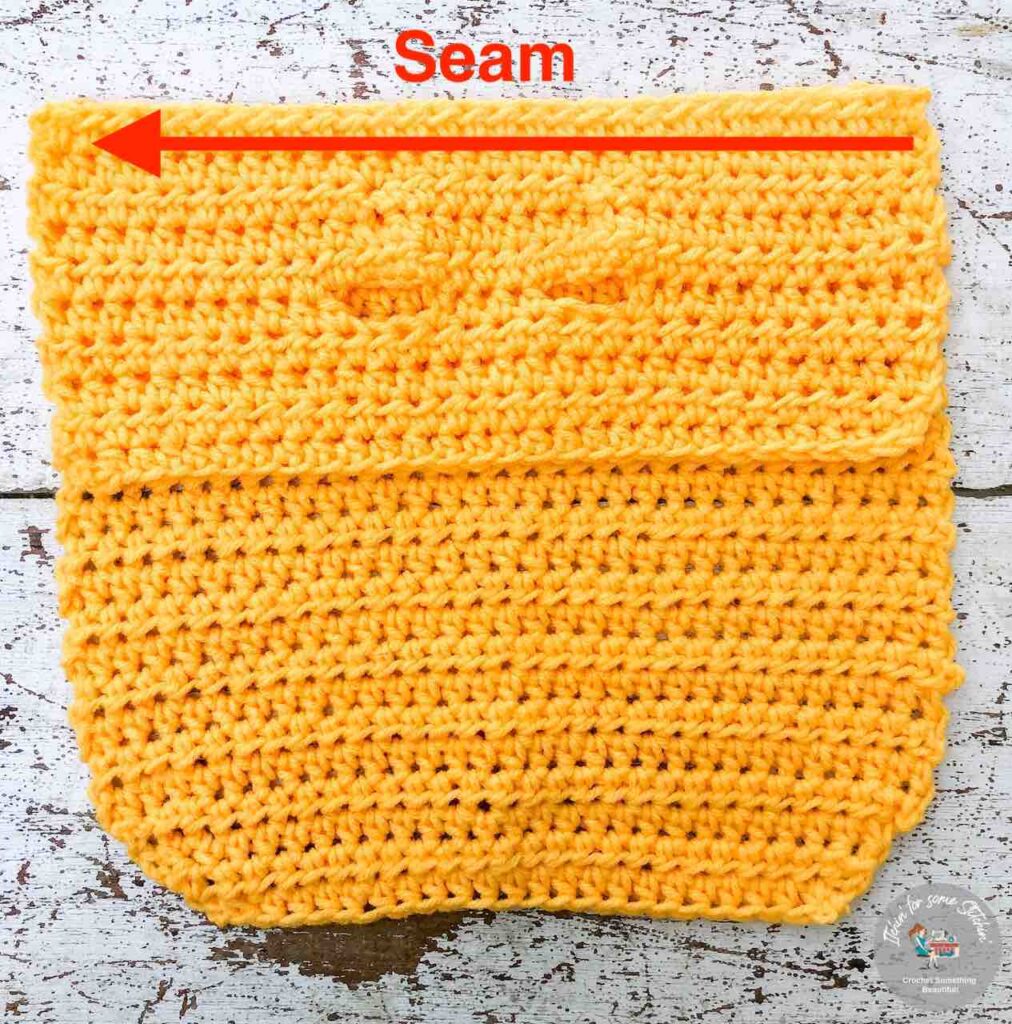

Step Three
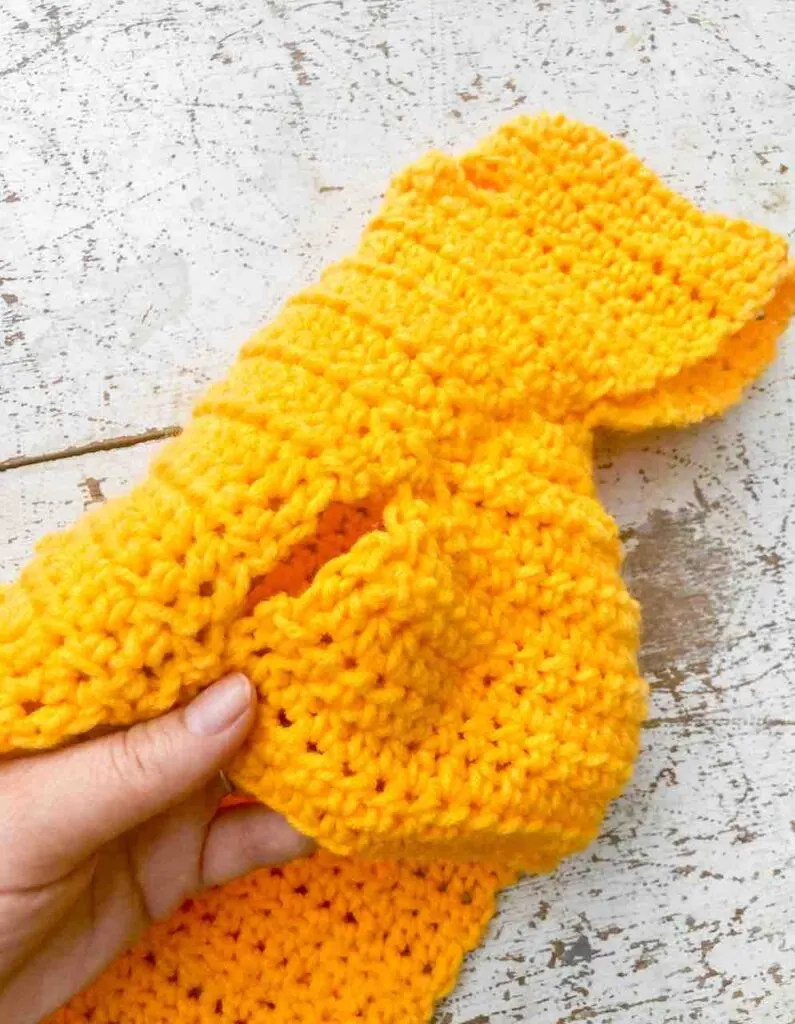
Fold the sweater with hoodie attached vertically.

Step Four
Seam along the top edge of the hood.

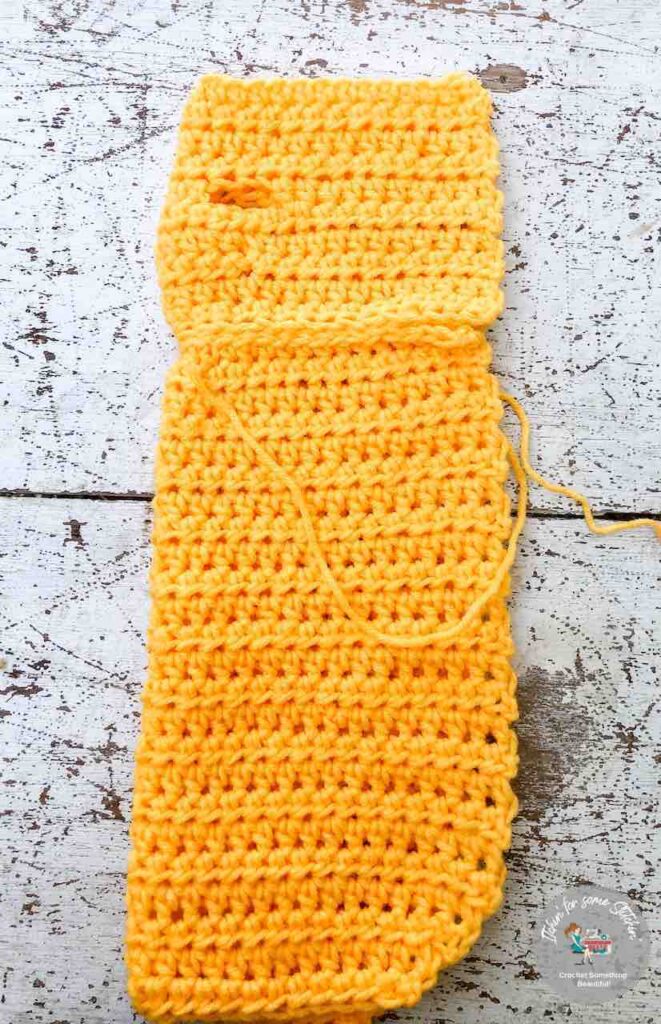
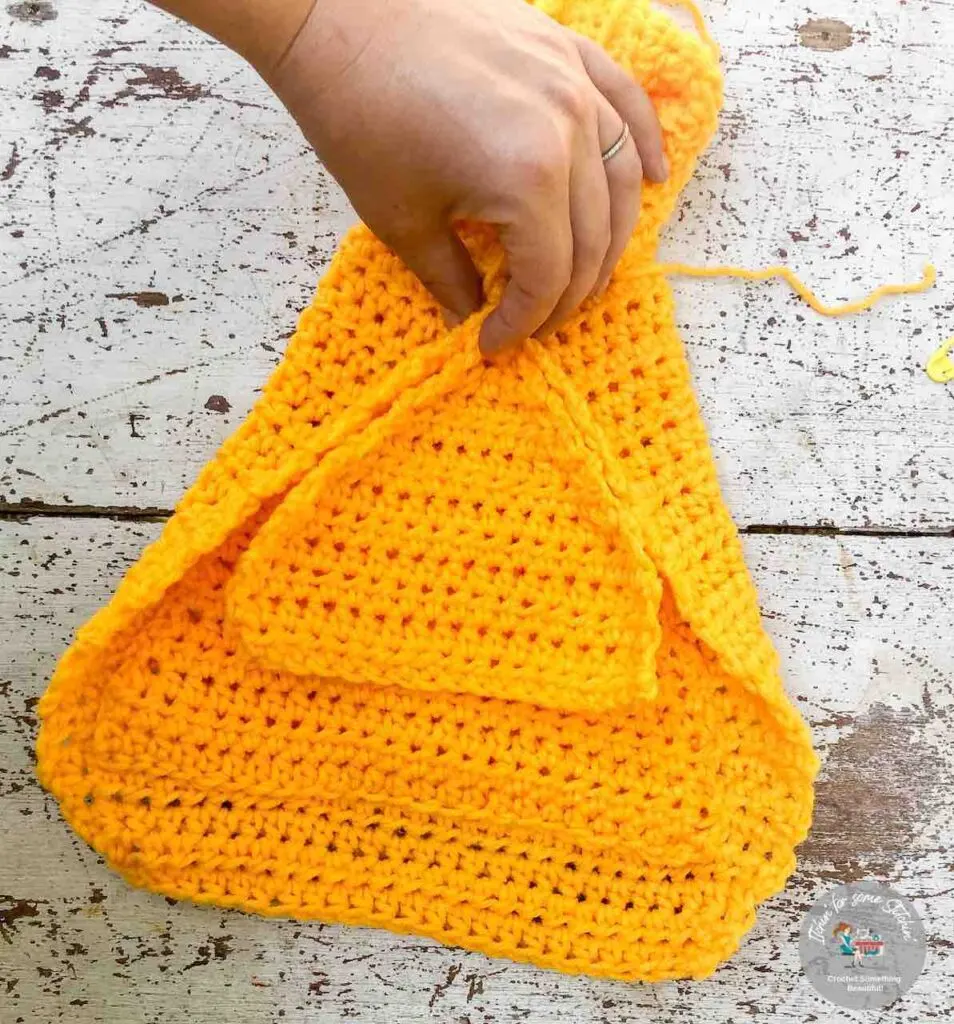
Step Five
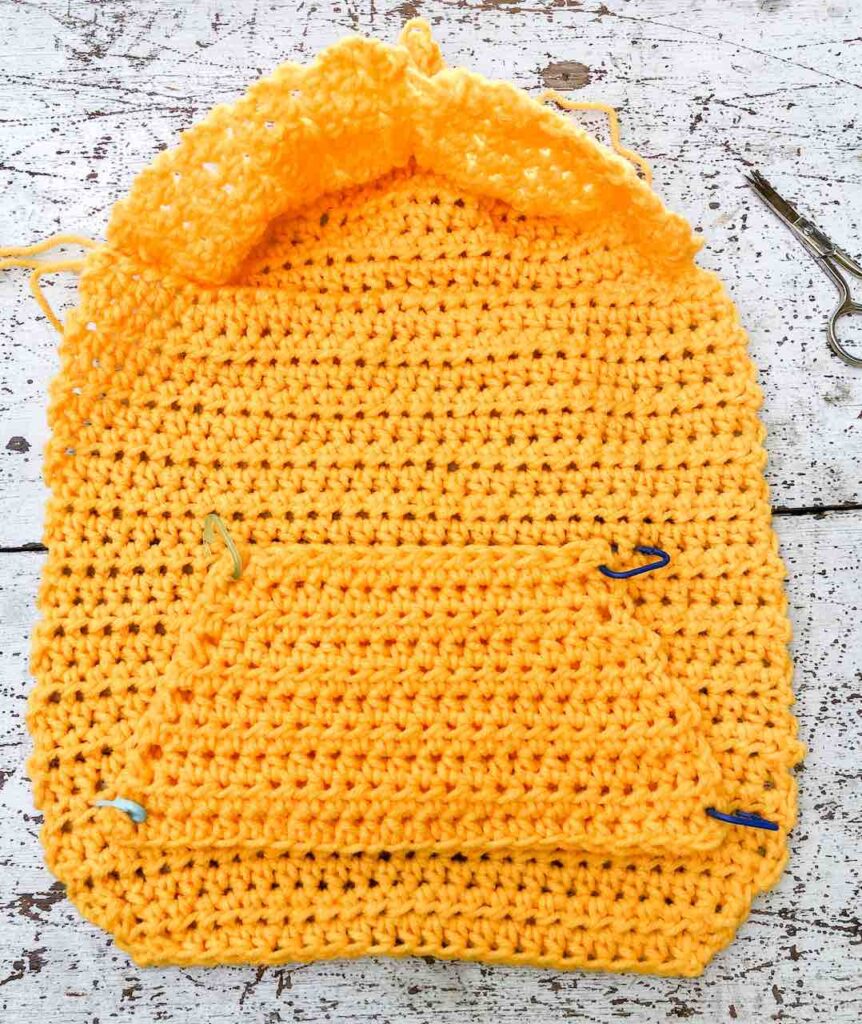
Place the pocket on the top of the right side of the back piece.
Step Six
Use stitch markers to hold the pocket in place (if needed) & seam the pocket onto the back piece.
NOTES:
- It may be easier to seam it from the underside of the back piece.
- You can seam all the way around the pocket, around the sides & bottom of the pocket (leaving the top open), or along the top & bottom of the pocket (leaving the sides open).

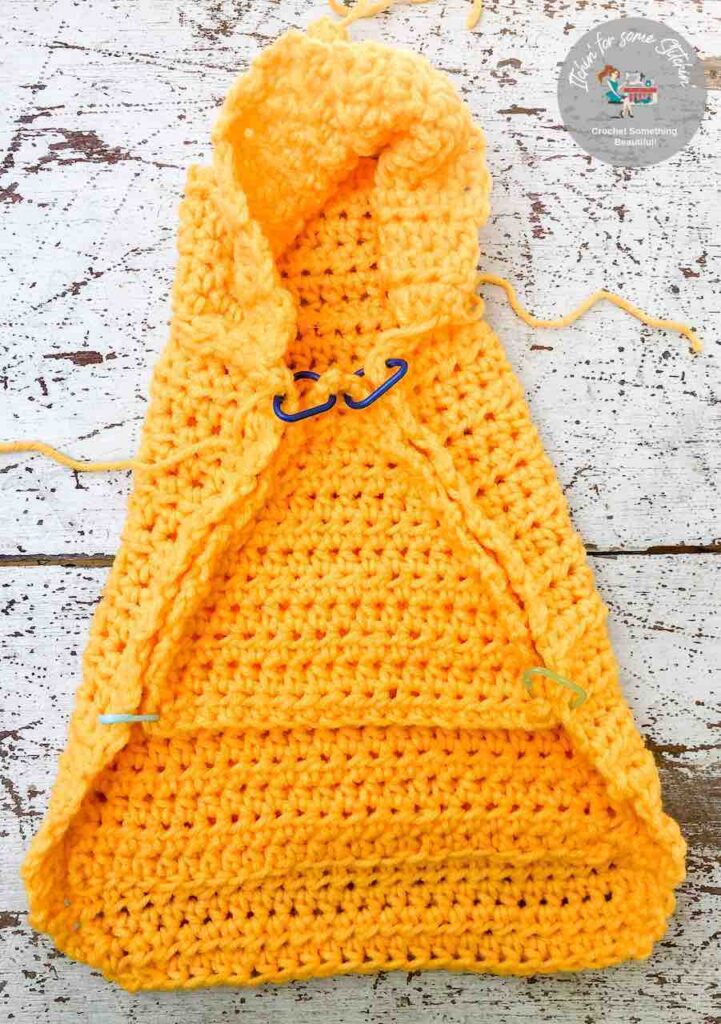
Step Seven
Place the chest piece in the center of the back piece with the right sides together.
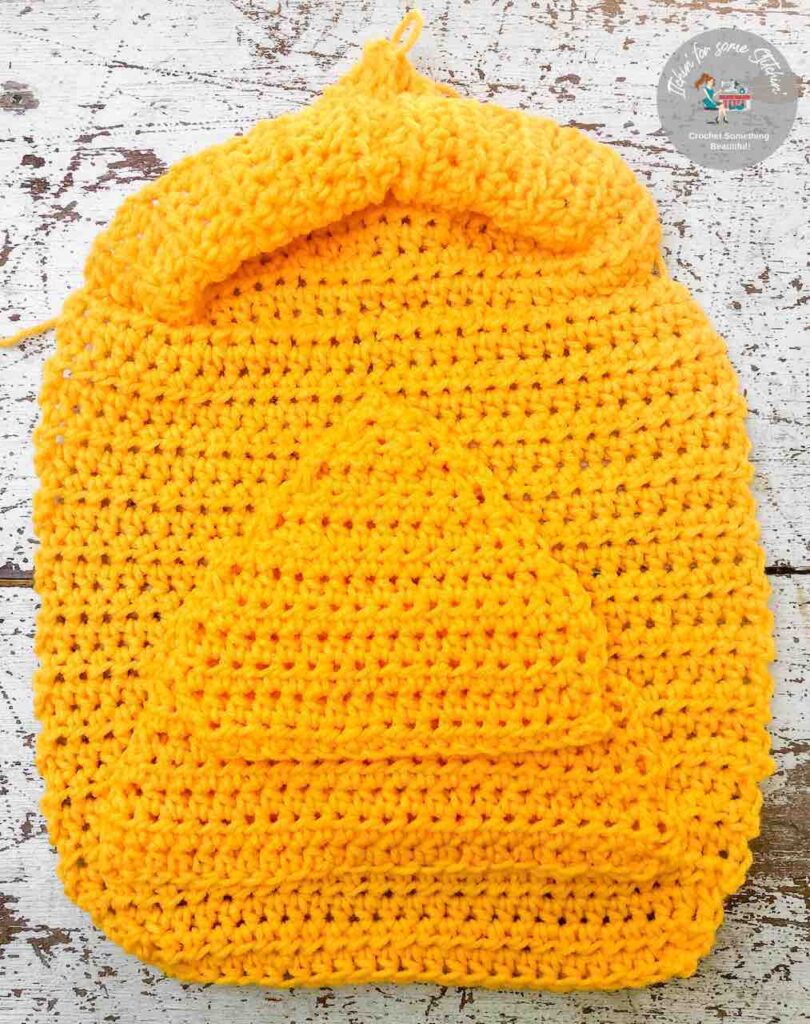

Step Eight
Seam in the chest piece.
- Fold one side of the back piece down so that its edge aligns with the edge of the chest piece.

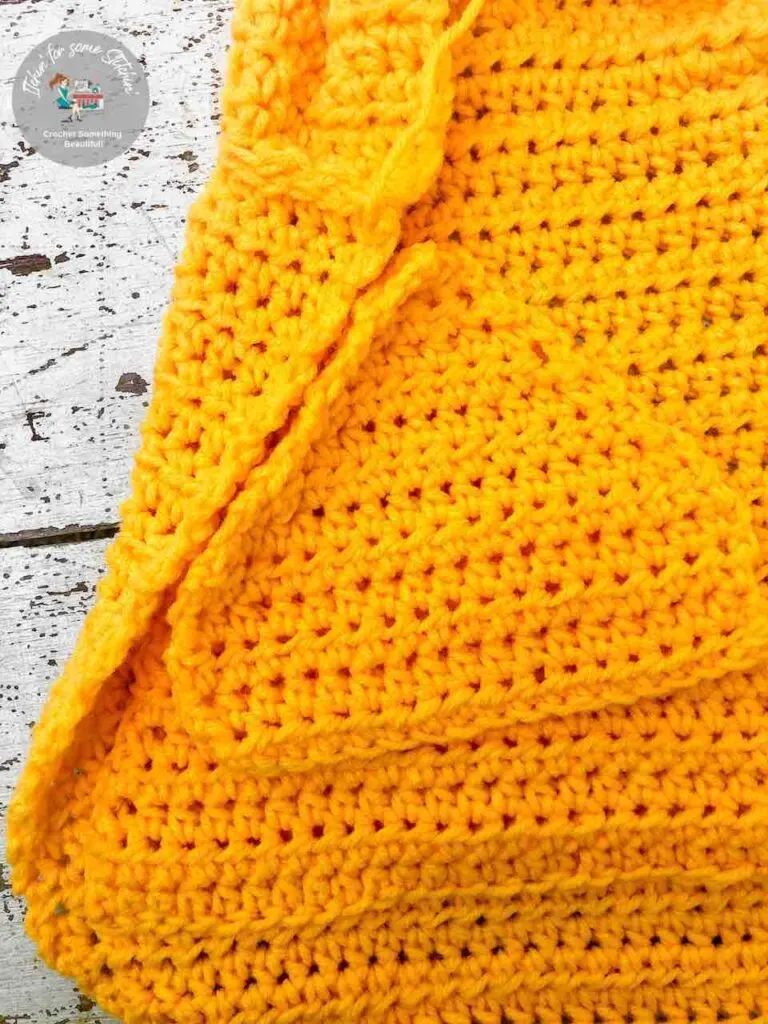
- Use the slip-stitch (slp st) or whip stitch to seam in the chest piece.
- Leave about a 2-inch hole on each side for legs.
NOTE: I used my dogs as models to figure out where to make the holes, but in general, they were about 5-6 inches from the neckline.

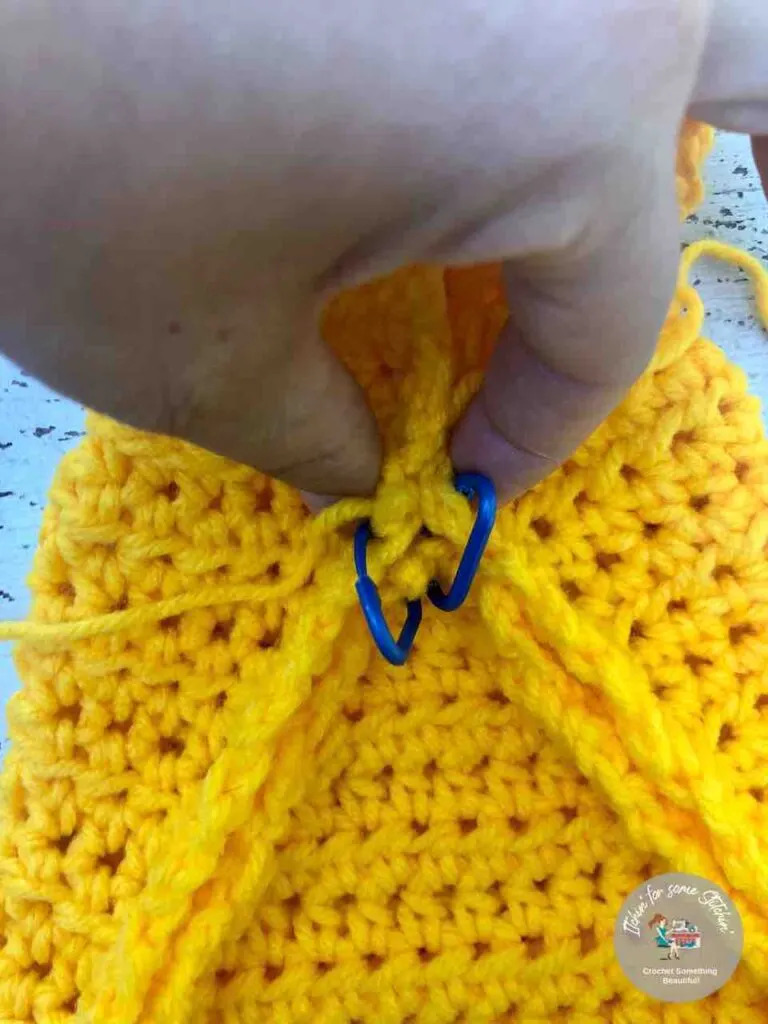
- Fold the other side of the back piece in to align with the edge of the chest piece and the seaming. Be sure to leave a hole for the dog’s leg.

- You can use stitch markers to hold the pieces together to help you while seaming.

Step Nine
If you have a gap in the neck area, you can use slip stitches (sl st) or a whip stitch to seam the slight opening at the neck.
If the neckline fit still needs adjusting before seaming, this guide explains how to customize neck openings in crochet dog sweaters for a more comfortable fit.

- Bind off & weave in ends.
- Turn sweater right-side out
NOTE: Sweaters are machine washable, but do not exceed 400C water temperature.
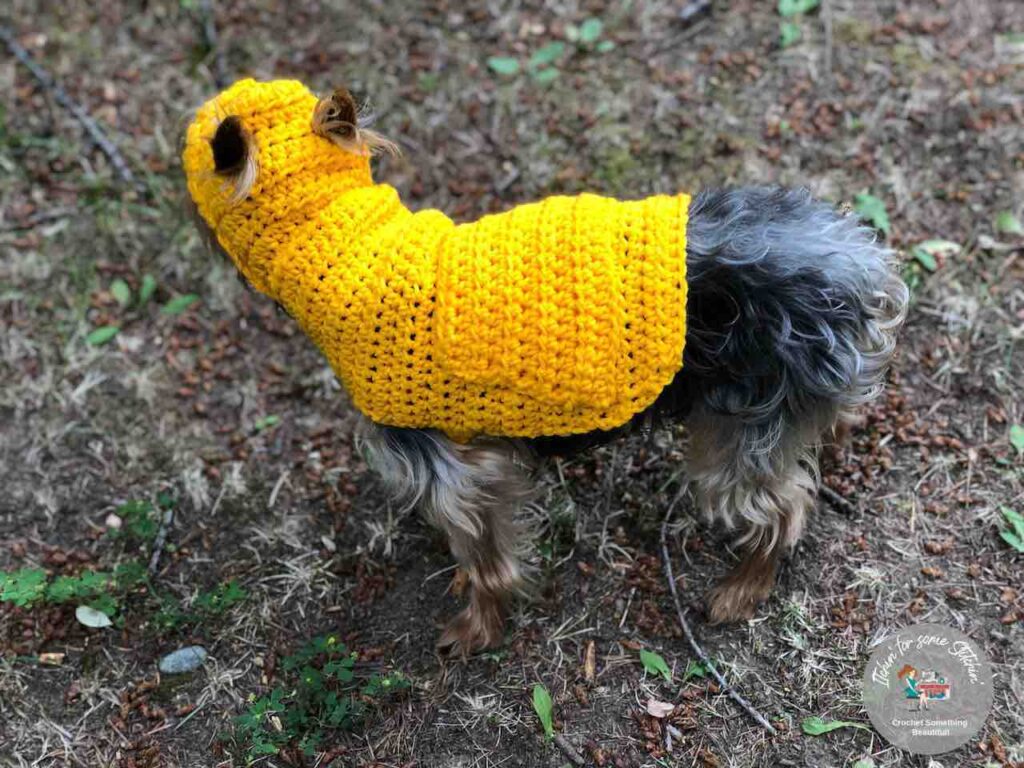
Super cute, right?
And my little Yorkie Jack just looks adorable in it!
I’ve been wanting to make him a hoodie coat for a while now, moving the mountains of Idaho finally gave me a reason. 😀
I’d love to see your finished Small Dog Hoodie Sweater! Please feel free to share it with me on one or even all of the following platforms:
- Share a picture on Instagram and be sure to use the hashtag #itchinforsomestitchin
- Share your Small Dog Hoodie Sweater on Ravelry
- Share your Small Dog Hoodie Sweater project on LoveCrafts
- Share a picture in the Itchin’ for some Stitchin’ Facebook group.
Thank you for coming to my blog! By sharing my content and/or making a purchase you are making it possible for me to continue producing and sharing free content for everyone to enjoy. I sincerely appreciate your support!
Until next time… Happy Crocheting!


Please share!
[/show_more]
Melanie
Tuesday 31st of October 2023
Love this! My dog is a 12 lb cairn terrier. Coild you tell me how to enlarge this about one size?
Itchin4Stitchin
Wednesday 1st of November 2023
Hi Melanie,
That would be super easy! Do you have your dog's measurements? All you need to do is add more chains to the foundation chain to get the width you want and if he/she is a shorter pup then you'll need to add a few more rows - I believe the pattern actually tells you the best row to repeat if you need to add length. If your pup is shorter you'll work less rows.
Make sense? If not or if you need more help please feel free to reach out to me at [email protected]
Sincerely,
RaeLynn
Tangie
Wednesday 4th of October 2023
Hi. Thank you for this super easy to follow pattern! I am a just learning to crochet and this is my first real project. I did get a bit confused and am still stuck on the hood on row 5. The pattern says to HDC (10) then skip 2 & ch 5. How do I skip 2 then chain 5? Please forgive my ignorance. Thank you!!
Itchin4Stitchin
Tuesday 10th of October 2023
Hi Tangie,
I got your email and messaged you back directly. I believe from your response you understand now. :)
Best wishes,
RaeLynn
Krystal
Saturday 12th of August 2023
I live I. South East Idaho so we get the full spectrum of weather. From super cold to very hot low 100s high 90s I have a 10 week old Boston Terrier female. She is on the small end, I found your post and I am making her one for fall when we cave cooler morning and evening and making adjustments for a little bit bigger one for when she grows. Thank you for posting this it’s so adorable
Itchin4Stitchin
Thursday 24th of August 2023
Hi Krystal,
You are so very welcome! These little sweaters are definitely needed for our little fur babies in the Idaho weather. :) Feel free to email pics of your little Boston Terrier in her sweater - I'd love to see them! itchinforsomestitchin@gmailcom
Sincerely,
RaeLynn
RaeLynn
Elizabeth Donovan
Wednesday 26th of May 2021
I foster for a Chichauhua rescue so this hopefully will turn out good I'm a total novice and so far crochet is definitely not as easy as it looks
Itchin4Stitchin
Sunday 30th of May 2021
Hi Elizabeth,
This pattern super easy so even a crochet newbie should be able to do it. If you have any issues, I am happy to help. Just email me at [email protected]
Best,
RaeLynn
Lucky
Sunday 29th of November 2020
Clicked on it so I could make for my puppy dog and it says free pattern and when I go to download it says it 5 dollars and 3 dollars on other site
Itchin4Stitchin
Thursday 10th of December 2020
Hi Lucky,
The dog sweater pattern is a free pattern here on the website, you can come back to it as many times as you like and work the pattern with no cost to you. However, the PDF version is an optional purchase. Does that make sense?
Best wishes,
RaeLynn