Hi folks! So do you remember that tutorial I posted a few weeks ago, the one in which I showed you how to make a super simple lounge pillow?
Well, today’s tutorial was born out of that project. The scraps of that project to be exact. No, it’s not another pillow. Read the title folks! ?
You know that part in the lounge pillow tutorial where you cut off the edges? Well, it leaves behind large triangles of fabric. And anybody who knows me knows I can’t throw anything out. Truly I can’t. It’s a clinical problem and I am working it folks. I swear!
Anyway, I just knew those scraps would come in handy one day. And they did! Unfortunately, this just feeds my need to keep EVERYTHING, but that’s an issue for my counselor not you. Kidding folks. Kidding.?
Moving on! I decided to turn those scraps of fabric into a toy for my baby boy.
Here’s how I did it…
Step One
There should be four triangles leftover from when you made the lounge pillow. If you didn’t make the lounge pillow, you can cut four triangles of equal size from any other fabric.
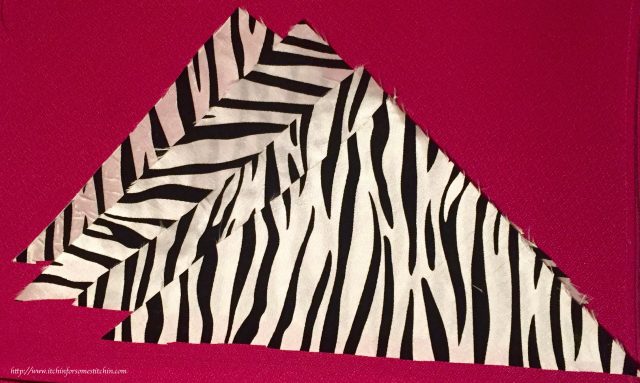
NOTE: My triangles are scrap and are NOT perfectly exact, but close enough for this simple tutorial. I could have trimmed them to be exact, but chose not to do so because I was simply putting together a quick toy for my son.
1a. Place two triangles together with the right sides facing each other and pin one edge together.
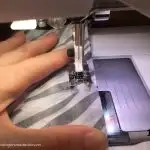
1b. Sew the pinned edge.


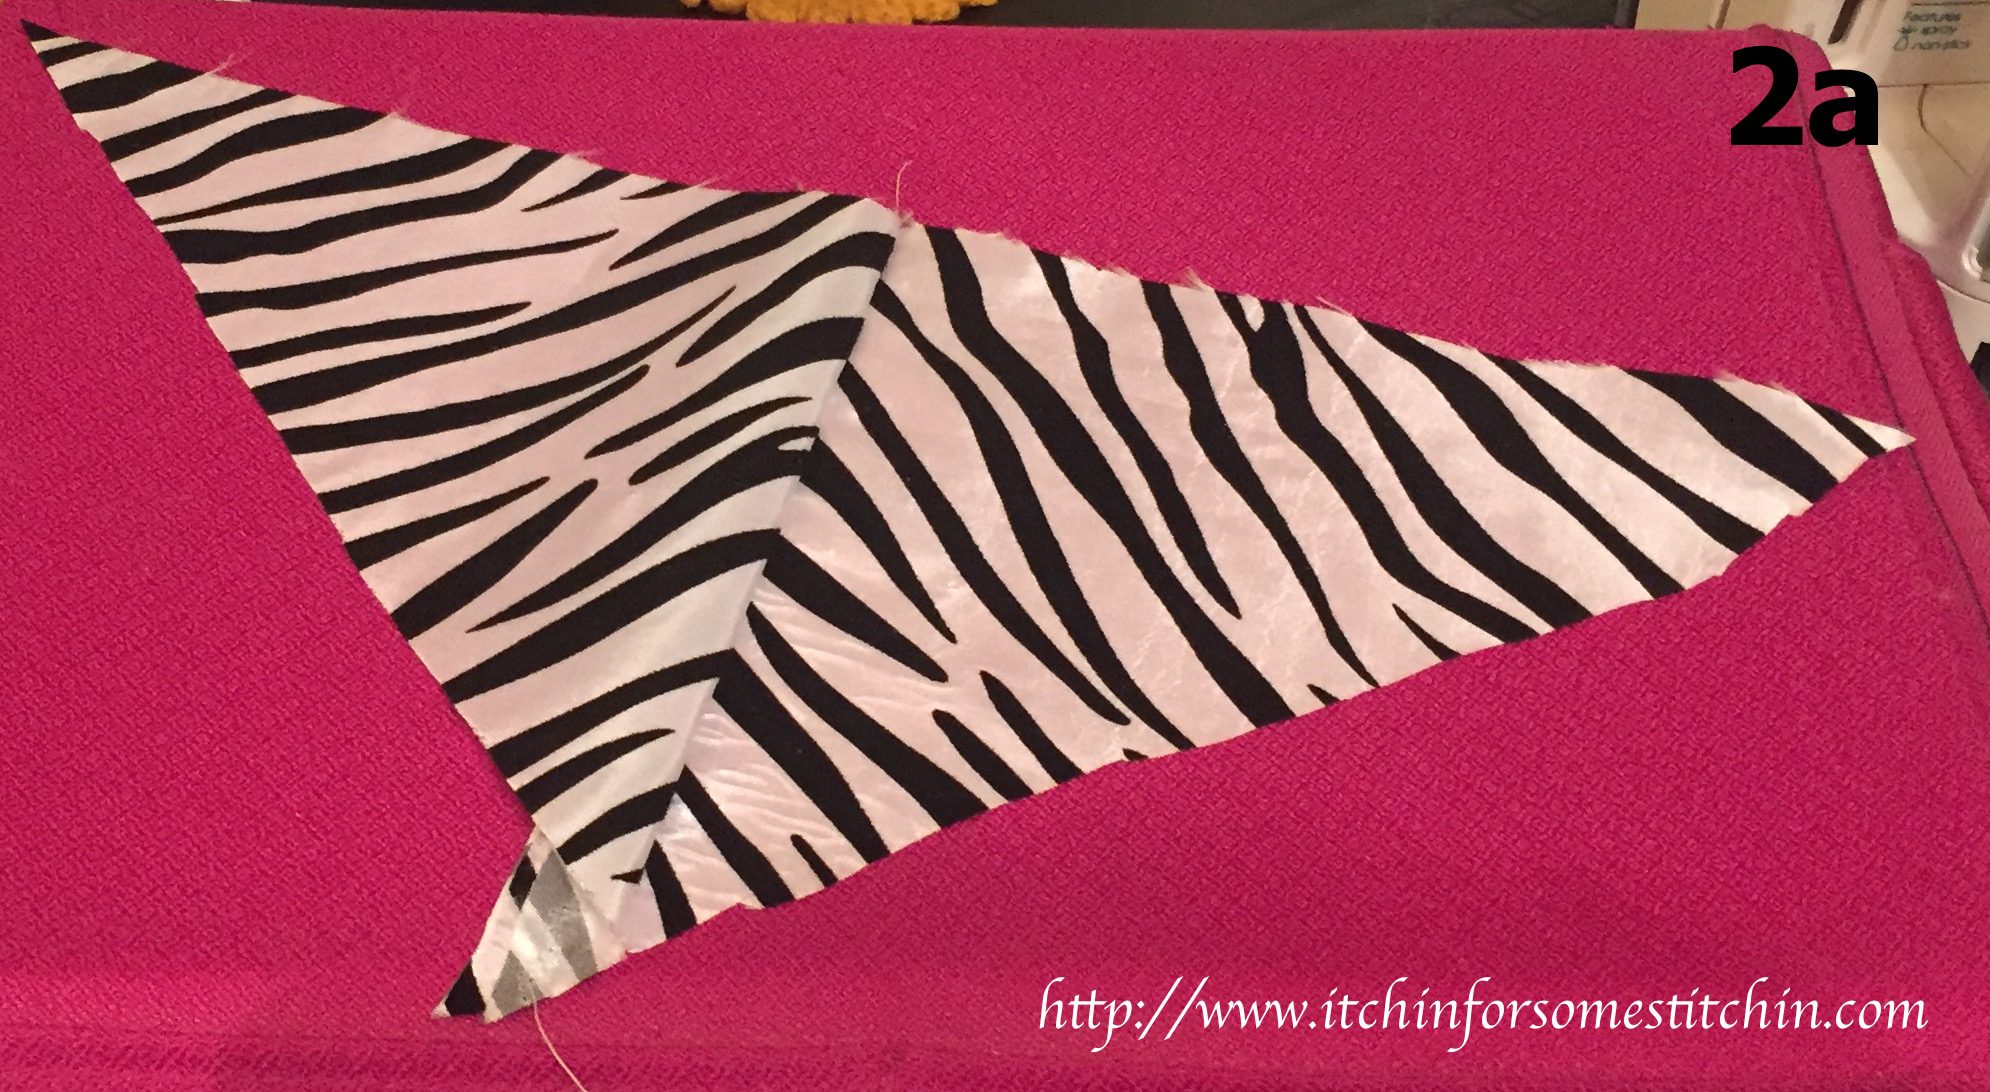
Step Two
2a. Open the triangles from step 1b so that the right sides are facing up.
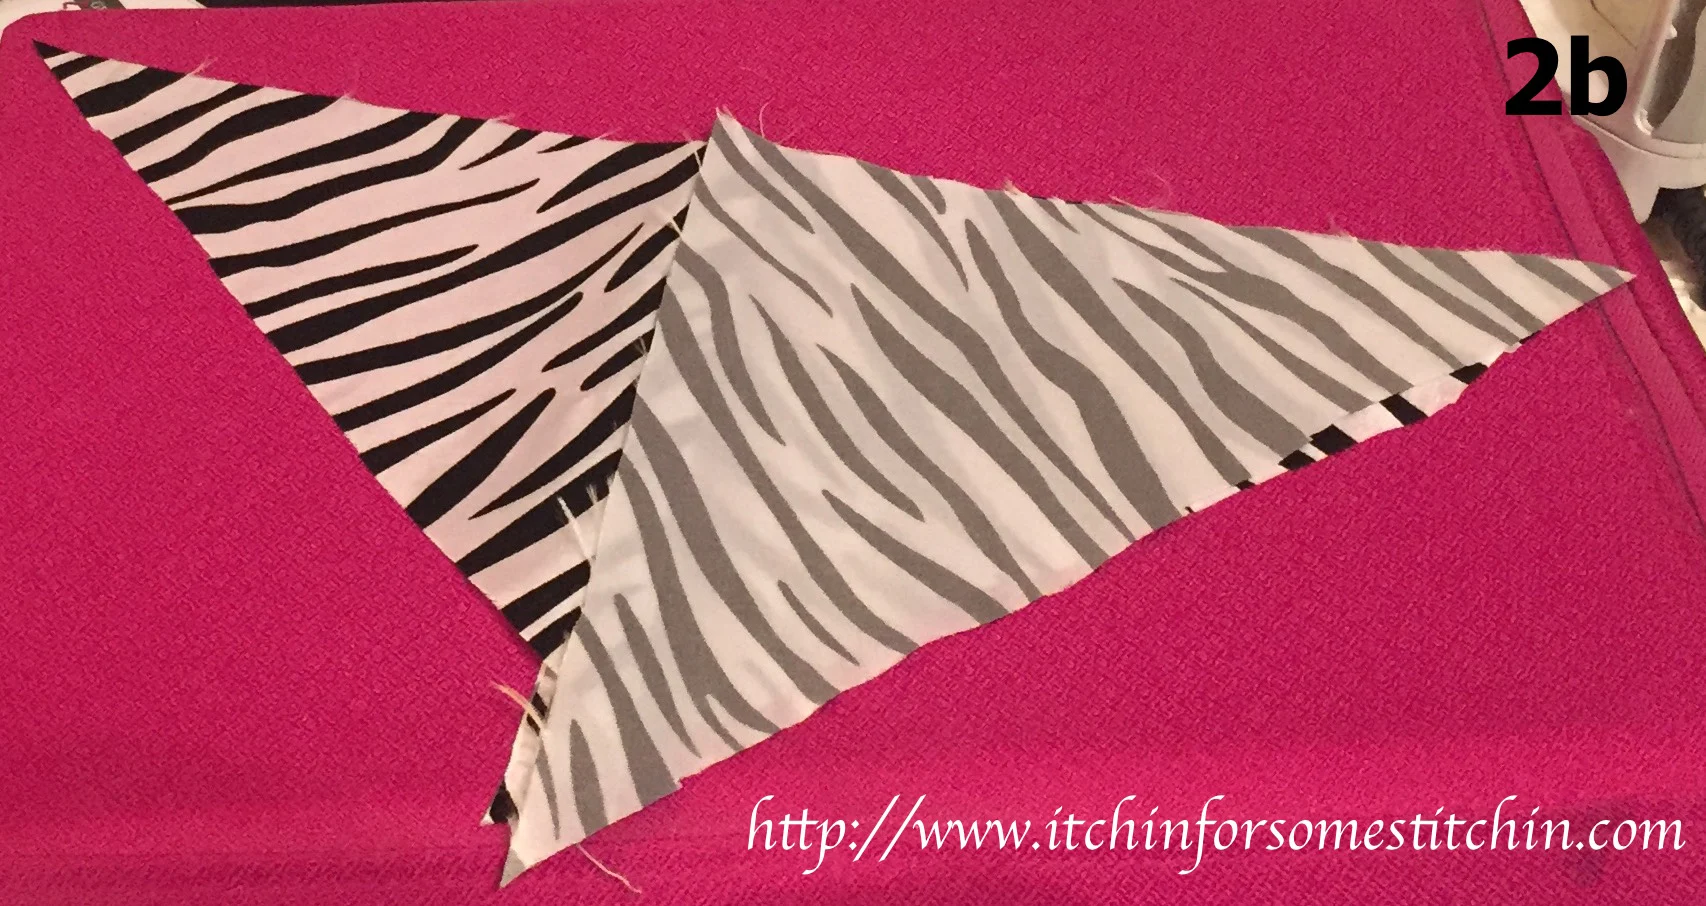
2b. Place the third triangle piece on top of one triangle with right sides together.
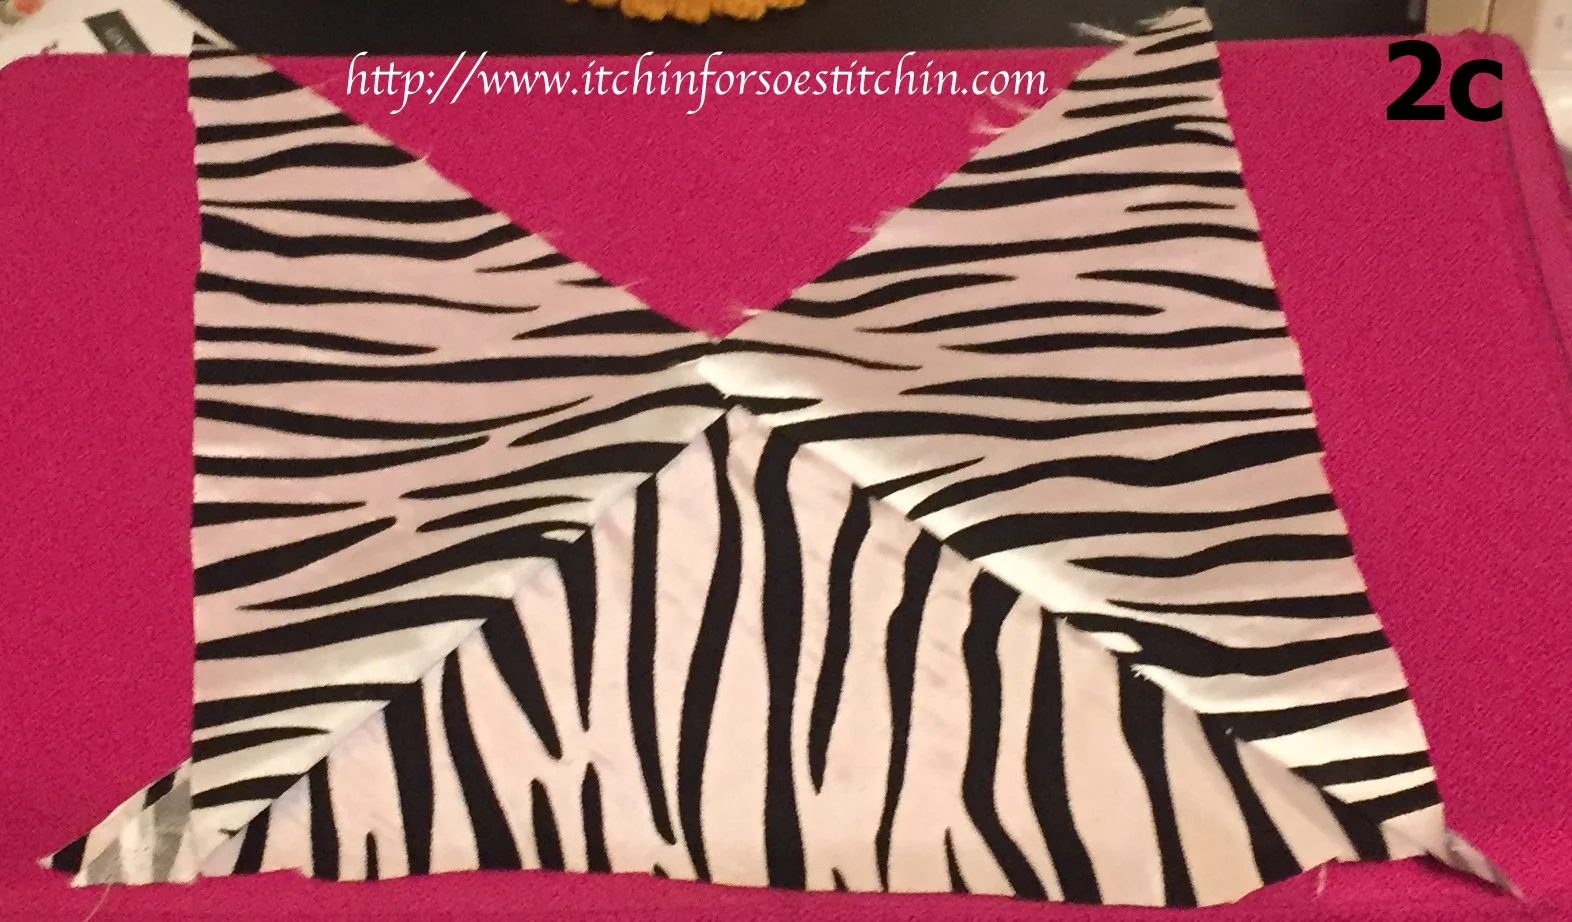
2c. Pin & sew the edge together as in steps 1a-1b.
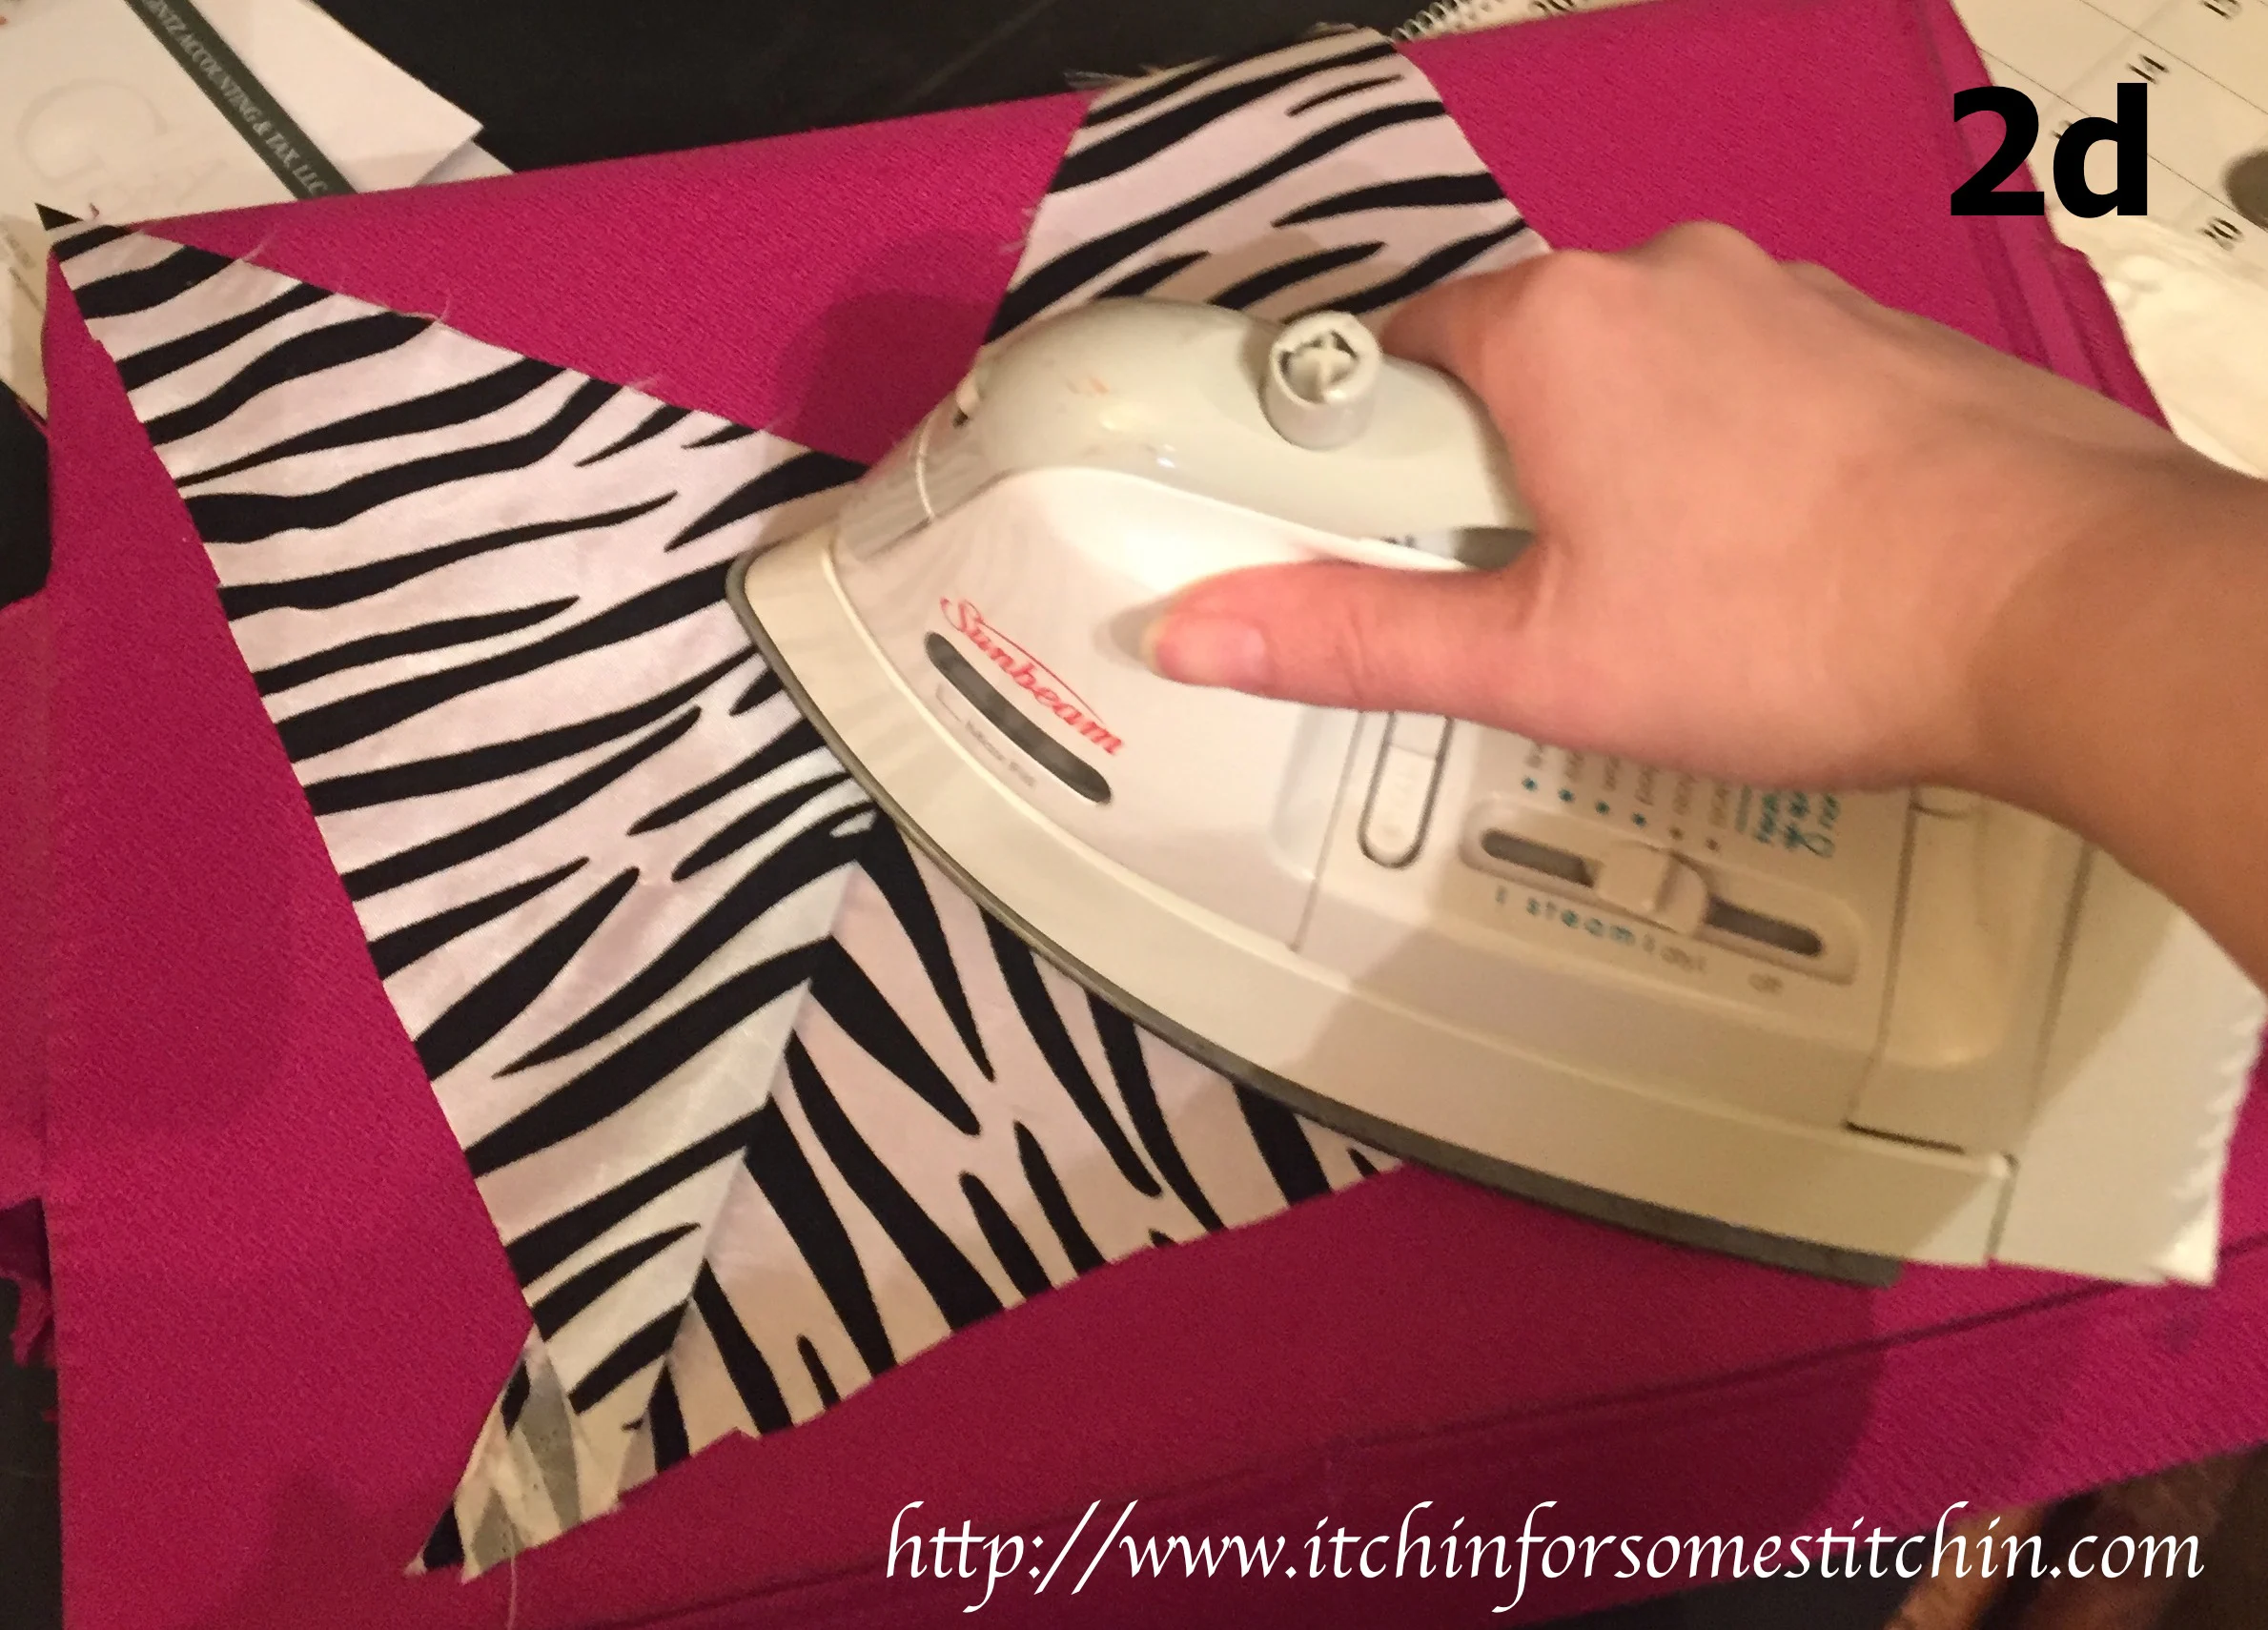
2d. Open & iron the project so that all three triangles have their right sides facing up. You should have one triangle in the middle with one triangle on each side as “wings”.


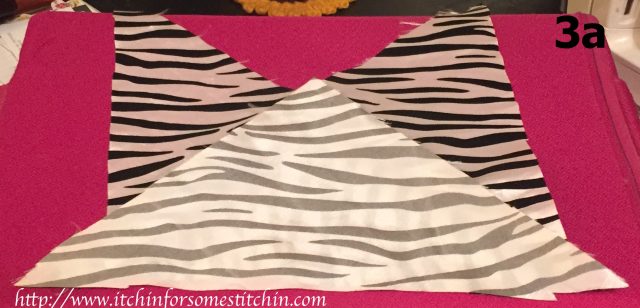
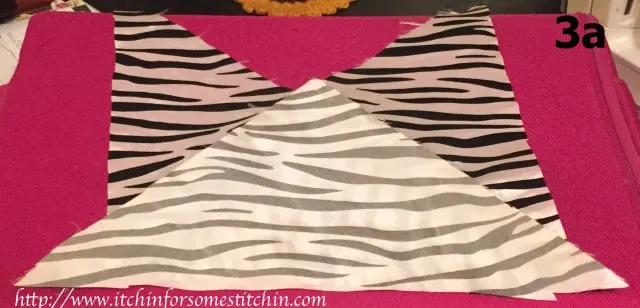
Step Three
3a. Place the fourth triangle piece on top of the middle triangle with right sides together.
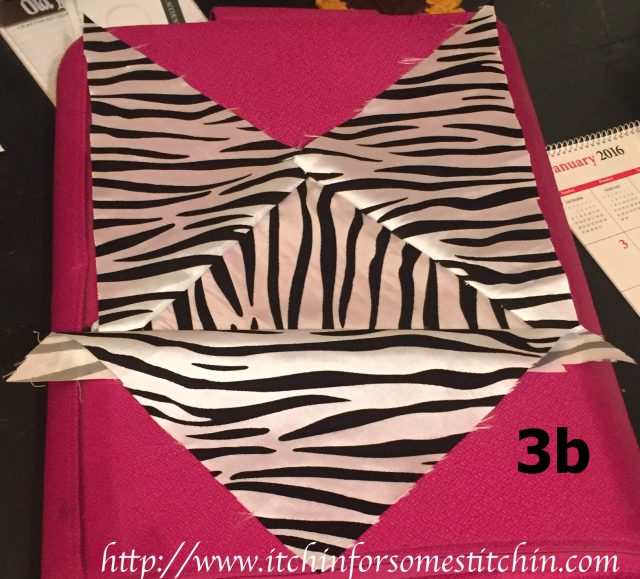
3b. Pin & sew the bottom edge together as in steps 1a-1b and 2c.

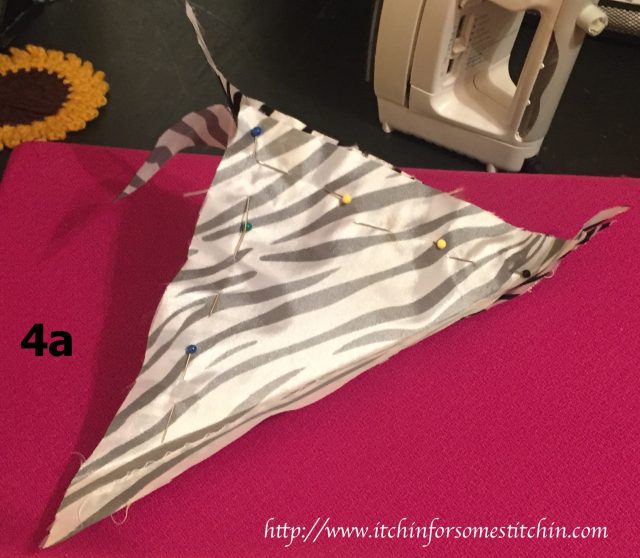
Step Four
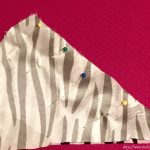
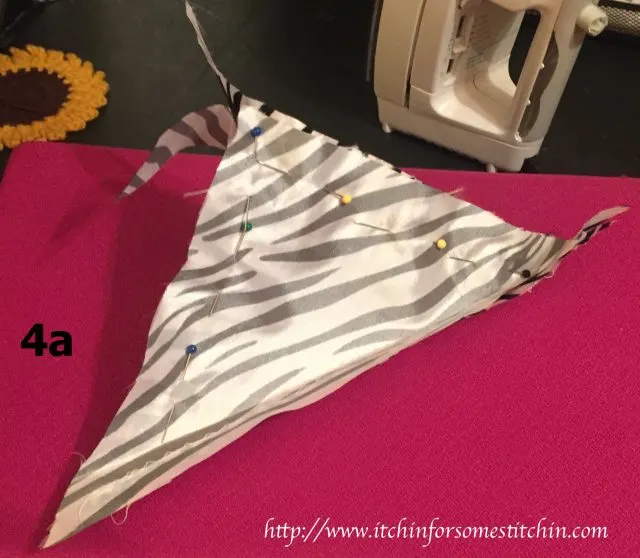
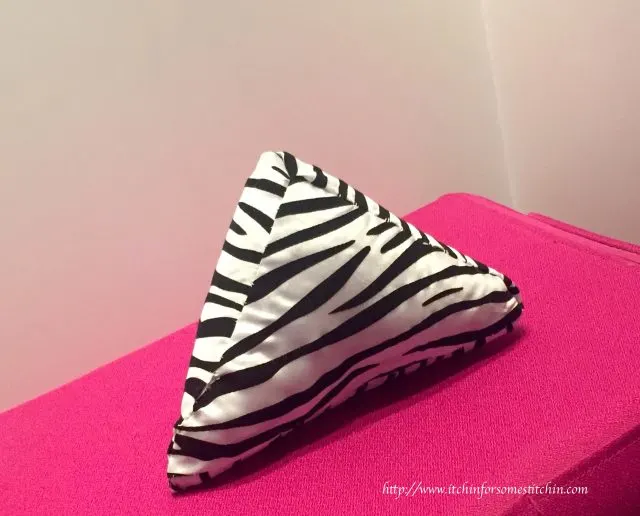
4a. Fold all four pieces up, aligning edges to make a 3-dimensional (3D) triangle with the wrong sides facing out. Basically, an inside-out 3D triangle.
This can be a little tricky. I found it easiest to align one edge, pin it, then align another, pin it, etc… until all edges are pinned and your triangle looks like the one in this picture.
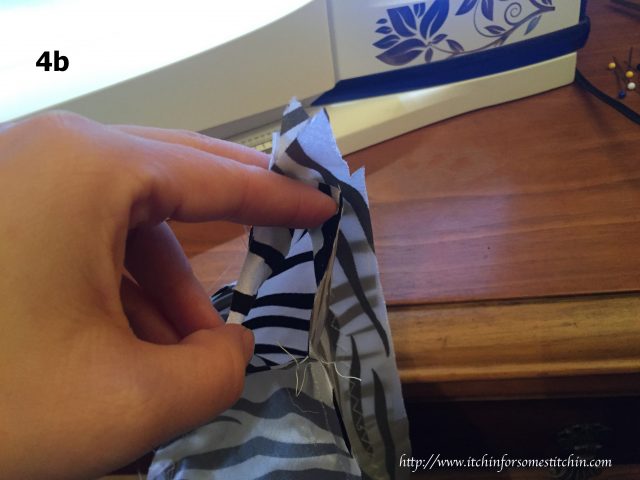
4b. Sew all edges together, leaving one edge partly unsewn. This creates a hole in the 3D triangle.

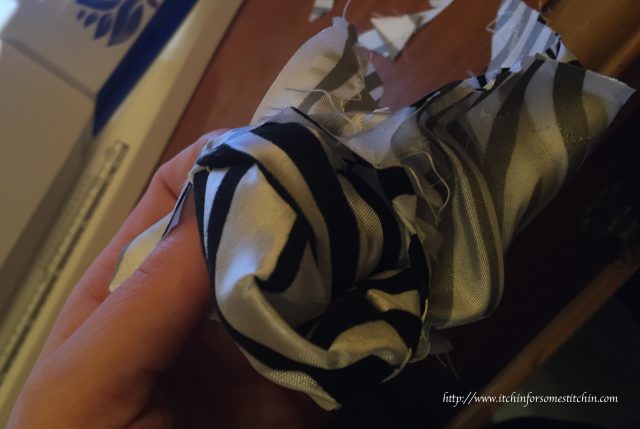
Step Five
Pull the 3D triangle right-side out through the hole.
Step Six
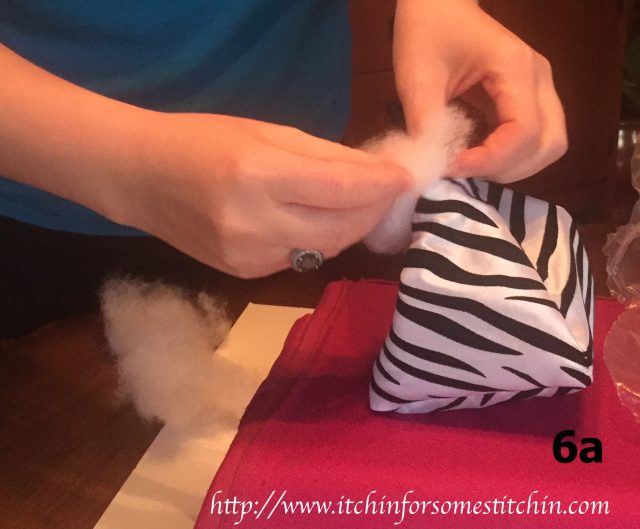
6a. Fluff and stuff the 3D triangle half full with polyester polyfil.
6b. Add the rattle (see below for instructions on how to make the rattle) and stuff the rest of the 3D triangle with polyester polyfil. (not shown)
6c. Hand sew the hole closed using the blind stitch. (not shown)
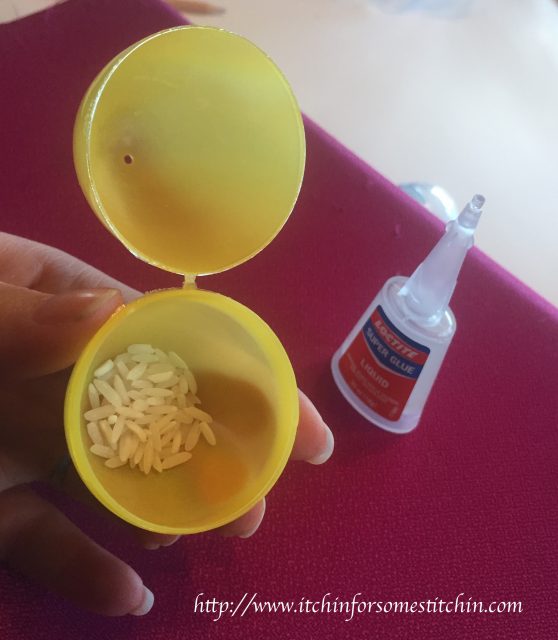
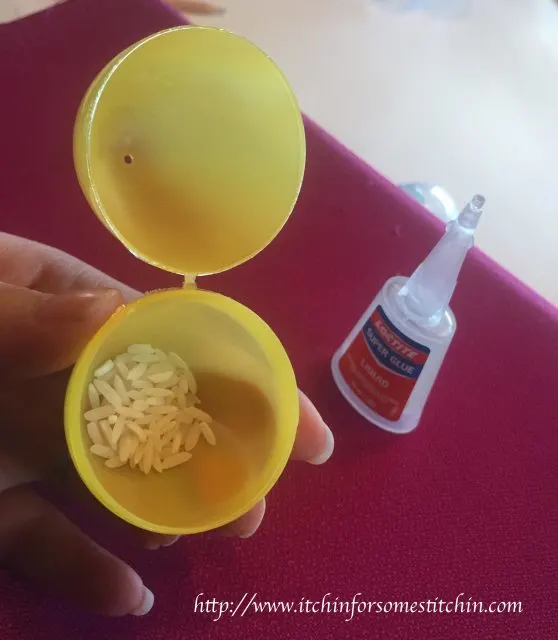
To make the rattle:
1. Add rice to an empty plastic egg.
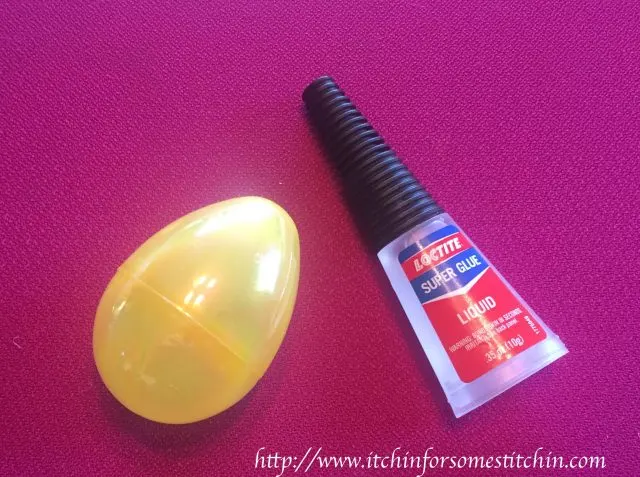
2. Seal the edges of the egg with super glue and let dry.

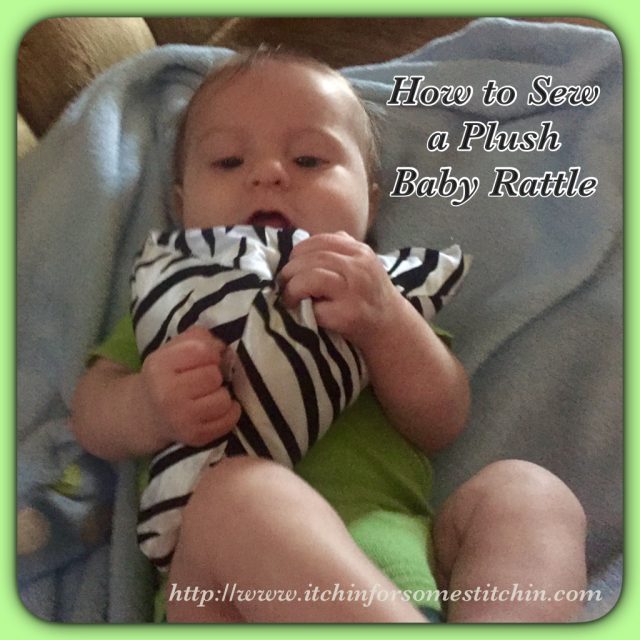
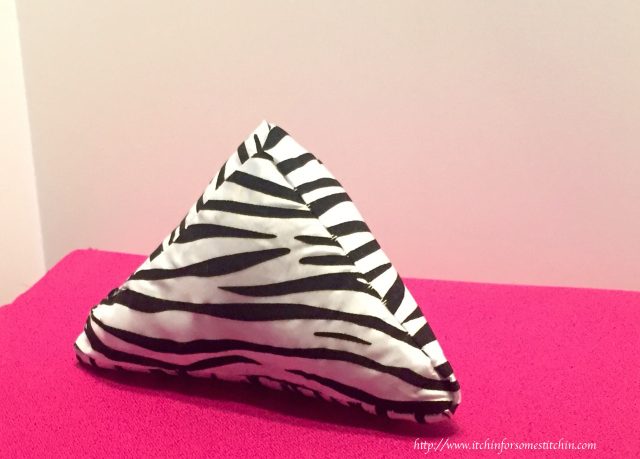
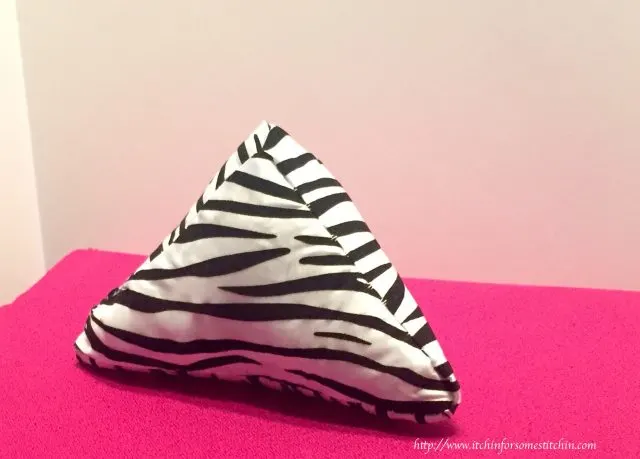
The finished product!

-

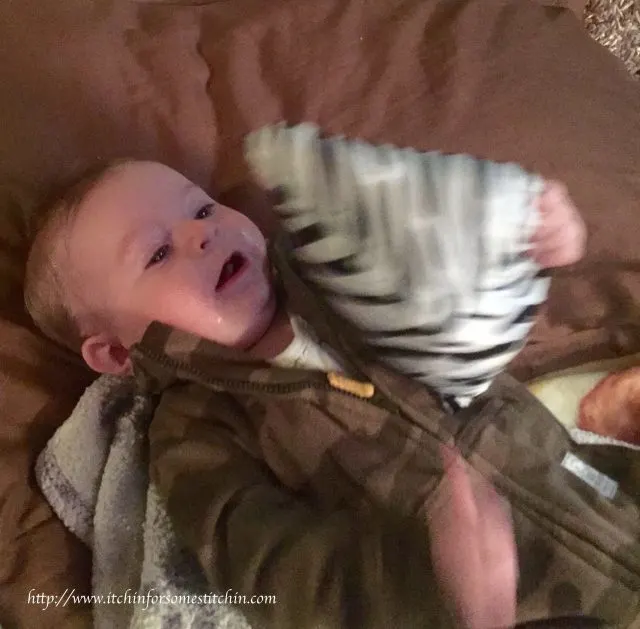
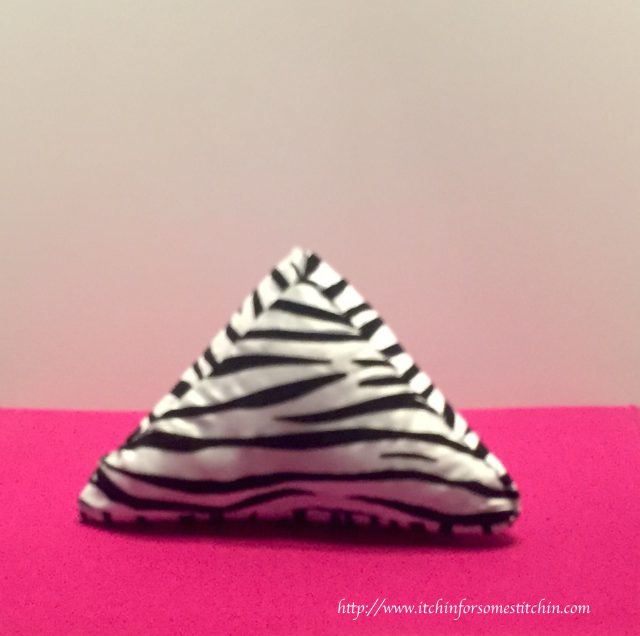
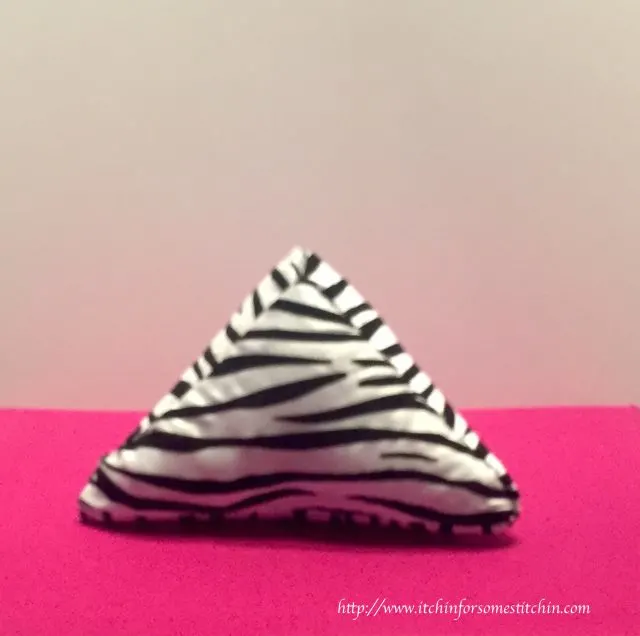
- He loves it!
Look at my adorable son play with it. He loves it! Hence the blurry picture folks. I can’t get a clear photograph because he won’t stop shaking it!
I’m so glad I came up with this fun toy. Making this plush rattle from leftover fabric really was the perfect idea. Here’s why…
1. Although babies can see from birth, they can’t see very clearly. High-contrast colors such as black and white or red and yellow encourages a baby’s visual development. Zebra print is awesome for baby eyes!
2. The triangular shape is a good learning tool for my babies to learn basic shapes. In fact, I plan to add a square and circle to my son’s plush toy collection.
3. The rattle I placed inside catches my son’s attention and stimulates his brain. Whenever he gets fussy I shake it and he settles down, reaches for it, and even shakes it himself, which improves his physical development.
4. It’s soft. My little guy can shake this toy like crazy, but I don’t have to worry because even if he hits himself with it he won’t get hurt! Plus, he loves to chew on it. I don’t have to stress about sharp edges in his mouth because this toy doesn’t have any!
This is a safe, soft, and fun developmental toy for babies. It’s also a great scrap buster project for all you sewing lovers out there!
Until next time… Happy Sewing!


Sophia
Monday 16th of May 2016
This is such a cute and creative idea. Seems really easy to make.
Itchin4Stitchin
Monday 16th of May 2016
It is really easy & my little guy really loves it! If you make one be sure to come back & let me know how it goes. ?