Hi there folks!
Today I am going to show you how I crochet a super easy basic shamrock that’s perfect for a quick St. Patrick’s Day project.
Now, I have seen tons of different crochet clover patterns, and some of them, I have to say
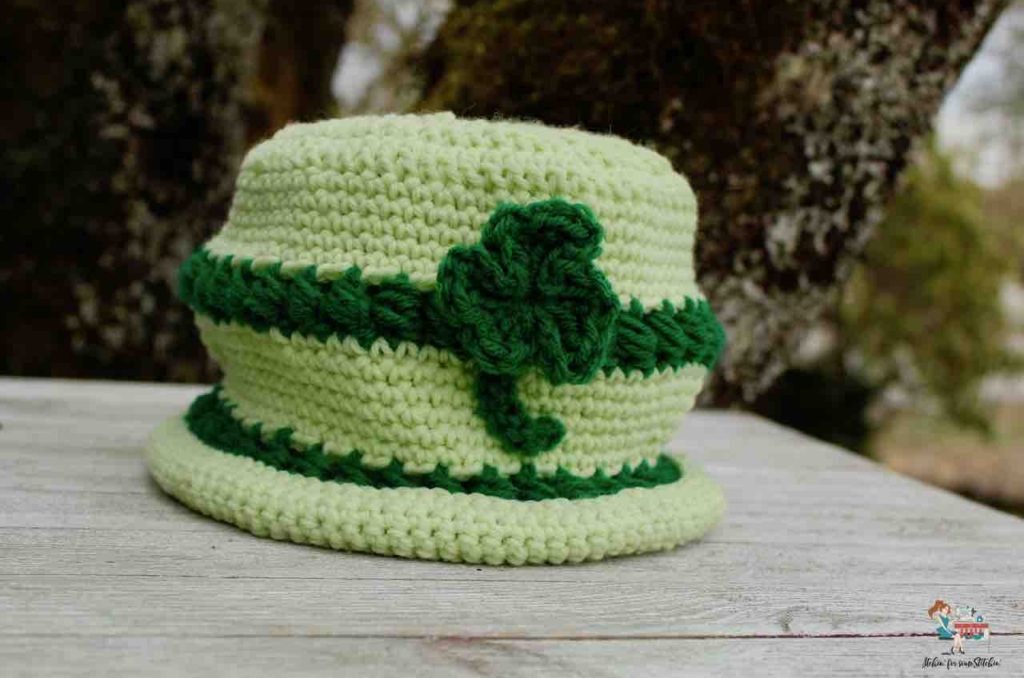
I just wanted a super simple, very basic shamrock appliqué to add to a Luck O’ the Irish bowler hat that I had designed as a special treat just for my email subscribers.
Want to join my crochet community? Click HERE!
So, I whipped up this super quick and super easy clover pattern in about 10 minutes flat!
And you know what?
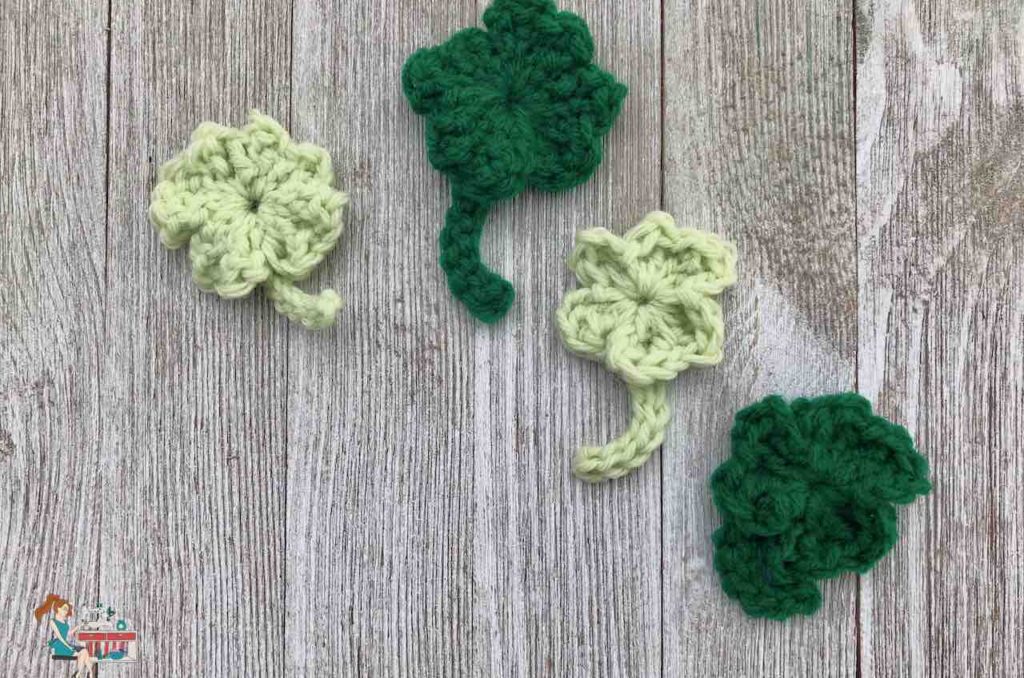
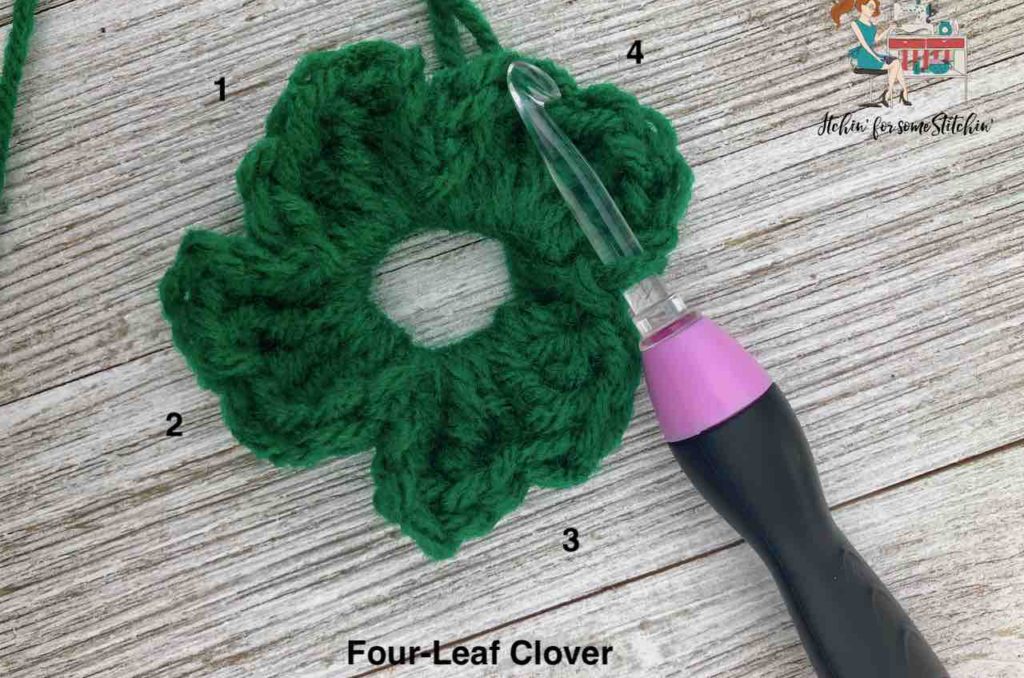
You can actually make both Four-leaf and Three-leaf clovers with this easy peasy pattern!
Check Out These Other Patterns I LOVE!
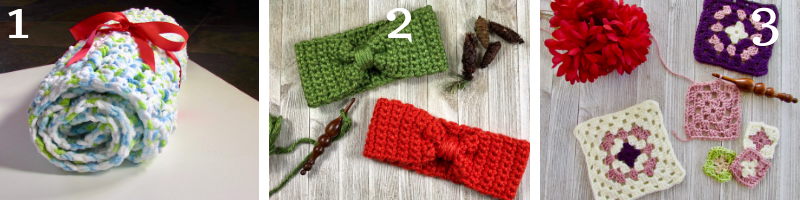
- Crochet Seed Stitch Baby Blanket / 2. Simple & Sweet Chunky Bowtie Head Warmer / 3. How to Crochet a Granny Square
My Other Videos
How to Crochet a Shamrock Appliqué
**THIS IS AN ORIGINAL PATTERN. Please see my Copyright Statement for details.
Summary:
These basic shamrock appliqués are oh so easy and super beginner friendly! They require only a few basic stitches and can be whipped up in 5-10 minutes flat. Add them to hats, bags, scarves, and more to add a little St. Patrick’s Day festivity to your wardrobe or home decor!
Prefer a PDF?
[list style=”style6″]
[li]This pattern is available as a large print, ad-free, printable PDF pattern. Get it HERE.[/li]
Love Pinterest? I do!
[li]PIN this pattern to your Pinterest boards for later HERE. You can also follow all my boards![/li]
Instructions
[li]Add this pattern to your Ravelry que HERE.[/li]
[/list]
Level of Difficulty: Advanced Beginner/Easy
Finished Dimensions:
Approximately 3-3.5-inches from the top of the clover to the bottom of the stem.
Abbreviations:
~Click on the links if you need a review of each technique.
Pattern is written in US terms.
Slip-stitch (slp-st)
Chain stitch (ch)
Stitch/es (st/sts)
Materials:
- Medium worsted weight yarn
In this
~ Total yardage: 5 to 10 yards
- Hook: H/8-5.0mm.
(Click HERE to find my favorite crochet tools & resources)
Instructions:
Form the clover leaves
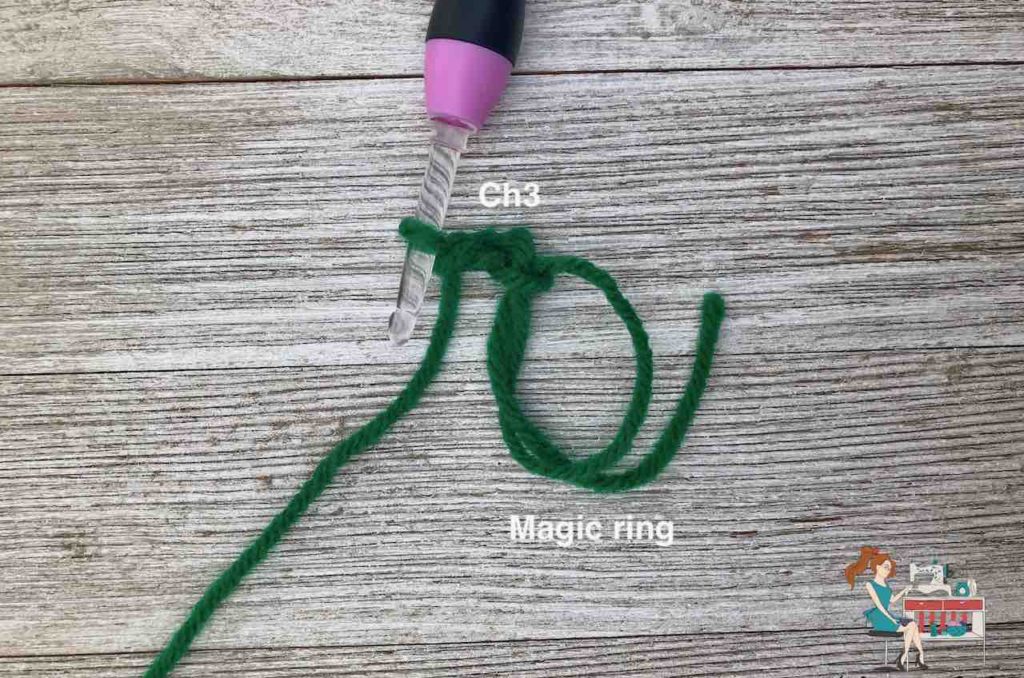
Make a magic ring -OR- Ch 3 and slp-st into the first ch to form a ring (chaining method).
Click here for a tutorial on the magic ring and the chaining method.
NOTE: Be sure to create a large ring if you are doing the 4-leaf clover as it requires more stitches than the 3-leaf clover.
*Ch 3 (counts as one tr), make 2 tr into the ring, slp-st into the little bump on the side of the 2nd tr, ch 3 (counts as one tr), make 2 tr into the ring, slp-st into the ring to close*.
You have just made one leaf of the shamrock.
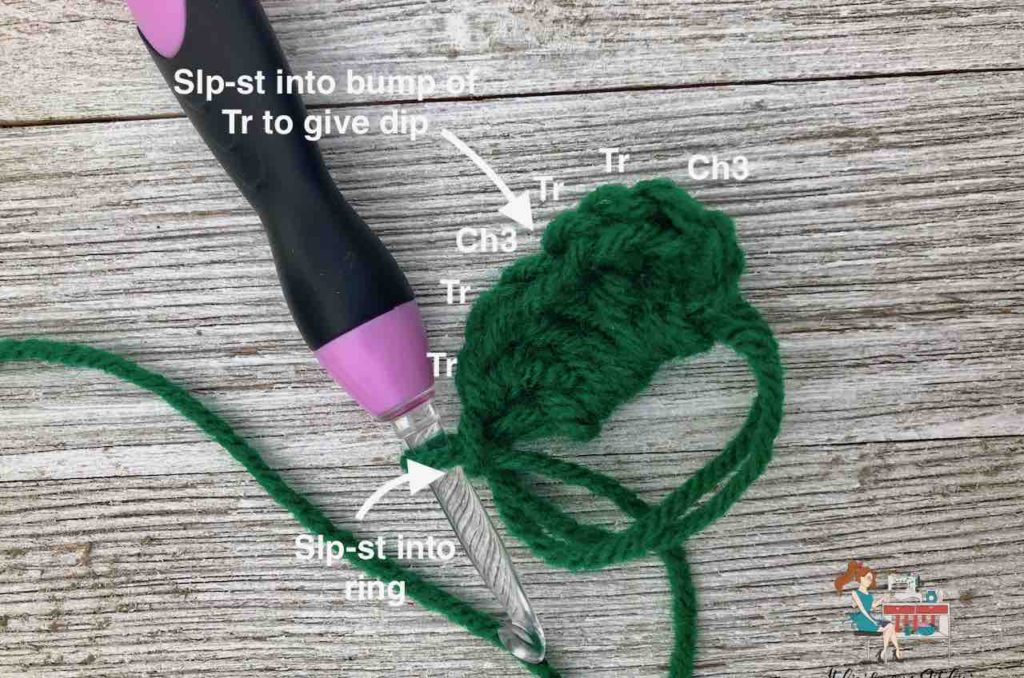
NOTE: To find the bump on the 2nd tr, turn your work 90-degrees to the right. There should be two bumps, the top one may be covered by your yarn. You can slip-stitch into either bump. The top one will give you only a slight dip and the 2nd one will give you a deeper dip.
Repeat from * to * two more times to make a 3-leaf clover.
Repeat from * to * three more times to make a 4-leaf clover.
Slip-stitch into the ring to finish off the last leaf.
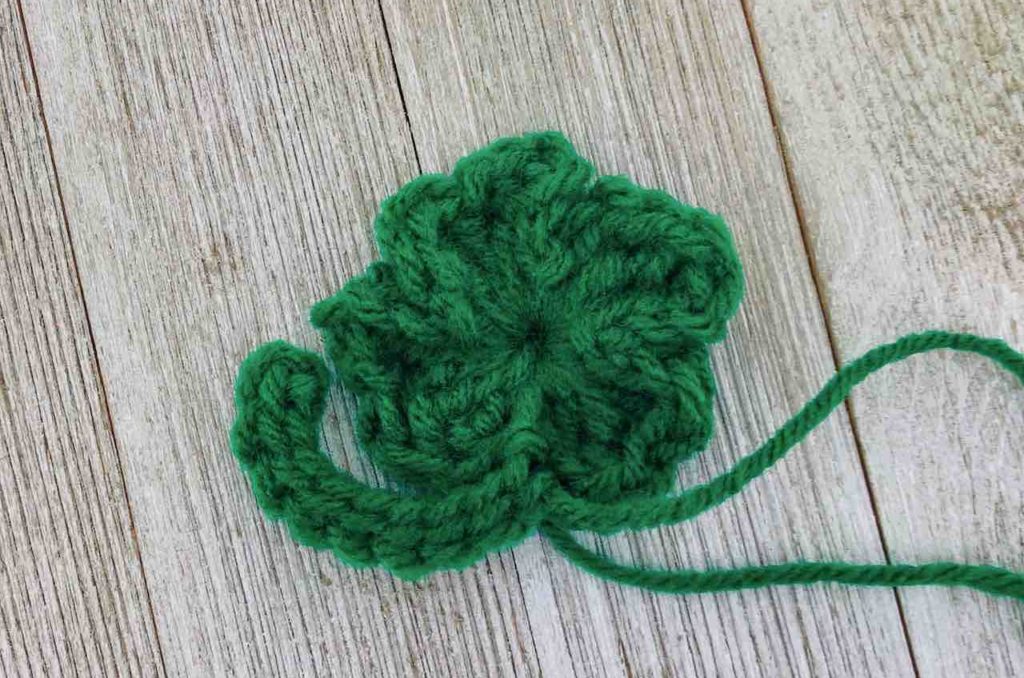
Form the stem
After slip-stitching into the ring, do not bind off. Continue on by chaining 11.
Turn work, slp-st into the 2nd ch from the hook and in each chain across until you are back to the clover leaves.
Then slp-st to the back of the clover to secure the stem.

If you want to use yarn for seaming the shamrock to your hat, then you can cut your yarn leaving a long tail (at least 12-18 inches) for sewing.
NOTE: If you used the magic ring, be sure to pull the yarn end tight to close up the hole.
See, now that wasn’t so hard was it?
These appliqués are great for all your Luck O’ the Irish projects this year.
Add them to hats, bags, scarves, and more!
Please Share!
Until next time… Happy Crocheting!

