
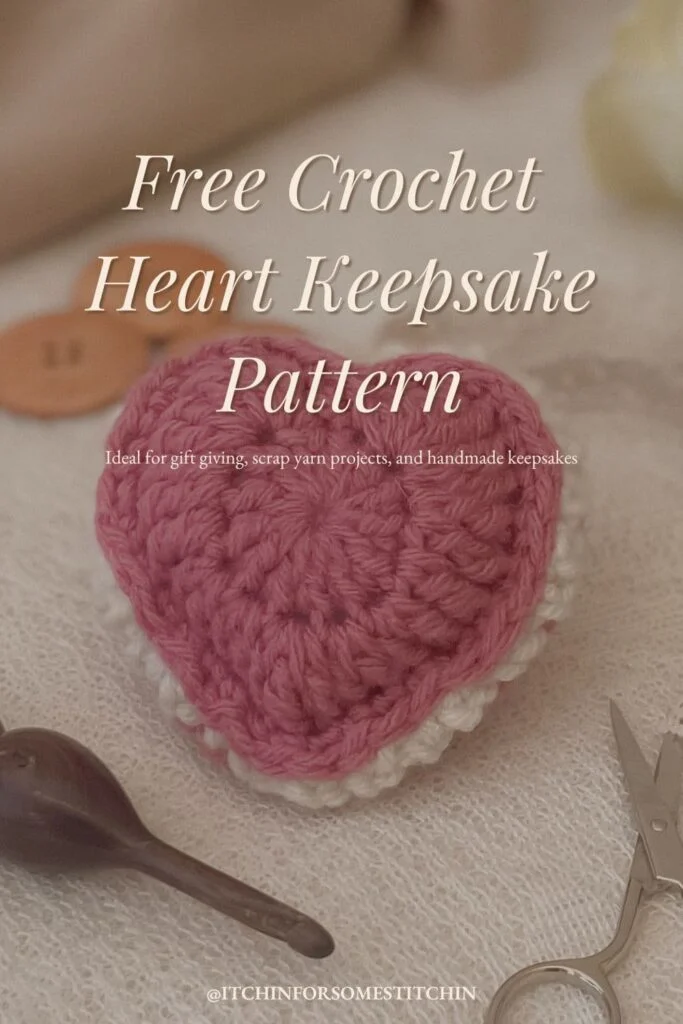
Crochet a Sweet Keepsake from Your Yarn Stash!
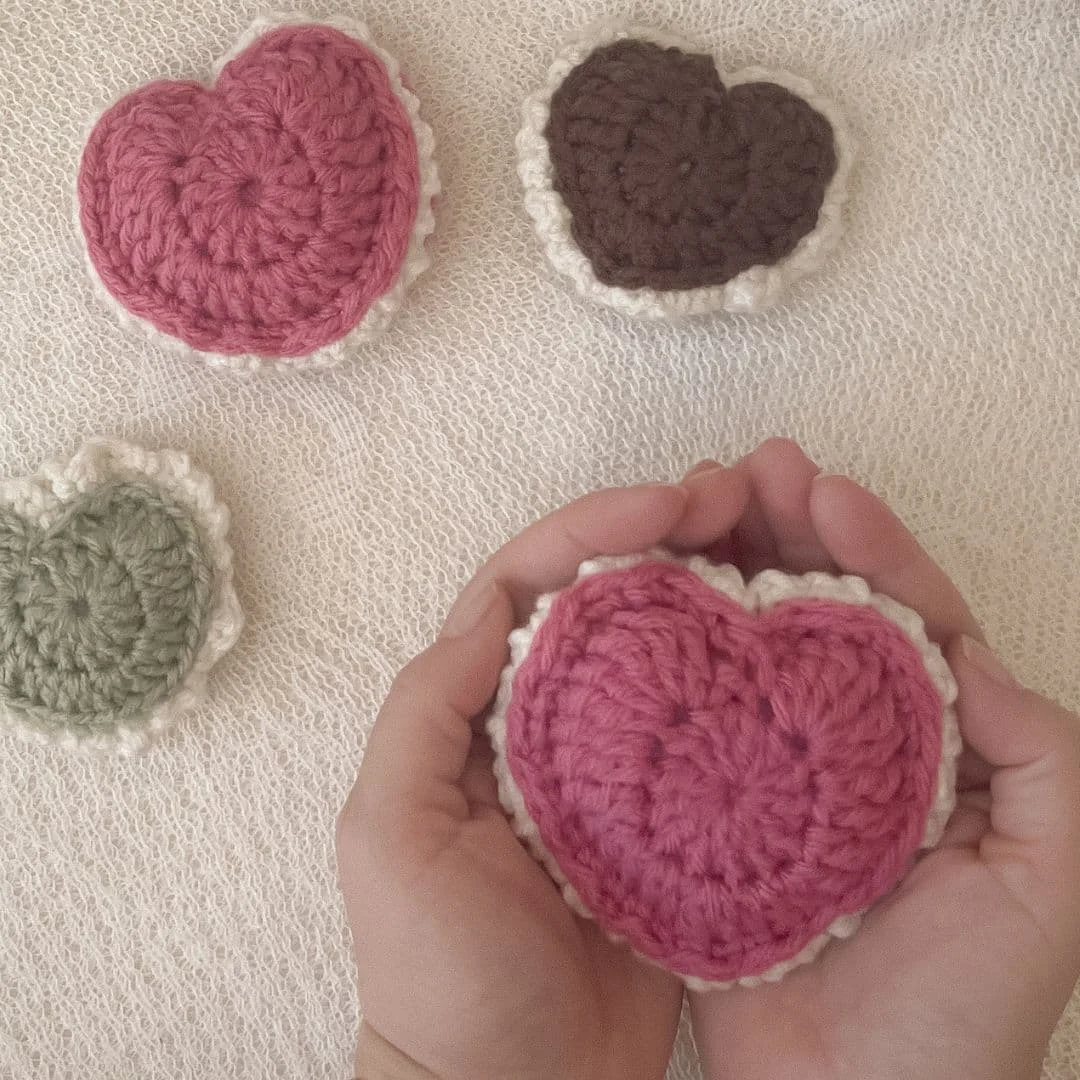
Looking for a meaningful stash-busting project? This free Puffed Heart Keepsake crochet pattern is the perfect way to turn leftover yarn into something special.
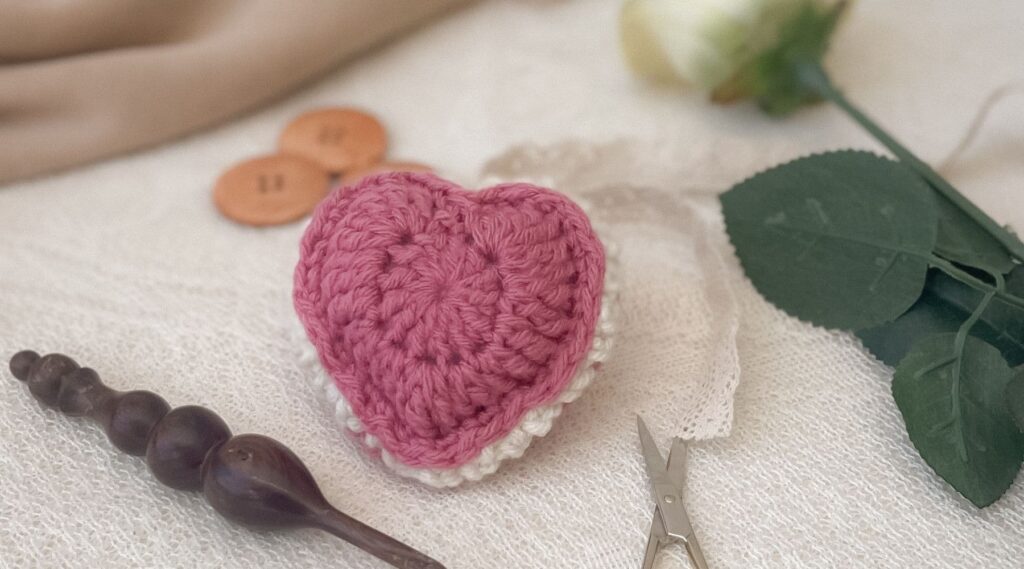
Use it as a special gift, crochet heart ornament pattern, pin cushion, or sachet!
With its beginner-friendly instructions and lovely textured design, this small but charming project works up quickly and adds a heartfelt touch to any occasion.
What You’ll Find Inside this Pattern:
At a Glance


What Makes This Pattern Special
What started as a playful attempt to crochet a cute little macaron quickly blossomed into something much more meaningful — a puffed heart keepsake that’s full of love, charm, and intention. This sweet design was born from inspiration and evolved into a heartfelt piece perfect for gifting, memory-making, or adding a personal touch to your handmade collection.
Whether you’re crafting for Valentine’s Day, a baby shower, or simply creating a stash-friendly project to brighten someone’s day, this pattern is quick, fun, and completely addicting. You’ll love how easy it is to customize — and how adorable it looks finished!

Love Pinterest? I do!
Save this post for Later and follow all my boards.
Here’s a little inspiration for how to style, gift, and enjoy your Puffed Heart Keepsake…
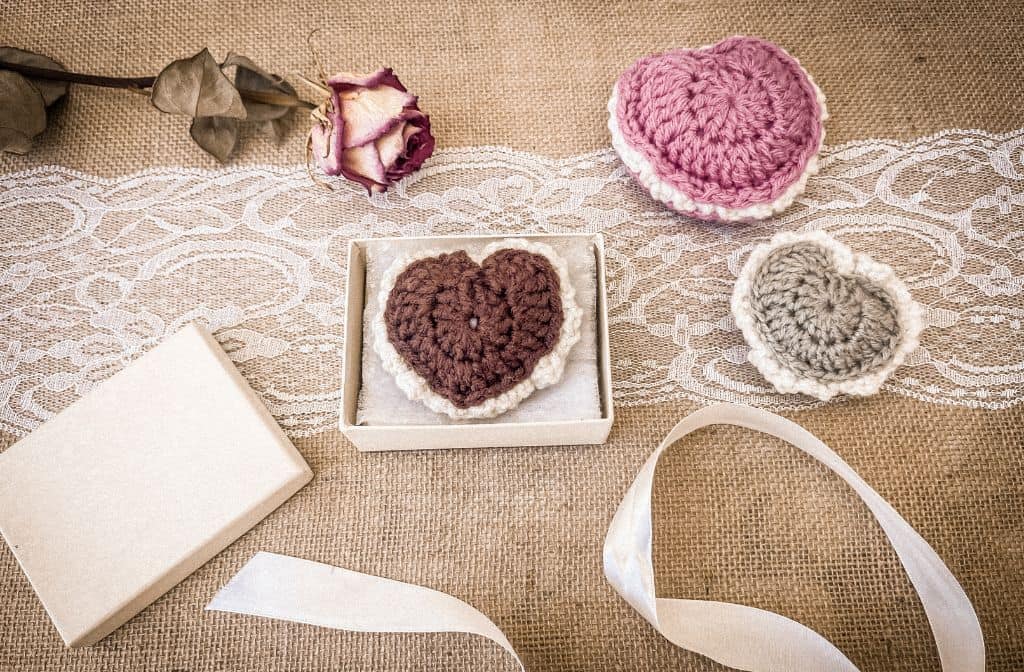
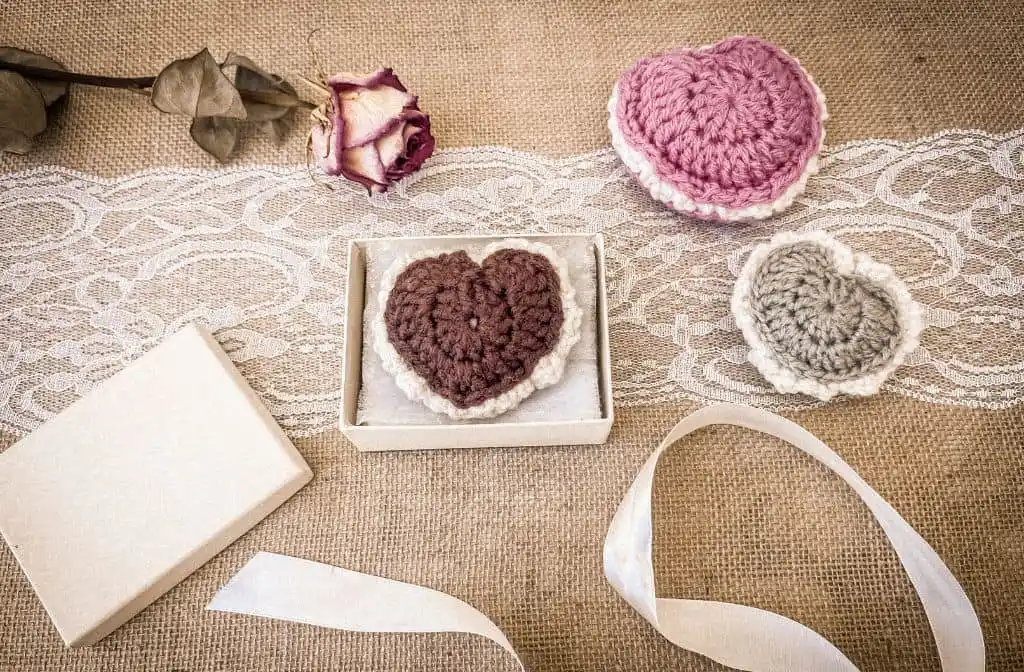
Gift from the Heart
Present your puffed heart keepsake in a charming box with soft ribbon and dried florals — perfect for weddings, anniversaries, or sentimental gifts.
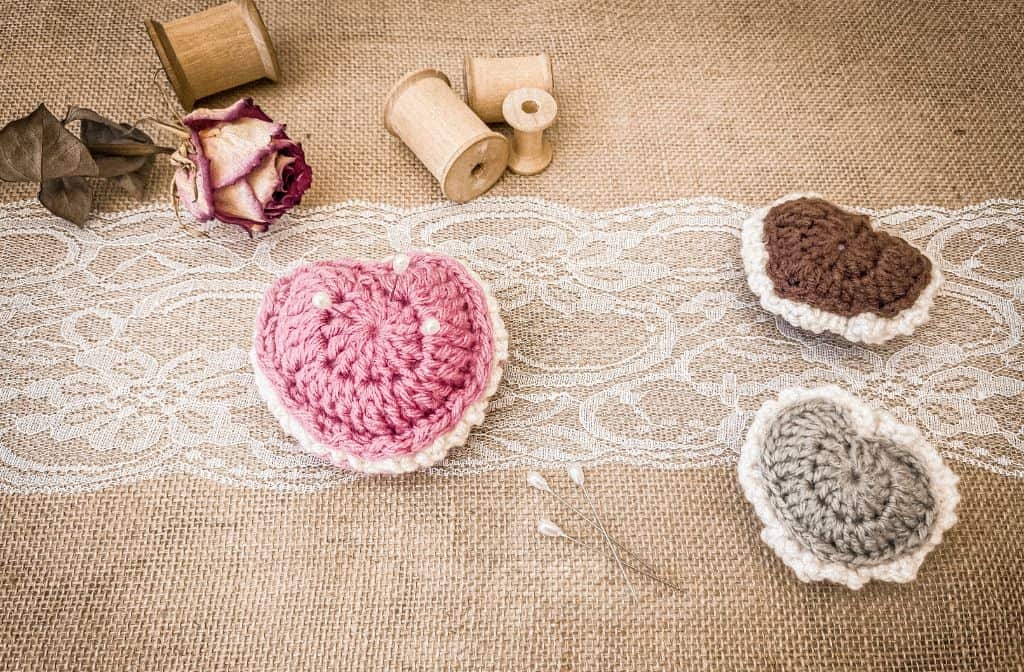
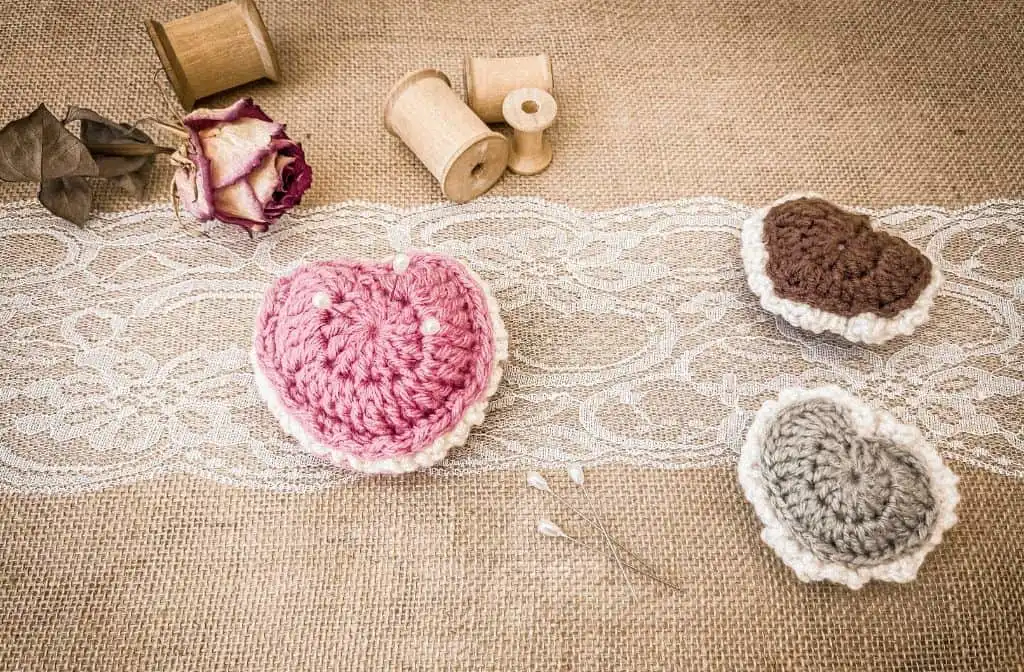
Pretty & Practical
Turn your crochet heart into a functional pincushion for your sewing table or craft room — elegant and handmade with love.

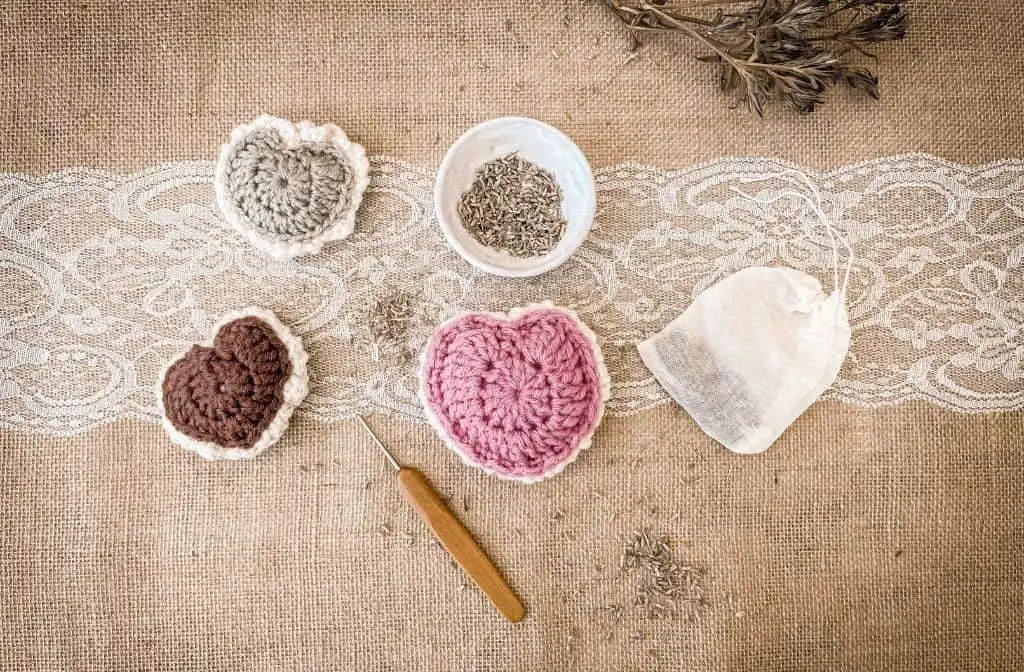
Scented Keepsake
Fill your puffed heart with lavender or dried herbs to create a calming sachet for drawers, gift baskets, or self-care moments.
Helpful Hints for Beautiful Results
Crochet Heart Keepsake Tips for Beginners
Use a stitch marker
When working in continuous rounds, stitch markers help keep your place with ease.
They’re also great for aligning curves and points before seaming — especially helpful when working with puffy or layered pieces.
Lightly block your hearts
Before assembly, give your hearts a gentle block if needed. This helps define the shape, especially if your tension varied.
Stuff lightly
To maintain that soft, puffy shape without overstretching your stitches, avoid overstuffing.
Match yarn weights
If using scraps, try to use the same or similar yarn weights. This keeps shaping consistent and your finish looking polished.
Want to make different sizes?
Use a thicker or thinner yarn and adjust your crochet hook accordingly. This lets you create small hearts for ornaments or larger ones for sachets, décor, or gifting.
Play with border thickness
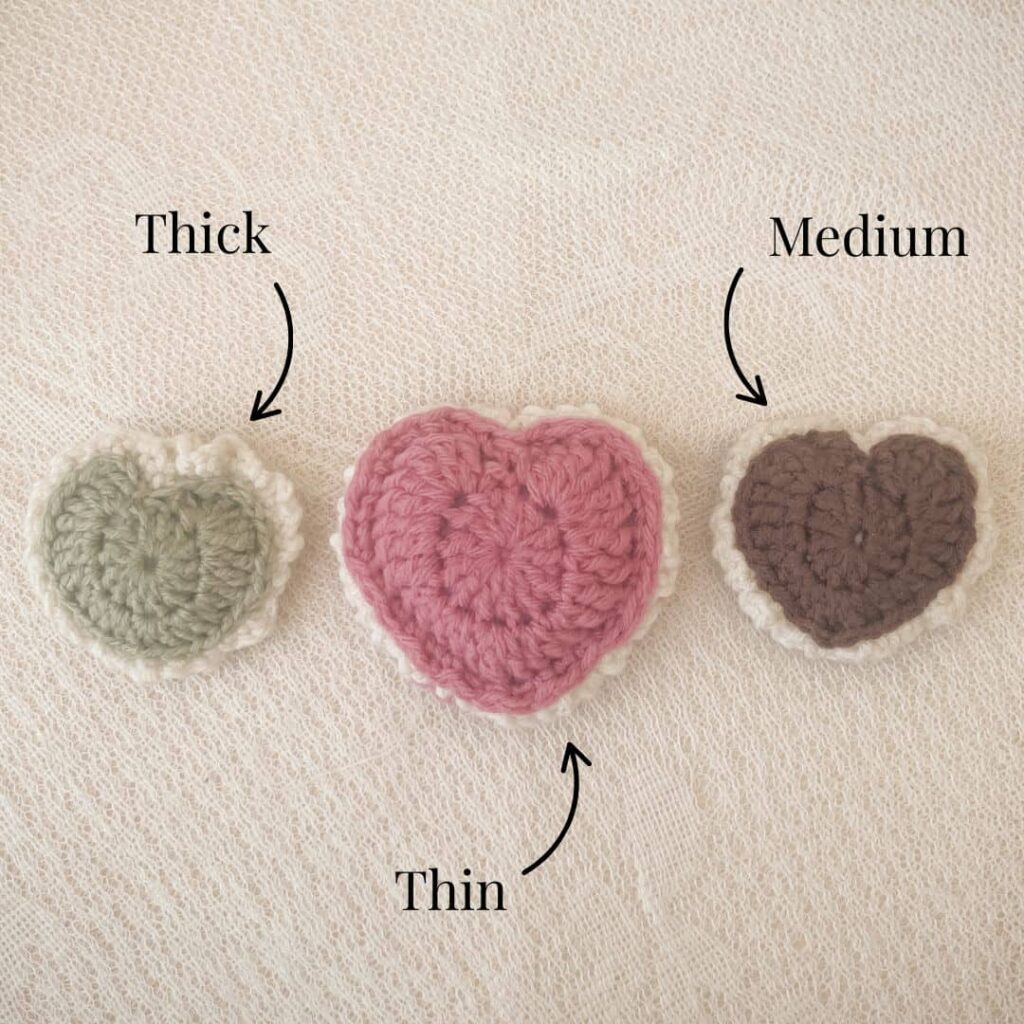
You can customize the look of your heart by changing where you place the seam when assembling:
- A seam near the bottom edge creates a thicker, bolder border
- A middle seam results in a medium-width border
- A seam near the top edge creates a thin, delicate border
Try different placements to discover the look you love best!
Play with color!
Use soft pastels for spring, bold tones for Valentine’s, or mix and match scraps for a one-of-a-kind keepsake.
Whether you’re stitching a heartfelt gift or using up leftover yarn, this crochet heart stashbuster pattern comes together beautifully with just a few simple adjustments. It’s the perfect way to turn scraps of worsted weight yarn into something sweet, thoughtful, and handmade.
Materials
All hearts in this pattern were made using various #4 medium weight yarns, including:
Recommended Yarn:
- Loops & Threads™ Soft Classic – Off White
- Red Heart Super Saver – Coffee, Frosty Green, and Light Raspberry.
Each puffed heart uses 2 colors:
- Color A for the main heart appliqués
- Color B for the decorative border (added before assembly)
Feel free to substitute with any worsted weight yarn you have in your stash.
Yarn Alternatives:
Yardage Requirements
Each heart appliqué uses approximately 7 yards (6.4 meters) of yarn.
To make one complete puffed heart keepsake, you will need:
- 2 heart appliqués (color A) = ~14 yards (12.8 meters)
- Border and joining yarn (color A or B) = 4–6 yards (3.7–5.5 meters)
- Total per puffed heart = approximately 18–20 yards (16.5–18.3 meters)
This may vary depending on your hook size and tension.
Skill level
Level of Difficulty – Advanced Beginner


Gauge / Tension for the Crochet Heart Keepsake
Exact gauge is not critical for this project, but it will affect the final size of your heart.
- Adjust hook size up or down if your heart looks too loose or too tight.
- For best results, keep stitches consistent.
- Use the same yarn weight and hook size for both heart panels so they match.
Abbreviations
Pattern is written in Standard US crochet terms.
*Click on abbreviation names for tutorials
Special Stitches and Techniques:
magic ring/circle – A technique used to begin projects worked in the round. Form a loop with the yarn, crochet the first stitches into the loop, then pull the tail to close the center tightly. This creates a neater, adjustable starting point with no hole in the middle.
back loop only (blo) – This is a stitch placement, not a stitch type. Work the indicated stitch through the back loop only of the previous row/round. This creates a defined ridge or flexible texture.
Pattern Instructions – Crochet Heart Keepsake
Let’s get started! Follow the step-by-step crochet pattern below to create your stuffed crochet heart keepsake.
This project is not only quick and beginner-friendly, but it’s also a fantastic crochet stash buster pattern — perfect for using up small scraps of yarn in a meaningful way.
After you’re done, check out the Creative Ways to Use Your Puffed Heart Keepsake section for inspiring ideas. And if you run into any issues along the way, don’t worry — be sure to check out the Helpful Hints and FAQs for extra guidance.
Crochet Heart Keepsake Construction
This pattern is made by creating and assembling two heart appliqués:
- One heart without decorative border — worked in continuous rounds
- One heart with decorative border — worked in continuous rounds
- The two hearts are seamed together with polyfill inserted in between to create the puffed effect
Each heart is worked in two sections:
Outside of the heart – Worked around the circle to create the arches, sides, and point
Center of the heart – Worked in continuous rounds to create a circle
Need help visualizing construction?
The premium PDF includes detailed schematics and step-by-step photos
Finished Dimensions
Hearts can be made in three different sizes depending on hook choice (with worsted weight yarn):
- Small Heart (3.5 mm hook): approx. 3″ wide x 3″ tall
- Medium Heart (4.5 mm hook): approx. 3.5″ wide x 3.5″ tall
- Large Heart (5.5 mm hook): approx. 4″ wide x 4″ tall
All measurements are approximate and may vary slightly due to yarn type, crochet tension, and individual technique. Hearts are measured from the top of the arches to the tip of the point. Width is taken across the widest part after lightly stuffing with polyfill.
Notes:
Make 2 heart appliqués
Using color A
Center of the heart
Rnd 1: Make a magic ring. Ch 3 (counts as dc), then work 12 dc into the ring, slp-st into the top of the ch 3 to close. [13]
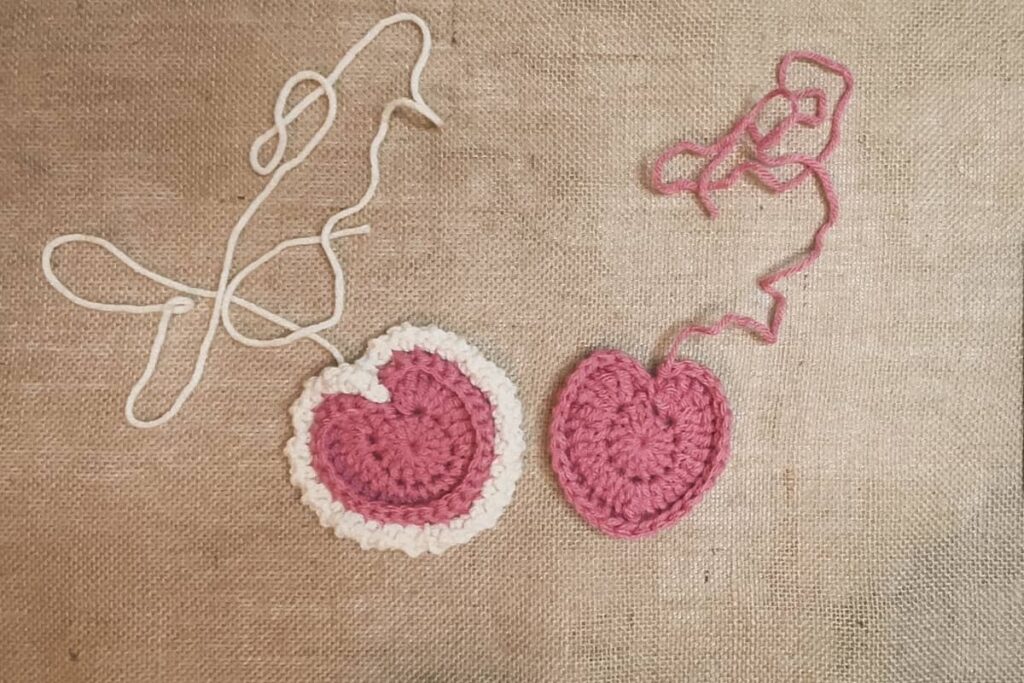
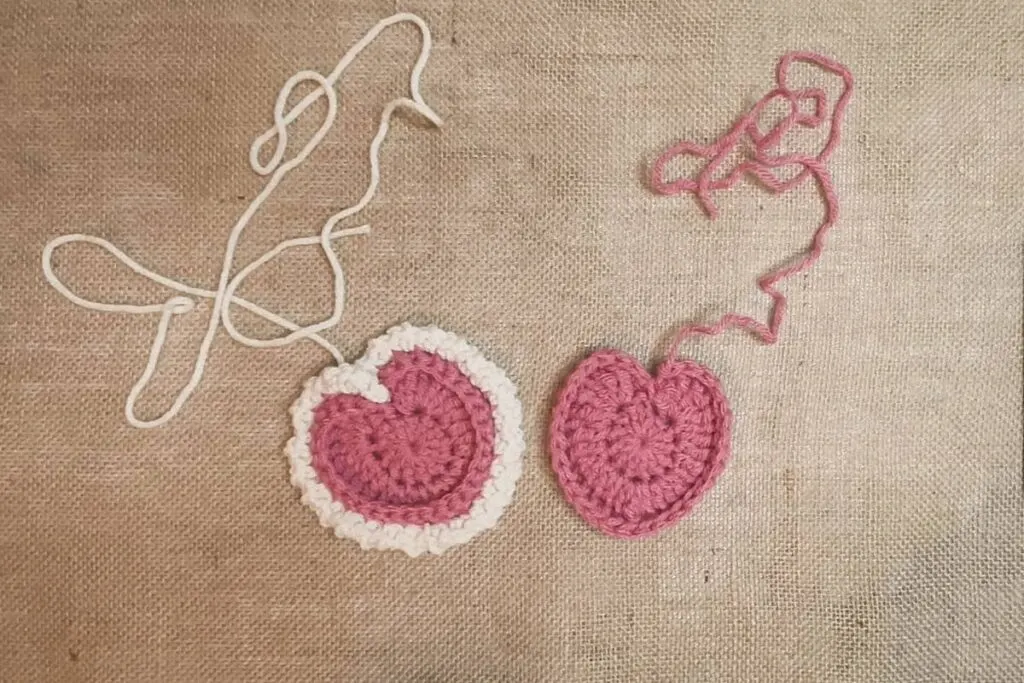
Outside of the heart
Rnd 2: Ch 4 (counts as a tr), work 5 tr into the next st, work 2 tr into the next st, work 1 tr into the next st, work 2 dc into the next stitch, work 2 dc into the next st, (dc, 2 tr, dc) into the next st, 2 dc into the next st, 2 dc into the next st, 1 tr into the next st, 2 tr int the next st, 6 tr in the next dc, slp-st into the last st. [30]
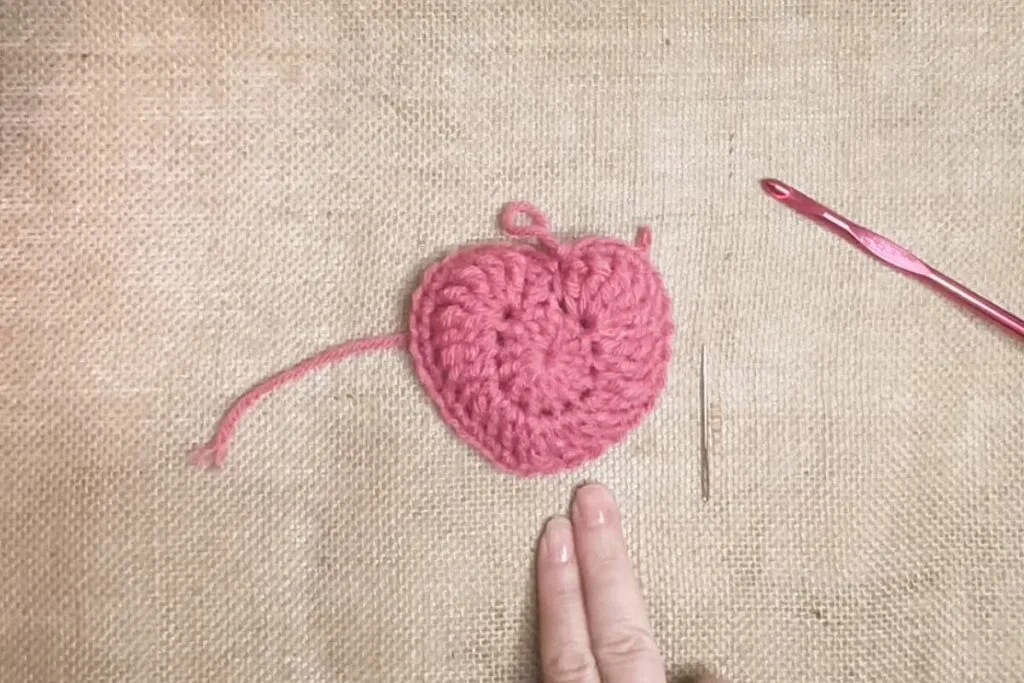
Rnd 3: Sc in the blo of each ch of the ch-4 that started Rnd 2, then continue to sc in the blo of each st around. Slp-st in the last st to close. [33]
Note: The top of the heart may curl inward slightly as shown in the image below — this is expected and will smooth out when the hearts are seamed together.
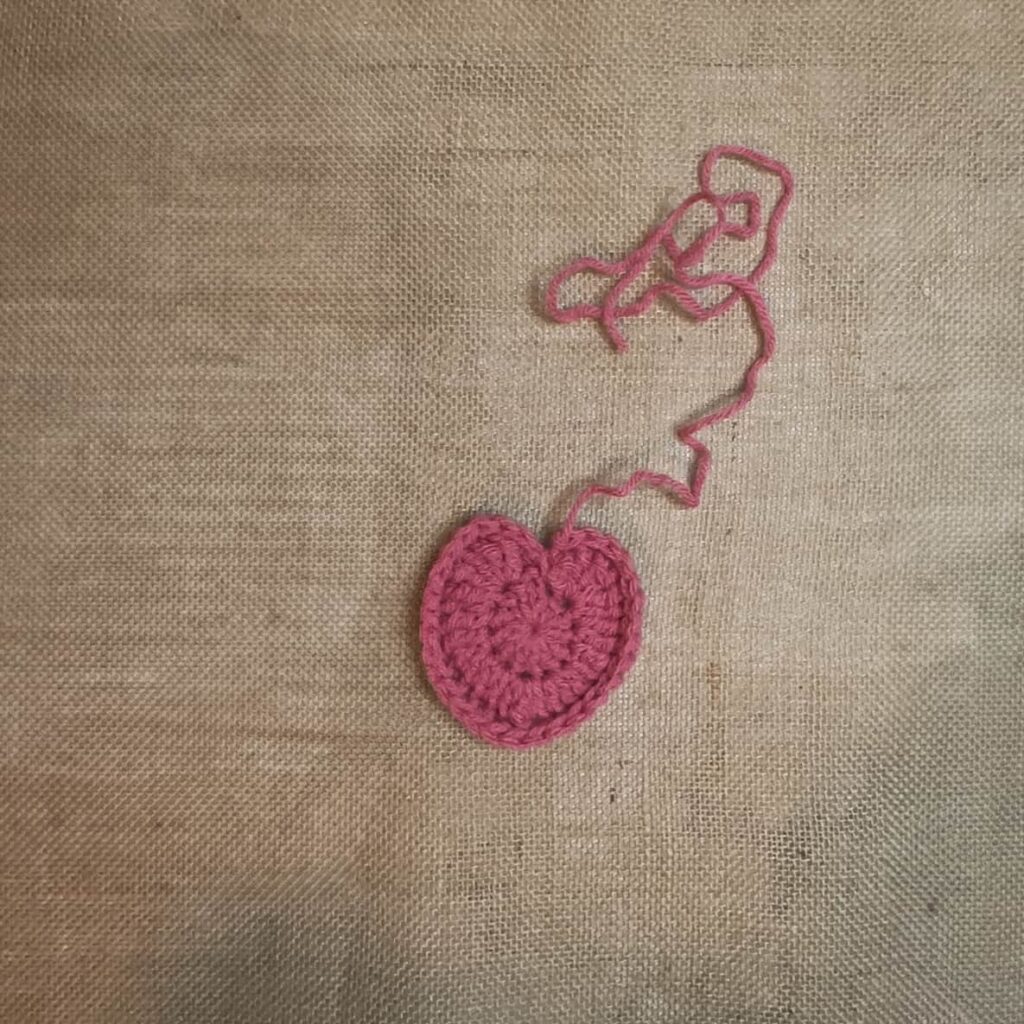
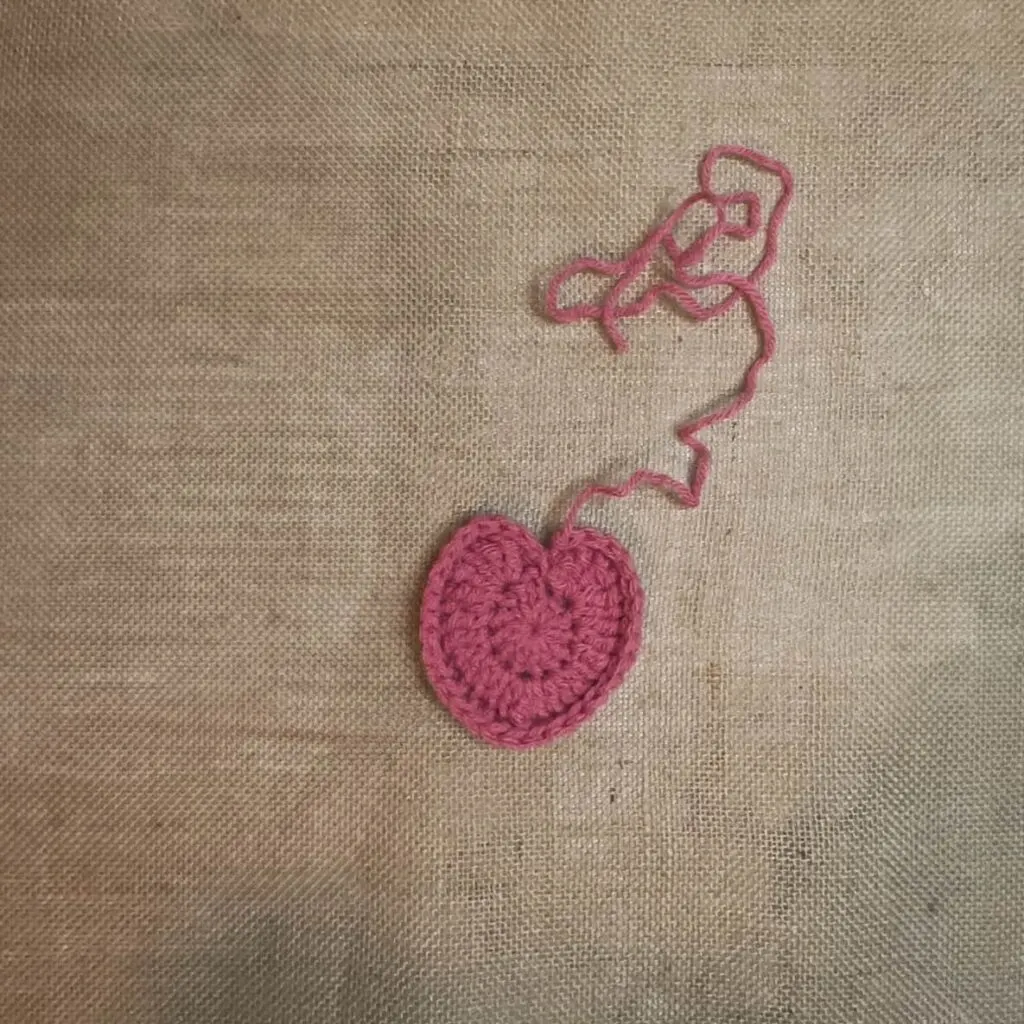
Fasten off both heart appliqués.
Leave a long yarn tail (12–24 inches) on just one of the hearts — this will be used for seaming later.
Finishing
Top of the Heart
Both hearts need to be closed at the top of the arches.
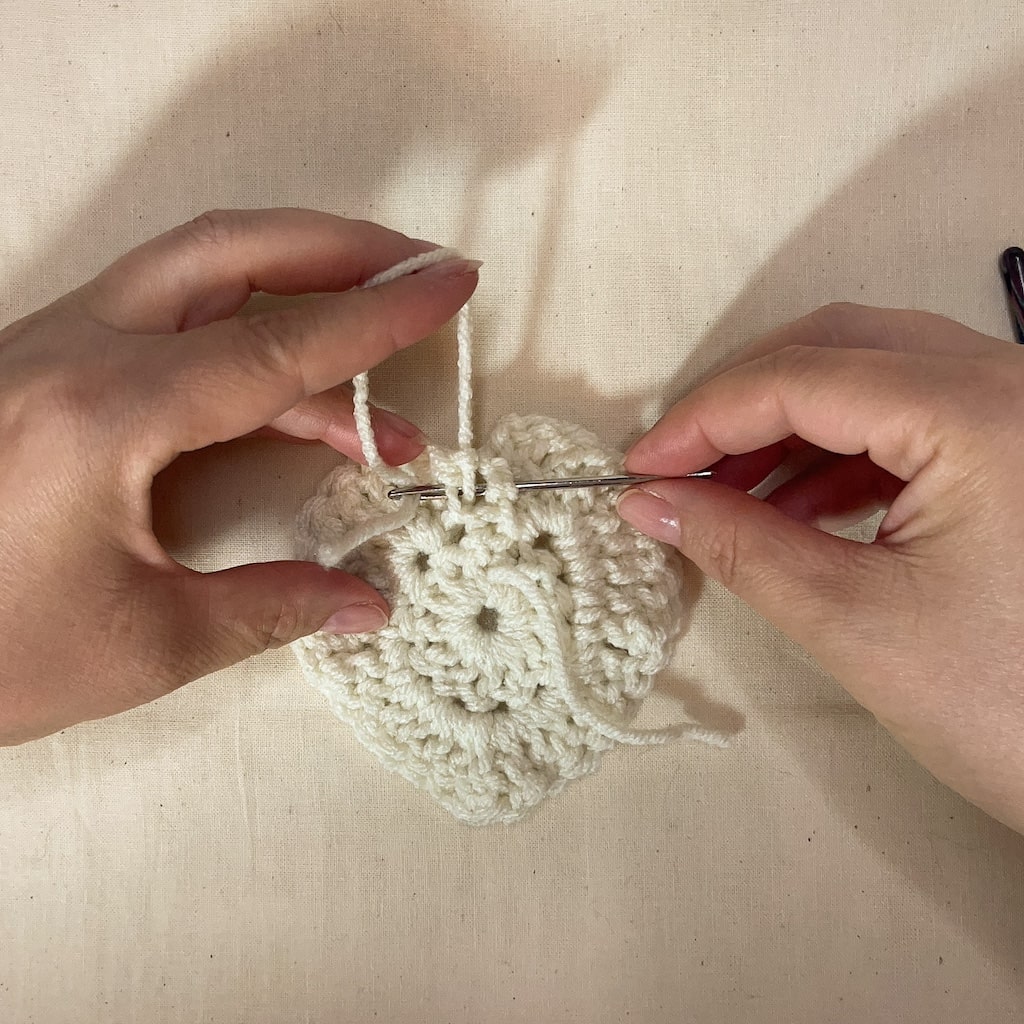
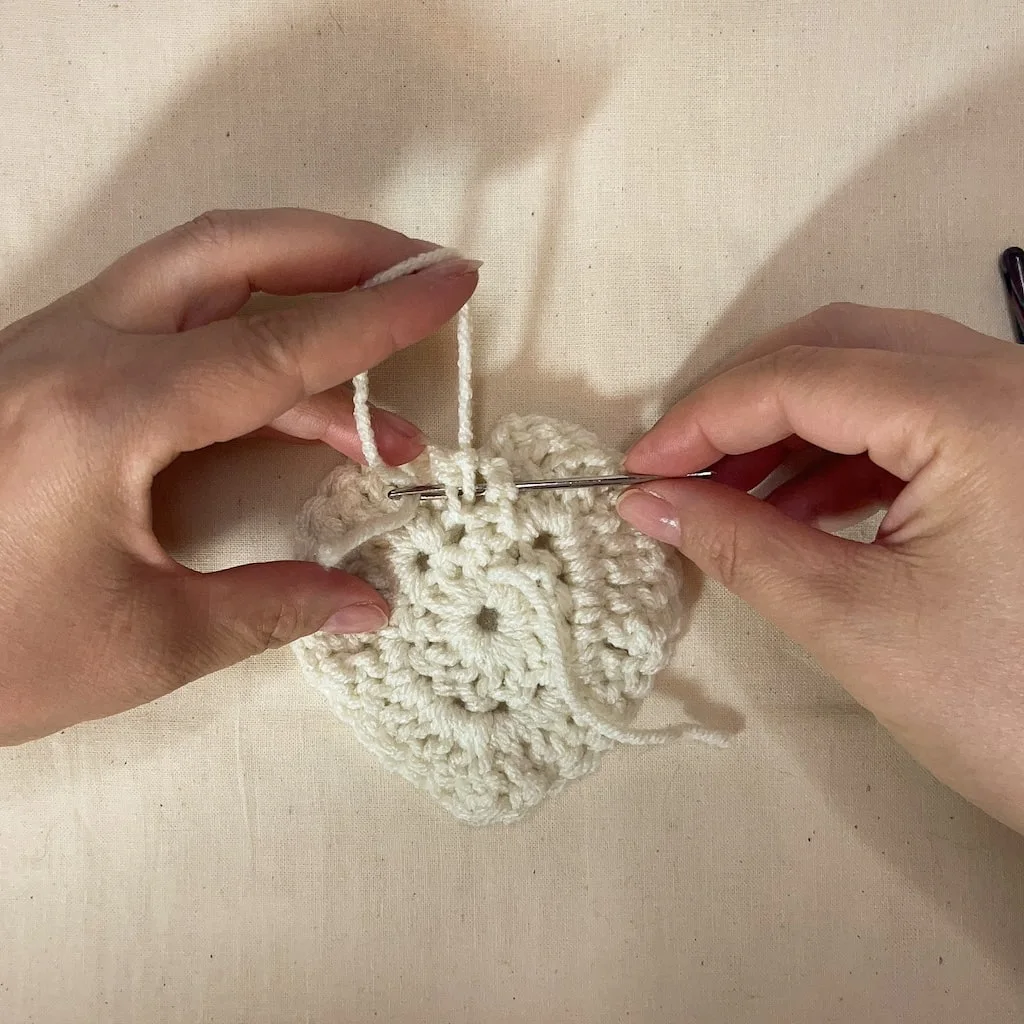
- Thread the yarn tail of each heart onto a tapestry needle — one will have a short tail, the other a longer one.
- Gently stitch the base of the two arches together on each heart — right where you worked the final slip stitch — to close the small gap at the top.
- Weave in and trim the short tail after stitching.
The heart with the longer tail should have enough yarn to complete this step and seam both hearts together — aim for 12–24 inches.
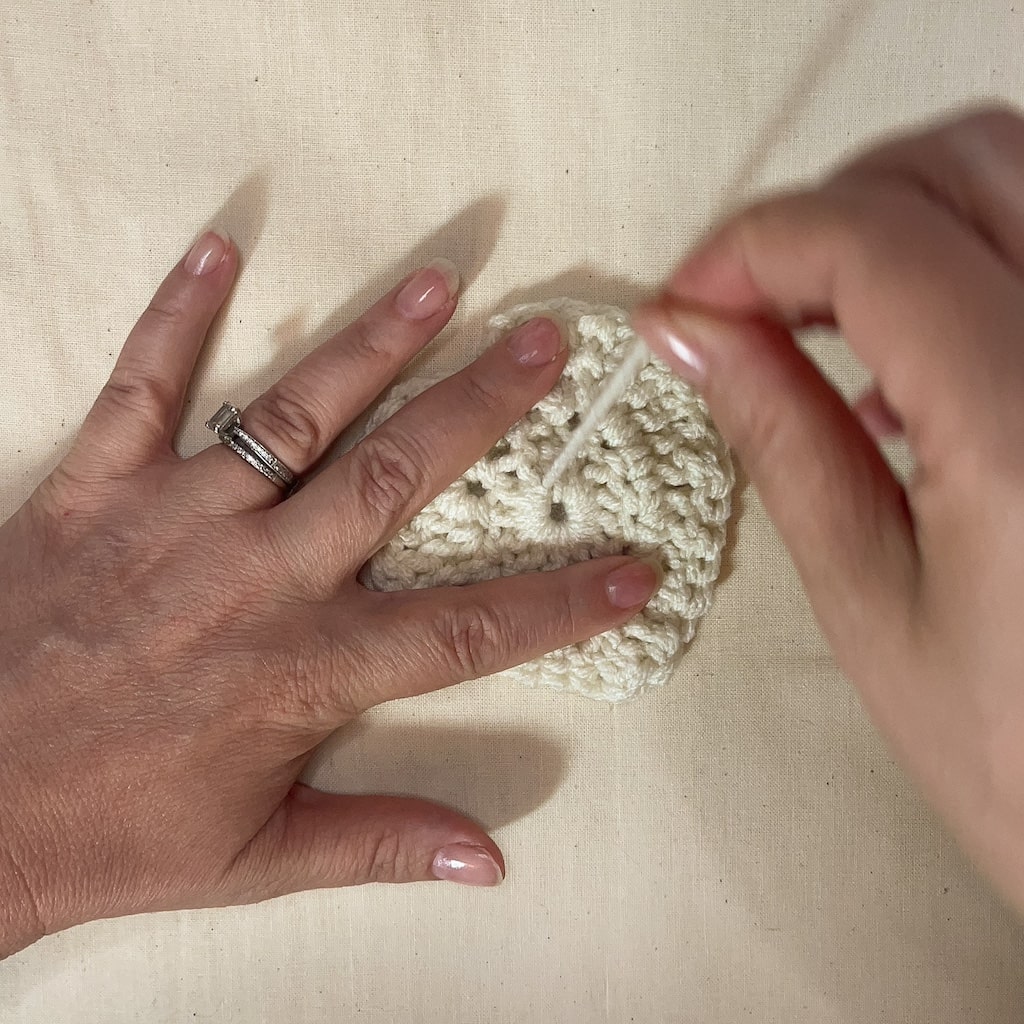
Center of the Heart
Use the starting yarn tail to gently cinch the center closed by pulling the magic ring tighter. If a small hole still remains, simply add a few whip stitches across the opening to close it completely then weave in the end securely and trim it.

Decorative border
Worked on one heart appliqué only
Attach Color B with a slp-st to the final slp-st of Rnd 3.
Rnd 1: (Sc, ch 1, sc) worked in the blo of each st around. Join with a slp-st to the same st where color B was attached. [66]
Fasten off leaving an extra long tail 24 – 36 inches.
Assembly
Join the Hearts
Step 1: Place the heart with the decorative border top down, so the curled edge faces down towards the table.
Step 2: Place the heart without the decorative border on top, with its curled side facing up.
This creates a “sandwich” effect — with the decorative border neatly layered in the middle.
Step 3: Thread a tapestry needle with the long yarn tail from Color B (the decorative border).
Step 4. Begin seaming the hearts together.
Insert your needle through through the decorative border on the bordered heart and the back loops (blo) of Rnd 3 on the plain heart
Work in short sections at a time to help preserve the ruffled effect of the border.
Continue seaming around the heart, stopping about 1 inch before closing to allow for stuffing.
Want to customize the border thickness?
Adjust where you place your seam:
– Seam near the bottom edge = thick border
– Seam through the middle = medium border
– Seam near the top edge = thin border

Step 5. Gently stuff the heart with your desired amount of polyfill.
Step 6. Finish seaming the remaining 1-inch opening, then fasten off and weave in the remaining Color B yarn tail.
Step 7: Thread a tapestry needle with the Color A yarn tail.
Step 8: Seam around the curled top edge of the heart, working through the front loops of each stitch from Rnd 3, then through the decorative border, and finally through the front loops of the second heart.
Continue all the way around until the top is fully closed. Fasten off and weave in the yarn tail.
Finishing & Care
Finishing Touches
- After stuffing and seaming, gently shape your heart with your hands to even out the edges and distribute the filling.
- Use your fingers to lightly curve the arches and sharpen the point for a more defined heart shape.
- Trim any remaining yarn tails and tuck them securely into the body of the heart.
- If needed, block appliqués lightly by hand to adjust the shape — though blocking is generally optional for this project.
Care Instructions
Avoid machine washing or drying, especially if your heart contains delicate filling or is used as a sachet or ornament.
Spot clean only or gently hand wash in cool water with mild detergent.
Do not wring or twist. Press between towels to remove excess water, then lay flat to dry.
Creative Ways to Use Your Puffed Crochet Heart Keepsake
Not sure how to use your finished heart? These soft little keepsakes are more than just cute —they’re meaningful, functional, and fun to gift. Try one of these ideas:
These sweet crochet heart keepsakes are endlessly versatile — whether you’re stash-busting or making something meaningful, they’re perfect for sharing and cherishing.
Frequently Asked Questions – Puffed Crochet Heart Keepsake
Have questions while working on your heart keepsake? These FAQs cover common beginner concerns about size, yarn, and getting a neat center.
Size, Yarn and Center Questions
Looking for finishing help or creative ways to use your hearts? This next set of FAQs has you covered.
Finishing & Constructions Customizations
Looking for inspiration on how to use your finished keepsakes? This next section is full of heartfelt usage and gifting ideas to spark your creativity.
Usage & Gifting Ideas
Love This Pattern? Keep It Forever.
Download the ad-free printable version and crochet with ease — no scrolling needed.
I’d love to see your finished project! Share your photos on Instagram and Facebook, tag @itchinforsomestitchin, and use #IFSSPuffedHeart and #itchinforsomestitchin so I can admire your beautiful work. Don’t forget to follow me for more crochet patterns, tips, and inspiration!
More to Love


Thank you
I sincerely appreciate you visiting my blog! By sharing my content and/or making a purchase you are making it possible for me to continue producing and sharing free content for everyone to enjoy. Your support is amazing!

Prefer a quick overview?
Here’s the step-by-step in plain format:
Time needed: 1 hour
Puffed Crochet Heart Keepsake
- Gather your Supplies
Worsted #4 medium weight yarn (Recommended yarn. Loops & Threads In Off White)
I/9 5.5mm crochet hook
Tapestry needle
- Make 2 heart appliqués
Round 1Make a Magic Ring, ch 3 (counts as a dc), work 12 dc into the ring, slp-st to the top of the ch 3 to close (13)
- Round 2
Rnd 2: Ch 4 (counts as a tr), work 5 tr into the next st, work 2 tr into the next st, work 1 tr into the next st, work 2 dc into the next stitch, work 2 dc into the next st, (dc, 2 tr, dc) into the next st (forms the point of the heart), 2 dc into the next st, 2 dc into the next st, 1 tr into the next st, 2 tr int the next st, 6 tr in the next dc, slp-st int the last st (You will be slip stitching into an empty double crochet (dc) stitch to the right of the chain 3 made when you did the magic circle.) (30)
- Bind Off
Leaving long tails where necessary for seaming
- Finish Closing the Top of the Heart
Thread the tail at the top into a tapestry needle then gently sew together the base of the two arches of the heart where you worked the slip stitch (slp st). This will close the gap at the top.
After that, weave in the remaining tail and trim the excess tail. - Finish Closing the Center of the Heart
Gently, but firmly tug on the yarn tail. You should see and feel the hole closing up. Then weave in and trim the remaining tail.
- Decorative border
Add decorative border to one appliqué
- Seam & Stuff
Seam one appliqué with the border and one without the border together as you stuff the keepsake with polyfill