Happy Fall Ya’ll!
Time to share my latest autumn-inspired pattern!
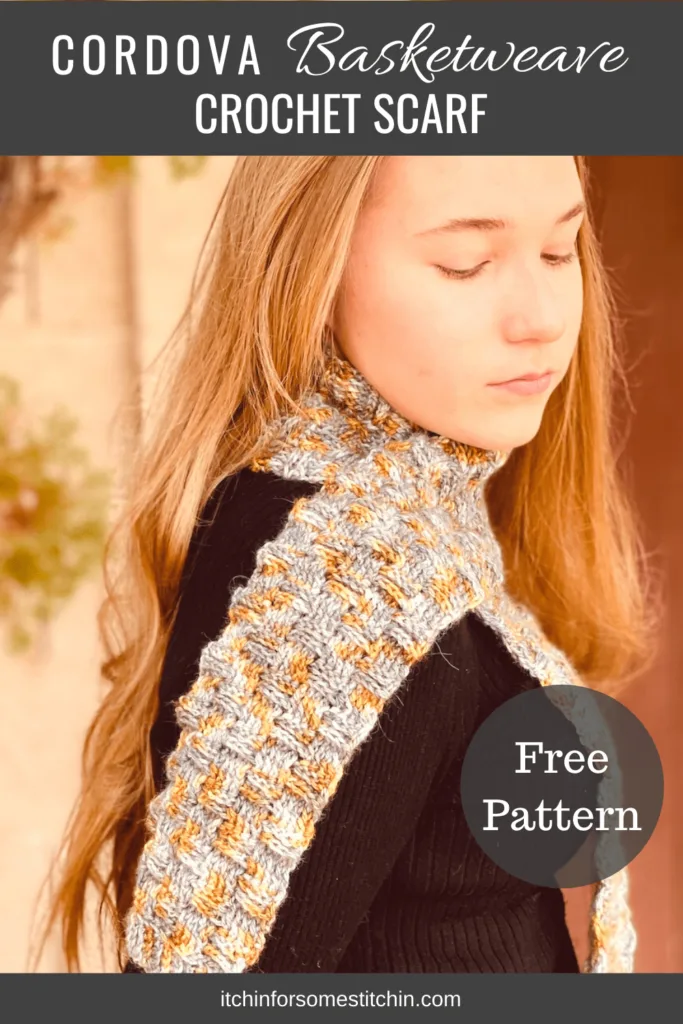
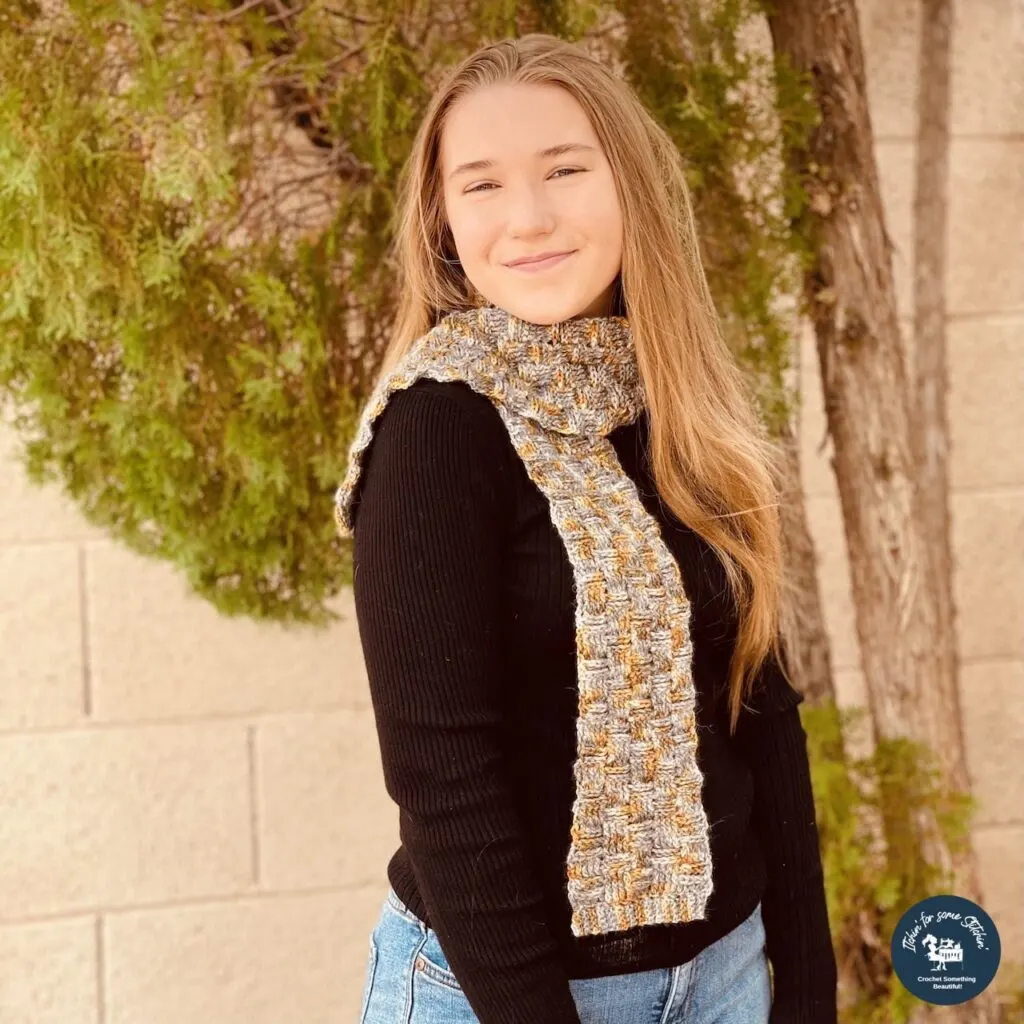
I am so pleased to share with you a crochet basketweave stitch scarf that I’ve named Cordova.
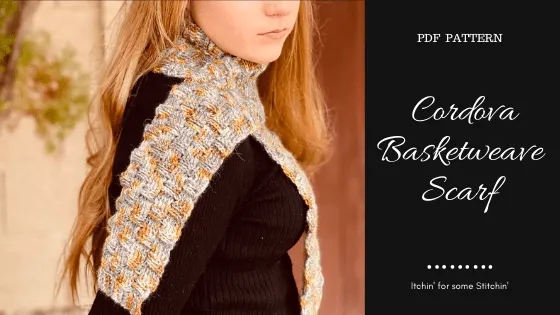
Now this is a short, but super stylish scarf that is absolutely perfect for that summer to fall transitional period.
You know when the leaves are just starting to turn vivid hues and the air is becoming cool and crisp, but it’s still not the cold briskness that comes in late fall or early winter.
Such a great piece to add that extra pop of color to your early autumn wardrobe without overheating you!
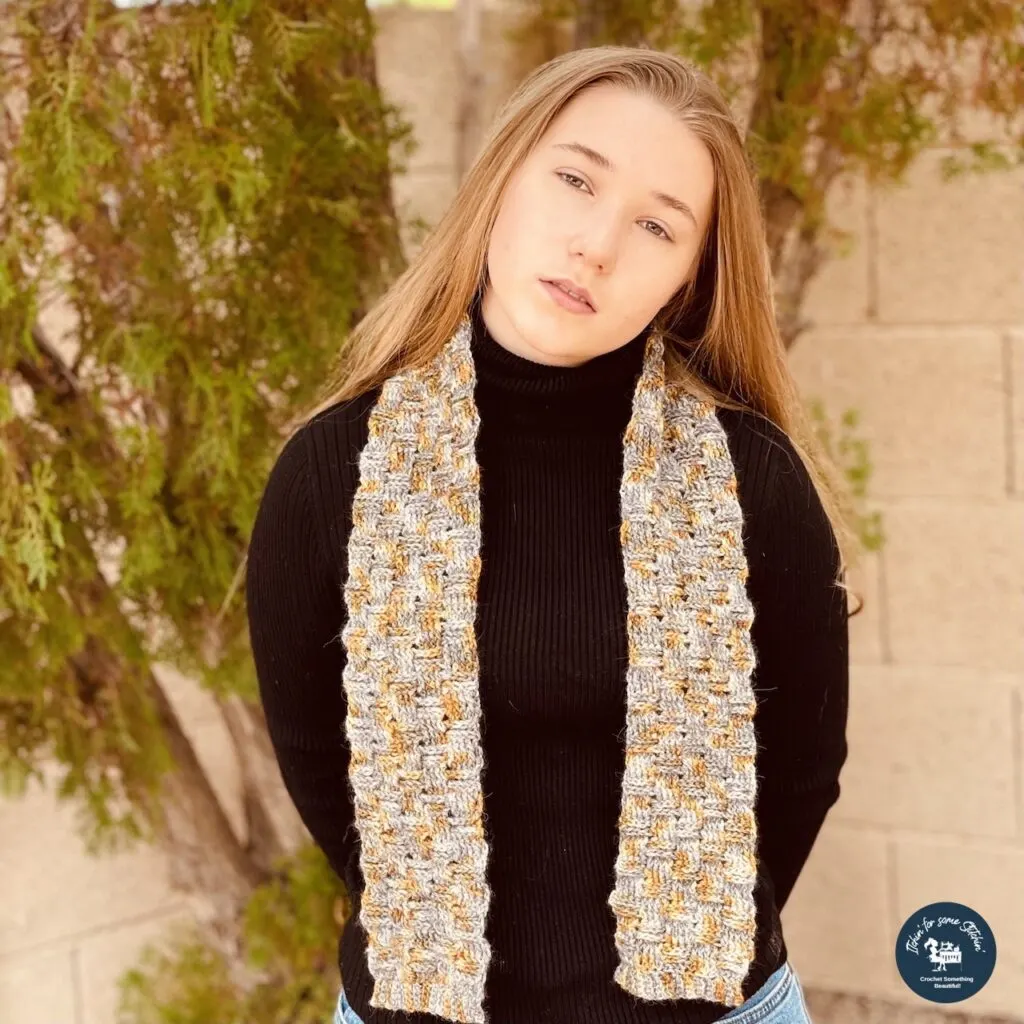
That being said, all you need to do is make this gorgeous scarf longer and it’ll also be perfect for when the weather does turn colder.
Make it long enough to wrap around your neck twice and stay toasty in the deep autumn to winter chill!
Oh and did I mention the AMAZING texture on this scarf?
If you are texture fan then the Cordova scarf is a must make!
Looking for lots of crafty inspiration, tips, tutorials, and a great crochet community? Join my Facebook group!
Yarn Details: It’s all about the yarn baby!
I’ll be honest with you. I created this scarf just so I could test out yarn.
It’s true!
I had just hand-dyed a new skein of lightweight #3, 100% Baby Alpaca from KnitPicks and I was dying to try it out!
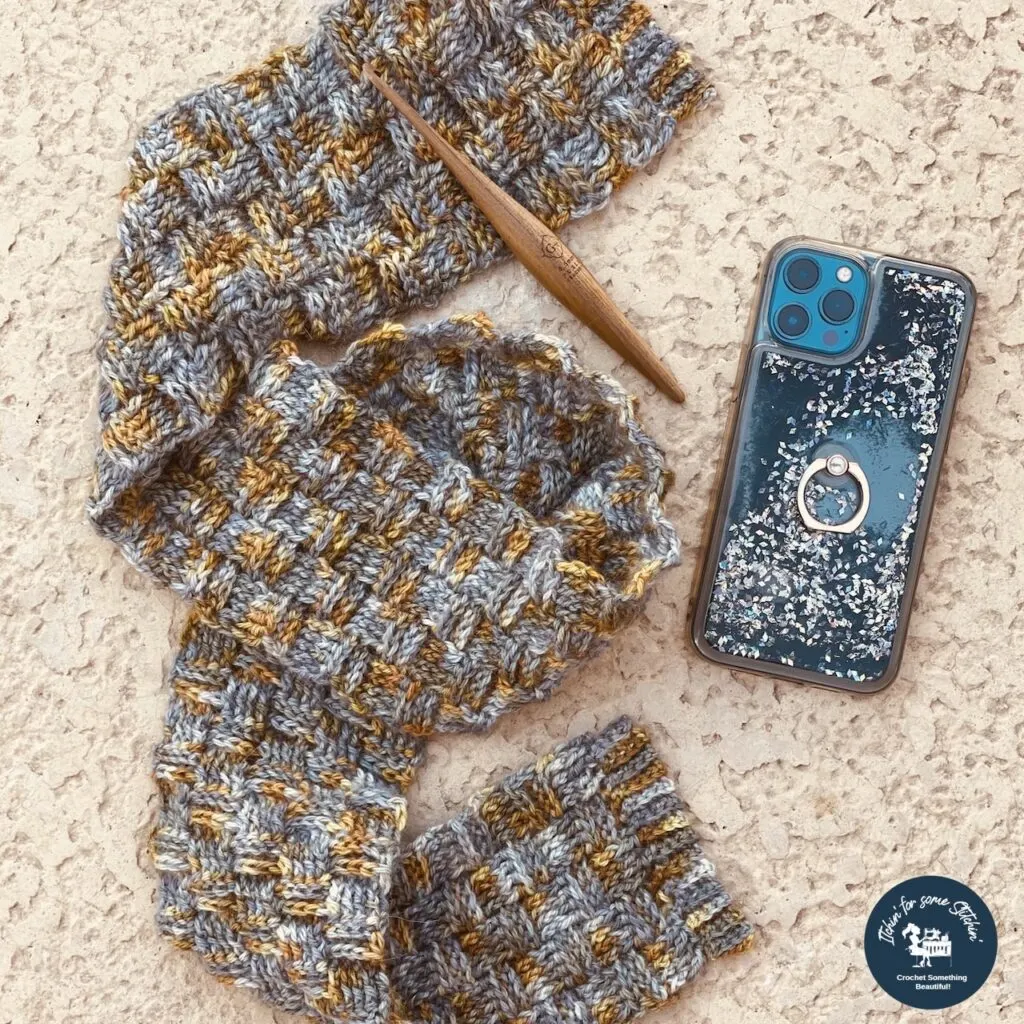
I named the color way Cordova and I couldn’t be happier with how it turned out!
Never crocheted with or worn alpaca before?
You won’t be disappointed!
It is amazingly soft and has absolutely the perfect amount of drape!
Truth be told, I fell in love with it before I even dyed it. 😂
Unfortunately, it seems like 100% baby Alpaca can be hard to come by these days so the big batch of Cordova I had planned to dye up isn’t happening.
That being said, you can still find some Alpaca variations if you are an avid dyer or interested in giving it a try!
You can purchase it via my affiliate link below.
Sign up below for updates, free patterns, video courses and more!
Check Out These Other Patterns I LOVE!

1. Simply Classic Cabled Ear Warmer / 2. Cinnamon Spiced Ribbed Sweater / 3. Stepping Stones Scarf
Crochet Basketweave Scarf
**THIS IS AN ORIGINAL PATTERN. Please see my Copyright Statement for details.
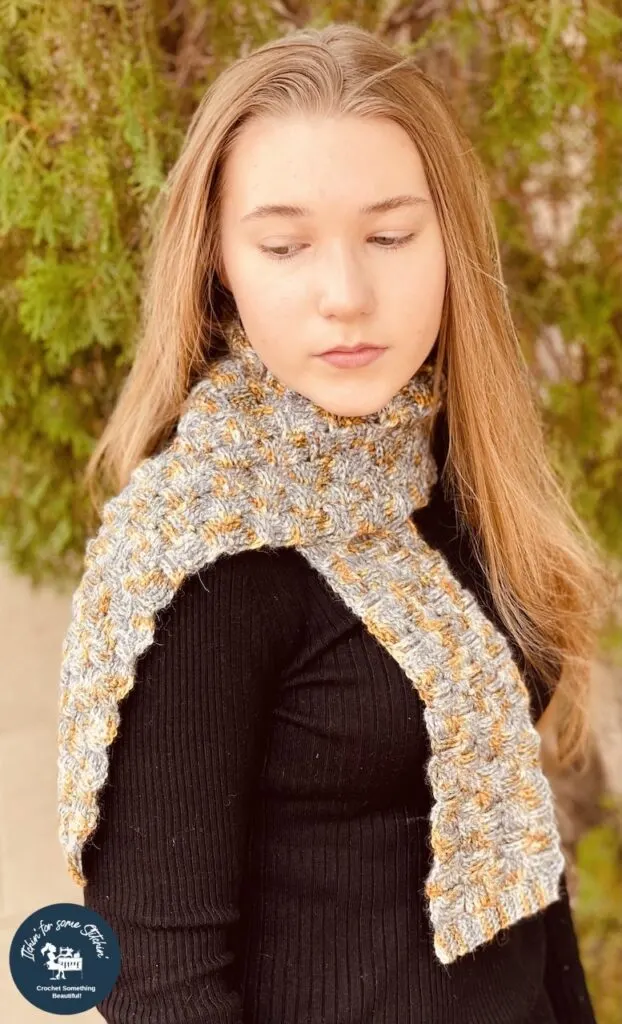
Once I had my yarn dyed and ready to go, it was time to decide on a pattern and there is a stitch I had been wanting to try for a long time – the basketweave stitch.
Now, folks, this stitch looks intimidating!
Well, at least to me it did, but it’s actually simpler than you might think.
If you don’t know how to front post or back post double crochet – the basis of the basketweave stitch – this is your opportunity to learn!
Prefer a PDF?
Get the ad – free, printer – friendly PDF in the following places:
Love Pinterest? I do!
PIN this pattern to your Pinterest boards for later HERE.
You can also follow all my boards!
Add this pattern to your Ravelry que HERE.
Summary:
Style, elegance, and just the right pop of color! Designed using a light-weight baby alpaca yarn, The Cordova Basketweave Scarf is the perfect way to add some extra warmth and a touch of class to your cold weather wardrobe. Love texture? You’ll love the feel of this beautifully textured fall or winter accessory piece!
DIFFICULTY LEVEL: Level 3 – Intermediate
FINISHED DIMENSIONS:
All measurements are approximate, measured flat pre-wear, and are provided in inches.
Width = approximately 4 – inches or your desired width
Length = approximately 43 – inches long or your desired length (including 0.75 inch border on each side)
Gauge:
15 stitches and 8 rows = 4-inches in double crochet using G 4.50mm hook.
In basket weave stitch (see below) this is 20 stitches (Fp/Bp dc) X 6.5 rows (Fp/Bp dc) = 4-inches using G 4.50mm hook.
MATERIALS:
- KnitPicks 100% Baby Alpaca from We Crochet, light weight #3, hand-dyed, colorway Cordova. 291 yards / 100 grams per hank.
Total yardage: 291 yards / 266 meters to 390 yards / 357 meters.
~Yarn alternatives: Any light weight #3 yarn.
- Crochet Hook size G 4.50mm for body or whatever hook is necessary to obtain the correct gauge.
- Crochet Hook size D/3 3.125mm for ribbed trim.
- Measuring tape
- Stitch markers (optional)
- Scissors
- Tapestry needle for weaving in ends
ABBREVIATIONS:
Pattern is written in US terms. *Click on abbreviation names for tutorials
Stitch/es (st/sts)
Slip st (slp-st)
Half Double crochet (hdc)
Double crochet (dc)
Back Post only (bpo)
Back Loop only (blo)
*____* Repeat indicated instructions
Special Stitches:
**The following special stitches are made in the same way as a standard double crochet (dc) stitch except that you are working around a post in the previous row rather than working into the top of the stitch.
- Front post double crochet (FPdc or fpdc) – Yarn over, insert the hook from front to back to front around the post of the stitch, yarn over and pull up a loop, then (yarn over and pull through 2 loops) twice.
FPdc is simply a double crochet worked by inserting the hook around the post from front to back to front, rather than into the top two loops of a stitch as would normally be done in a standard double crochet.
- Back post double crochet (BPdc or bpdc) – Yarn over, insert the hook from back to front to back around the post of the stitch, yarn over and pull up a loop, then (yarn over and pull through 2 loops) twice.
BPdc is simply a double crochet worked by inserting the hook around the post from back to front to back, rather than into the top two loops of a stitch as would normally be done in a standard double crochet.
**A back post stitch recedes behind the fabric, creating a stitch that hides behind the others, away from you. This is important to keep in mind, because when you turn the work, that back post double crochet that was hiding on the first row is now sitting up in front of the fabric and will look like a front post stitch.
US/UK Abbreviations Conversion Chart:
| US Terminology | UK Terminology |
| Single crochet (sc) | Double crochet (dc) |
| Half double crochet (hdc) | Half treble crochet (htr) |
| Double crochet (dc) | Treble crochet (tr) |
| Front post double crochet (FPdc) | Front post treble crochet (FPtr) |
| Back post double crochet (BPdc) | Back post treble crochet (BPtr) |
ADDITIONAL NOTES:
Read all pattern notes, instructions, and other provided details carefully before starting the project to make sure you understand everything. It could save you hours & a lot of headaches!
- Make a swatch that measures at least 10 x 10 cm / 4 x 4 inches using the stitch provided under the Gauge Section. If your swatch matches the gauge, then you are all set to start the project. If the gauge is wrong, you might need to change your crochet hook – increase your hook size if your stitches are smaller & decrease your hook size if your stitches are larger.
- All measurements given are unblocked and measured flat pre-wear and pre-seaming as fabric pieces may stretch during/after blocking, wearing, and seaming.
- Provided measurements are as exact as possible, but are given as approximates. This is because yarn variances, crochet tension, & individual technique might give variations in the result, which changes from person to person.
- Care Instructions: Hand wash & lay flat to dry.
INSTRUCTIONS:
Chain multiples of 8, plus 7 to your desired width (for 4 inches it is two multiples of 8, plus 7).
Row 1: DC in the bpo of the 3rd ch from the hook and in each ch across to end.
Row 2: Ch 2, turn work, skip the first st, *FPdc around each of the next 4 sts, BPdc around each of the next 4 sts*. Repeat from * to * until only the ch 2 from the previous row remains (should end with 4 FPdc). Hdc in the top of the ch 2.
NOTE: After you turn your work at the end of each row, the BPdc sts will now look like FPdc sts and the FPdc sts will look like BPdc sts. Keep this in mind as you continue turning your work throughout the pattern.
Row 3: Ch 2, turn work, *BPdc around each of the next 4 FPdc sts from the previous row (which now appear as BPdc sts), FPdc around each of the next 4 BPdc sts from the previous row (which now appear as FPdc sts)*. Repeat from * to * until only the ch 2 from the previous row remains (should end 4 with BPdc sts). Hdc in the top of the ch 2.
NOTE: To get the basketweave look, the following rows (rows 4 & 5) need to be the reverse of rows 2 & 3.
Row 4: Ch 2, turn work, *BPdc around each of the next 4 BPdc sts from the previous row (which now appear as FPdc sts), FPdc around each of the next 4 FPdc sts from the previous row (which now appear as BPdc sts)*. Repeat from * to * until only the ch 2 from the previous row remains (should end 4 with BPdc sts). Hdc in the top of the ch 2.
Row 5: Ch 2, turn work, *FPdc around each of the next 4 BPdc sts (which now appear as FPdc), BPdc around each of the next 4 FPdc sts (which now appear as BPdc)*. Repeat from * to * until only the ch 2 from the previous row remains (should end 4 with FPdc sts). Hdc in the top of the ch 2.
Repeat rows 2 – 5 to 43 inches or your desired length.
At the end of your final row, do NOT bind off. Continue to the FINISHING section for trim.
FINISHING:
- Add Ribbed Trim
With yarn still attached to your final row of the body, switch to the D/3 3.125mm hook, ch 5, turn work, sc in the 2nd ch from the hook and in each ch until you are back to the main body, *skip one st on the main body, sc in the next st on the main body, ch 1, turn work, sc in the blo of each sc across to end, ch 1, turn work, sc in the blo of each sc until back to the main body*, Repeat from * to * all the way across the main body to the end.
On the opposite side of the scarf (short edge), using the D/3 3.125mm hook, attach yarn to the right end with a slp-st, ch 5, turn work, sc in the 2nd ch from the hook and in each ch until you are back to the main body, *skip one st on the main body, turn work, ch 1, sc in the blo of each sc across to end, ch 1, turn work, sc in the blo of each sc until back to the main body*, Repeat from * to * all the way across the main body to the end.
I’d love to see your Cordova Basketweave Scarves!
Please be sure to share your makes with me on social media with #itchinforsomestitchin and #CordovaScarf.
Thank you for coming to my blog! By sharing my content and/or making a purchase you are making it possible for me to continue producing and sharing free content for everyone to enjoy. I sincerely appreciate your support!
Until next time… Happy Crocheting!
Please Share!
