Elegant, lovely, beautiful.
These are all words I use to describe my favorite stitch, the seed stitch.
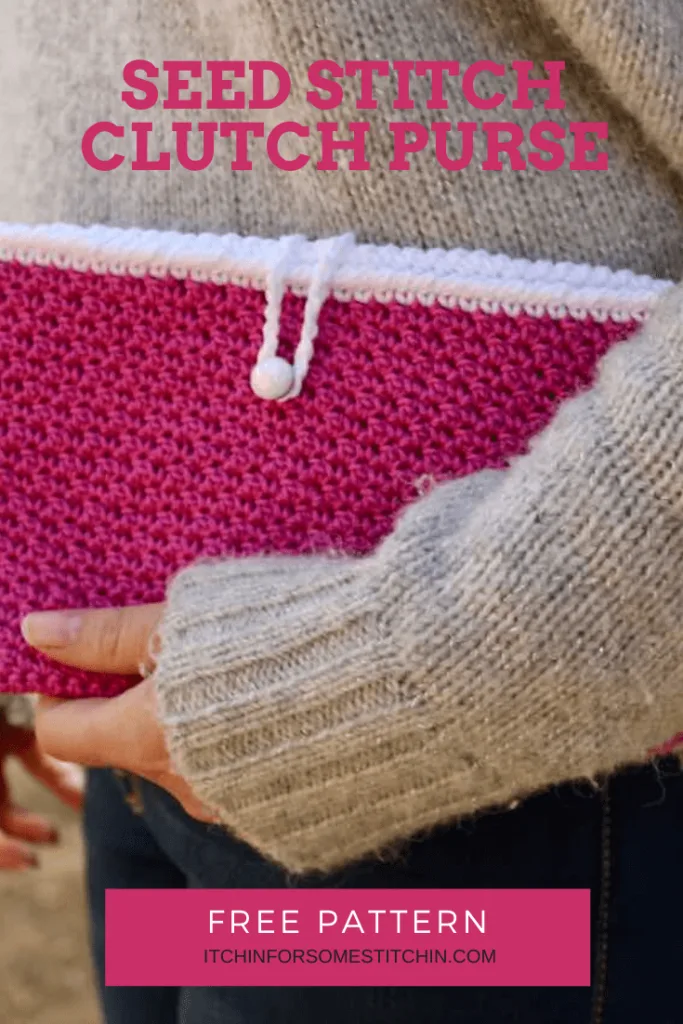
And today, I am going to share with you a gorgeous seed stitch clutch purse pattern using this elegant stitch.
*This post may have affiliate links. See my full Disclosure Policy for details.
First, a little background on the seed stitch.
I have seen the seed stitch used interchangeably with the moss stitch and the granite stitch.
So, technically this could be called a moss stitch clutch purse or a granite stitch clutch purse, but, I would never actually do that.
Looking for lots of crafty inspiration, tips, tutorials, and a great crochet community? Join my Facebook group!
That’s because there are actually some slight differences among these three stitches, that to me, makes them each unique.
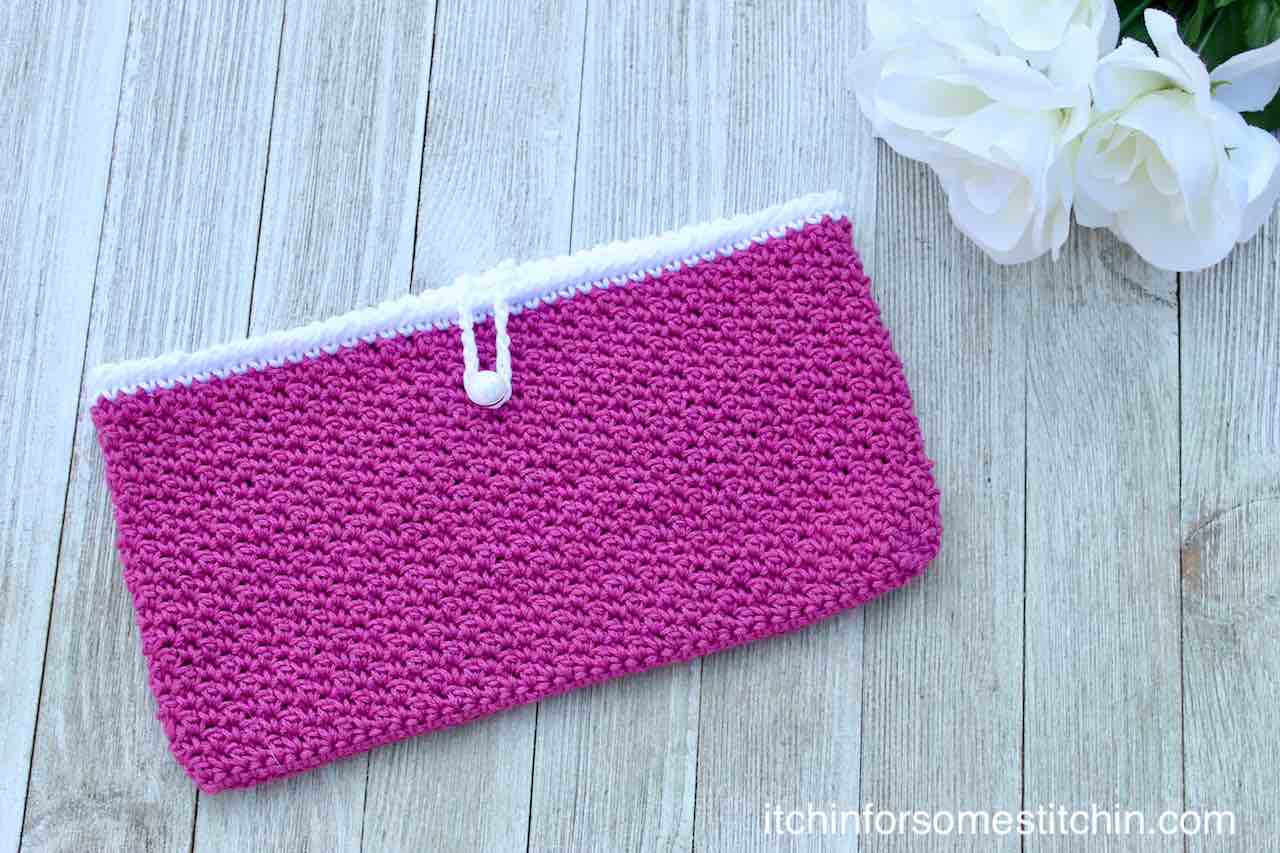
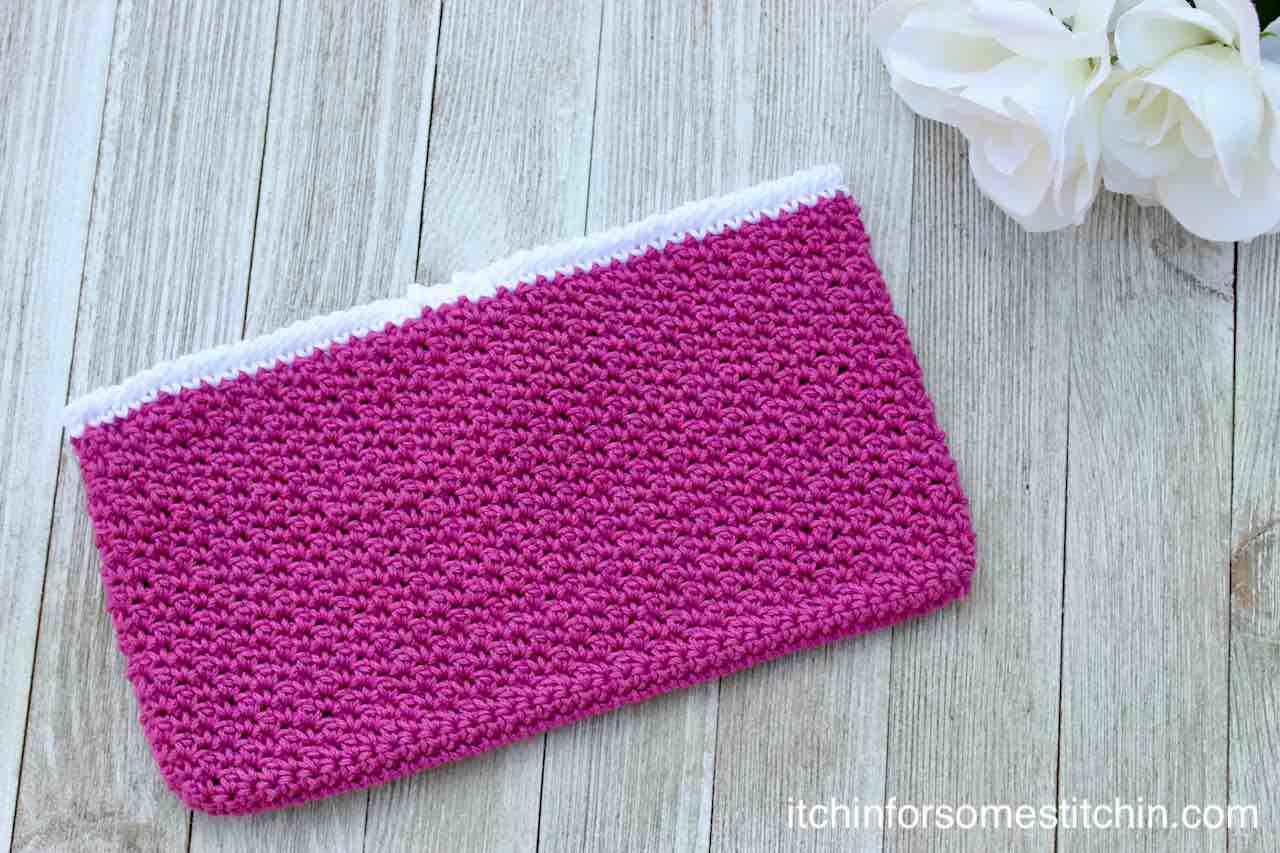
The seed stitch is created by making alternating single crochet (sc) and double crochet (dc) stitches.
And it is my absolute favorite of the three. I simply love it!
Check out the video below for a step-by-step video tutorial How to Crochet the Seed Stitch.
Check Out These Other Patterns I LOVE!

- The Boho Goddess Kimono Cardigan / 2. Ruffled Small Dog Sweater Pattern / 3. Snowflake Hooded Cape for Babies
How to Crochet a Seed Stitch Clutch Purse
**THIS IS AN ORIGINAL PATTERN. Please see my Copyright Statement for details.
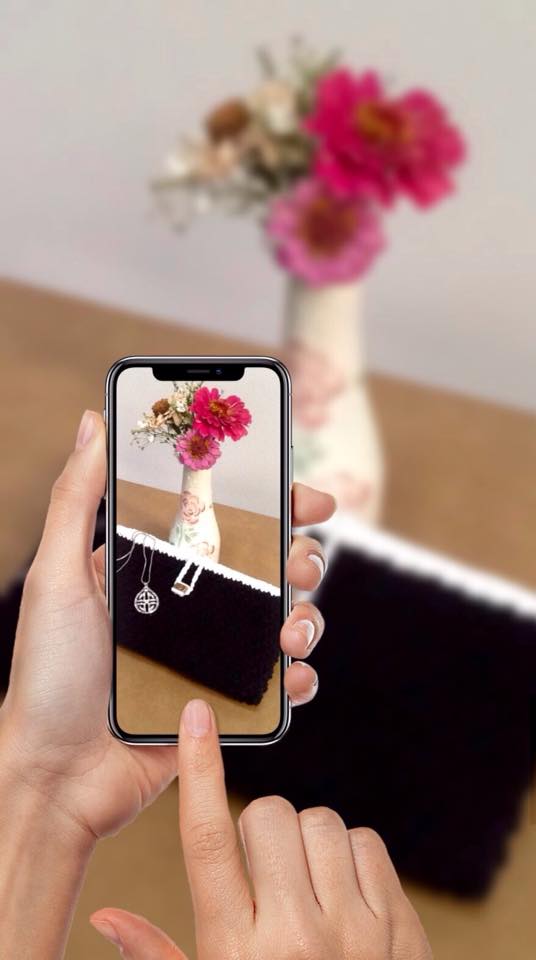
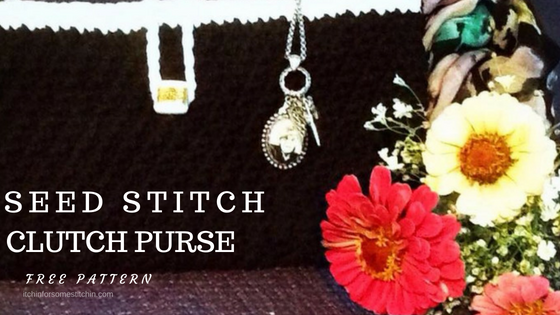
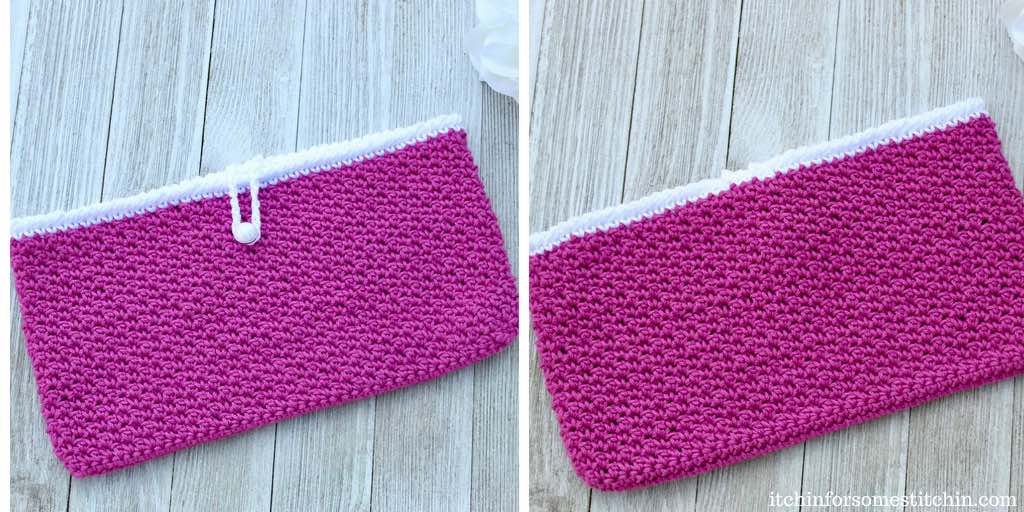
Note: The seed stitch clutch purse pictured above (black & white) was crocheted by one of my wonderful pattern testers, Kandi Goodwater Peterson of Kandi’s Yarn Closet Creations.
Would you like to be a pattern tester? Apply HERE!
Okay, so I have told you about a how much I love the seed stitch. Now let me tell you how much I love clutch purses.
They are awesome!
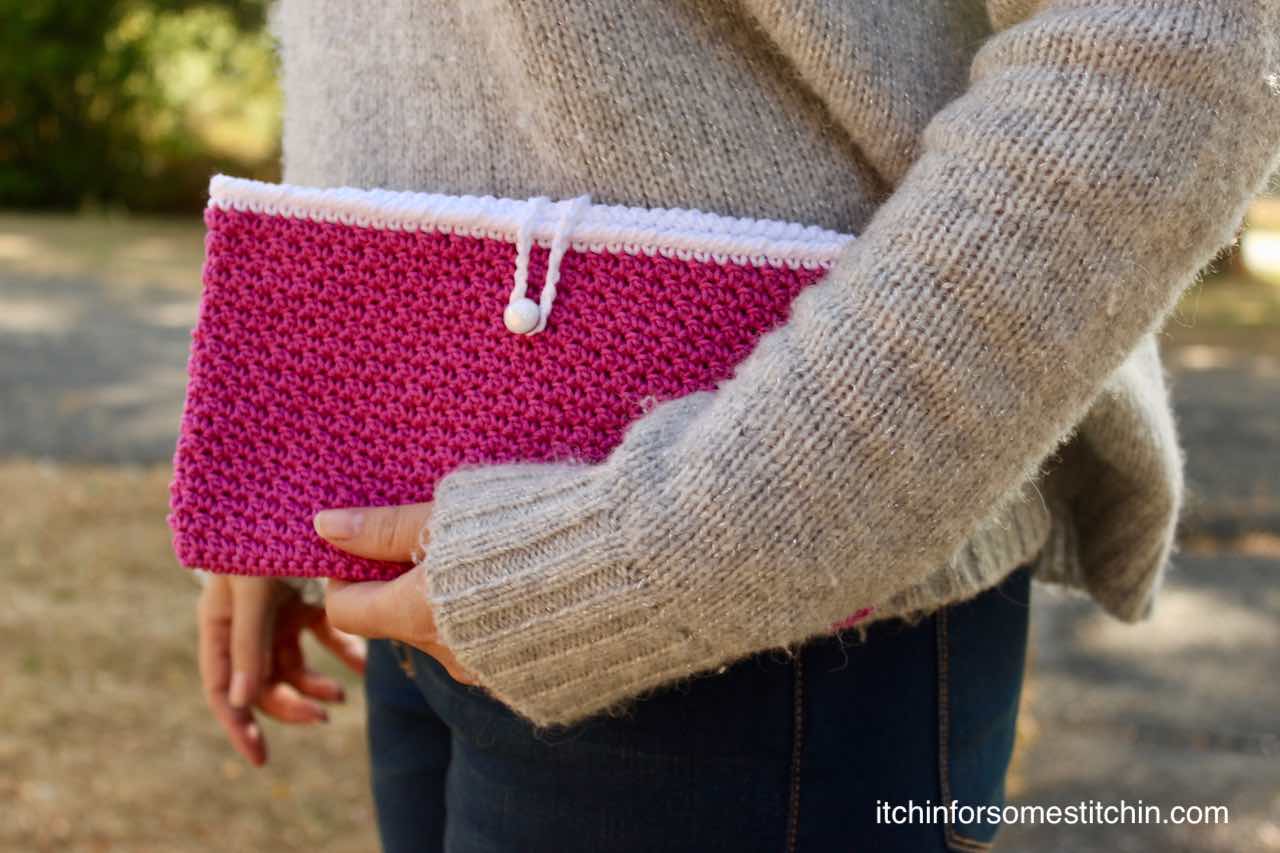
Small, compact, and perfect to just grab and go. When all you need are your cell phone, keys, change purse and lipstick, a clutch purse is the bag to snag!
So, why not combine my favorite crochet stitch with my favorite handbag?
That’s how this seed stitch clutch purse pattern was born!
Prefer a PDF?
This pattern is available as a large print, ad-free, printable PDF pattern.
Get it in these places:
Love Pinterest? I do!
PIN this pattern to your Pinterest boards for later HERE.
You can also follow all my boards!
Add this pattern to your Ravelry que HERE.
Summary:
The Seed Stitch Clutch Purse is an elegant and classic pattern. Crocheted using the beautiful seed stitch, this bag is easy to make with absolutely lovely results! If you can single crochet (sc) and double crochet (dc), then you can master this simple pattern. Dress it up with a pearl button or use ombré yarn for a Bohemian flare. Depending on your choice of hardware and yarn, this purse is perfect for those romantic dates nights or as a classy day to day handbag. The choice is yours!
Difficulty level: Level 1 – Beginner
Finished Dimensions:
- Measures about 5.5 -inches (L) X 10 -inches (W)
Gauge: 17 stitches and 16 rows = 4-inches in seed stitch
Materials:
- Crochet Hook size E/4 – 3.50mm hook (I use a hook made by Nelsonwood)
- 1 Button, your choice of size and style.
- Coordinating thread for sewing on the button (optional)
- 1 skein each Lion Brand 24/7 Cotton – colors A & B.
- Each skein is 3.5 (oz), 186 yards.
~ All yarn in this pattern is worsted-weight (medium 4), mercerized 100% natural fiber yarn.
~ Total yardage for this pattern is 300-410 yards.
(Click HERE to find my favorite crochet tools & resources)
Yarn Alternatives
These yarn alternatives have been tested with this pattern and have been found to work well.
- Red Heart pink ombré weight 4 for the body and trim.
- Universal Yarn cotton supreme in Magenta lot number 7906 for the body. It comes in 3.5 oz 180-yard hanks.
- Universal Yarn cotton supreme DK weight color Carmine lot number 7549 for the trim. It comes in 3.5 oz 230 yards.
Abbreviations:
Seed stitch – alternating sc and dc stitches
Crab stitch (Reverse SC) – moving to the RIGHT instead of the LEFT, insert your hook into the front of the first sc, yarn over and pull through – you should have two loops on your hook, yarn over again and pull through both loops on the hook.
Additional Notes:
- This pattern is worked using the seed stitch. The seed stitch is worked by alternating sc and dc stitches.
This means that every time you work a sc, you should be working it into a dc from the previous round. Every time you work a dc, you should be working it into a sc from the previous round.
Also, every time you work a sc, the next stitch you work should be a dc. Every time you work a dc, the next stitch you work should be a sc.
Click the button below for a review of the seed stitch.

Instructions:
With color A: Ch 40.
Row 1: sc in BLO across to end.
Round 1: Ch 1 (counts as your first stitch), turn work, sc across to the 39th ch, then work 2 sc in the last ch. (42 sc)
Instead of making a turning chain like usual, continue to working sc stitches into the front two loops of the foundation chain (the stitch made here counts as your first sc) all the way down to the 39th ch. Then work 2 sc in the last ch. (42sc)
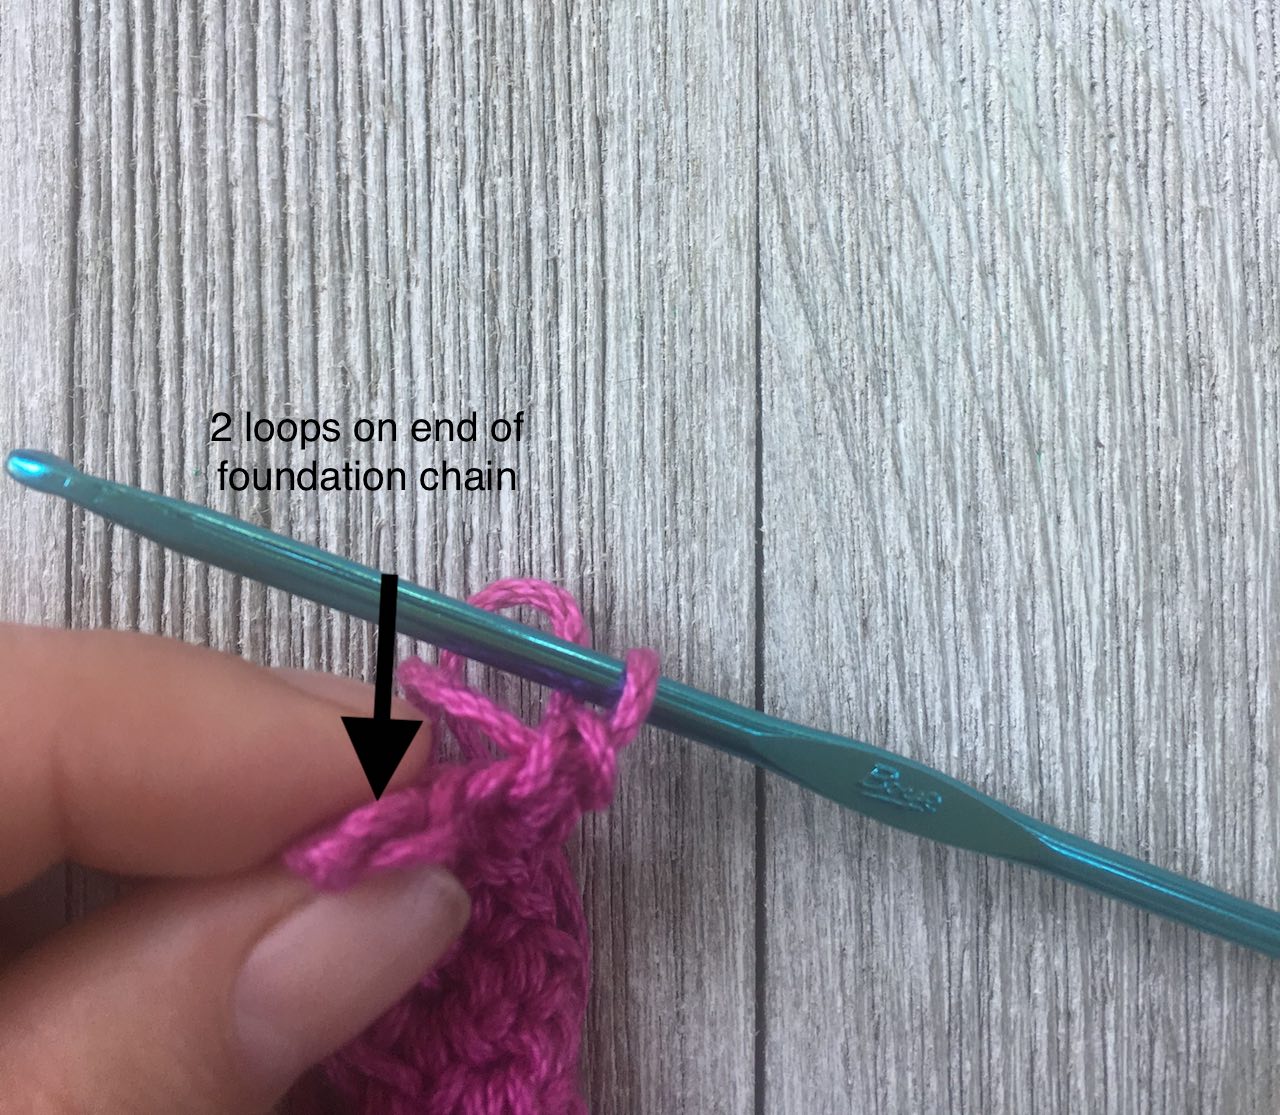
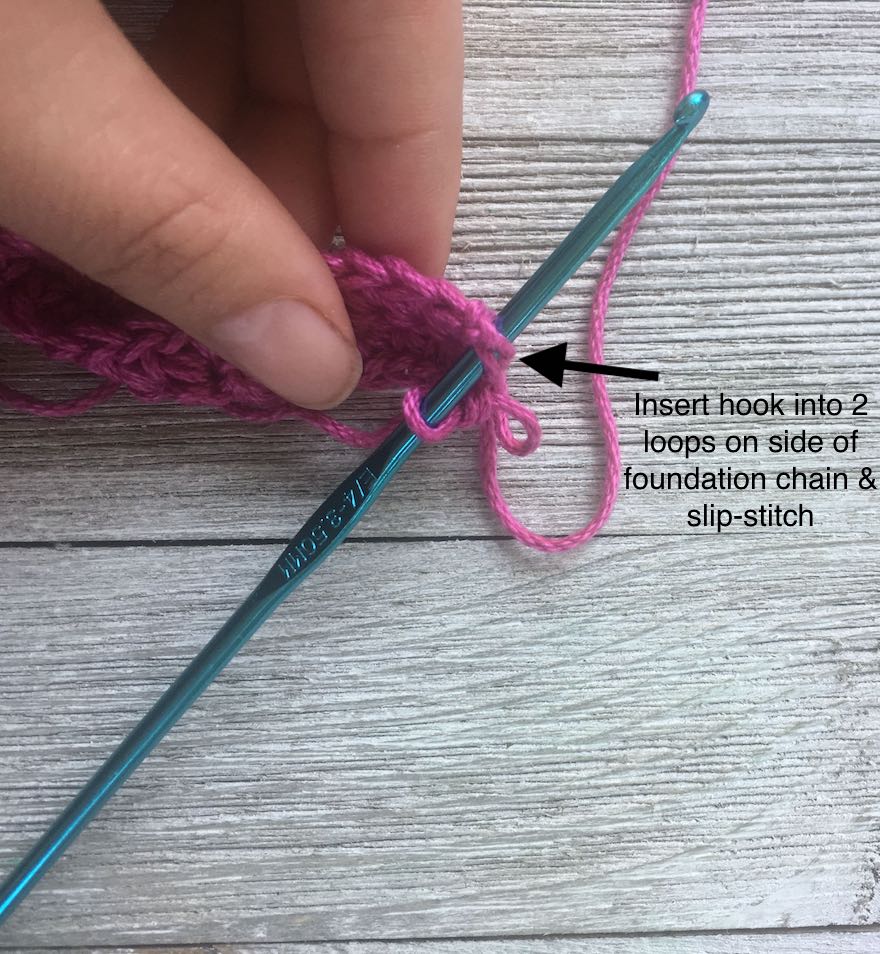
At this point, your project should look like a long oval and have 84 sc stitches all the way around.
Round 2: Ch 1, turn work, sc in the first stitch and place a stitch marker there, *dc in the next stitch, sc in the next stitch*. Repeat from * to * around to the 84th stitch. This should be the stitch right before the ch 1 turning chain.
You should have worked a dc into the 84th stitch. Now, also work one sc into the 84th stitch. (85 stitches)
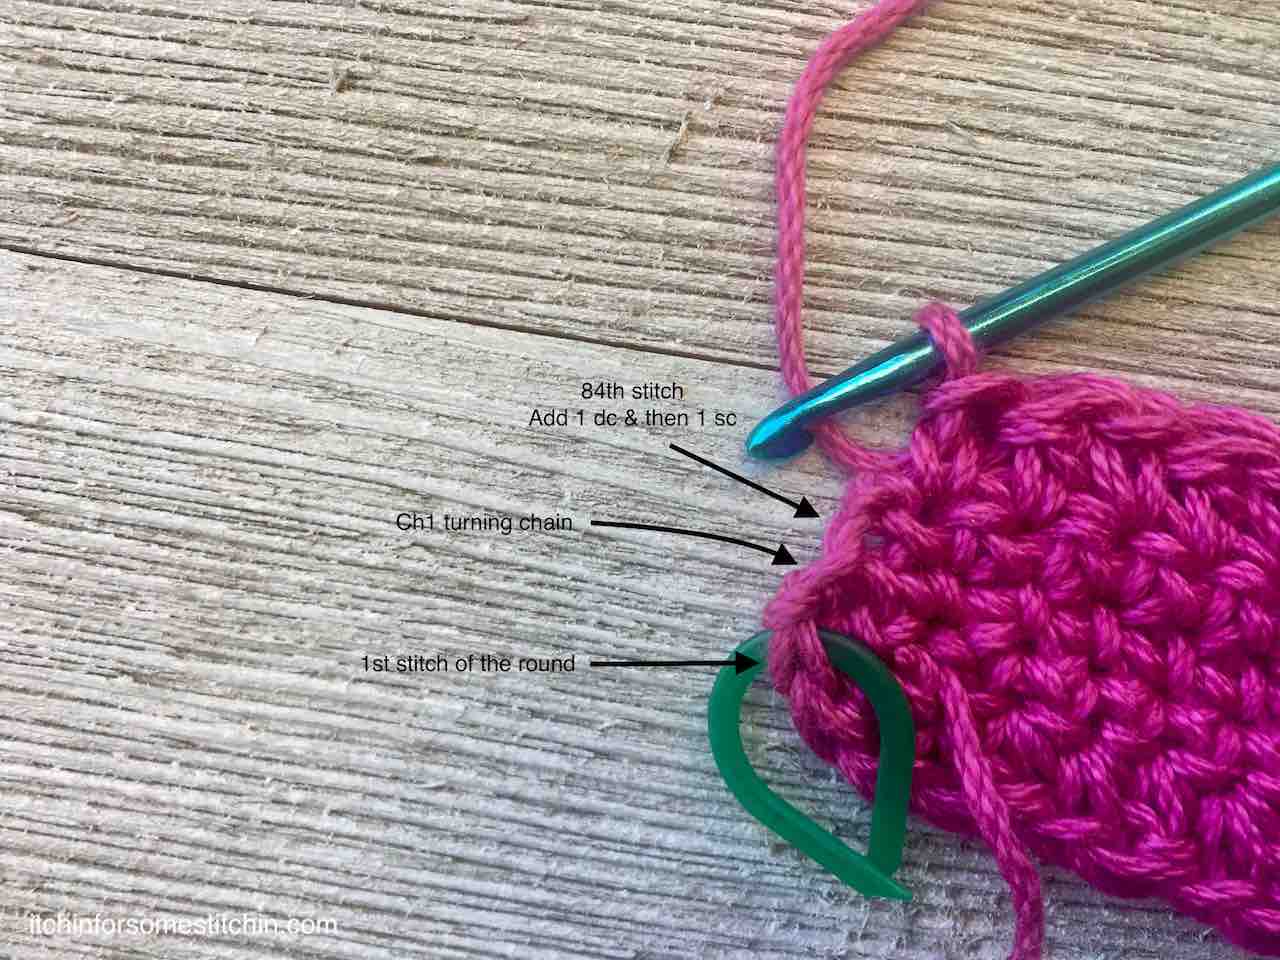
Round 3: Remove the stitch marker. Work a dc into the first sc of round 2 and place your stitch marker in this dc. This is your first stitch of round 3. *sc in the next stitch, dc in the next stitch*. Repeat from * to * around. (85 stitches).
Remember: You are working the seed stitch, which is alternating sc and dc stitches.
~Since the 85th stitch on the previous round (round 2) was a sc, you should have worked a dc into the 85th stitch of round 3.
~Since the first stitch of the previous round (round 2) was a dc, you should remove the stitch marker and work a sc into this dc. Then put your stitch marker in this dc to mark the first stitch of round 4.
Rounds 4 – 19: Then continue alternating sc and dc stitches all the way around again — working the seed stitch patterns as noted above until the project measures approximately 4.5-inches in length. All rounds should have 85 stitches.
Round 19: You should have worked a dc into the 85th stitch to end round 19. Next, work a sc into the next stitch, what would be the first stitch of round 20. Then make a slip-stitch in the next stitch, what would be the second stitch of round 20. Mark this slip-stitch with a stitch marker.
Tips & Important Notes
- If the row you are currently working ends (85th stitch) with a dc, you should be working a sc into it. And the first stitch of the previous round should have been a sc and you will then work a dc into it.
- On the other hand, if the row you are currently working ends (85th stitch) with a sc, you should be working a dc into it. And the first stitch of the previous round should have been a dc and you will then work a sc into it.
- Always mark your first stitch of the next round with a stitch marker so you are sure not to lose your place.
Trim:
Both the wrong and right sides created by seed stitch are beautiful. So, decide if you want the wrong side or right side to become the visible outside of your clutch purse. You can’t go wrong with what you pick!
Attach Color B with a slip-stitch into the slip-stitch that you just made to close off color A. This is the stitch that should have your stitch marker in it after round 19.
Mark your color change slip-stitch with a stitch marker.
Round 20: Sc around (85 sc), skip over your slip-stitches and slip-stitch into the next stitch, which should be a sc in color B. Place your stitch marker.
Round 21: Ch 1, then moving to the right (in the reverse direction than usual) crab stitch around back to your stitch marker, remove stitch marker and slip-stitch to close the round.
Bind Off and Weave in ends.
Finishing:
Using coordinating thread or clear nylon thread, sew on your button of choice.
- Since the purse is nearly 10-inches in width, placing your button at a width of 4 to 4.5-inches will make it centered.
- The button should also be placed 2-inches from the top of the purse.
With color B, ch 20, leaving long tails on each end of the chain. Weave the long tails into the outside edge of the purse on opposite sides of where you placed your button.
All done. Once you get the seed stitch under your belt this purse just whips right up!
And like I said, the seed stitch clutch purse is so easy to customize. You can dress it up or dress it down depending on your choice of yarn and button.
Casual, elegant, bold & beautiful, bohemian, vintage…
In what style will you crochet yours? Comment below!
Thank you for coming to my blog! By sharing my content and/or making a purchase you are making it possible for me to continue producing and sharing free content for everyone to enjoy. I sincerely appreciate your support!
Until next time… Happy Crocheting!


Mollie
Monday 28th of March 2022
Thank you for sharing such a lovely pattern, If I want to make this smaller or larger will any even number starting chain work or is there a stitch multiple to follow?
Itchin4Stitchin
Sunday 3rd of April 2022
Hi Mollie,
You are so very welcome. Use any number of chains you want - working with an even number of chains is easiest. Be sure to check out the seed stitch video link - it should help and clear up any questions you have. The direct YouTube link is here: https://youtu.be/9KUr3tRUjaE
Please email me at [email protected] if you have any questions.
Sincerely,
RaeLynn
Sanchita Kundu
Tuesday 22nd of March 2022
Hey dear. This seed stitch is really very simple and easy. But I want to know more about the slight difference you were talking about which make it different from moss stitch and granite stitch. How to make moss st and granite st. Please reply me.
Itchin4Stitchin
Tuesday 22nd of March 2022
Hi Sanchita,
The seed stitch is alternating dc and sc stitches. The granite and moss stitch are the same - repeats of sc, ch 1, skip 1, sc. It's a smidge more complicated than that. I've actually done a video for it. I just need to edit it and post it to YouTube. If you follow my YouTube channel you'll see it when it gets posted.
if interested, you can find my channel here: https://www.youtube.com/channel/UCAH9uZAs00USG0qHYsQtD0g
Sincerely,
RaeLynn
Toshia McMillion
Sunday 7th of June 2020
I tried to use the coupon for the summer stitch along and it's not working. Today is Sunday June 7 1:35 pm mst.
Itchin4Stitchin
Sunday 7th of June 2020
Thank you for letting me know! It was my mistake and it is fixed now! :)
Marianne
Friday 5th of June 2020
Thank you very much the beautiful and useful Seed Stitch!
Best
Marianne
Itchin4Stitchin
Friday 5th of June 2020
Hi Marianne,
You are very welcome! :)
Best wishes,
RaeLynn
Kelly Hansen
Friday 22nd of February 2019
This is so cute!
Itchin4Stitchin
Saturday 23rd of February 2019
Thank you so much! Please enjoy! :)