Keep Fabric Ends Locked Up Tight!
There are times when you want the ends of your fabric to fray. For example, when you cut off a pair of jeans to make shorts. Letting the raw edges fray is the traditional look. Also, when working with woven fabrics frayed edges tend to give the project some decorative appeal. But what about those times when you don’t want the ends to fray?
If you read my last post you know that I had a disturbing problem while sewing a Wendy Darling costume for my step-daughter-to-be, Alex. The satin dress fabric was fraying. It was unraveling right before my eyes! I went into crisis mode and ran to the all-powerful & all-knowing internet for help. This blog post is the result of my victory against fabric fraying. I won it the hard way. I don’t want you to have to do the same. So, pay attention!
There are multiple methods to prevent fabric ends from fraying. Here’s what I learned through research and trial & error.
Methods:
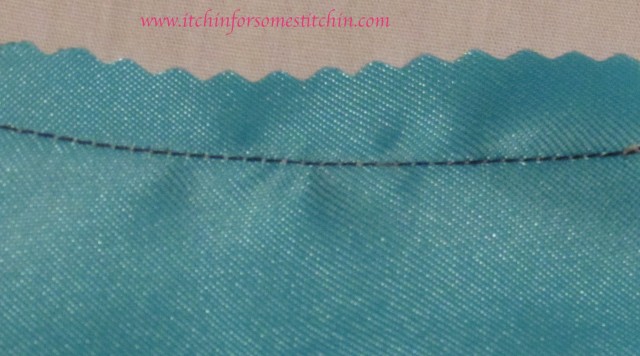
1. Use a pinked seam finish.
–Sew a straight stitch down one side of the seam allowance 1/4″ from the edge.
–Use pinking shears or scalloping shears to trim about 1/8″ off the fabric edge. The zigzag or scalloped blades produce a fray-resistant edge.
–Press the seam.
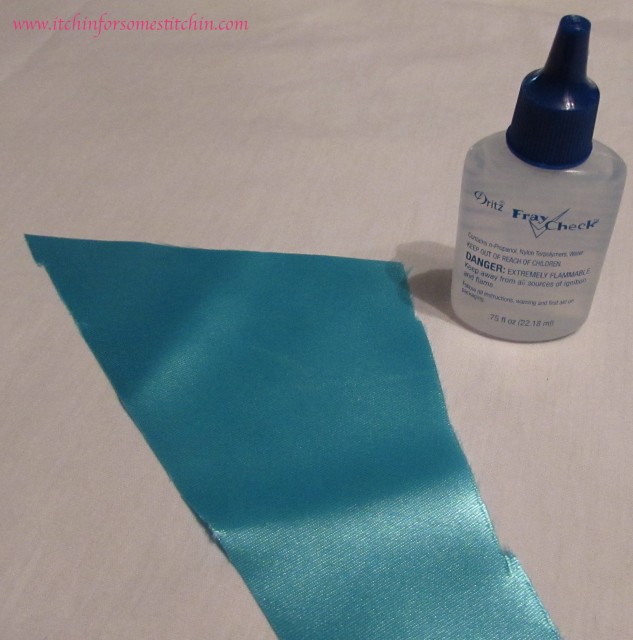
2. Apply a small amount of liquid seam sealant, such as Fray-check, along the cut edge of the fabric to secure the threads. Let the sealant to dry before handling the fabric.
NOTE: If you get the sealant on your fabric in places that you do not intend, the sealant will dry and leave patches that look like glue. If this happens, you can find out how to get the sealant out by reviewing my upcoming post, “How to Remove Fray Check from Fabric”.
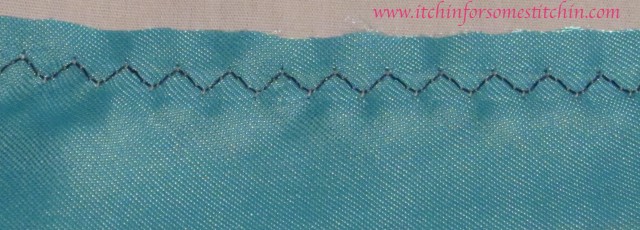
3. Use the zigzag stitch on a sewing machine. Zigzag down the seam allowance 1/8″ from the edge. Trim away excess if necessary.
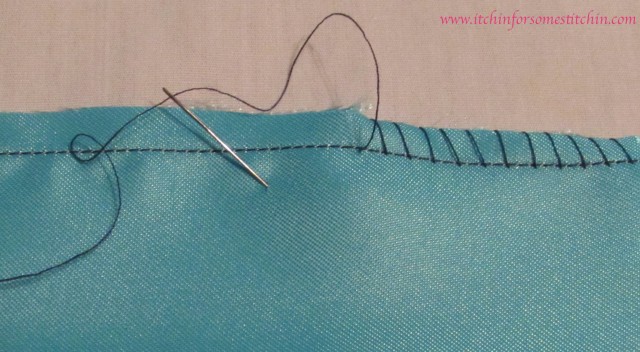
4. Use a hand an overcast stitch.
–Use a sewing machine to sew a straight stitch down one side of the seam allowance 1/4″ from the edge.
–Trim 1/8″ off the fabric edge.
–Start just passed the straight stitch and make evenly spaced diagonal stitches by hand over the raw fabric edge.
5. Use bias tape (binding tape).
–Sandwich the raw fabric edges inside the folded bias tape.
–Straight stitch through all layers (top of the bias tape, the seam, the bottom of the bias tape) 1/8″ from the edge of the bias tape.
My sincerest apologies. The picture for bias tape will be up soon.
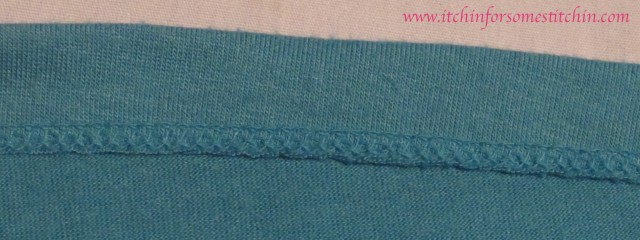
6. Use a serger. Sergers are a type of sewing machine that overlock stitches the seam, overcasts the edges and trims the excess. They use 3-5 threads instead of the regular 2 to prevent material from fraying at the edge. Serged edges are what you normally find on clothing purchased commercially.
Tips:
- Do not use pinking shears or scalloping shears to cut out a sewing pattern. Use them only to finish edges.
- When hand-sewing, cut the thread to about 24″ in length. This makes it easier to work with and reduces the chance of the thread becoming knotted.
Until next time… Happy sewing!


