A Fast, Fun, & Easy Sewing Project for Kids

I remember walking into Walmart a few months ago with my step-daughters, Dakota & Kassidy, in tow. I was under strict orders to only get what was on my list. I was not… let me say that again… I was NOT to buy more fabric or yarn. You see folks, I have loads of both and had come to an agreement with my fiancé, Danny, that I wouldn’t buy more material until I had used up some of what was already taking over my craft room and spilling out of the cabinets & drawers in our house.
So, of course, I headed straight for the ‘Craft and Sewing’ section of the store. This was not because I intended to break my word, I promise, but simply out of necessity. Truth be told, since I usually spend most of my time hunting for the perfect yarn for my next project, rummaging through the fabric remnants to collect pieces for a quilt, or simply wandering through the isles admiring all the craft eye-candy, I know the layout of my local Walmart in reference to this section. I’m lost if I don’t start my shopping from this section. Seriously.
Anyway, I made it to ‘Craft and Sewing’ fully intending to simply ogle all the fabric goodies as I passed by on my way to the grocery section, but… well folks, as the saying goes “there are no perfect men in this world, only perfect intentions”. That’s right folks, I broke my word, my oath, my promise. I bought fabric. ?
Let me explain. There was sale. Need I say more? Lol. Honestly, I just couldn’t help it. There were two carts filled with fabric on sale for a dollar a yard. Yes, you read that right folks, it was only a dollar a yard! Dakota and Kassidy were bubbling with excitement and I must admit I could barely contain myself. The girls instantly started planning their new projects. Now, you have to understand folks that these girls are polar opposites. Kassidy is our crafty girl full of ideas, sunshine, & rainbows. She is always cooking up some type of fun & colorful craft project. Dakota, however, is our dark brooding artist. She spends most of her time with pencils & a sketch pad in hand drawing flowers, patterns, & animals. Yet, here they were, both giddy with joy over the same thing. Fabric. How could I say no? I couldn’t. So I caved. But, I allowed them only one yard each. I figured spending only a couple bucks would soften the blow when their dad found out that I had broken my vow.
Once we were home and I had soothed Danny with the words ” but we only spent two dollars”, (I did this while batting my eyelashes and flashing my very best smile. He wasn’t pleased, but he forgave me. ?) it was time to decide what to make with our new fabric. But, what on earth could we do with just one yard of fabric?
Dakota, who had picked out a light blue tulle, decided to cut it up and use it to tie bows around the flower arrangements in her room. Simple. Elegant. Easy. Kassidy, on the other hand, chose to get crafty with the zebra print she had purchased. We turned to the book One Yard Wonders by Rebecca Yaker and Patricia Hoskins for inspiration. Sure enough, we found the perfect pattern!
We settled on the “Tuffet Inspired Ottoman”, or what Kassidy & I like to call a “sitting pillow” or “lounge pillow”. Although we added some steps to make the project a little easier for 10-year old Kassidy, we did not change the pattern itself. With the added steps & my guidance, Kassidy was able to make the ottoman all by herself despite her limited sewing skills. She had only sewn once before this. This is a great pattern for young beginner sewists! Here’s what Kassidy did:
Materials:
1 yard of fabric (preferably home decor fabric)
1 spool of coordinating thread
1 fabric marker
1 pair of fabric scissors
1 bag of polyester fiberfill (a.k.a. poly-fill)
straight pins (optional)
Finished dimensions: 20″ wide x 20″ deep x 11″ tall
Seam allowance: 1/2″ unless otherwise specified
Step 1. Measure & Cut
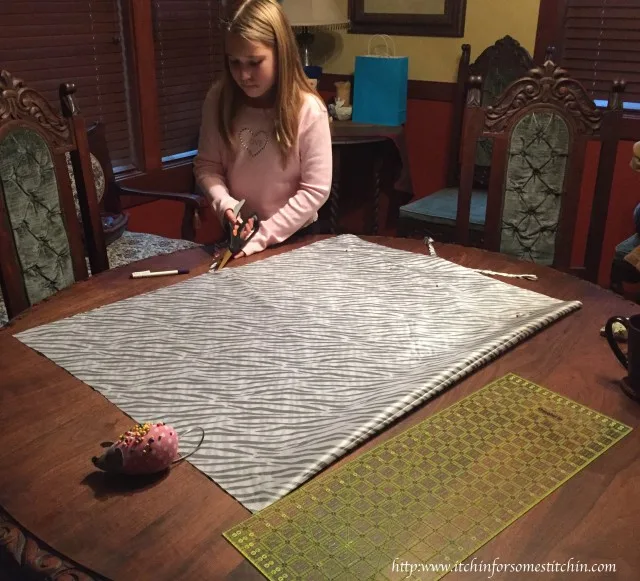
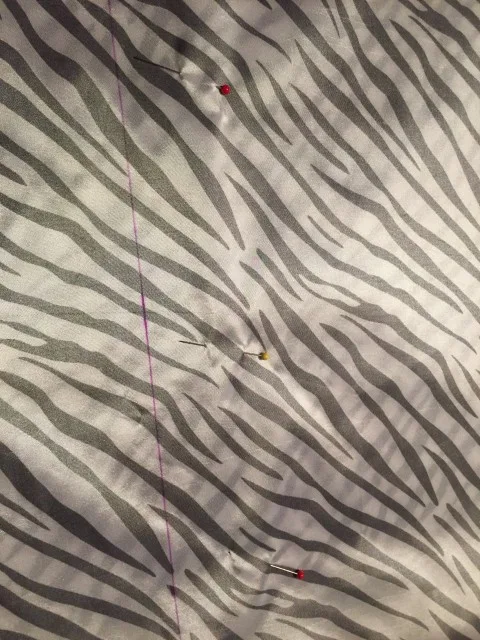
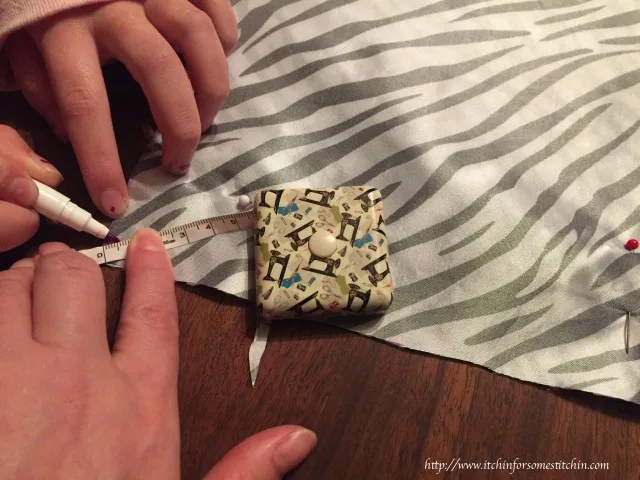
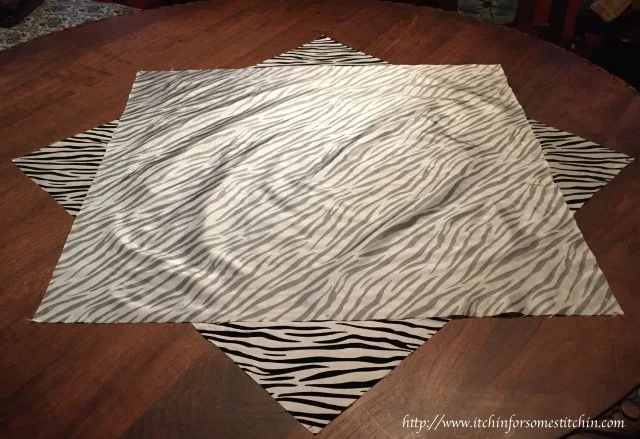
Fold the fabric in half length-wise with right sides together, aligning the selvages. It should be 36″ x 27″. Kassidy pinned the fabric sides together with straight pins to keep them from slipping and then used a fabric marker to draw a line where she would need to cut to make a 27″ x 27″ square.
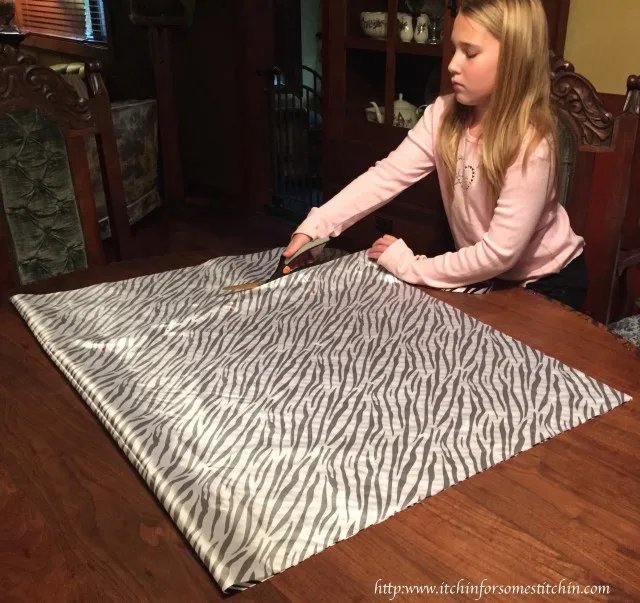
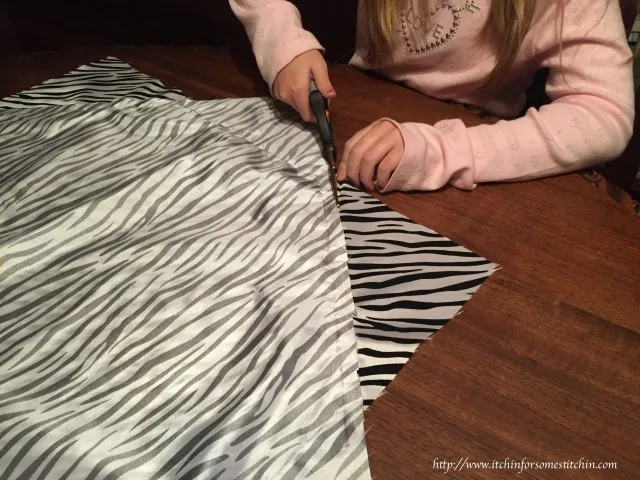
- Cutting the selvages
- Cutting line. Also shows pinned fabric.
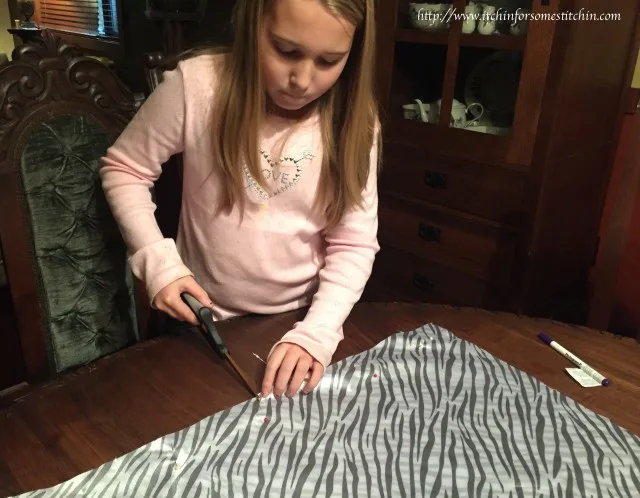
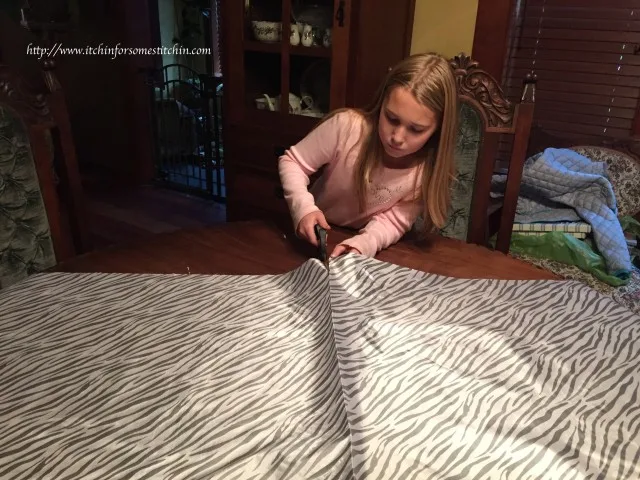
- Cutting to make a perfect 27″ x 27″ square
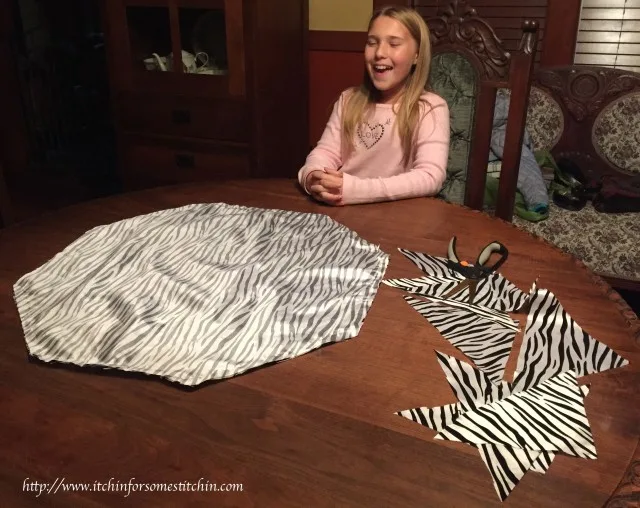
Cut off the selvages and cut the fabric to create a 27″ x 27″ square, but don’t cut along the fold to create two squares just yet. Keeping it as one large folded square makes it easier for children to do the next steps.
NOTE: If you don’t have enough fabric to create a 27″ X 27″ square that’s okay, you can make a smaller one just as long as the square is an exact square.
Step 2. Mark Top & Bottom Pieces
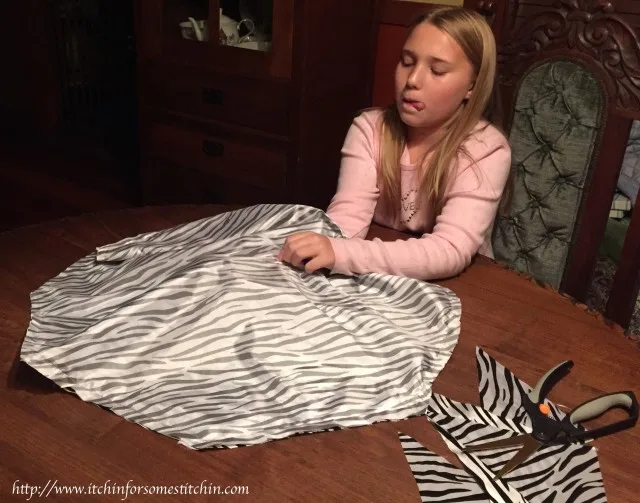
Make a 3/8″ notch at the center of each side of both the top & bottom pieces. Kassidy marked where the notches should go using a fabric marker before cutting, making it easier for her to know exactly where to cut the notches.
- Cutting the notches at the center of each side.
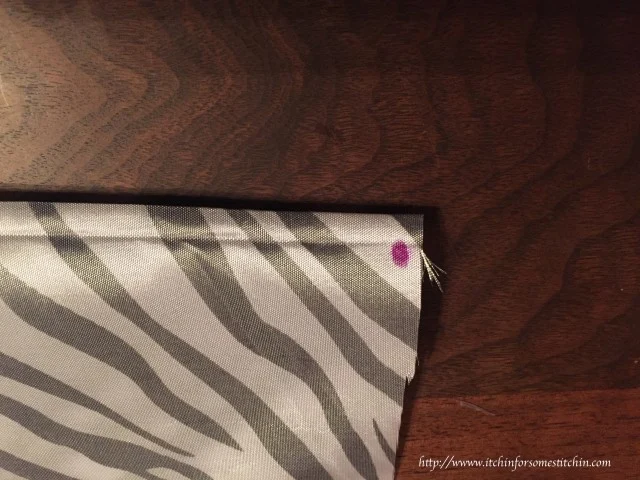
- Marking the corner dots at 1/2″ from the corners.
- Close up of the corner dots
On the wrong side (should be the side facing up) of both pieces, mark a dot 1/2″ from each corner using a fabric marker.
Step 3. Cut & Iron
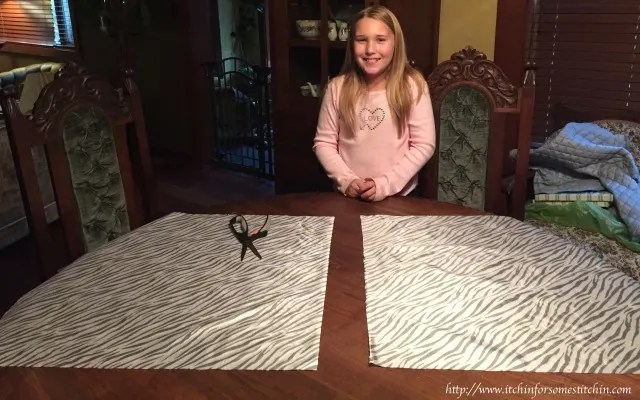
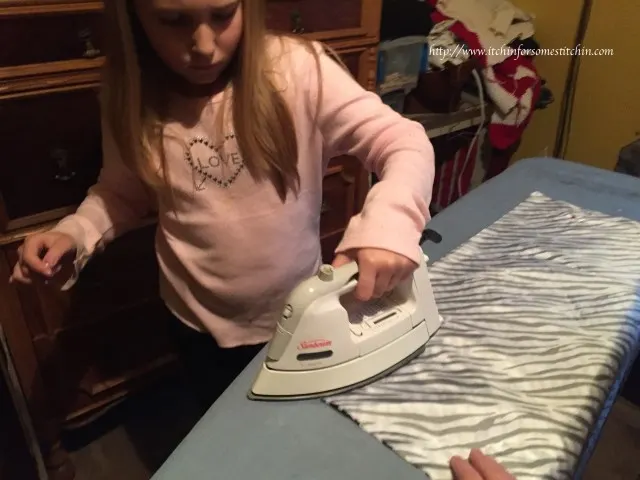
Cut along the fold to create two 27″ x 27″ squares. Iron each square flat.
- Cutting into two squares
- Two 27″ x 27″ squares
- Ironing each square
Step 4. Stitch Top & Bottom Together
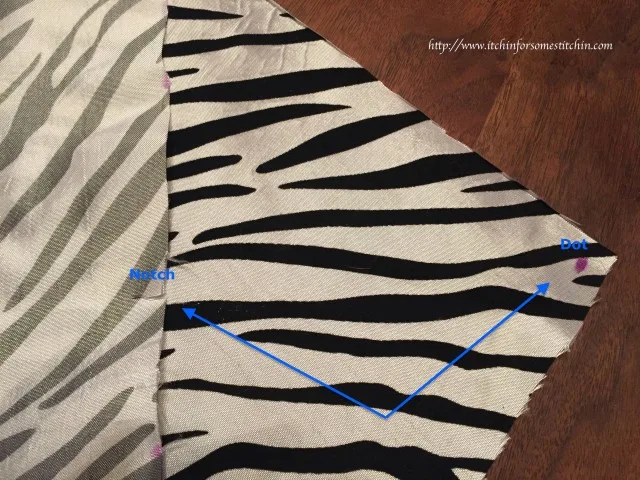
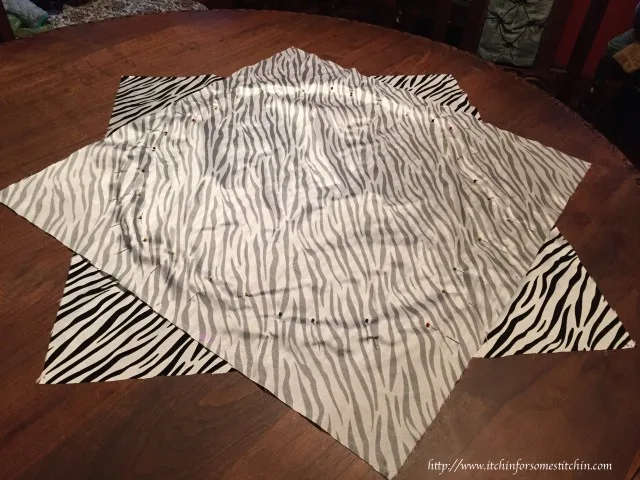
With the right sides together, match a dot with a notch. Kassidy joined the top & bottom pieces together using straight pins from dot to notch.
- Two perfect squares aligned notch to dot
- Notch/dot alignment close-up
- Squares aligned & then pinned
She then used a fabric marker and ruler to draw a line from each notch/dot connection to the next notch/dot connection leaving a 1/2″ seam allowance.
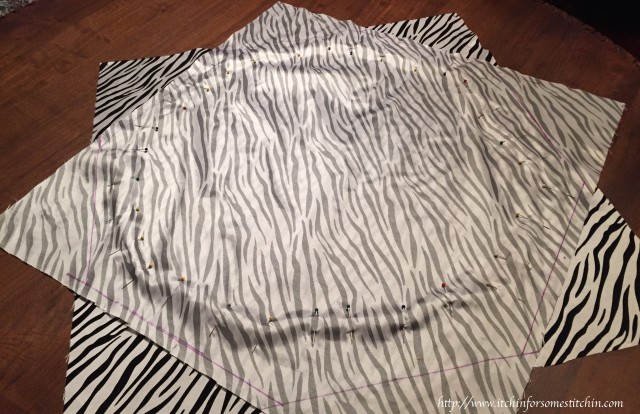
Sewing lines drawn from each notch/dot connection to the next
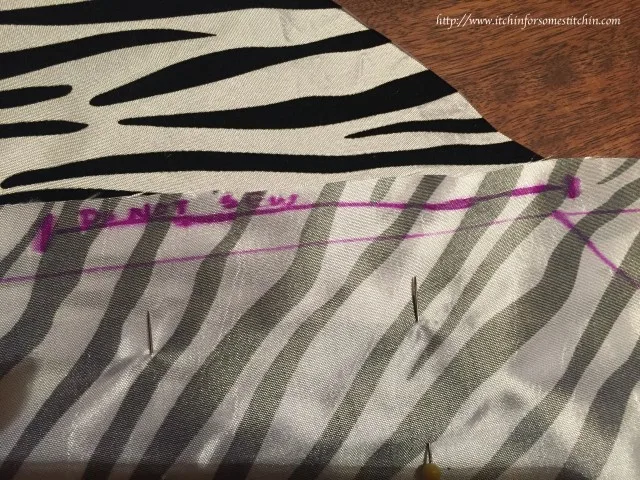
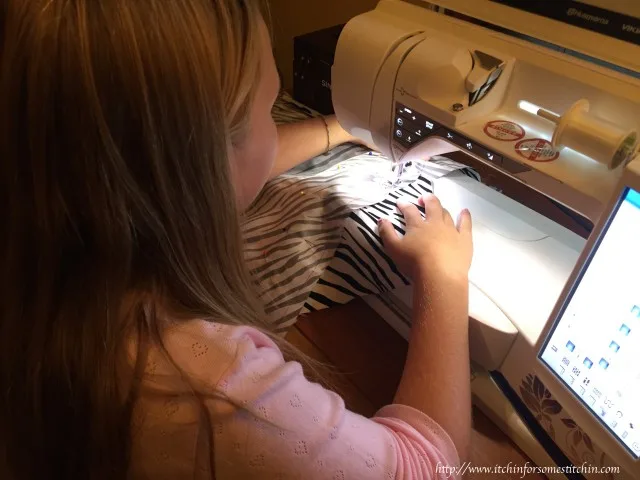
Stitch from one notch/dot connection to the next notch/dot connection along the line. When stitching the last edge, leave a 5″ opening in the middle for turning and stuffing the ottoman. Kassidy used the fabric marker to mark the opening as a reminder not to sew it. She even went as far as to write “do not sew” on it. I thought that was a smart touch.
- “Do not sew” marked as a reminder to leave an opening
- Sewing the squares together along the sewing line
Clip all the corners and turn the ottoman right side out through the opening.
- Cutting off the corners
- All corners cut
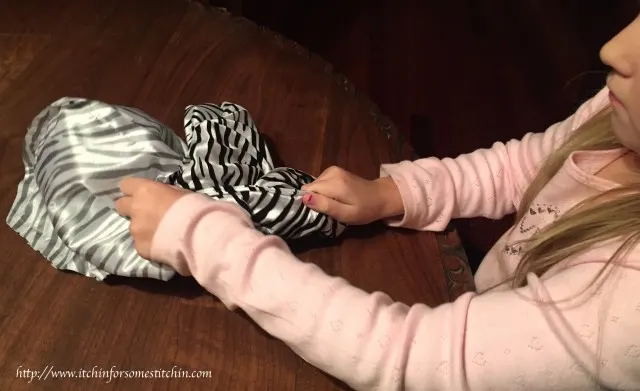
- Grabbing fabric through the opening
- Pull through the opening
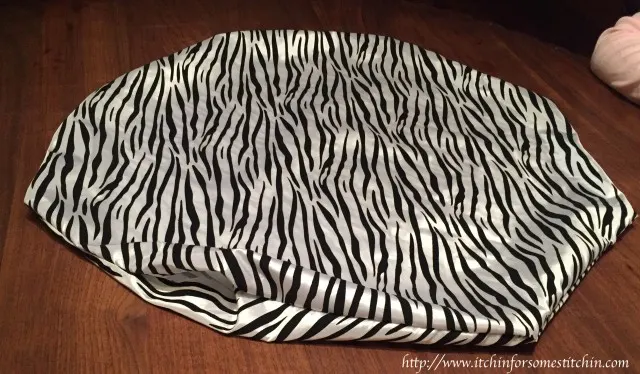
- Pillow is now “right-side out”
Step 5. Stuff the Ottoman
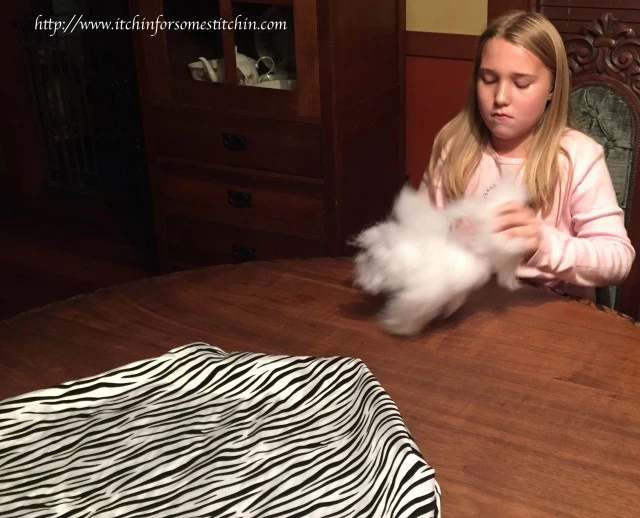
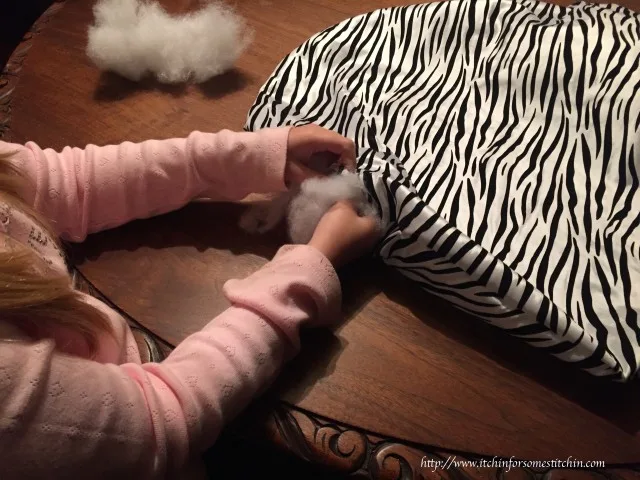
Fluff the poly-fill and stuff it through the opening, taking care to fill the corners, until the ottoman is as firm as you would like.
- Fluff the poly-fill
- Fill the pillow with poly-fill
- The pillow is filled!
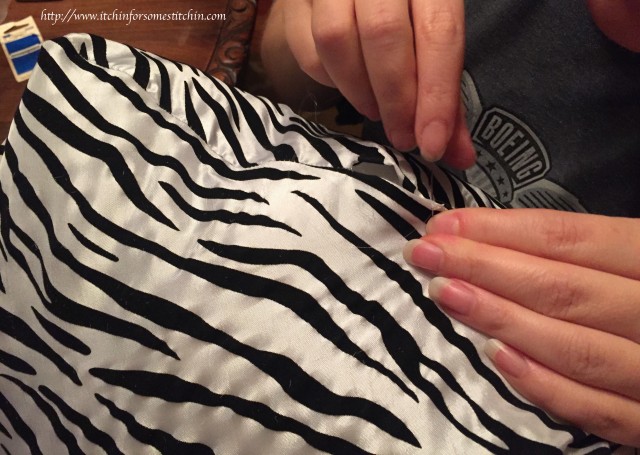
Hand sew the opening closed using a blind stitch, also called a slip-stitch. If your child is doing this project, you may want to do this part for him/her.
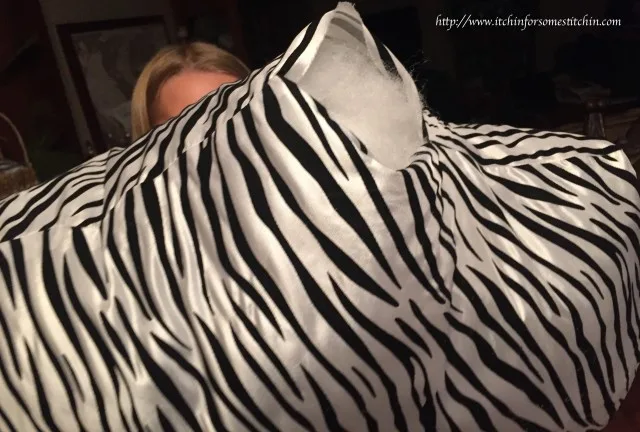
Ta Da! It’s done! Didn’t she do a beautiful job? I think so too!
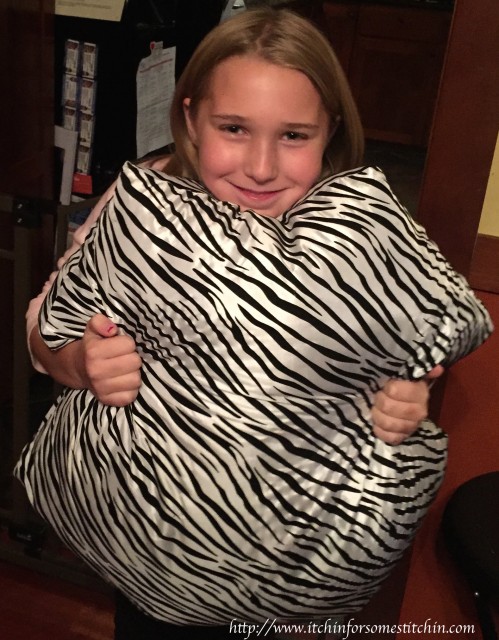
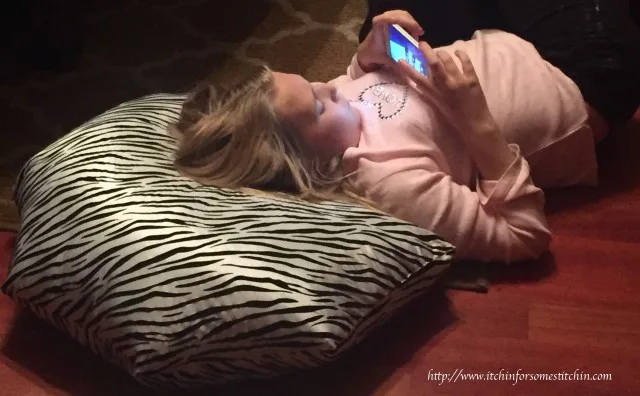
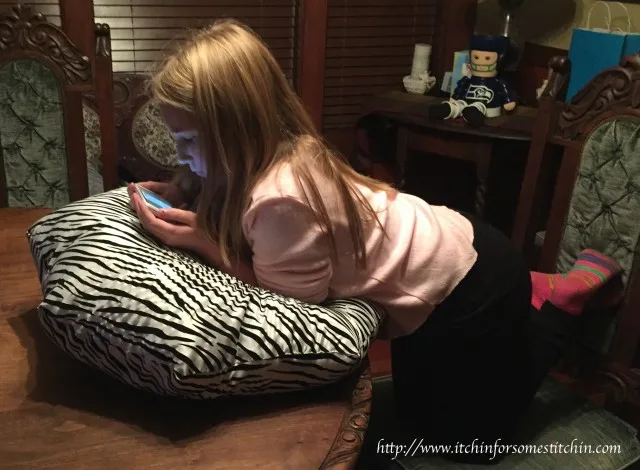
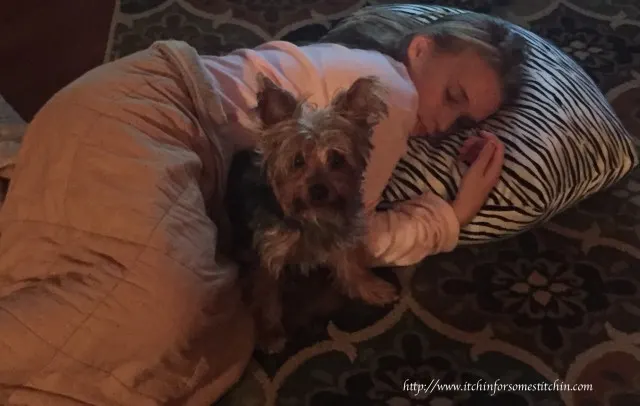
Adding buttons or bows to the corners of the ottoman would be a great way to embellish this fun & easy project. I suggested adding black buttons to Kassidy’s, but she was too excited to use her new pillow and didn’t want to wait for me to sew them on for her. Check out how Kassidy used her new pillow.
This is the perfect pillow for lounging and would even make a great table, simply place any tray on top and walla, you’ve got an instant table!
Hey, why not leave a comment letting Kassidy know what you think of her sewing project? Or maybe suggest another simple sewing project for kids? I am sure she will appreciate reading all of your comments and suggestions!
Until next time… happy sewing!


LydiaF
Wednesday 20th of April 2016
I love this project and the tutorial is great! Well done, Kassidy :) Your post will be featured on my blog for this week's Creatively Crafty link up. Hope to see you then! #ccbg
Itchin4Stitchin
Wednesday 20th of April 2016
Yay! Thank you so much! Kassidy & I are so thrilled you like her project and we greatly appreciate the feature. We will definitely see you this week at the Creatively Crafty link up. It's a pleasure meeting you Lydia!
Best wishes, RaeLynn & Kassidy
Kathleen
Friday 15th of April 2016
Kassidy, I am so impressed with your crafting/sewing skills. A lounge pillow is a wonderful idea and it looks very comfortable and useable. I think you will be using this pillow a lot. A very good tutorial for making it too. Kassidy, thanks for bringing this pillow tutorial for our readers of The Blogger's Pit Stop, I am wondering if you like the cool red car in our header. The glam lady has hair a bit like yours, very cool.
Kathleen
Itchin4Stitchin
Tuesday 19th of April 2016
Hi Kathleen,
Thank you very much! Kassidy really enjoys her pillow & uses it all the time. We are pleased that you appreciate her project and love the car in the Blogger's Pitstop logo. :)
Best wishes, RaeLynn & Kassidy