How to Cast Off in Knitting
Hello, fellow knitters! Today’s tutorial is part of my beginner knitting series. If you’ve followed along then you should be familiar with the knitting basics and now be comfortable with how to make a slip knot, how to cast on, how to knit the knit stitch, and how to knit the purl stitch.
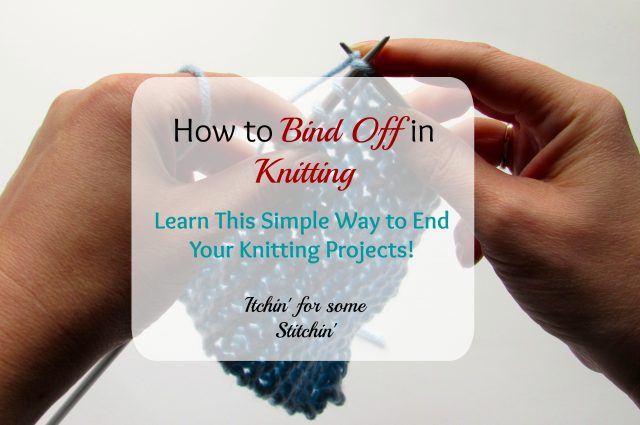
Now it’s time to learn how to bind off, also called casting off. Binding off is the process of securing the last row of stitches to create an edge that will not unravel. This is also known as finishing the edge. There are many ways to bind off and each method produces a different edge on your knitting project.
* This post contains affiliate links. See my full Disclosure Policy for details.
When I was a knitting beginner, my first project sat, finished, but untouched for weeks before I learned how to bind off. This is because binding off sounded complicated to me. I am not ashamed to admit that knitting was and sometimes still is difficult for me. Knitting doesn’t come as naturally to me as crochet or sewing does.
Despite this, I love it and continue to work hard to improve my knitting skills. Thus, in the beginning, learning to bind off my knitting projects was intimidating. If you find yourself in a similar situation, don’t worry!
I am going to guide you through the Basic or Standard Binding Off method, the most common binding off technique because it is the one that most knitting beginners learn first. And believe it or not, this binding off method turned out to be super easy! If I can master it, so can you. 🙂
The Basic Knitting Bind Off Method
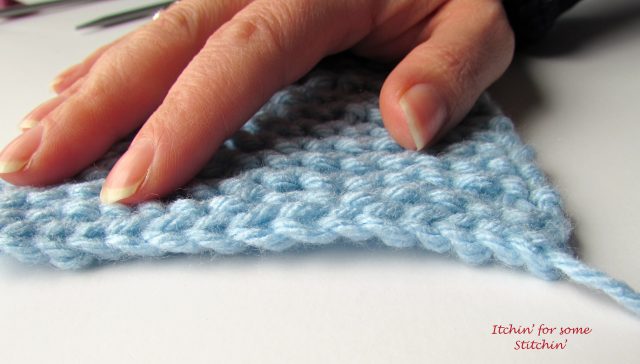
Edge of project after binding off
When beginning to bind off, all your stitches should be on your left hand (LH) needle and your right hand (RH) needle should be empty.
Also, make sure you bind off according to your stitch pattern. For example, if you would normally be working a purl row, purl the stitches when you bind off instead of using knit stitches.
Step 1
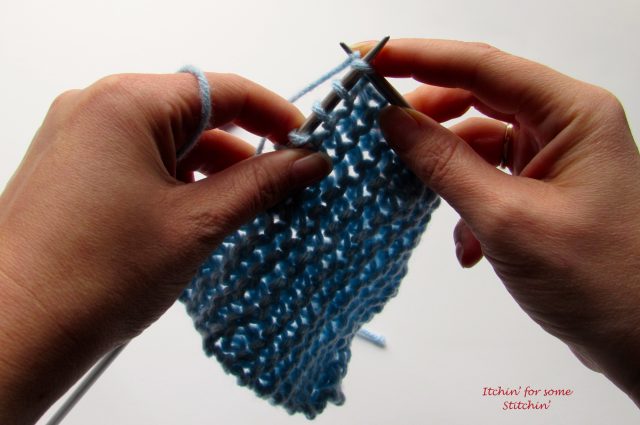
Knit 2 stitches from the LH needle on to the RH needle.
Step 2
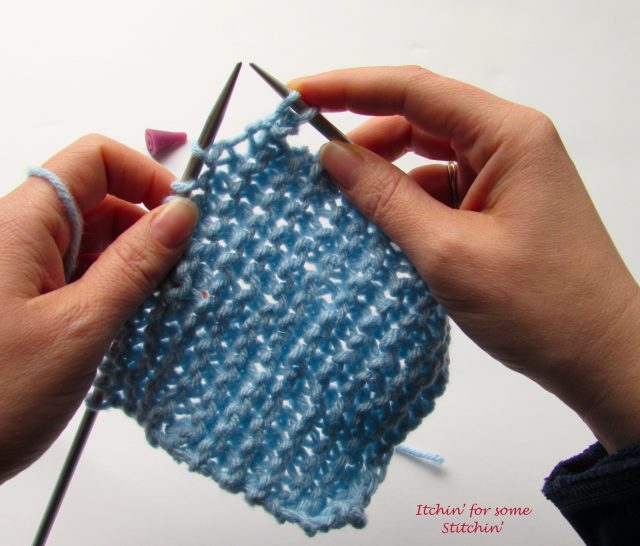
Put your LH needle in front of your RH needle and insert the LH needle into the first stitch worked on the RH needle. It is the stitch that is on the right.
Step 3
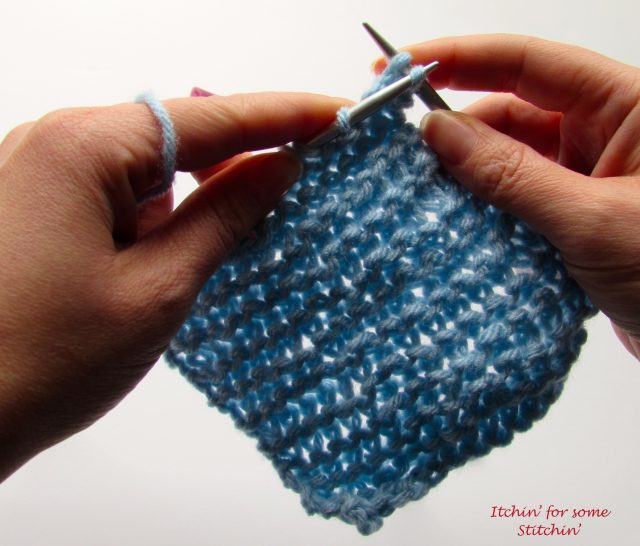
Bring this loop (the loop of the first stitch) over the second stitch (the stitch on the left) and off the tip of the RH needle. You now have 1 stitch bound off and 1 stitch remaining on your RH needle.
- Bringing loop of 1st stitch over 2nd stitch & off the needle
- 1 bound off stitch completed
Step 4
Knit one stitch from the LH needle on to the RH needle. You should now have 2 stitches on your RH needle. Continue repeating steps 2-4 until you have 1 stitch remaining on your RH needle.
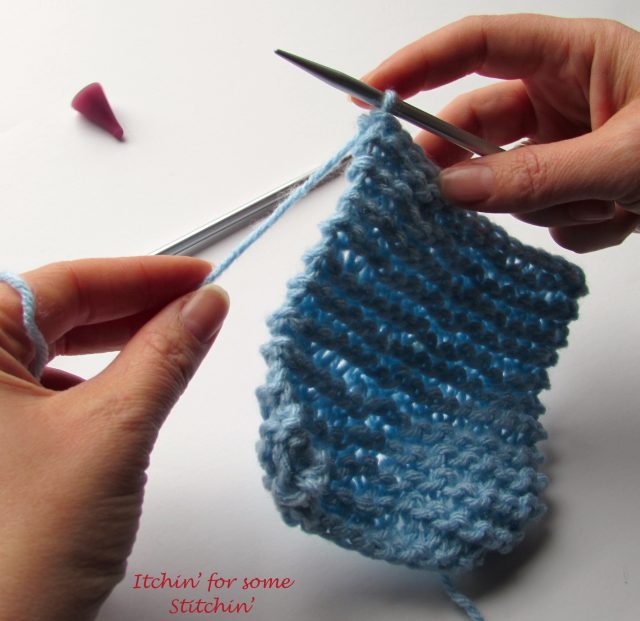
1 final stitch left on the RH needle
Step 5
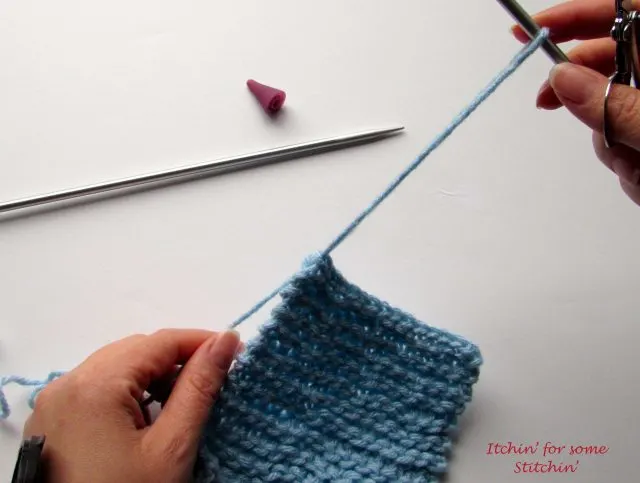
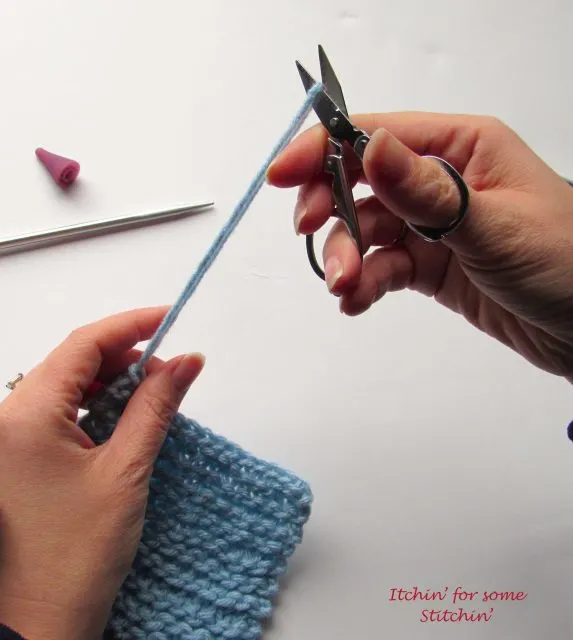
Cut the yarn about 6-inches from the needle. Secure the tail by pulling it through the last stitch. If you are going to sew the piece you’ve just bound off to another piece then leave a 12-inch or longer tail so you can use it to sew the two pieces together.
- Pull yarn through the last stitch
- Cut yarn leaving a 6+ inch tail
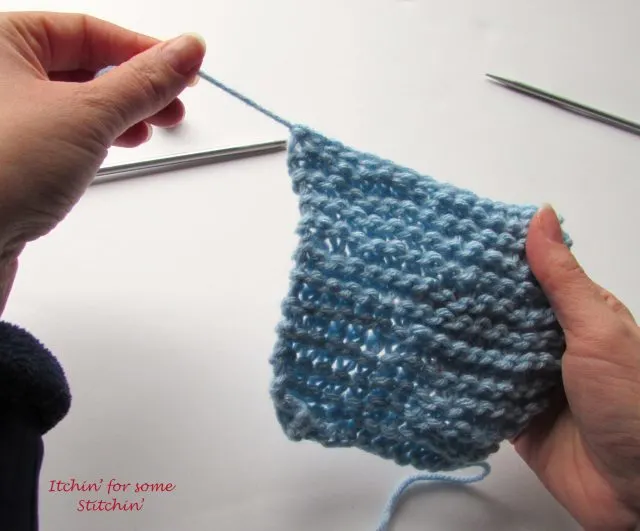
- Pull down to secure tail in the last stitch
Step 6
Weave in the tails. You weave in the tails just as you would for a crochet project. See How to Weave in Ends in Crochet for a review.
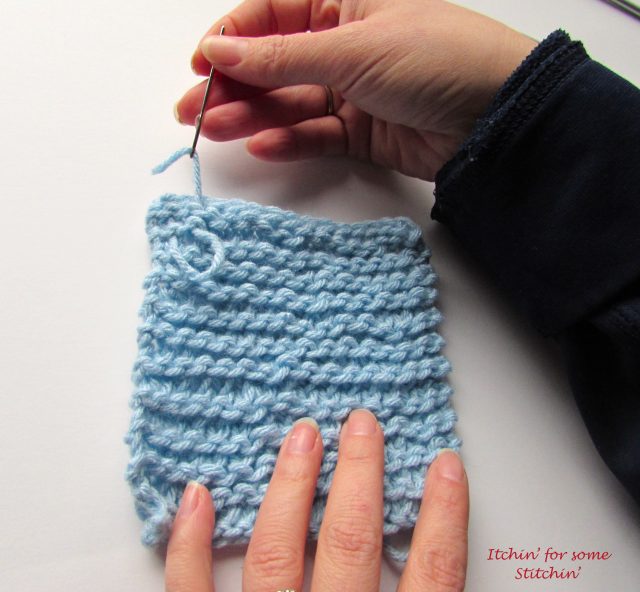
That wasn’t hard, was it? Of course not! You got this!
Now that you know how to start and end your knitting projects you will be whipping up some amazing creations in no time!
Don’t forget to subscribe to the blog and download my free knitting needles sizes & conversion chart to add to your knitting toolkit!
What’s your favorite binding off technique?
Until next time… Happy Knitting!



Theresa
Tuesday 22nd of November 2016
Hi! I'm looking for the free crochet journal download-I've signed up for email, but never received a link. I'm not too computer-savvy, so I figured I was looking in the wrong place or hit the wrong key. Would you please resend? I have memory problems due to fibromyalgia, and the journal would be perfect!
Itchin4Stitchin
Tuesday 22nd of November 2016
Hi Theresa!
I've checked my email service & you are indeed signed up and should have immediately received a link. My sincerest apologies. Perhaps it went to a spam folder? I will send it again ASAP. I believe there should have been a follow up email sent out as well. Did it not come through either?
Thanks,
RaeLynn