The 2 Best Ways to End Your Crochet Projects
Okay so you’ve followed all the steps in my ebook, How to Crochet: A Quick-Start Guide for Beginners and you’ve just finished your crochet project. Congratulations! You’ve made the last stitch and you’re ready to show off your hard work and move on to another project. Then suddenly your smile of satisfaction quickly turns into a frown of exasperation. Why? Because you’ve just realized that the project isn’t actually done. Nope, it’s not. Because you still have to bind off and weave in the ends (also called tails).
I’m not going to lie, weaving in ends can be a pain. But don’t be discouraged! It’s not a pain because it’s hard. It’s simply that it can be tedious and it takes time. If you only have one or two ends, this isn’t a big deal. However, if you’ve had to change colors a lot you could have many ends that need to be hidden. This is the reason that I have not one, but two granny square afghans that have yet to be joined. One of which I started over four years ago!
I told you that I am not going to lie. I hate weaving in ends. But… it is a necessary evil. It must be done. If you don’t weave in the tails your project will most likely unravel and all your hard work will be for nothing. Also, it is necessary to make your project look neat and tidy. And despite my bickering, it is easier than you think.
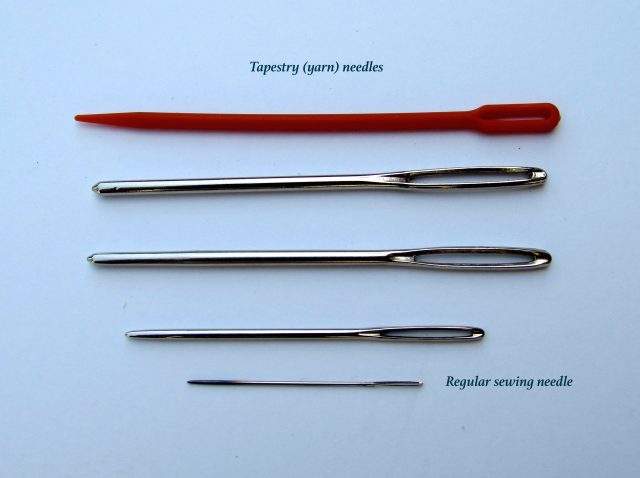
The only crochet tool you will need to weave in the tails is a tapestry needle (also called a yarn needle). This needle is usually larger than other needles and has a larger eye. It is usually made of plastic, but I prefer the metal ones. You can find them here or at your local Walmart/craft store for about $3.00.
If you don’t have a tapestry needle and don’t want to wait until you buy one, you can do these techniques with a crochet hook. However, in my experience, it often doesn’t hold up as well.
How to Bind Off
Before you weave in the ends you will first need to bind off or fasten off. There are two common ways to do this.
First, cut your yarn leaving a minimum of a 6-inch tail. I often leave mine longer.
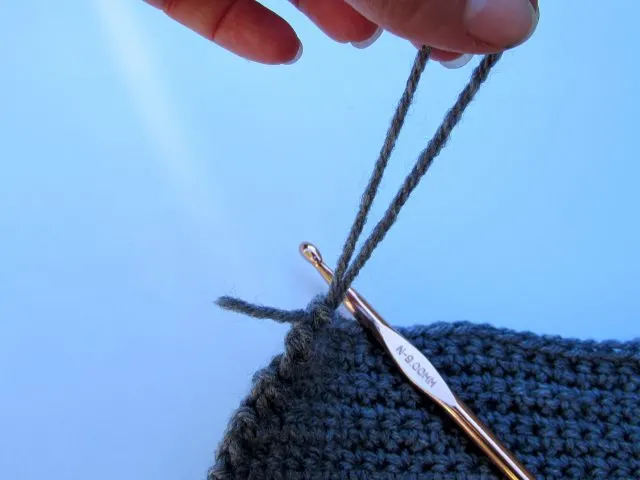
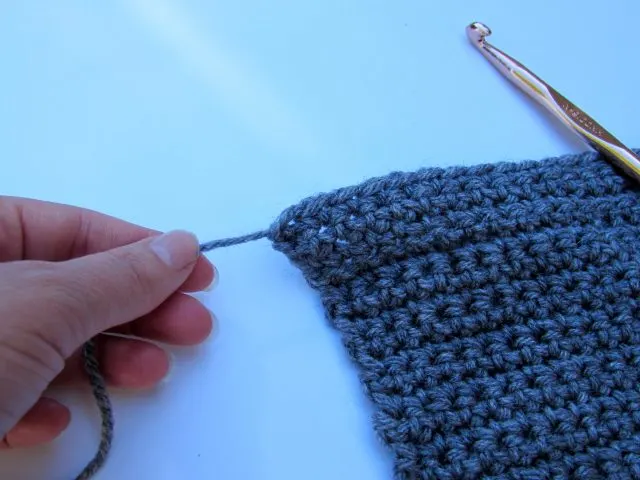
1. Pull the tail through the last stitch and pull to tighten.
- Step 1: Pull tail through stitch.
- Step 2: Pull down to tighten.
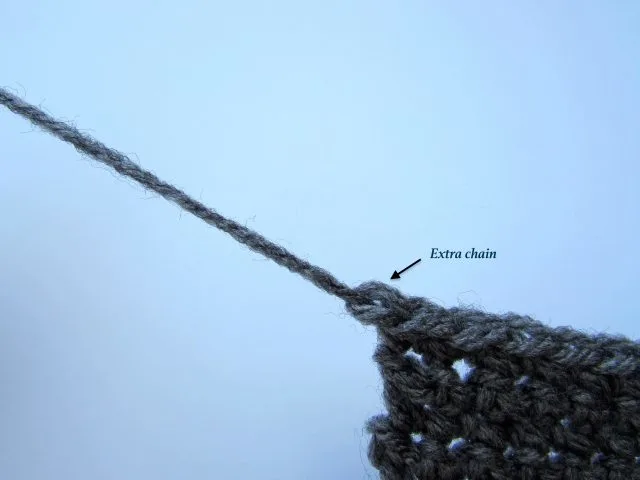
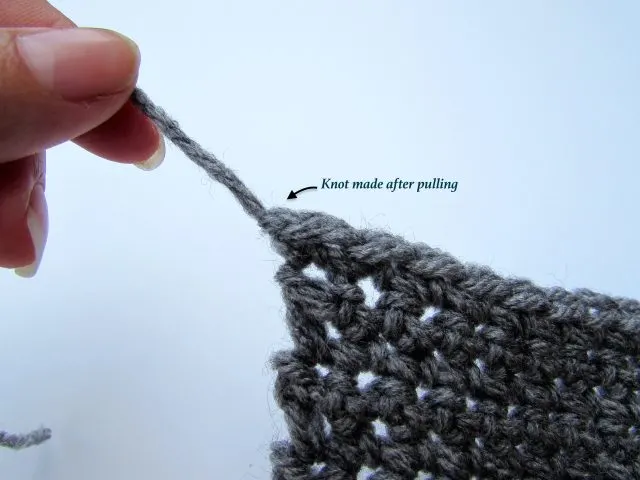
2. Make 1-2 chain stitches. Pull the tail through the chain stitch(es) and pull to tighten.
- After cutting, pull through the extra chain(s)
- Knot created by pulling through the extra chain(s)
How to Weave in Tails
After you have bound off, it is time to weave in the ends. This is essentially like sewing and there are several methods for doing this. I am going share two with you.
First, thread your yarn into the tapestry needle. You can use a needle threader if you need help with this, but I usually just wet and twist the end of my yarn to thread it.
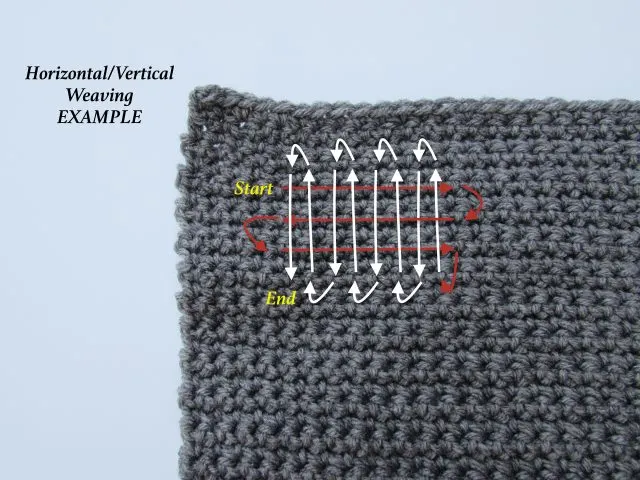
1. Vertical/horizontal weaving. In this technique, you run the tapestry needle either horizontally or vertically through your crochet project until you reach the end of your tail. Then you repeat the technique running in the opposite direction. You can do this once or several times before switching horizontal or vertical directions. For instance, if you started out weaving horizontally, you will need to switch to vertical weaving at some point.
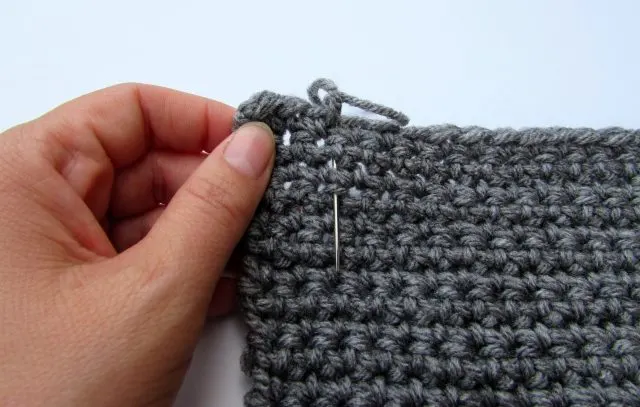
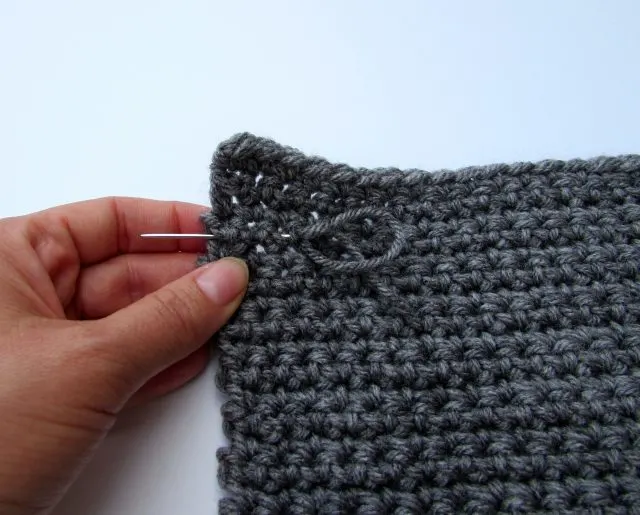
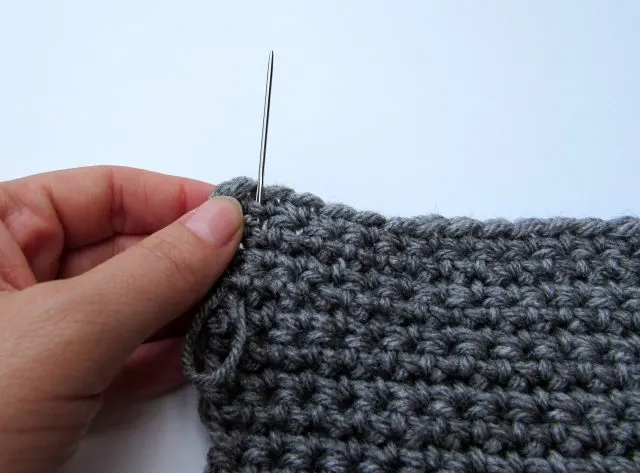
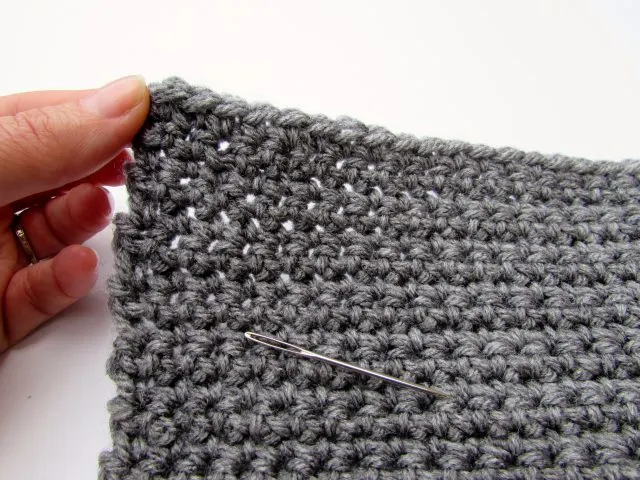
- Example of Horizontal/Vertical Weaving Method
- Step 1: Horizontal to the right
- Step 2: Vertical down
- Step 3: Horizontal to the left
- Step 4: Vertical up
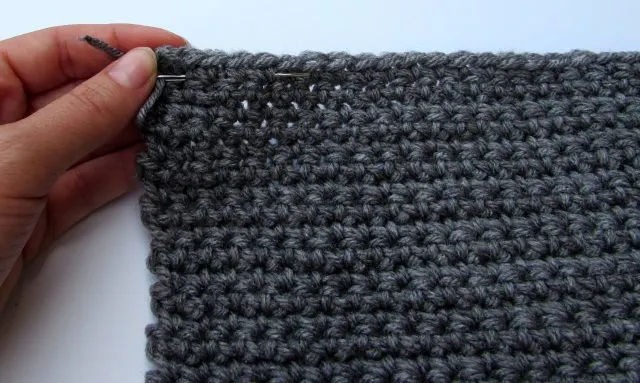
- Results of Horizontal/Vertical Weaving Method
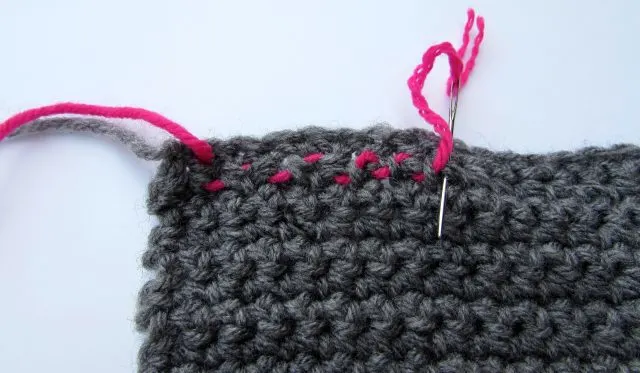
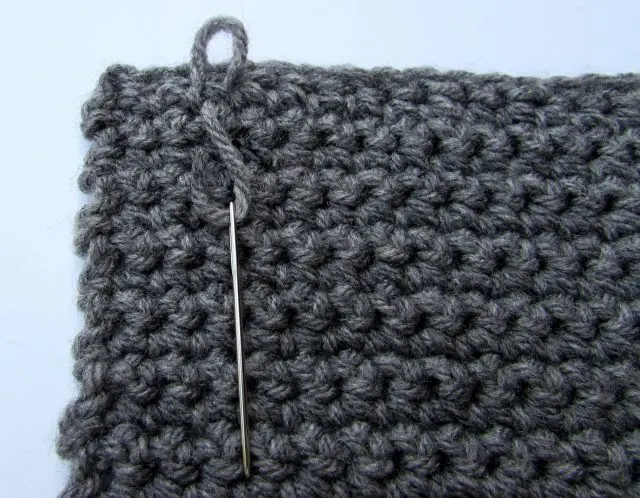
2. Whipstitch. This is shown in pink in the pictures just for contrast. When you do it in the matching color, it blends in and you can’t see how the stitch is made.
- Whipstitch shown in contrasting pink
- Whipstitch shown in matching gray
Tips for weaving in ends
- If your project has a right and wrong side, make sure you weave the ends into the wrong side of the project.
- Make sure that your yarn tail is completely hidden in the project and does not come over the top of your work.
- Be careful not to split the yarn while weaving in the ends, this can be messy and does not look professional.
- If you have extra tail left after weaving, cut the end. If there is a tiny end sticking out, the give your project a slight tug in opposite directions using both hands. This will draw your tail into the crocheted fabric.
To knot or not? That is the question.
Some crocheters tie knots in base of the yarn after they bind off or finish weaving in a tail. I don’t do this. That’s not because creating knots is wrong, it’s just not my personal preference.
One of the first things I read when teaching myself how to crochet is that if your crochet is done properly there should be no need to make any knots. Although I can no longer remember where I read this, it has stuck with me. That being said, many crocheters that have more experience and are more skilled than me, like my grandmother, make knots.
I find knots to be less stable and lasting than you would think. Also, if not properly hidden, knots can be an eyesore. I have never once had a project unravel or an end come out even without tying knots. These are my personal experiences. If tying knots works for you, then by all means, go for it!
What other weaving in and binding off methods do you know? What’s your take on knots in crochet?
Until next time… Happy Crocheting!



Brenda Gaboni
Thursday 13th of July 2017
I always have ends that come out after I weave them in. What can I do to keep this from happening?
Itchin4Stitchin
Thursday 13th of July 2017
Hi Brenda,
First I would suggest trying the 2 techniques in this tutorial. I personally love the vertical/horizontal weaving in method and have thus far not had any ends come out after using it. I would also suggest that you leave long ends, at least 6-inches or more, for weaving in ends. If you try to weave in short ends, they will definitely come out.
My grandmother always knots her ends to ensure that they do not come out. I don't do this, but it is something you could try if you continue to have serious issues. I also recently came across a technique in which you split the loose tail and weave the two sections in separately. I have yet to actually try this method, but it seems as if it would create a very secure finish and I will be doing it to finish the ends of my next project. You can find the technique at http://queerjoe.blogspot.com/2017/06/weaving-in.html?m=1
If you give it a try, please come back and let me know how it worked for you!
Best wishes,
RaeLynn
Jean
Thursday 18th of May 2017
Nice article! I can't recall where I read aout it, but I love this little weaving trick without knots (which were my go-to because I'm always afraid my hard work will unravel). One lady said she will leave the yarn tail a little longer than normal, and after weaving it into her work to hide it, she'll turn her needle, place it over the last stitch she just wove under, and then pierce the yarn tail where it has been hidden -- continuing to back-weave for a short distance, all the while continuing to hide the yarn tail under the crocheted project. So, basically, you would be doing backstitching as with a sewing machine. How clever is that?! If I find the backstitched part is becoming too noticeable, I'll finish backweaving in a different direction. The initial backweaving still locks the yarn tail in place. :) [ I have continued to use knots, however, when using a silky textured yarn like Red Heart's Boutique Unforgettable, and have found that a simple surgeon's knot holds that yarn, whereas a regular double knot doesn't.] Happy crocheting! Jean
Itchin4Stitchin
Friday 19th of May 2017
Hi Jean, backstitching is super clever! I do it sometimes, but usually only when I am worried that I didn't use the best weaving technique or if I have some extra tail. However, I find that it generally isn't necessary, the weaving tends to lock up the ends pretty tight. I think, ultimately, it's a matter of preference. I just hope my little tutorial is helpful to those who are not aware of this technique and provided some easy methods for beginners. Perhaps I'll update this post someday and add the backstitching method. Thanks so much for your wonderful comment! Best wishes, RaeLynn.
P.S. Using knots is totally fine if it's what works for you! I agree that using a surgeon's knot is the best way to go if you are going to use knots. :)