If you are a regular blog follower then you know that I talk a lot about my first sewing machine experience. How I was so intimidated that I refused to touch the machine… for nearly four months! Eventually, I braved the instruction manual and studied the parts of sewing machine. More>>
Perplexed by all the little metal and plastic pieces that came with the machine, I then learned all about presser feet and when to use them. More>>
Next I stared at the display screen. This is what it looked like.
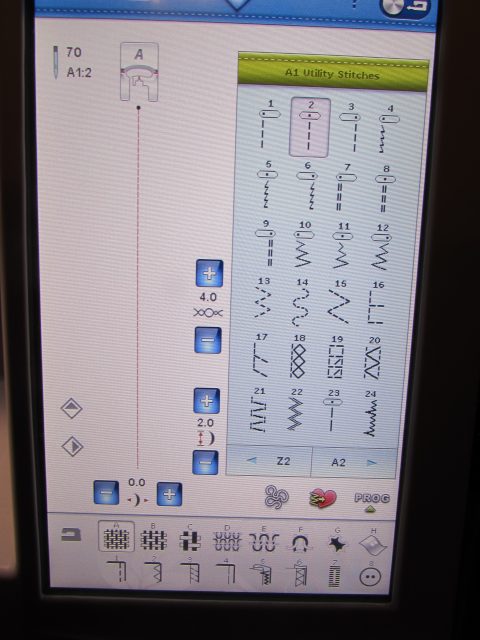
Okay, so I realized that these are obviously sewing stitches. But what kind of sewing stitches? And when do I use them? If you are asking yourself the same questions, then this tutorial is for you!
I’m not going to go through every single stitch that my sewing machine can do. That would be crazy. There are literally several hundred on my Husqvarna Designer Diamond Royale. No, I think we’ll just stick with the basics.
Let’s learn about the five most common sewing machine stitches. The ones you’ll use most as a sewing beginner.
5 Basic Sewing Machine Stitches
These 5 basic sewing machine stitches are essential to every sewing repertoire. Your sewing machine may more or fewer of these stitches. It is best to consult your manual to see exactly what types of stitches are available with your machine.
Straight Stitch
This is the most common stitch used in sewing. My machine is capable of making a straight stitch with the needle position to the left, center, and right.

- It is used for all types of sewing, including basting, seaming, and topstitching.
Zigzag Stitch
To make this stitch, the sewing machine adds width to the straight stitch. Like the straight stitch, my machine is capable of making the zigzag with the needle position to the left, center, and right.

- It is used for stitching around appliqués, adding lace and bands, creating buttonholes, sewing on buttons, embroidering, and for securing ends so they don’t fray. More>>
Three-step Zigzag Stitch
To make this stitch, the needle takes three stitches to one side and then three stitches to the other side. When using the ordinary zigzag stitch on the widest width, the fabric gets pulled into a tunnel and the fabric rolls under the stitch. The three-step zig zag stitch avoids this problem by keeping the fabric flat and free from tunnels.
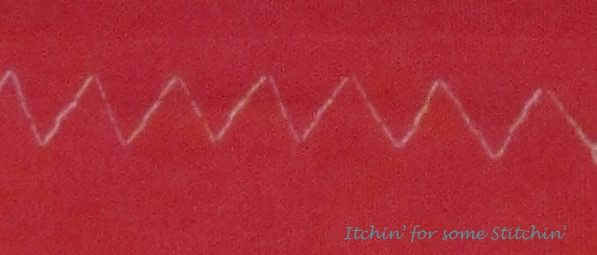
- It is used for finishing raw edges (overcasting), sewing on patches and elastic, mending tears, and making decorative effects. It can be even be used when sewing light and medium weight fabrics.
Blind Hem Stitch and Stretch Blind Hem Stitch
These stitches are designed to hem fabrics so that the stitches are nearly invisible when viewed from the right side of the garment. On my sewing machine these are called the Woven Blind Hem Stitch and the Stretch Blind Hem Stitch.

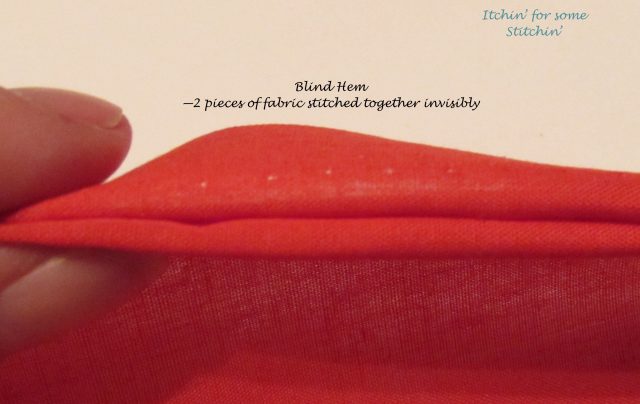
- The woven blind hem stitch hems almost invisibly in medium and heavy woven fabrics.
- The stretch blind hem stitch has one or more extra zigzags that stretches to invisibly hem medium and heavy knit fabrics.
- Both stitches can also be used for decorative purposes.
Overlock Stitch
If you don’t have a serger, then this stitch is your best friend. Sergers are used to sew and finish the edges on clothes you buy from a store. Not every person who sews their own clothing owns a serger. I don’t. But nonetheless, I can stitch and finish seams all in one step using the overlock stitch.
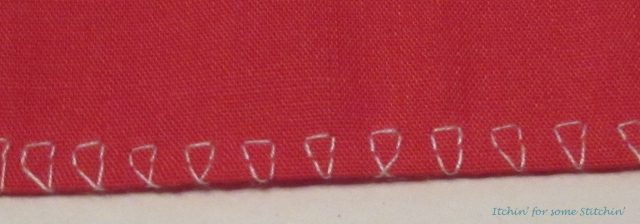
Modern sewing machines generally have at least one overlock-type stitch. Whether the stitch works best on woven fabrics or knit fabrics really depends on what type of overlock stitch your sewing machine has.
For instance, my sewing machine has two types of overlock stitches. Overlock and Double overlock.
- Overlock stitch seams and finishes (overcasts) in one step for medium knit (stretch) fabrics.
- Double overlock stitch seams and finishes in one step for heavy knit fabrics and medium woven fabrics.
Decorative Stitches
These are used for embellishing your projects. Modern machines like mine come with tons of decorative stitches and can even be combined to create multiple decorative effects.
There are two types of decorative stitches.
- Closed: these are dense satin-type stitches like a ball or heart.
- Open: these are tracery-type stitches like flowers or scalloping.
You can learn more about statin-stitches and other useful information for sewing beginners in my FREE ebook, Sewing Basics for Beginners.
Now, before I end this little guide to basic sewing machine stitches, I want to discuss one more stitch. The basting stitch. Although this is a commonly used stitch in sewing, I don’t actually consider this among the basic stitches (sometimes others do). This is because it is basically just an elongated straight stitch.
When you want to make a basting stitch, you choose the straight stitch on your sewing machine and then adjust the stitch length to make each stitch longer. However, many sewing machines today actually have a separate basting stitch option. This is the case with my machine.
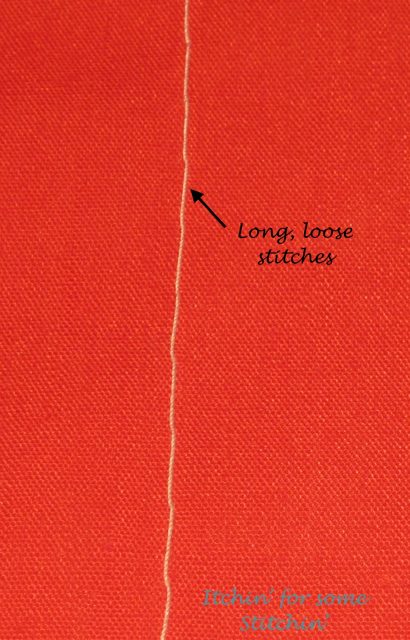
The purpose of the basting stitch is to loosely join two pieces of fabric with a long stitch length. This makes the stitch easy to pull out. Yes, you read that right. The basting stitch is a temporary stitch that you pull out. It temporarily holds the two fabric pieces together until they are sewn with a more permanent and stable stitch.
- It is most commonly used when making ruffles or gathers.
That’s it folks, the 5 or 6 (if you add in the basting stitch) basic stitches you’ll come to know, use, and love as a sewing newbie.
Have any questions or tips about using them?
Leave a comment!
Until next time… Happy Sewing!

Alven Fred
Tuesday 31st of July 2018
the stitches are the basic that a kid have to l;earn. this stitches make the basic sewing and easy one. But from this one can learn the harder stitches. thank you.
Itchin4Stitchin
Tuesday 31st of July 2018
You are very welcome! :)
Paul Saber
Friday 27th of July 2018
there have basic sewing machine stitches which the beginner and the younger really need to learn about. but is there any of the stitches which may harm the fabric or the needles?
Itchin4Stitchin
Saturday 28th of July 2018
In my experience, stitches shouldn’t harm your fabric or needles use long as you are using the proper stitches and needle for your fabric type and using your sewing machine correctly.